
Remember last week when I mentioned that I was confident I’d get everything done on time? I’m pretty sure I will, but there were a lot of curveballs this week. I really wanted to call this post the terrible twos, but “bathroom floor demo” made more sense description-wise. Let me share photos of that process and talk about the things that went sideways.
– Note: This post contains affiliate links. See more information about affiliates here. –
Okay, before I go into all the progress-but-not-really stuff, let me remind you that I am renovating our main bathroom as part of the One Room Challenge. I mentioned in the first-week post that we had already done the demo and installed the new floors. So, most of these photos are going to be from that.
But let’s start with where we were last week on the blog:
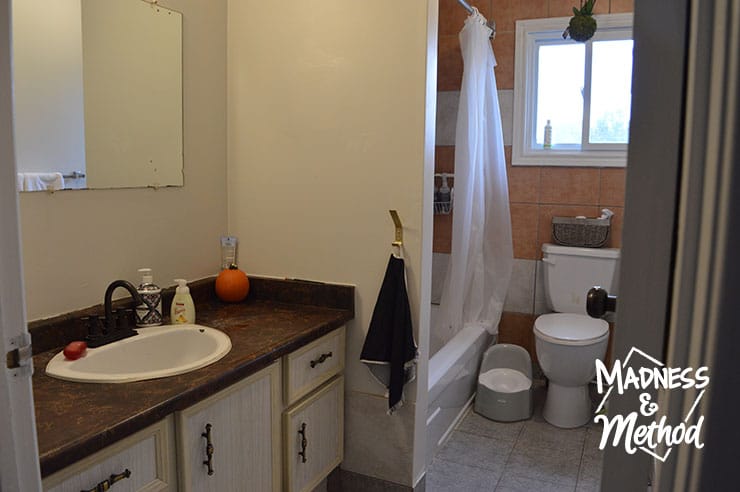
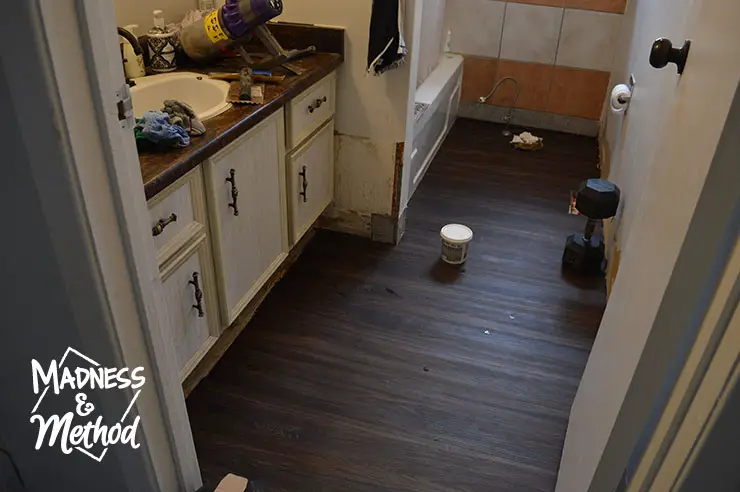
A basic main floor 5×10 ish bathroom with tiled floors, old vanity and mostly orange tiled bathtub walls.
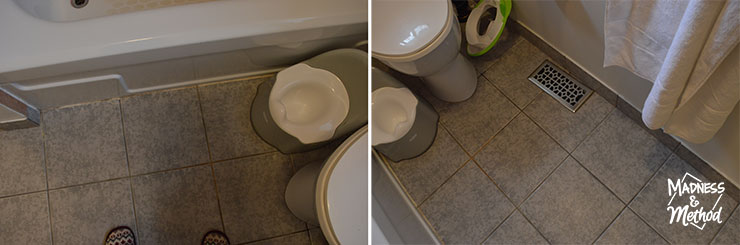
The floors weren’t that bad. There were a few cracked tiles around the toilet (bad), but otherwise in okay condition. The one bad thing about these tiles? The whole bathroom was about 1/2-3/4″ of an inch taller than the rest of our floors on this level. (Well, except for the kitchen which is 1-2″ taller).
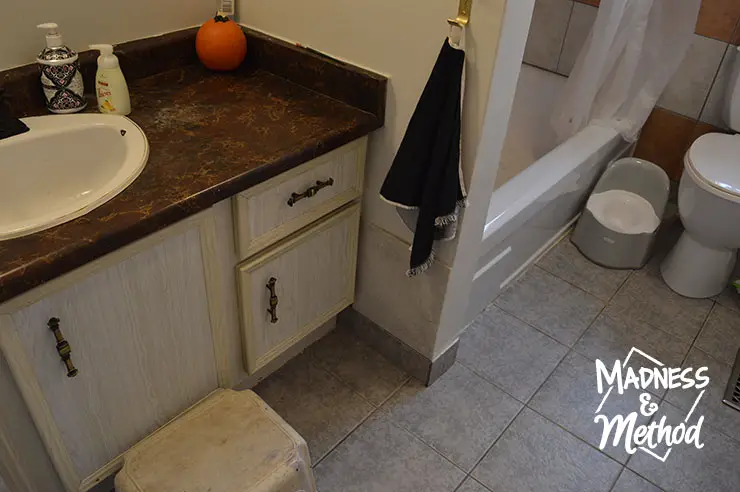
The floor tiles were also 11×11, while the wall tiles were 13×13. Slightly annoying, but I knew that we could replace the floor tiles for a relatively low cost. (We had already purchased extra boxes of vinyl planks for this purpose).
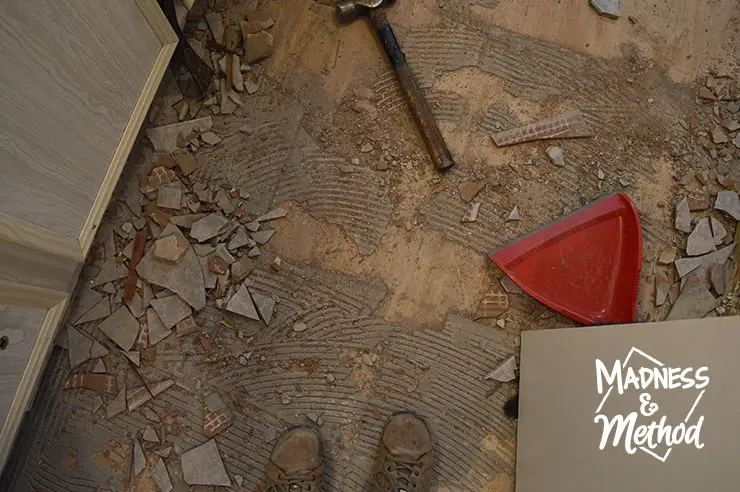
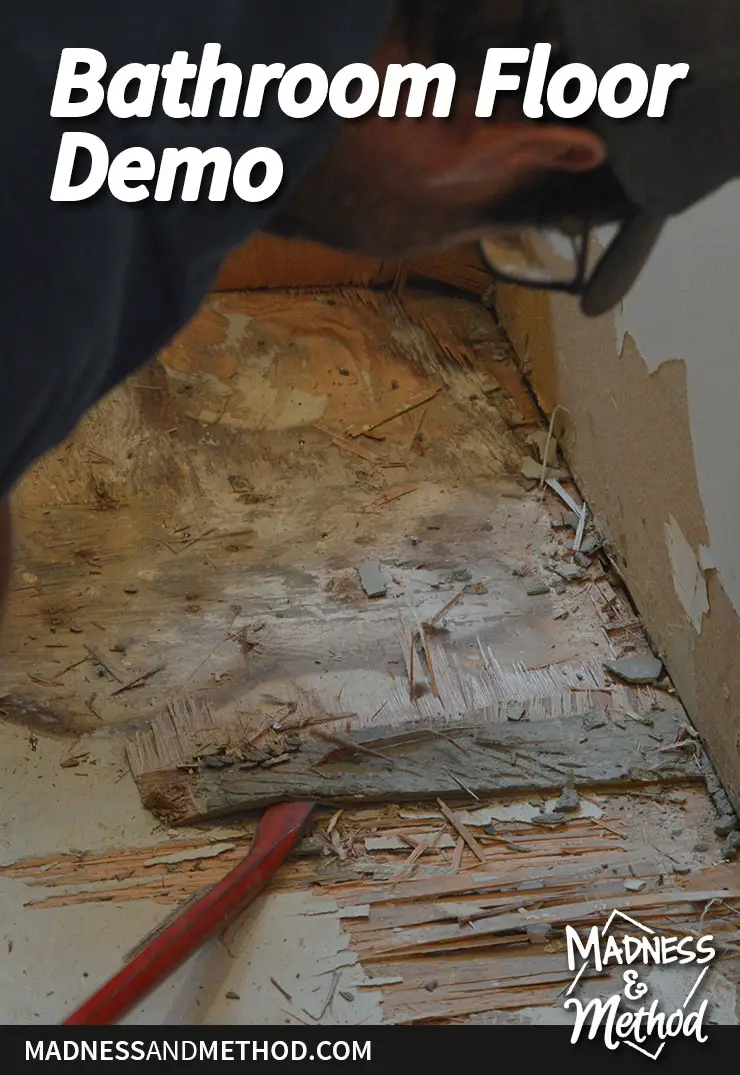
Bathroom Floor Demolition
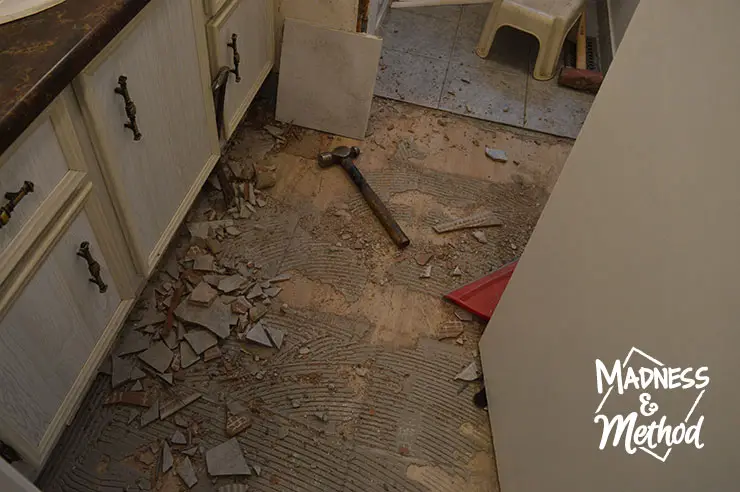
We also knew that there were a few layers of flooring that had to be removed (the good part about having an exposed edge in the hallway).
I knew that it would be a good time to demo the bathroom floors while my parents came up to visit. We have young children and things would go a lot better if we could both tackle the floors.
The Husband got to work hammering and chiselling the tiles out, while I hauled them outside by the bucket.
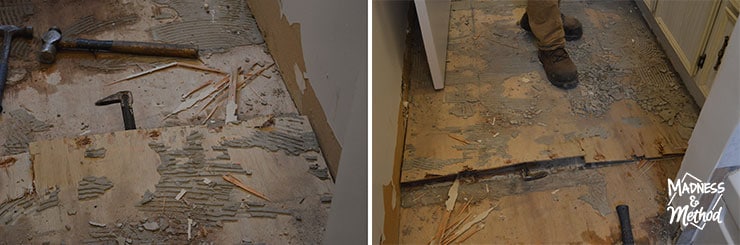
The first layer of plywood was about 1/4″ thick and thankfully did not run under the vanity. While the Husband went to the store to get some crowbars, my dad and I peeled a huge chunk out by hand.
The first plywood layer we had to remove stopped at the vanity. However, we weren’t so lucky with the second one. We carefully removed the toe kick, then used a hand saw to get as far back as we could.
My dad really wanted to get rid of the vanity at this point. But, I wasn’t about the spend hundreds of dollars on a new one (that would most likely still need to be custom fit to size).
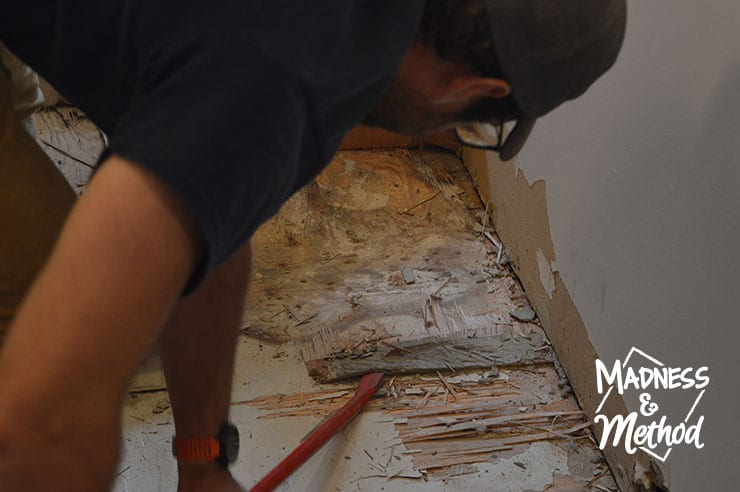
So we powered through and got all the extra layers of subfloor removed, somewhat before the kid’s naptime. (It was pretty loud of course).
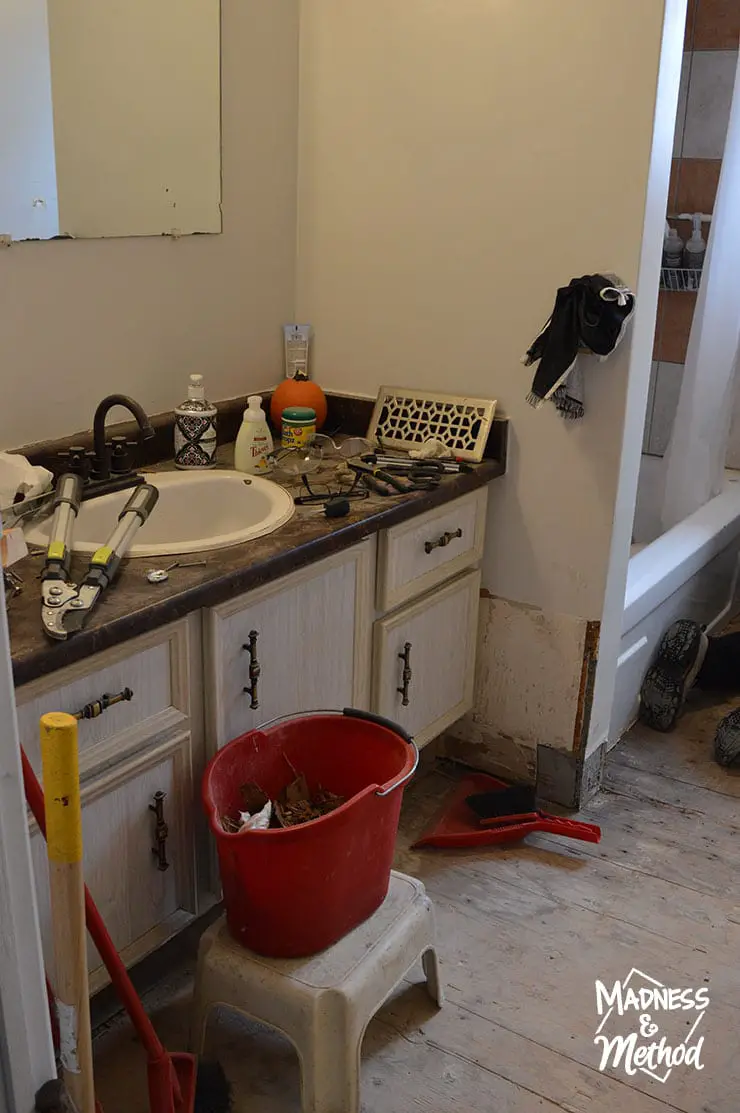
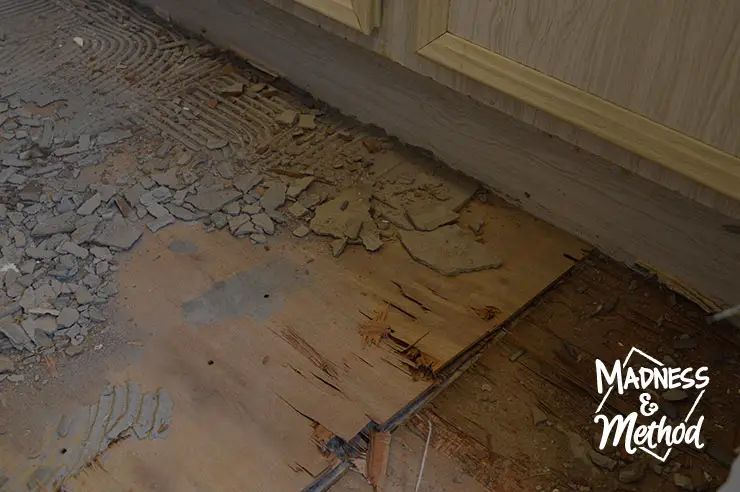
There was also a random bathtub tile on the wall near the vanity, so I took that off too. Good news – our shower has cement board behind it! Bad news, there was a lot of roughness and bumps behind that tile that I need to patch.
Installing Vinyl Planks
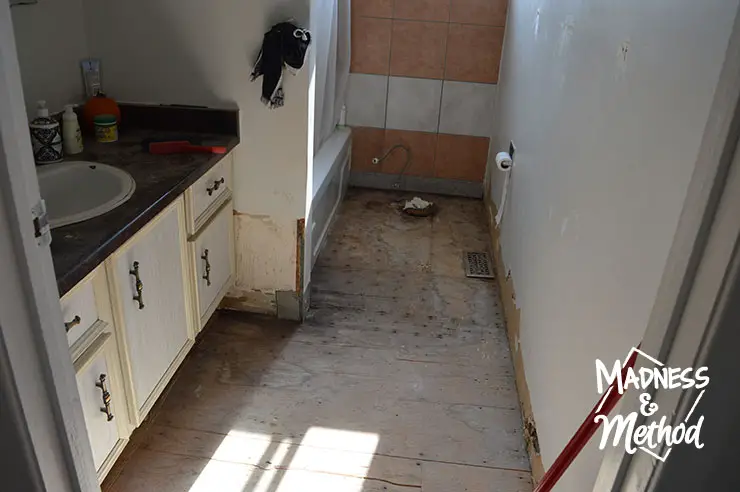
While the little ones were napping, I made sure all the nails were removed and cleaned everything really well. There was a lot of water damage on this base layer (as you can see above) BUT it wasn’t on the top layers that we had removed. So I think that they had added the tiles afterwards to mitigate some of that.
I had used some floor patch to fill in large divots in the subfloor, and we also contemplated pouring self-leveller as well (similar to what we did here). My thought was that it would help protect the wood subfloor from further water damage.
The Husband also suggested rolling RedGard too, but after some extensive online research, I couldn’t find a good case for that. Basically, it’s more of a wall/floor protector when you’re tiling, and I was worried it might react with our vinyl floor glue.
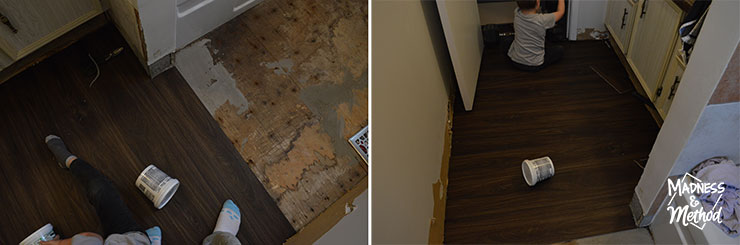
Speaking of which, we managed to finish the first half of the room before we ran out of glue and had to buy more. We ended up reading the installation instructions for the planks afterwards, and luckily, we used the proper glue. BUT more importantly, they are waterproof, so we’re not really worried about any future subfloor damage.
I mean, assuming we don’t let water pool up and sit on the floors forever of course.
We finished installing the new floors on Saturday afternoon. All that was left for this part was to install our new toilet.
The only place that had it available in the whole province was in Owen Sound. Luckily, my parents were somewhat in the area before they came to visit, so I had them stop in and pick it up. It’s the same toilet we installed in our basement apartment, so I knew I wasn’t going on a crazy limb with this purchase.
Can I explain why I love this toilet? It has everything I could ask for in a toilet – a concealed trapway, side handle and standard size/colour.
The Trouble with the Toilet
Turns out though, our rough-in hole was not a standard 12″. How was I supposed to know that it only measured 11.5 inches!? Oh, and the water valve was in the way of the beautiful flat sides of my toilet (whereas it might have space with a normal toilet).
So by now, it’s suppertime on Saturday, and I did not want to go another night (or two) without a nearby toilet. So, we had two options – take out the toilet in our basement and bring it upstairs. (And install the new toilet there). Or, buy a second toilet (and again, the new toilet would go in the basement).
Did I mention that it was Saturday evening and we live in a small town? Neither of our hardware stores are open on Sunday, and there was no way of finding out if they even had a toilet with a 10″ rough-in. The next closest store with a 10in toilet was also closed (and would be until Monday), and the closest option was in Sudbury. That’s where we used to live, and luckily, the big box stores all close at 9pm. So, I sent the Husband on his way to buy a toilet, confirmed with the store that they had one in stock and could have it ready for him (it’s just under a 2-hour drive one-way).
I called the store again at 8:30 to let them know that the Husband was still coming, and wouldn’t you know it that they had just sold the toilet they put aside. Thankfully, they had a few in stock, but it took a lot of convincing for them to get another one down so close to closing. This is the 10-inch rough-in toilet we bought/installed.
Progress This Week
While I’m glad everything is installed and working now (including the other toilet in the basement), it took a bit to get to that point.
And here’s how everything looks this morning:
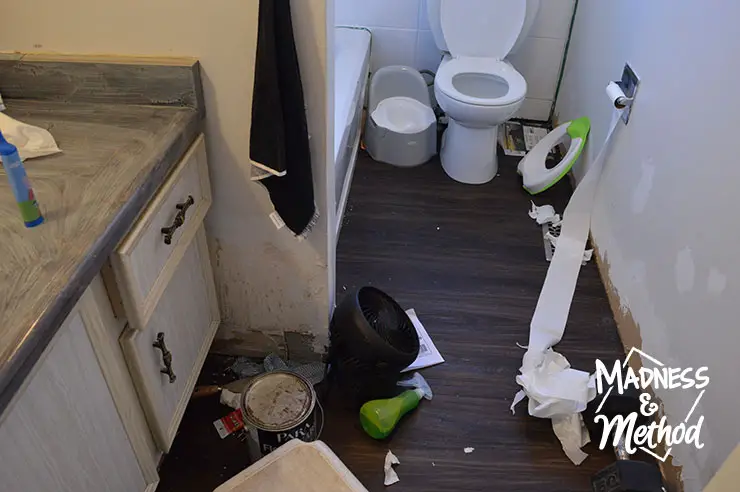
Well, the toilet paper did just get attacked by the littlest one, but otherwise, we’ve been living with everything half-done.
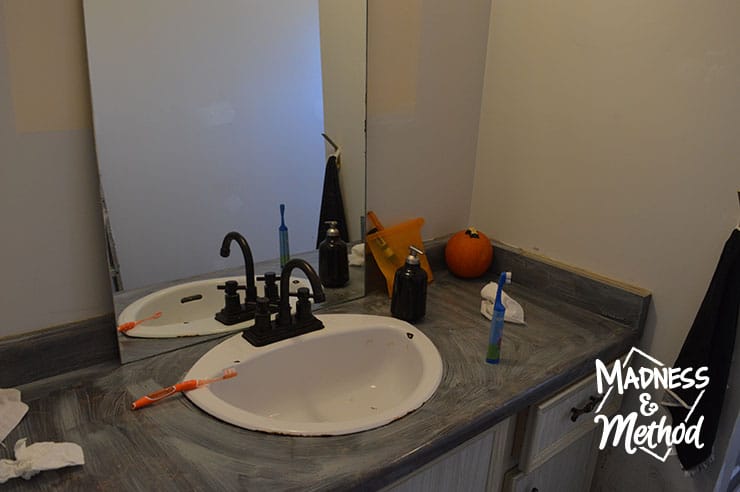
For example, I thought that our countertop paint/primer would only need one coat. But it will probably be another one or two to get good coverage. Once that’s done, it will be spray painted and sealed, so stay tuned for more details in the next couple of weeks.
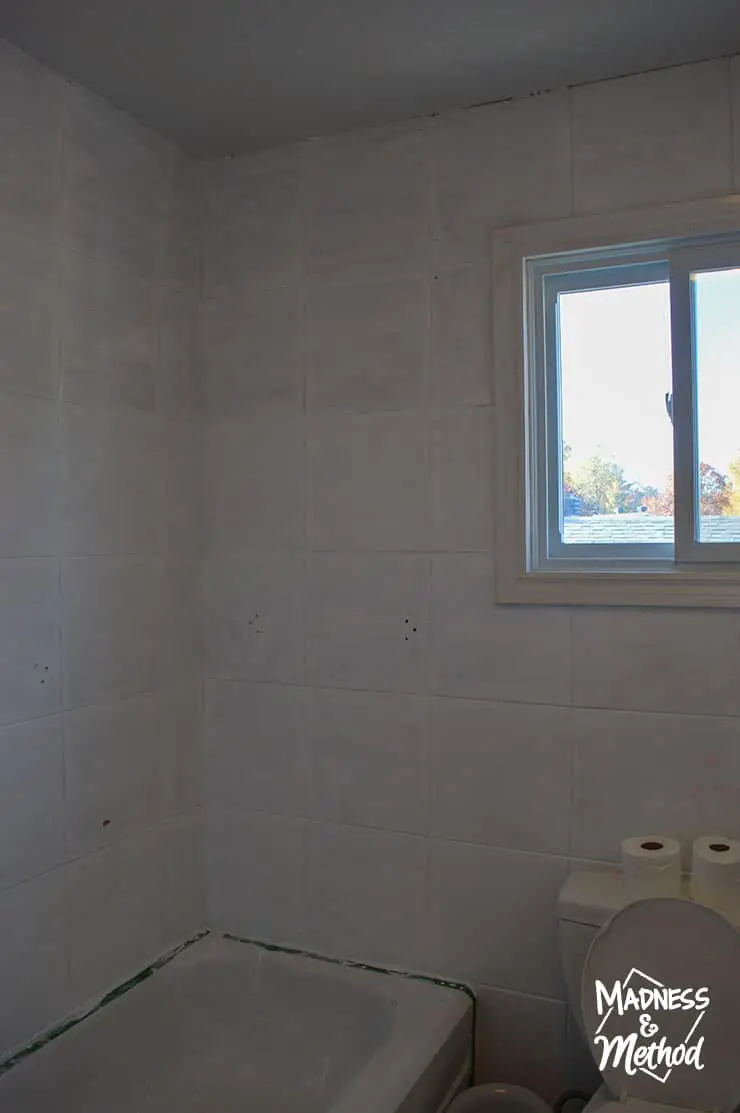
And in shower tile painting news, once again, I need to paint more coats than anticipated. I got the first two coats on this past Friday night and we let everything dry on the weekend. We headed out to the grandparents so that the kids wouldn’t have to breathe the fumes, but now need to plan another weekend away for the next coat(s).
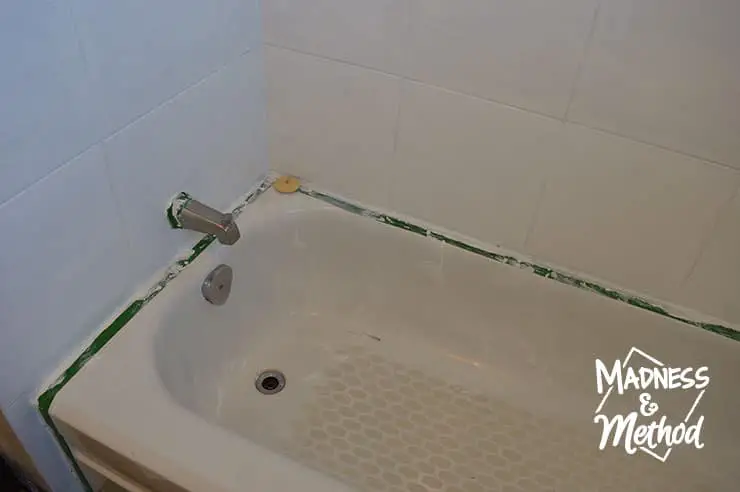
And I made a real mess in the bathtub. So, guess I’ll be painting that too! At least I won’t have to worry about the two whites not matching perfectly, but I hope that it only needs two coats… because I do not want to buy more paint!
(Because that would be another trip to Sudbury, ayoye!).
Follow the One Room Challenge
Make sure to check out the One Room Challenge website to follow all the linking participants. This round, the designers are doing virtual designs – so it’s a bit different!

Rainbow Bathroom Progress
Tasks Completed this Week
- Removed all shower bars
- Installed new ceiling light
Tasks Started/Ongoing
- Prepped and painted the shower tiles (still need more coats)
- Patched the walls
- Primed (one coat) bathroom counters
This week, I plan to finish the priming/painting of the counters, and possibly the final coats of the tiles. And, if I do that, I’d also like to spray paint the counters (so that all the fume-y things are done together). If not, maybe I’ll paint the vanity instead…
And of course, I still need to sand and repatch/prime the walls, and I think I’ve been avoiding that messy task. I hope to finish everything before the end of the month – so we’ll see!
Next week, there should be some completed tasks to write about. In the meantime, make sure to follow on Instagram for updates.

No Comments