Last week I shared some big news around here: we bought a second house! We’re planning on living in it part-time, renting out half, and potentially even doing some short-term rentals (like AirBnBs). But before any of that can happen, we’ll need to do some major cleaning of the outside and upstairs, and some even major-er renovating of the basement. Today I have some photos of the main living area, and there’s a video at the end showing the full upstairs tour. Let’s take the first sneak peek at our rental renovation!
The photos go in the same-ish order as the video tour, and you can scroll down to the bottom of the post to see that. However, I’ll also be commenting with some of my ideas of what we will be doing, so it’s always best to read everything too :)
Upstairs: Entrance
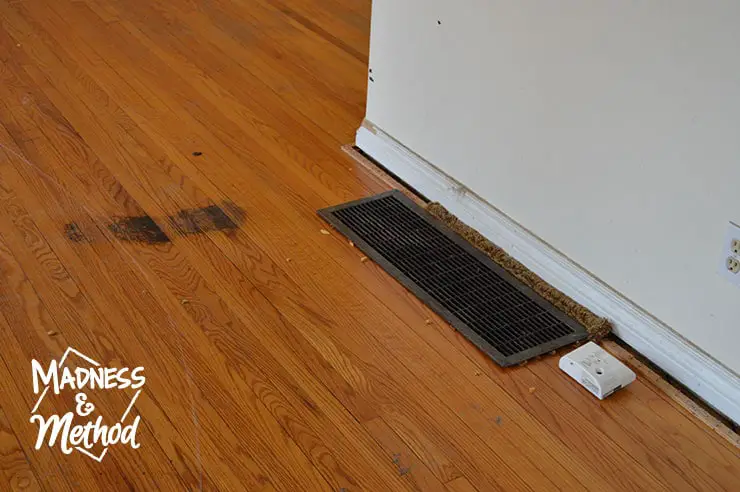
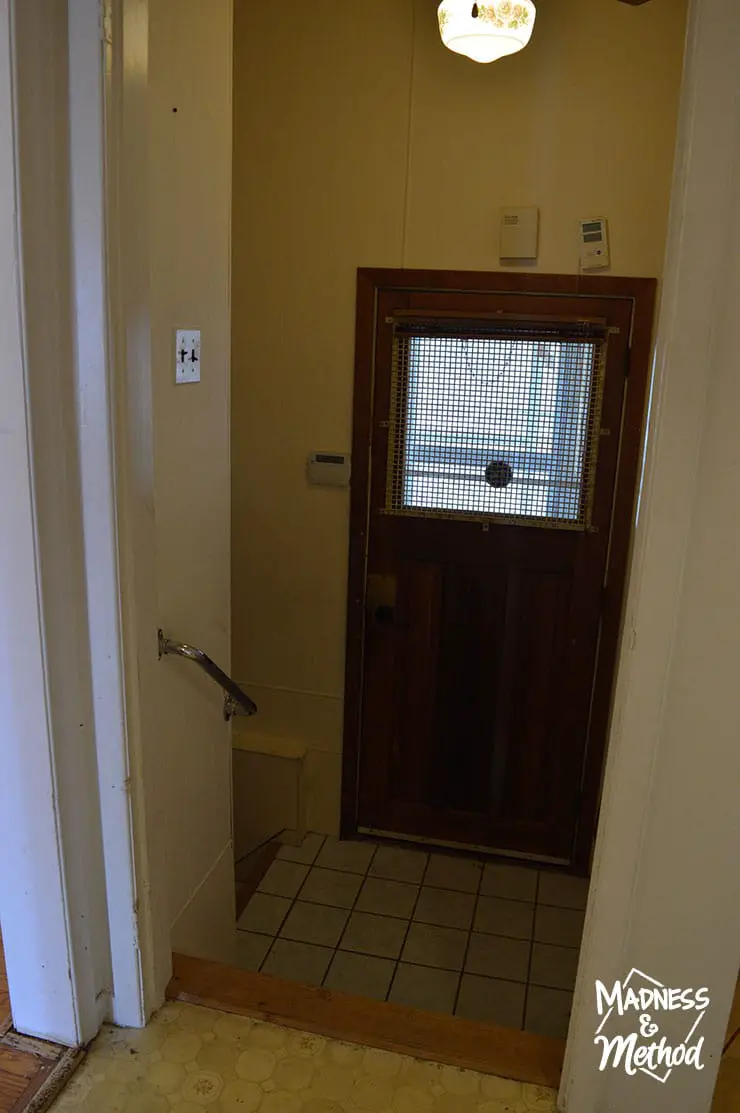
The full living/dining room (and possibly all the bedrooms) had been carpeted recently – but when we viewed the house, all the original hardwoods were showing. Unfortunately, the entrance was just a piece of plywood (that was added to raise it up to the level of the floors for the carpet) so we’ll need to remove that and will be tiling this area. All the carpet tacks and staples are still in place, so those will have to be removed too!
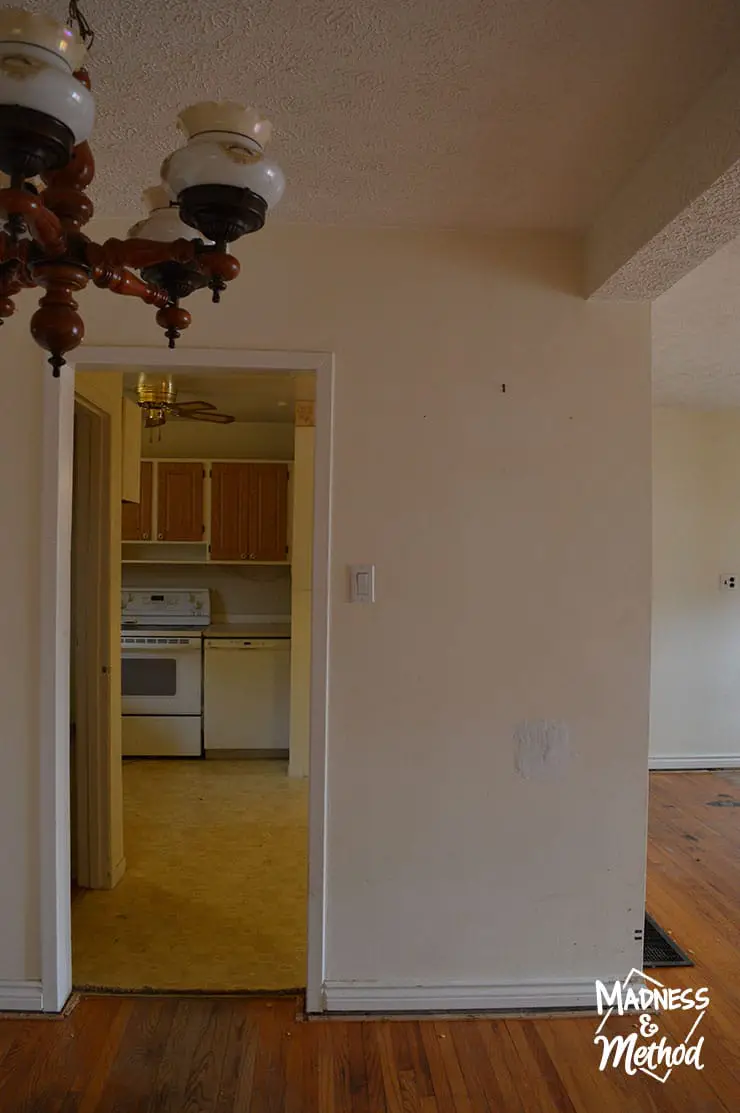
Oh, and have you ever seen such a low hanging light fixture!? If it was left hanging, it would come down halfway to the door!
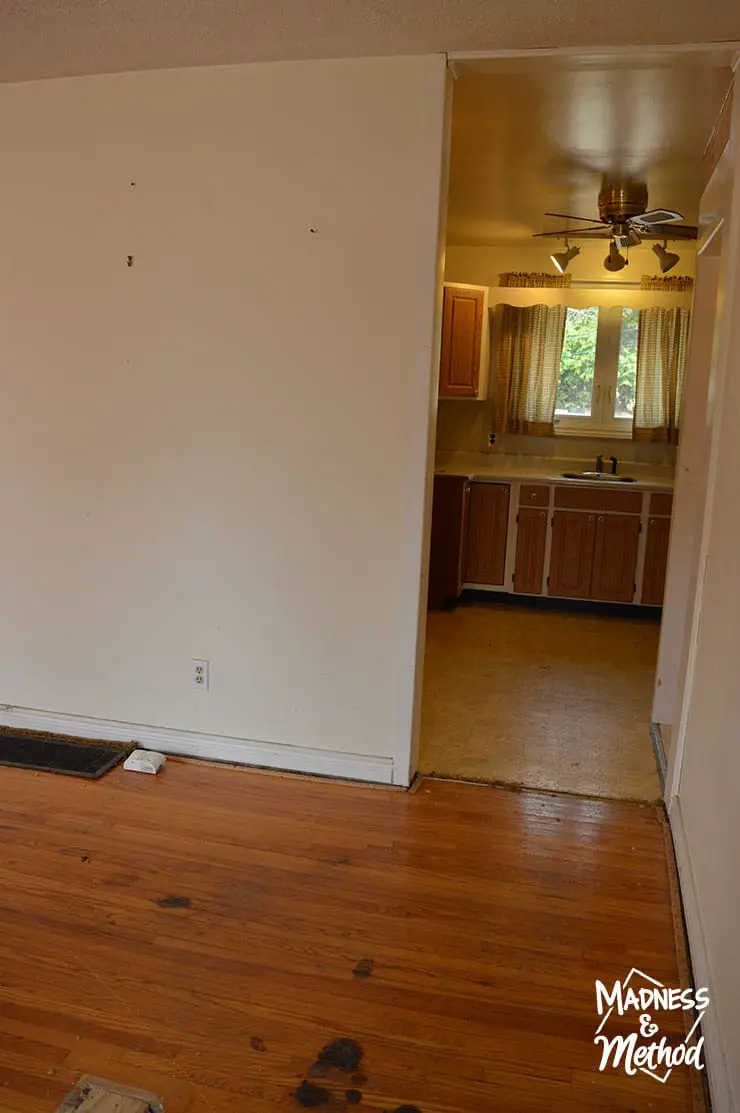
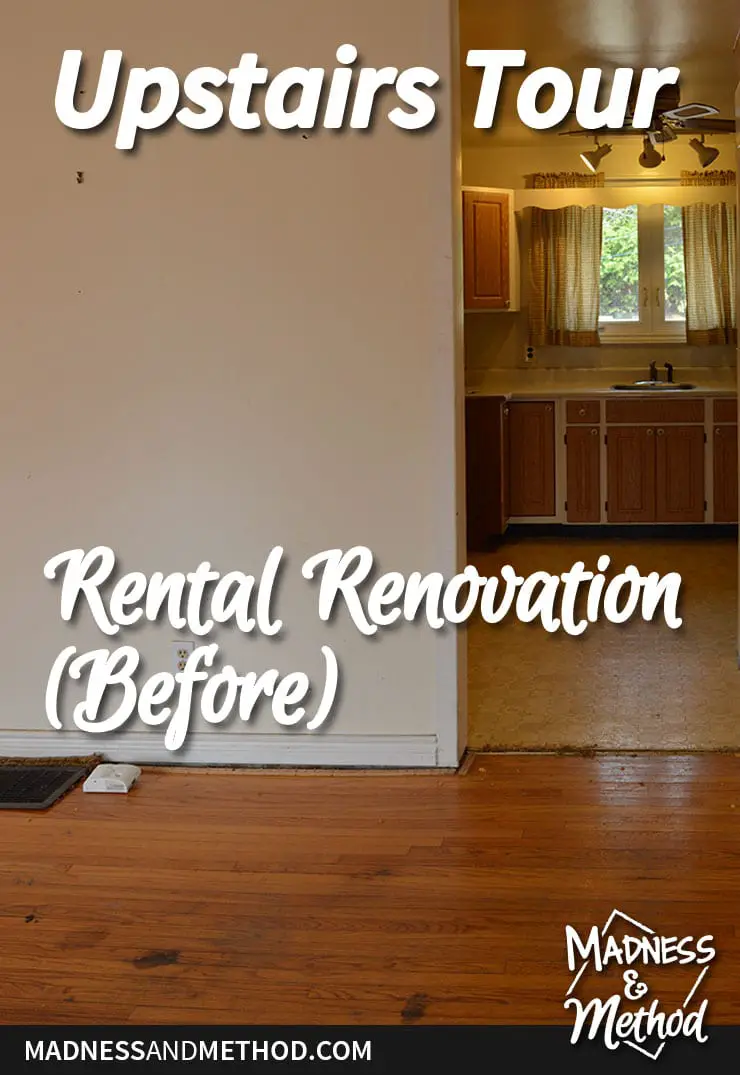
The first thing you see when you come in is the living room to the left, and the kitchen in front with a dividing wall in between. The floors definitely need a good cleaning, and possibly re-sanding and staining to bring them back (but I’m hoping some sort of cleaner can get those stains out first!).
Upstairs: Living/Dining Room
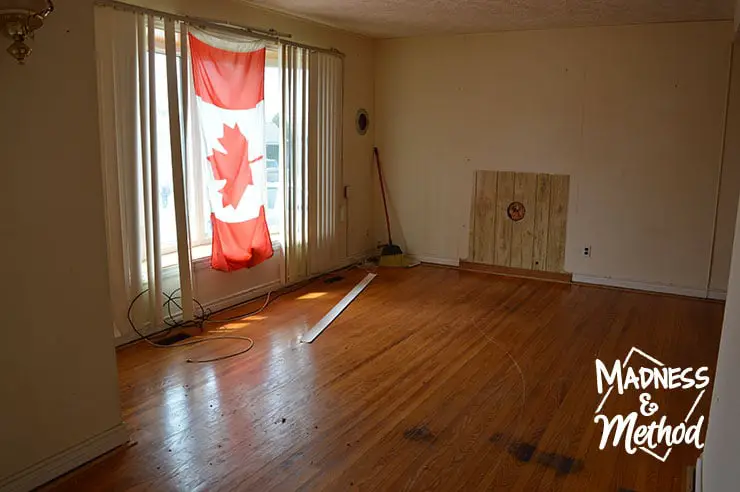
There’s a nice bay window in the living room that lets in a lot of light (similar to our house) and two exhaust holes for fireplaces on the far wall. The Husband thinks there was just one fireplace at one point, but I’m pretty sure there was an electric fireplace (that was painted around) and then a gas fireplace (in the corner) and that’s why there are two holes. Either way, we’re thinking we need to at least add one fireplace back in eventually.
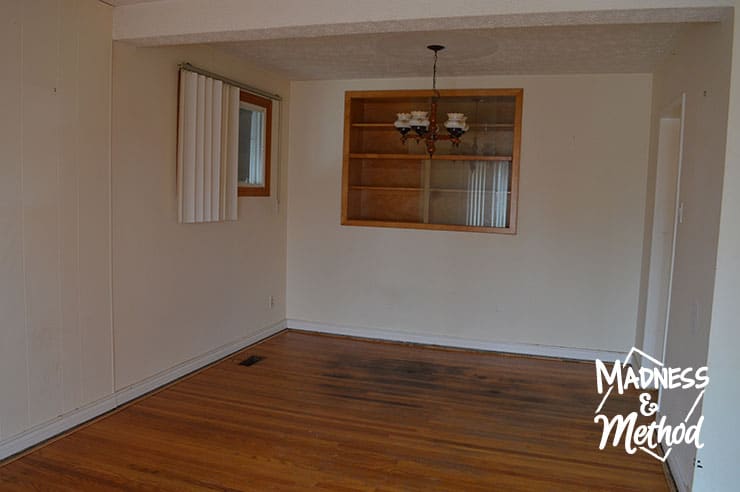
The dining room is open into the living room, and there is a storage niche along the back wall. There is also a window in this room, but it looks into the carport so doesn’t really get too much light at all. The floors under where the dining table goes are in the worst shape.
Standing in the dining room, there is a doorway into the kitchen, and just beyond that are the stairs to the basement (on the left). We’re planning on adding the door back into the basement to separate both spaces.
Upstairs: Kitchen
The kitchen is an okay size, but can definitely use a bit of an upgrade and layout alteration. (Although that’s in the super long-term plans, I’ve already figured out the design direction, ha!). Thankfully there is a dishwasher, but we still need to buy a fridge (and fix the broken drawer front).
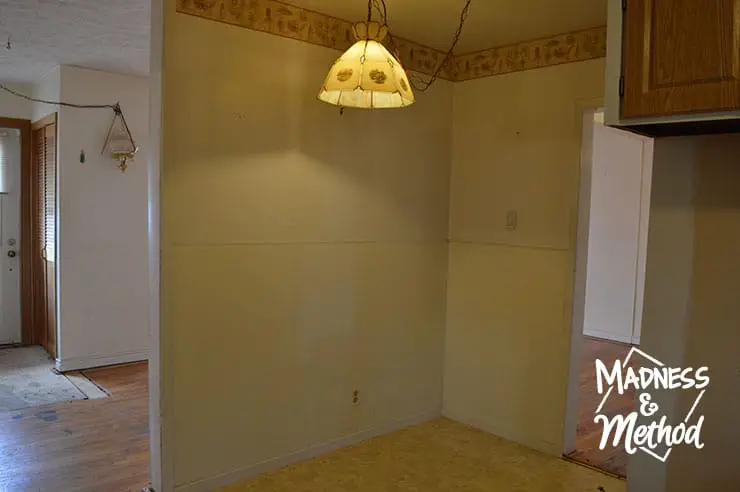
On the back wall in the kitchen is an eat-in area (I assume), but ideally, I’d add more cabinets (and move the fridge here) to maximize storage. Plus, who really needs the smallest eat-in area anyways when the dining room is right there?
Upstairs: Bathroom
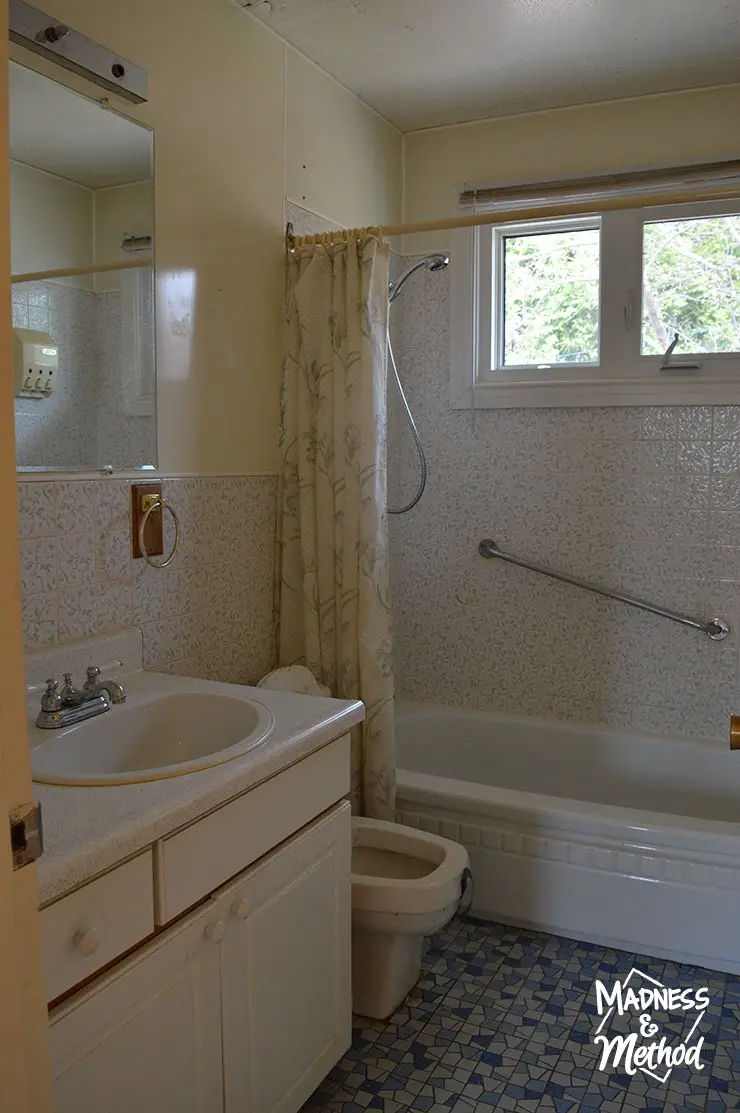
The main floor bathroom is a pretty typical sink, toilet, shower combo – and I actually really like the window in the shower to bring in the light (but let’s ignore the privacy problem for now!). This space just needs some minor tweaking with the colour scheme, but all the fixtures are fine as-is.
Unfortunately, the ceiling is peeling/gross looking, and the Husband thinks it was just painted with non-bathroom paint. There isn’t a fan in here, which may contribute to the extra moisture, and none of the walls are actually bare drywall (it’s a weird plastic sheeting thing – also in the kitchen too).
Upstairs: Baby Bedroom
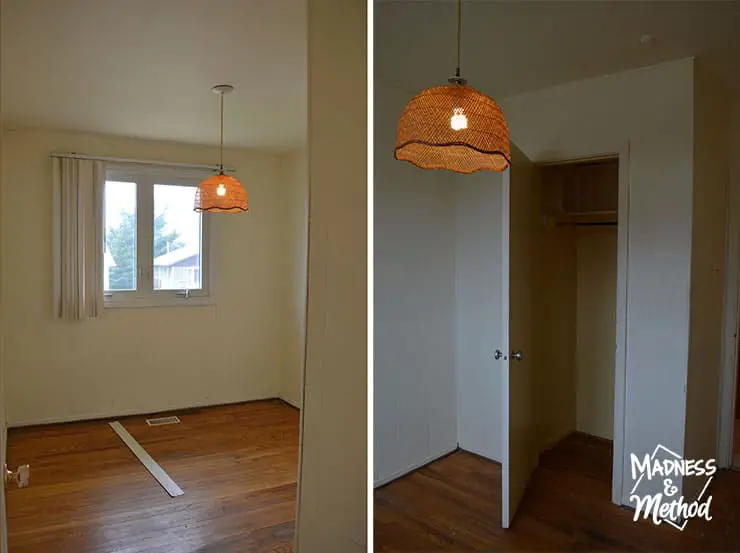
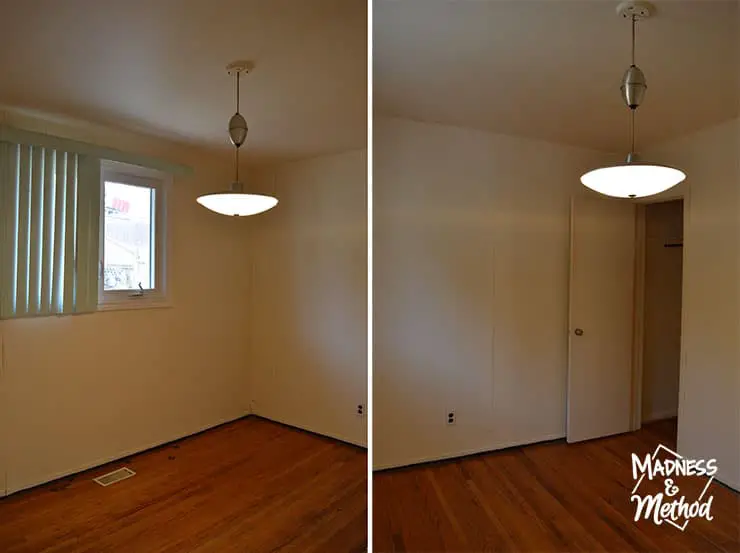
I call this room the baby bedroom because it’s the smallest one, and would be good to fit a baby – ha! I actually really like the light fixture, and again the natural light coming through is nice.
Upstairs: Guest Bedroom
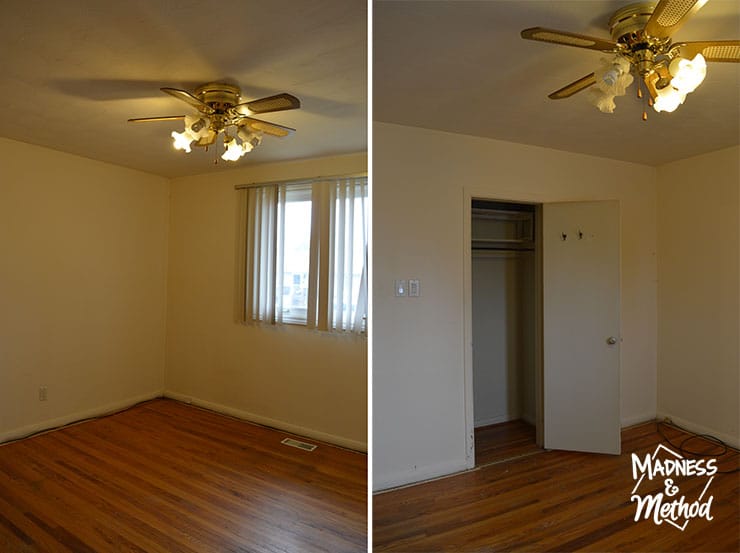
This guest bedroom has the nicest floors of the three bedrooms (and the whole house actually) but there are a few small goopy areas that need to be scraped up. The light fixture in this room can move up or down… so I guess you can use your ceiling light to read in bed?
Upstairs: Master Bedroom
The master bedroom floors have the most carpet tacks and staples that need to be removed (along with glued-on carpet pad in some areas) and there are a lot of random cables that can be taken out too. All the closets are pretty much the same size (in the video I mention that they are a good size – but they’re all tiny-er than normal).
Upstairs Tour Video
The upstairs level is in pretty good shape, but definitely needs some major cleaning and a few minor tweaks and improvements to make it livable. We still haven’t decided if we’re going to refinish the floors right away or not, but I’m crossing my fingers that the stains will come up with a good scrub.
Let me know if you watched the video and/or just looked at the photos and text. I’d like to do more videos in the future, but am not sure it’s something that would be beneficial all the time.
I hope you’ve enjoyed looking at photos (and the video) of the upstairs, next week we move into the basement and it’s like a whole different house down there!





No Comments