
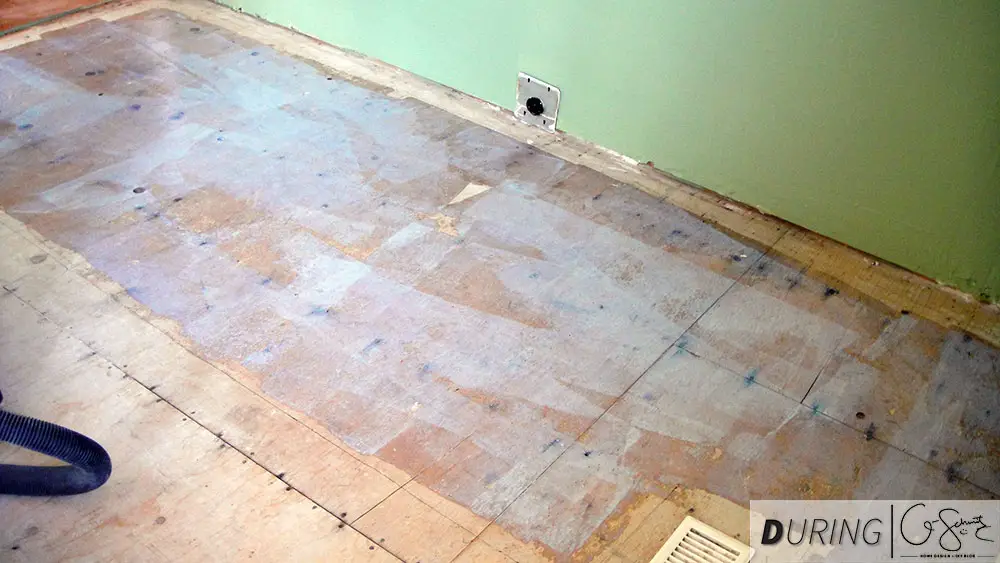
After we painstakingly removed six layers of flooring, it was almost bittersweet having to install new floors again (the clean subfloor is good enough, right?). But alas, we had to keep this renovation project going on schedule, and so we once again gave the floors a good sweep/vacuum and got ready to do some work!
– Note: This post contains affiliate links. See more information about affiliates here –
When tiling, it’s always best to install the tiles on a properly prepared floor surface and not directly onto the wooden subfloor (I’ve done it before and it seemed to hold up fine – but I’m trying to do things super professionally and up my “DIY street cred” if there is such a thing). Anyways, this often means first installing a cement board layer, however, I wanted to keep the floor height as evenly matched to our living/dining room laminate as possible.
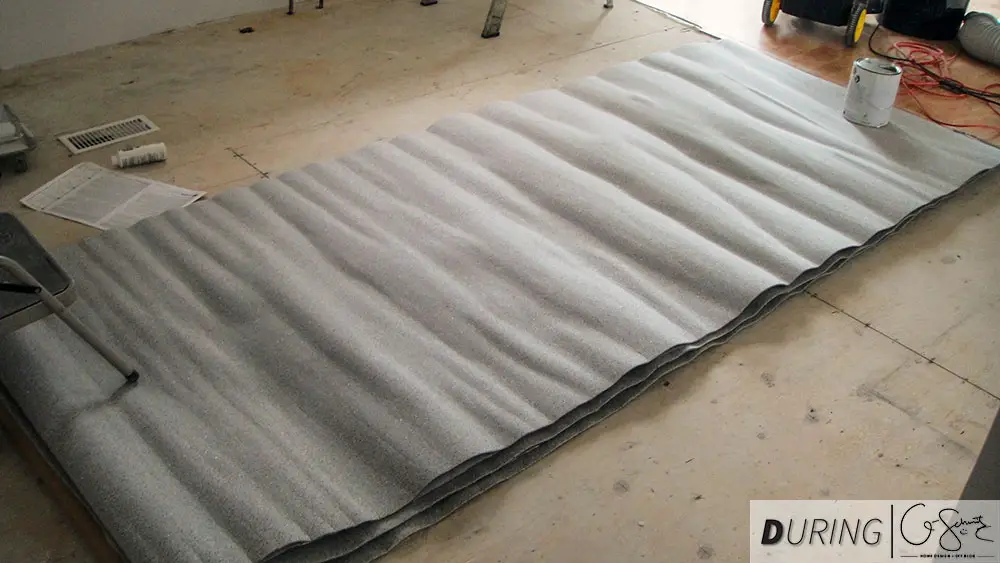
When we were picking up some supplies at the Home Depot, I ran across this “mini” cement-board as I call it; basically it’s a roll of thin cement-board type material that you stick to the floors. Because it’s in a roll, I first had to unroll it and try and flatten it down (we bought three, and I opened them up together and used heavy objects placed at each end to hold them for a few hours).
The floor roll “kit” also comes with a sticky adhesive that you’re supposed to roll out, wait about 10-20 minutes until it gets stickier, and then apply the cement board on top of. BUT before I even got into the rolling, I made sure to lay out the “dry” cement board pieces ahead of time in the areas I wanted, to minimize any cutting I would have to do. I also cut any pieces out that I needed to at this step, so that I wasn’t fumbling with a half glued-on piece of flooring trying to hack away at spots.
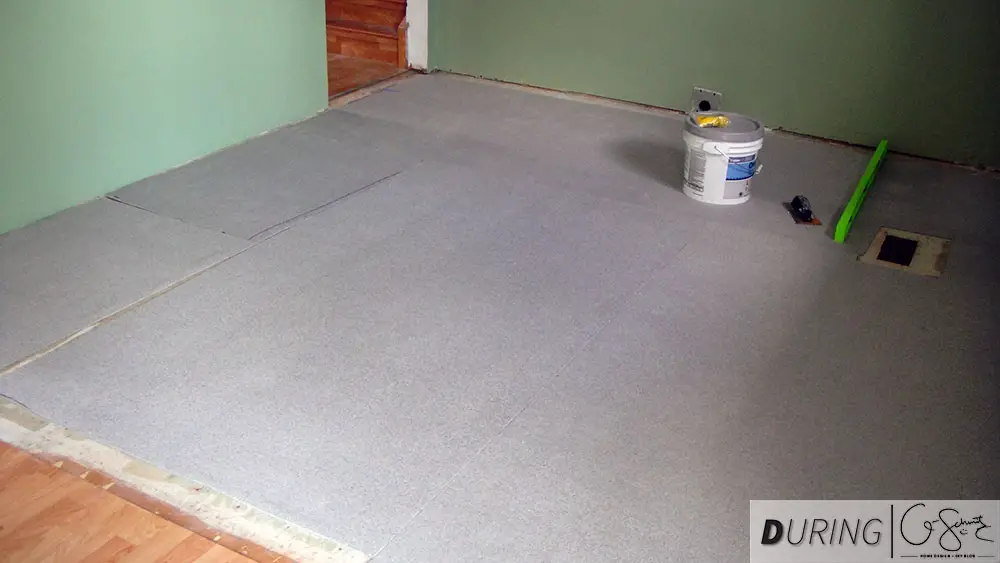
Anyways, I would roll out the adhesive in the spot I wanted to put a cement board section, then roll-out the next section. By the time the second section was done, the first section had gotten to its “sticky” point and I was able to lay out the cement board. This would have been easier with two people, because it’s always a hassle to handle something so large and awkward by yourself (but thank goodness it was so lightweight compared to normal cement board, and much easier to cut, with less mess!). To smooth it out, I decided to use our large level (shown in the picture above), which worked perfectly since it was about the same width – I just pushed down and moved forward (like using a big squeegee!).
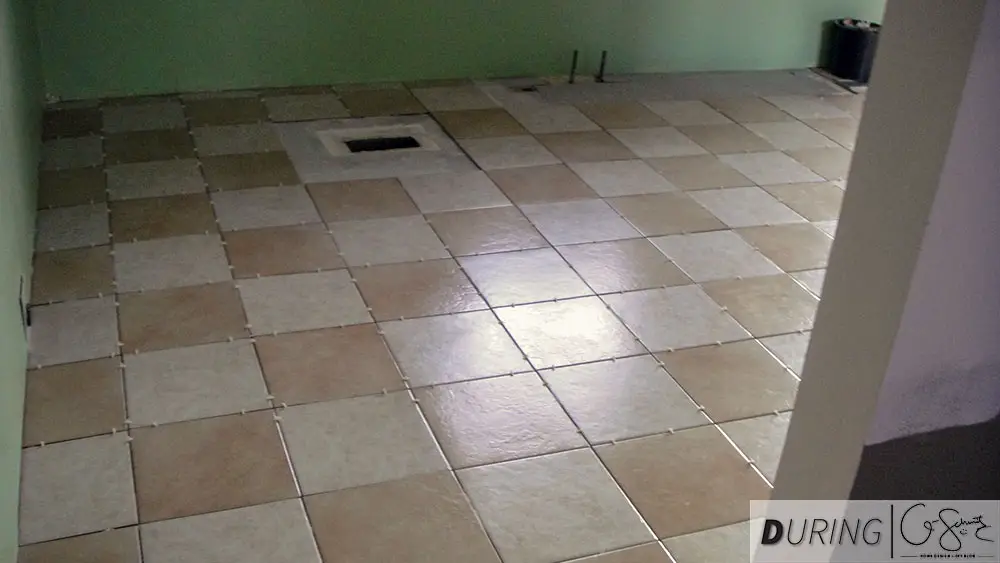
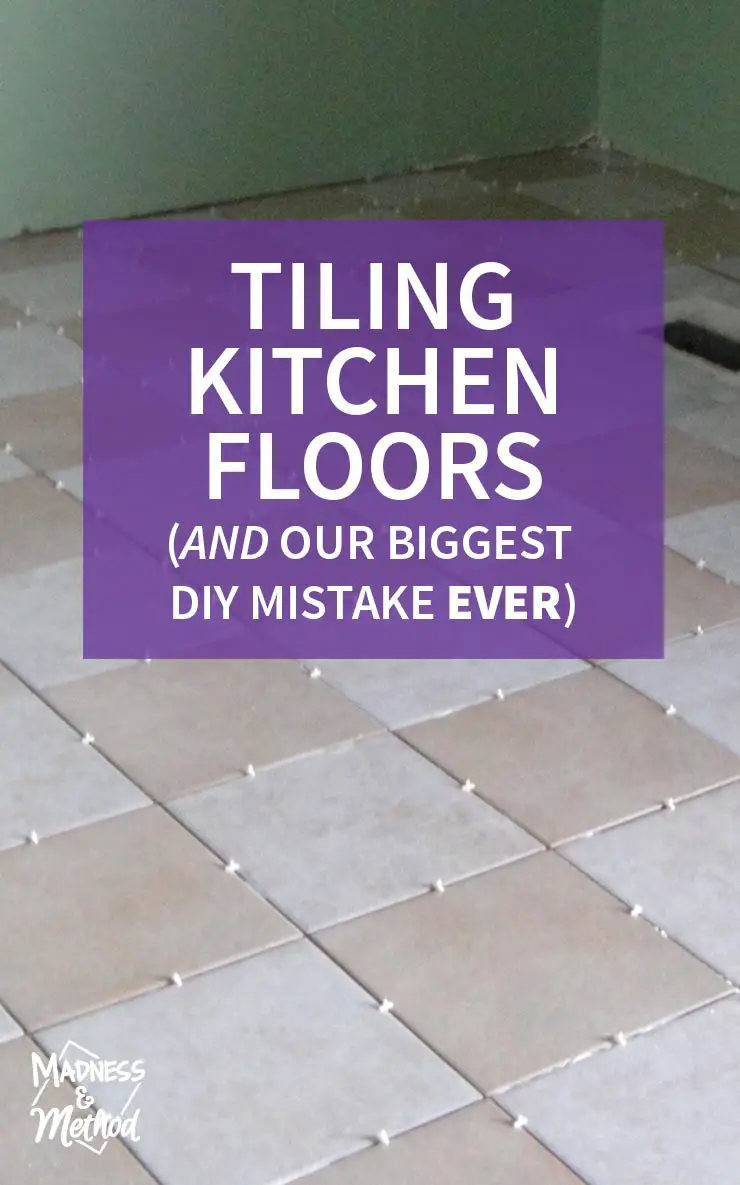
Then came the fun part, laying down the tiles! We had some friends stop in and help us, so the work went by super quickly and efficiently. We had one person (me) spread the thinset, someone else layed the tiles, another person got the tiles ready and measured if we needed any cuts, and the last person cut any tiles needed. I’m used to doing tiling projects alone, or sometimes with the help of my Husband, so having all these extra people help was a treat :)
DIY/PRO Tip: when laying tiles, it’s always best to go through and layout the tiles ahead of time, or to pick from two or three boxes as you go – that way, if there are any minor colour variations, it’s spread across the entire floor, and not just in concentrated patches. For the kitchen, because we were doing a checker board pattern, we were a bit more forgiving between differences in the tiles, since it wouldn’t be as noticeable here.

We actually didn’t have a wet saw when we first installed the tiles, so we had to go back and cut some pieces (for around the vent and pipes) after borrowing a saw from a family member (thanks!). And finally, a few days later, I was able to grout the floors (and then clean, clean, clean).
Sounds like a great result after going through so much pain with the floor removal you say? Actually, and this part is hard for me to talk about – we (I) actually did the WORST rookie/DIY mistake I’ve ever made in a renovation before. Remember when I was going through the different roles that we had when we installed the tiles? Notice how I said that I was the one who spread the thinset, well it wasn’t the actual application that was done incorrectly – it was the material we used. Instead of buying the bags of thinset that you mix with water, I decided to go with the pre-mixed compound (commonly referred to as mastic), probably because I wanted to be lazy and not have to mix it; and mostly because I thought it would work just as well.
We noticed that a few tiles were cracking (that we simply replaced before we grouted), and each time when we pulled them up, the thinset was still not fully cured; even though we were doubled the dry time it said. I thought that the damaged tiles were all replaced, but after we installed the cabinets, I was cleaning up the floors when I noticed that there were a lot more cracked tiles. After feeling completely discouraged and crying over the floor problem, I had to pick myself up and find out what went wrong. I was pretty sure I had used the pre-mixed stuff before, but I couldn’t remember ever having issues like this. For a while, I thought it was the sub-floor cement board roll we installed, but after scouring the internet for days and reading what seemed to be dozens of forums, I was able to conclude that it was indeed the thinset used.
Now, the one good thing (if there is a good thing) is that all the cracks are “hairline cracks” and you can only really see them when the floors are wet and if you look at a certain angle. The Husband said he couldn’t see any cracks at all, and thought I was going crazy. I still sealed the tiles as normal, and I think that the sealant actually worked pretty good at hiding some of the cracks (I think before the cracked areas would absorb water and dry up more quickly, and now when I mop, I don’t notice them as much). It’s been almost 8 months since we’ve installed the tiles, and there are one or two tiles where the crack has become more prominent, because it’s filled up with dirt and had a more constant flow of people walking on them (it looks like someone drew a line on them with a pencil). You still have to look at them closely to really notice, and eventually my plan is to replace them when they get really bad.
When I was typing out this post, I wasn’t planning on sharing the image, and was even originally considering not talking about the issues with the cracks. But I figure it’s my duty as a home design and DIY Blogger to warn/inform other DIYers and anyone who might be reading this about the problems that I faced. I’m still upset about it (yes, even though it happened almost a year ago; but the tiles are still cracked) so hopefully writing about it will help me “grieve” a little. In the end, I have one last tip about our installing floors:
DIY/PRO Tip: NEVER USE PRE-MIXED THINSET/MASTIC FOR FLOORS – EVER!
No Comments