
As promised, I’m back with another post about my brother’s bathroom project – and this time it’s all about the diamond accent wall. I talked briefly about the plans for the accent wall in the initial design, but I also shared a concept when we did the demo work too. And, just in case you missed it, the bathroom reveal photos show the whole bathroom! Today, let’s look at how we painted this feature wall…
– Note: This is part of a sponsored project; all paints used were provided by Para. This post contains affiliate links. See more information about affiliates here. –
Before we started the bathroom renovations, I knew that I wanted to do a bold feature wall in the space. I was originally thinking of doing a herringbone type of pattern, but I wasn’t sure how the colours would blend (not to mention that taping it all would be tricky!). When I saw this criss-cross accent wall, I knew that a diamond accent wall was where I wanted to go!
I mentioned that my brother wasn’t into the original bold colours I was thinking, so thankfully we were able to choose some great options among Para’s 2017 Trend Colours. We were able to look at the same colour swatches online, and he narrowed it down to a few options he liked.
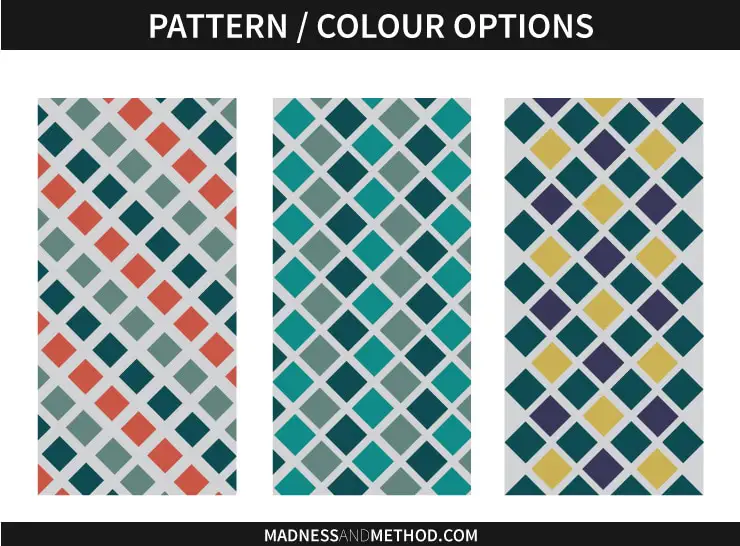
I knew the wall was about 4′ wide by 8′ tall, so I create a scaled drawing and explored some different sized diamonds and colour placement options. He chose to do bigger diamonds with the vertical colour pattern, using Para’s Designer Indulgence, Teal Waters and Enigmatic Triton.
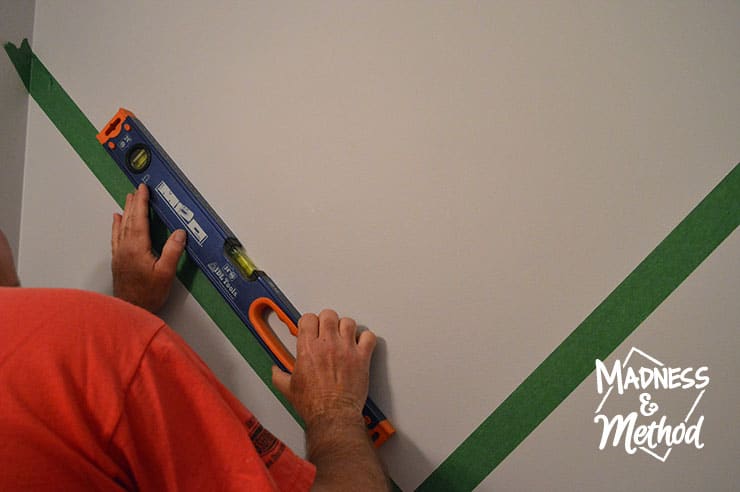
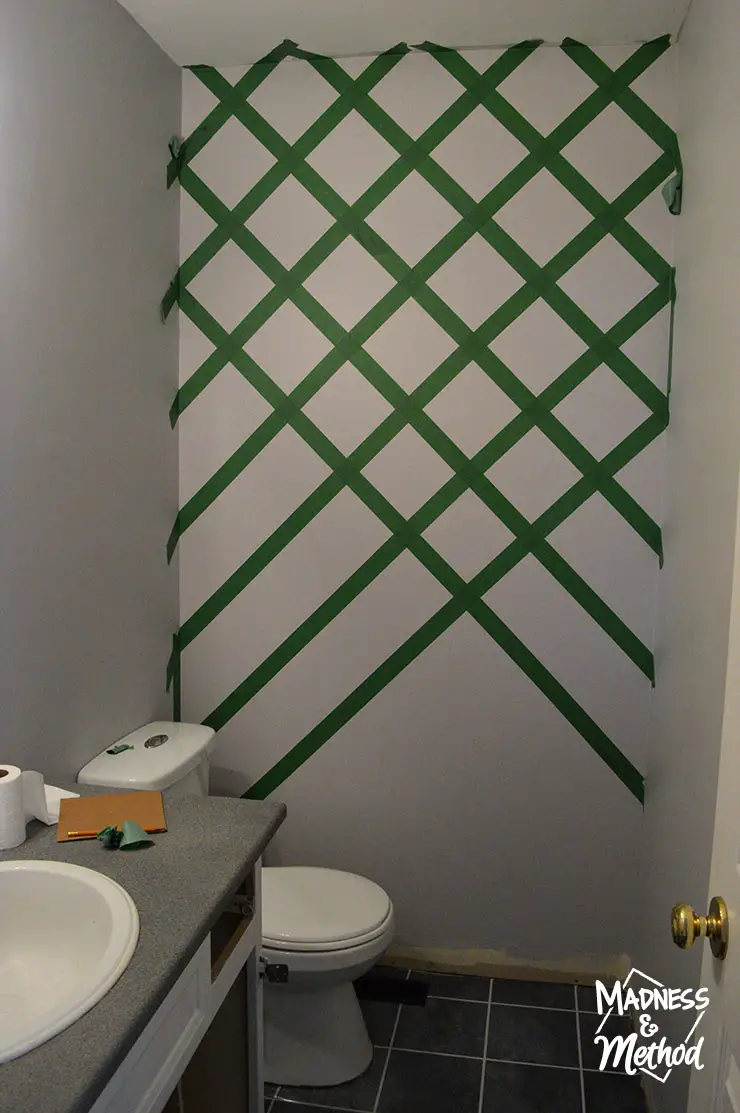
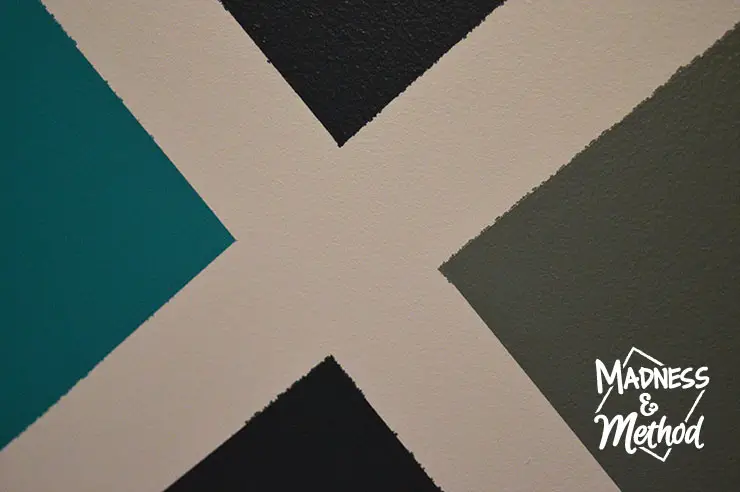
The wall was just over 4′ wide (and wasn’t even at the top and the bottom) so we decided to start in the middle and make a big X with the tape (we measured and leveled it to make sure it was 45°).
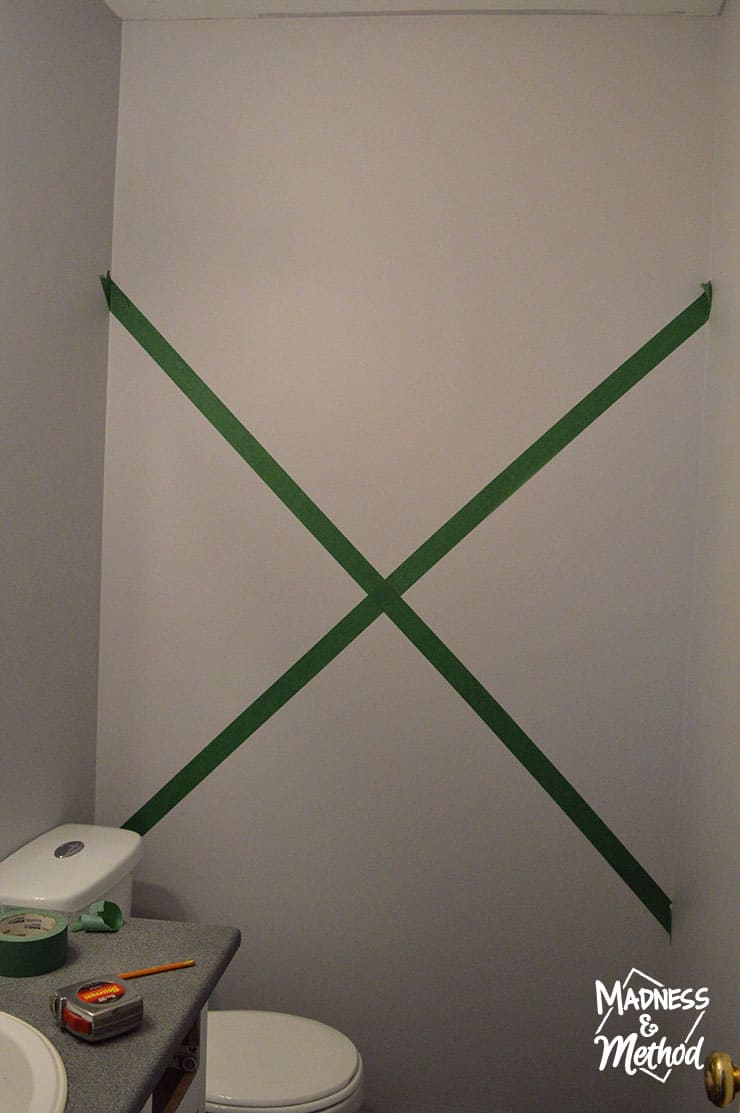
Our painter’s tape was exactly 2″ wide, and I knew that would be a great spacing for the diamonds.

By doing some math, we figured that each diagonal part of the diamond should be 10″ (that way, we’d get 4 full diamonds across).
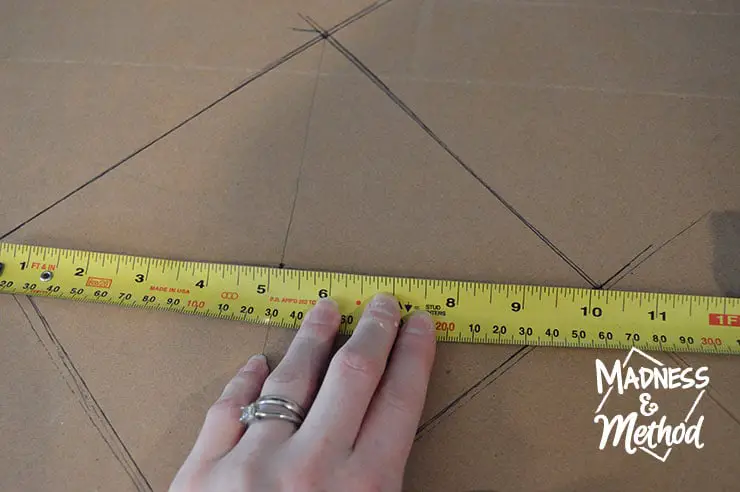
I cut out a little template made of cardboard, and used it to mark our lines.
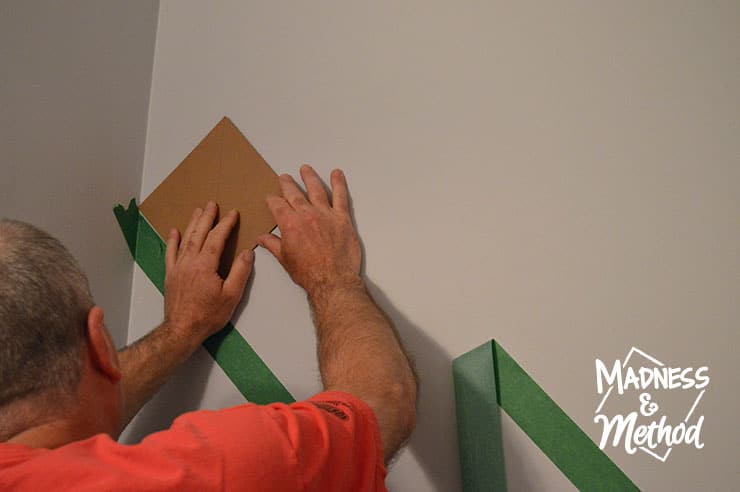
We could have just used a measuring tape and gone 10″ off the last piece of tape, but this way we were sure it was even across.
Working with just me and my Papa, it was actually pretty quick to put the tape lines up. Because it was a small room, we didn’t use any chalk lines (although my Dad said that might even have been easier).
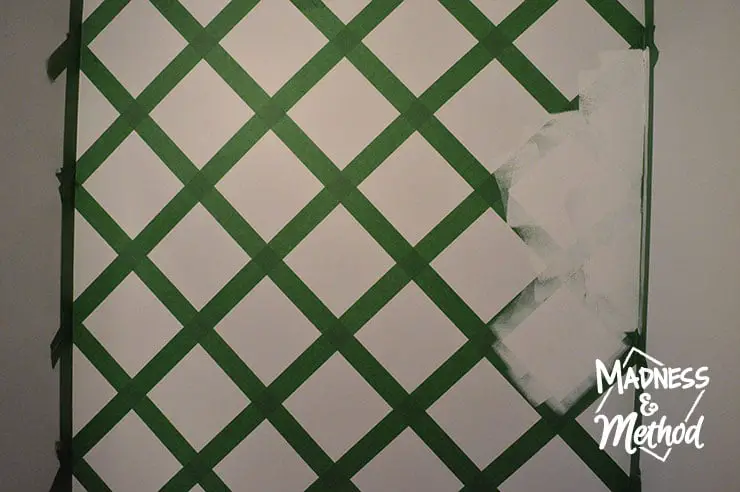
From there, I painted the background colour over the tape (Para’s The Silhouette).
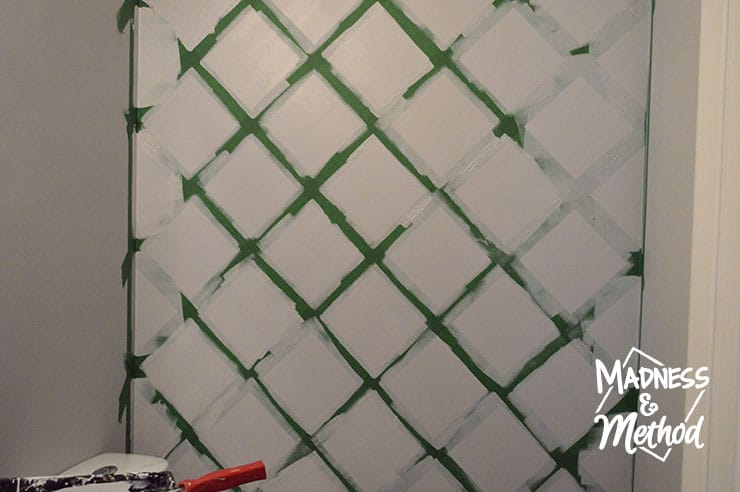
I was worried I wouldn’t find the tape so I went a bit more carefully after the first few, ha! At this point, it was looking like a cool shibori pattern wall, but maybe I’ll do that another time :)
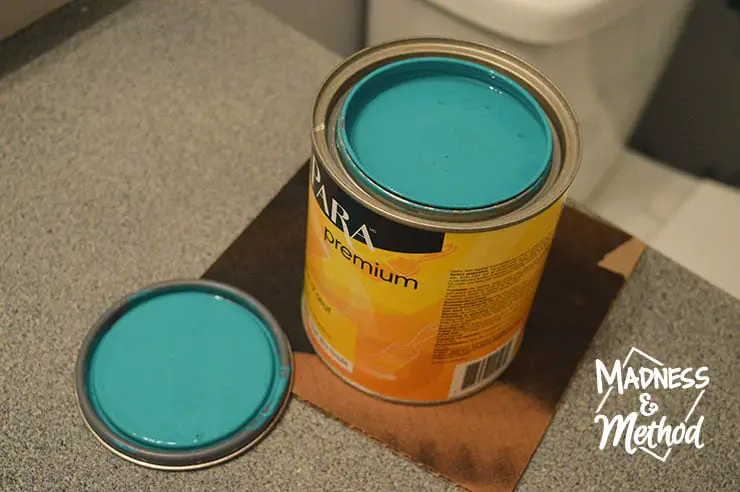
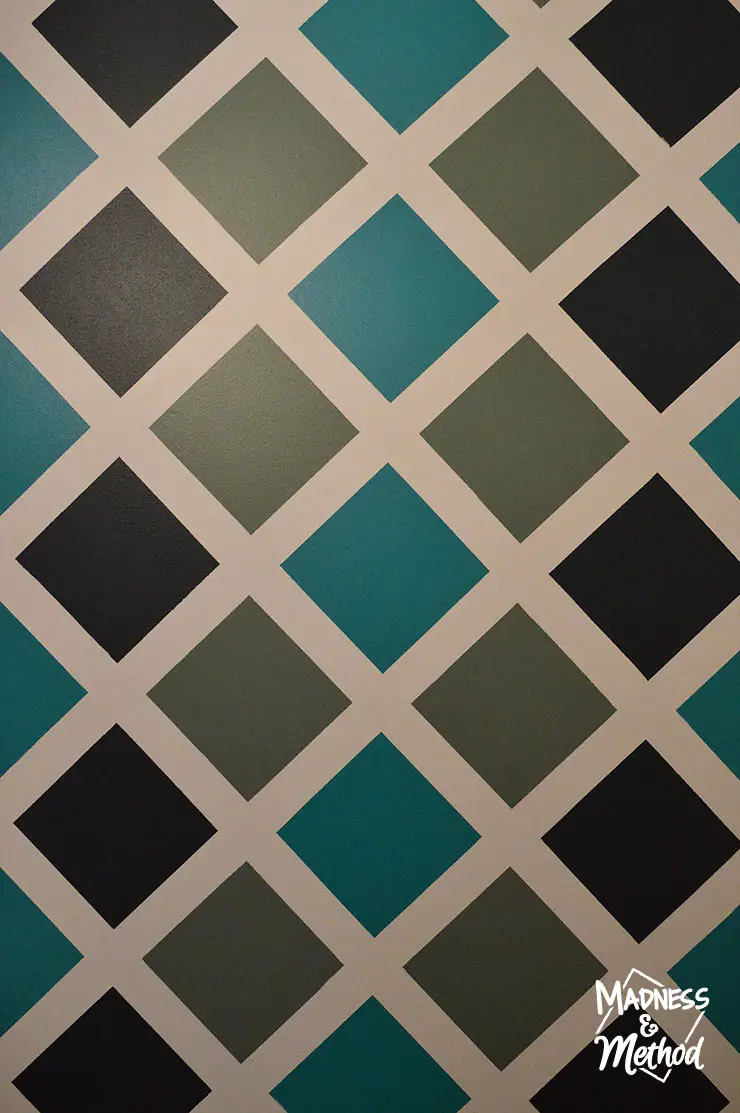
From my original mockup, I knew that I wanted the brightest paint, Teal Waters, to be the main accent colour. It’s a really nice bright teal colour, and ever since I saw it a few months ago, I’ve been dying to use it for a project!
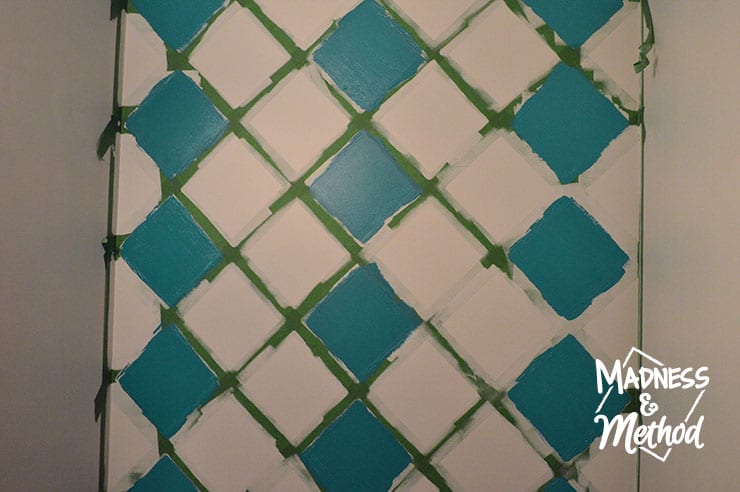
I painted the center diamonds and the two full outer rows with Teal Waters (like the mockup) but I wasn’t so sure of doing the original pattern for the other two colours.
I consulted with my brother, and rather than doing medium, bright, dark, medium, bright, dark, medium, bright, dark – we went with a symmetrical pattern of medium, bright, dark, medium, bright, medium, dark, bright, medium.
Let me explain what I mean…

The “dark” colour was called Enigmatic Triton, and we painted it along the outsides of the three diamond rows.
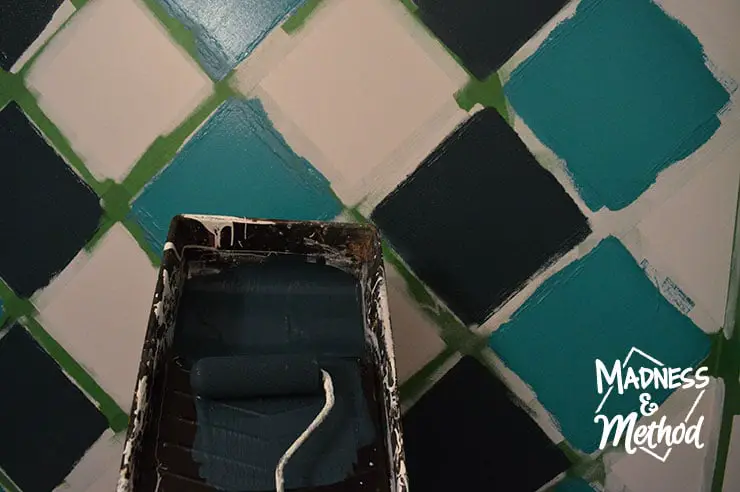
It’s actually a really moody dark green/blue colour, but on the wall next to Teal Waters, it was definitely more navy (so I had to show a comparison). Used by itself, it would probably read more green.
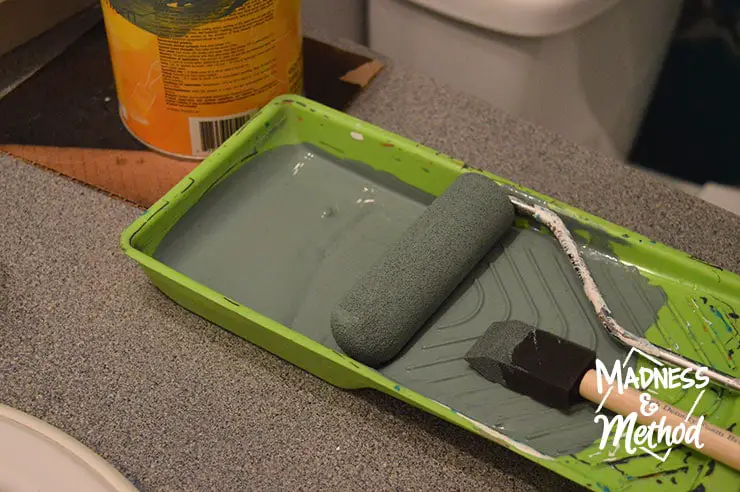
The final colour, which we referred to as the “medium” one was Designer Indulgence. It wasn’t as bright as the other too, but worked well with our theme.
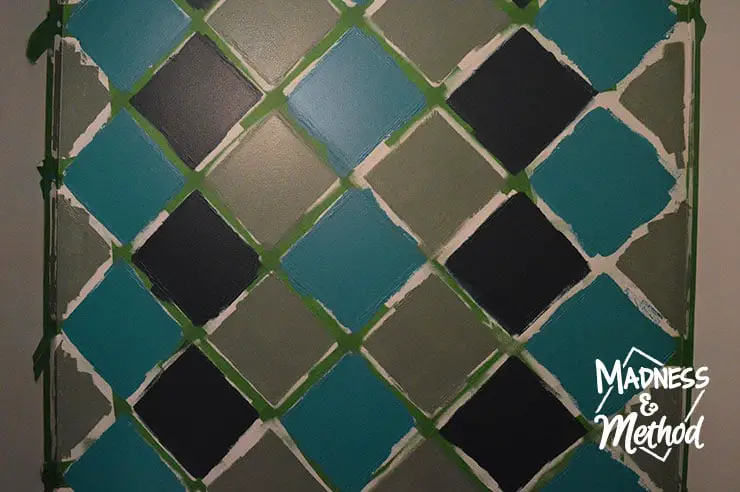
This was another colour that reads greener in real life, but once you had it next to the Teal Waters – it was coming off as gray. Keep in mind that all of these in-progress photos were taken at night with the old/yellow bathroom light, so they do change a bit when we updated the bulbs.
I did two coats for each colour, and waited until the next day to peel off the tape. It’s funny/weird – we painted my brother’s kitchen and hallway a few months ago, and the main gray colour we used is literally the exact same as The Silhouette (like we painted a swatch on the wall, and you can’t even tell the difference). Apparently, I am freakishly good at choosing paint haha!
And here’s a timelapse that shows the different steps of the bathroom being painted!
Diamond Accent Wall Warning…
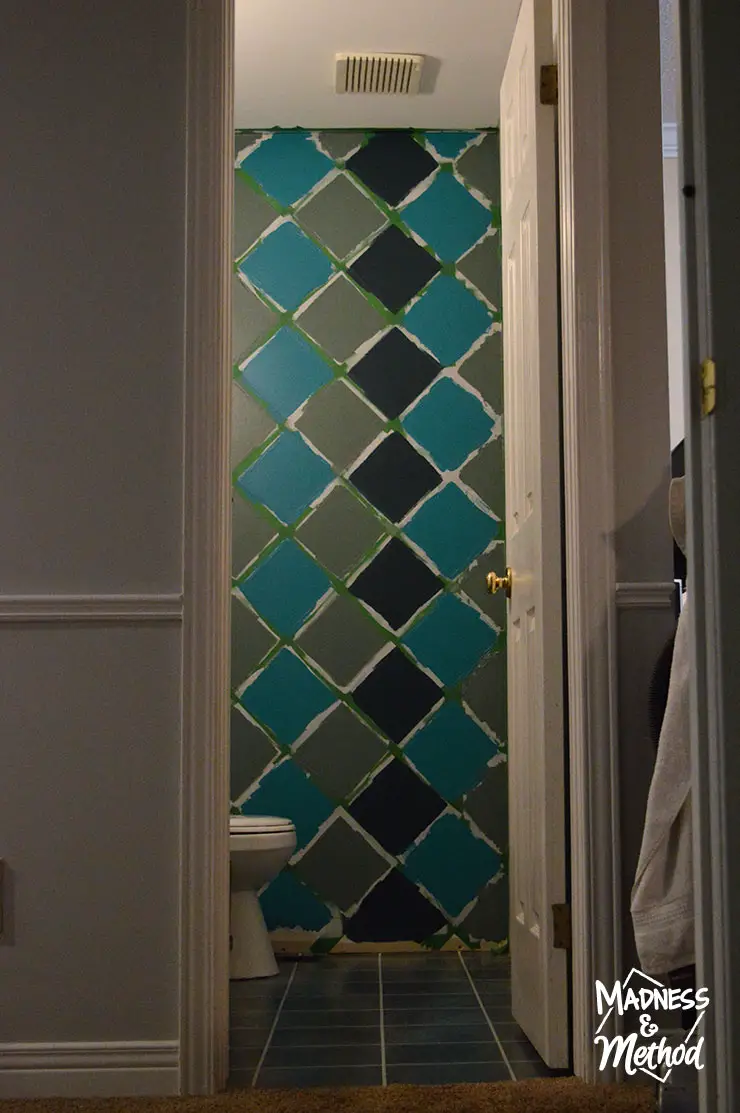
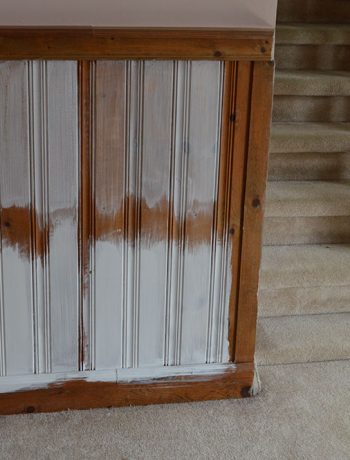
Everything was looking perfect on our diamond accent wall, until I started peeling off the tape…
It looked pretty good from afar, but if you stood closely (or even just looked hard enough) you could see some seepage from the colours.
Because I painted in little sections, I didn’t even think about the tape that much. Turns out that I got some seepage everywhere I pushed up or down on the tape with the paint roller (where I went across it parallel, it seemed to be okay). This was not good, and we had to go back and fix it.
(My Papa said it was because we didn’t use the proper painter’s tape…)
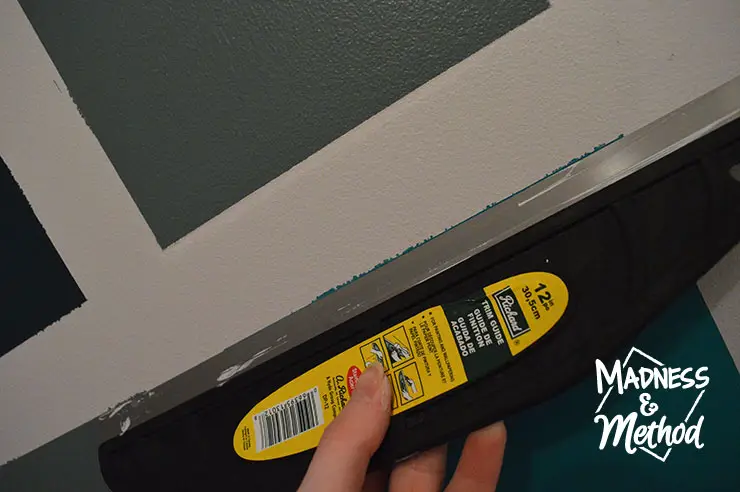
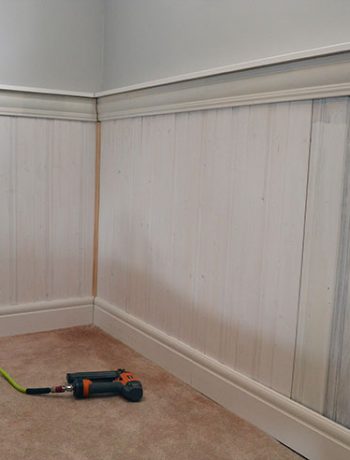
Using a small trim guide (here’s a similar trim guide) I went over the rough areas with another coat of The Silhouette. We also tried using a squeegee, but it did not cut as good, and was much harder to clean between each swipe.
I then went back with each colour in case there were spots that needed to be adjusted again, so it was definitely WAY more time consuming than I had anticipated.
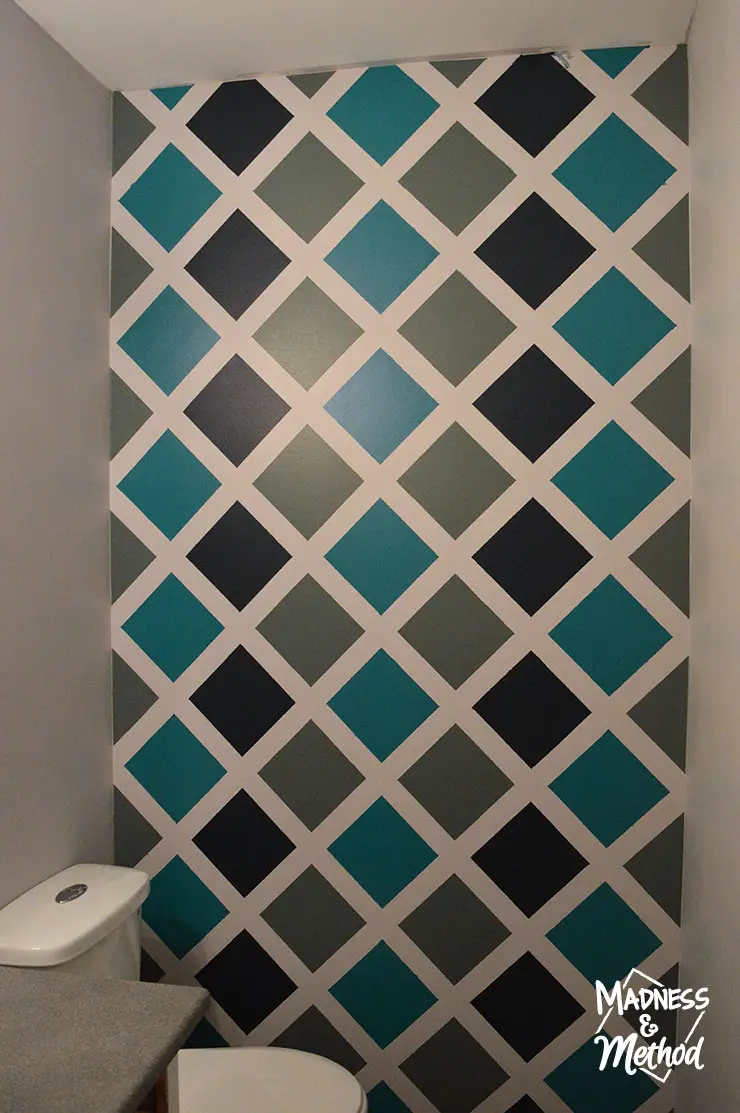
Luckily, everything looks much better than it did before – so remember to always paint along tape in the same direction!

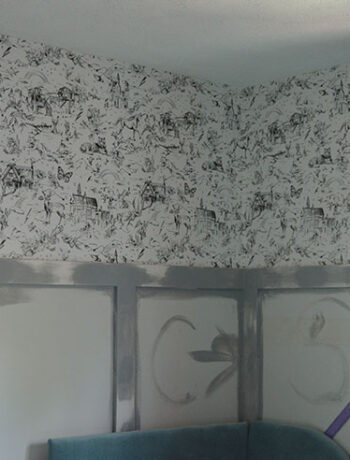
From there, we had to tape off the ceiling and paint that (not in the original plans, but necessary since my mother and I got paint on the ceiling…) but everything looked great by the time that was done!
And in case you missed the whole bathroom reveal, make sure to check it out :)
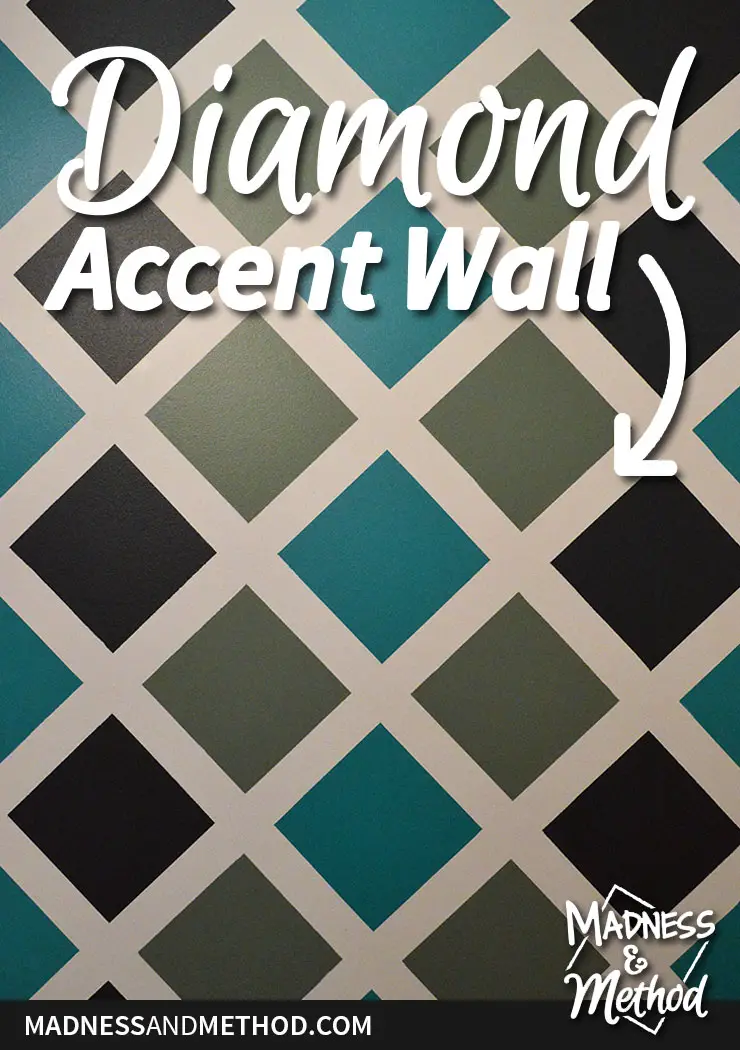
By using the width of painter’s tape as our guides, it was actually super quick to tape up the diamond accent wall and get the pattern we wanted. Just remember to paint in the same direction each time to avoid extra seepage…

This Project Has Been Sponsored By:
![]()
![]()
![]()
![]()
3 Comments
Mommy aka Louise
May 25, 2017 at 9:04 pmthe ceiling needed painting anyways which is why I was not concerned with oopsies!
Nicole
May 26, 2017 at 11:36 amOkay :)
Diamond Accent Wall | Madness & Method | Dadne
January 6, 2020 at 5:45 pm[…] Original Source […]