
Guess how long this project took me from start to finish? If you guessed 5 months, that would be correct! Not because it was hard, don’t worry about that – but most likely because I got busy with other things :) But yes, this TV console Ikea Kallax hack had been planned (and patiently waiting) for a while, and I’m happy to report that it turned out great!
– Note: This post contains affiliate links. See more information about affiliates here. –
The Ikea Kallax build took place at the end of September, and I did the actual “hack” part at the end of February/beginning of March. I was slightly worried that I wouldn’t like the outcome after waiting such a long time for the project to be completed. Luckily, that is not the case – so let’s get to it :)
Oh, and I have a video that shares the project as well, so check it out below or watch it on YouTube here.
Recreate This Kallax Hack:
- Ikea 8-cubby Kallax
- Kallax customization options (we have the doors and the dividers)
- Pine project boards (I used a 16×72″ and a 16×60″)
- Construction adhesive
- Saw (I used a circular saw)
- Kreg pocket hole kit (and screws)
- Stain/paint/polycrylic as needed (I used Polycrylic in Matte)
- Optional: Kallax base (ours is a custom metal base as this option wasn’t available at the time ha)
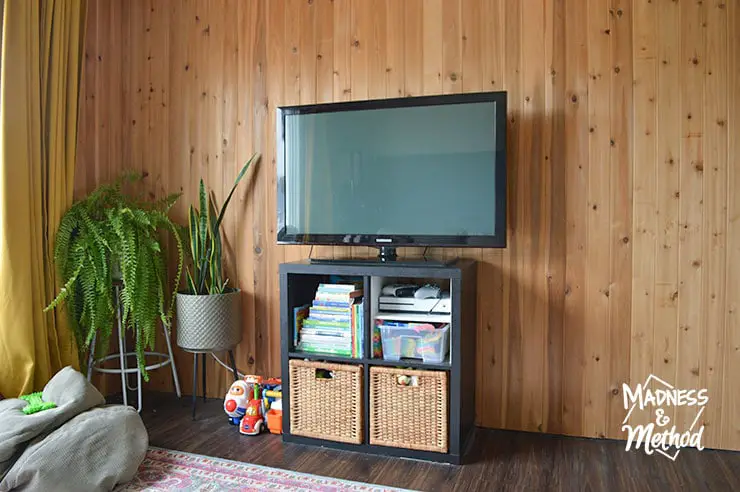
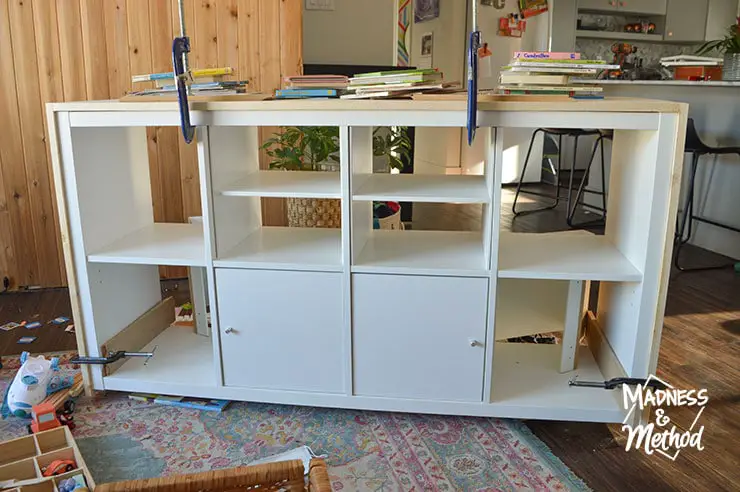
First, here’s a little reminder of what we started with. Yes, I already had a black 4 cubby Kallax, and I just wanted a little bit more storage. The kids were getting more/bigger toys, and we had plenty of wall space. Plus, I didn’t want something so dark – so I browsed online for similar TV consoles in a white or light-wood tone.
Then I realized, duh – all I really want is a bigger Kallax!
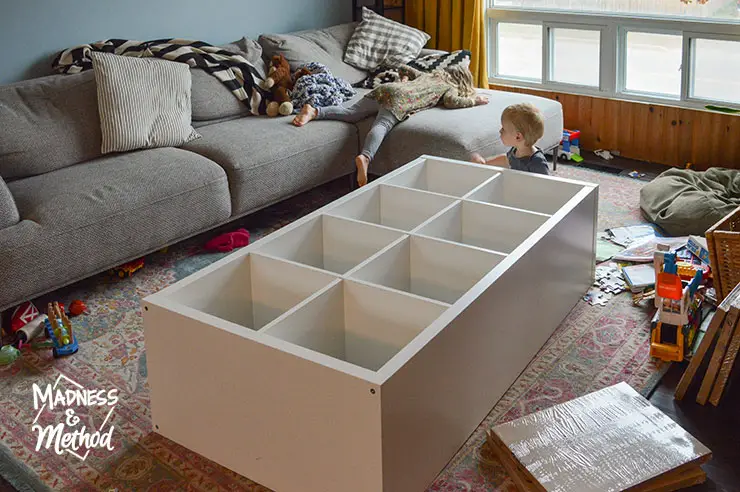
As mentioned, I assembled the white Kallax at the end of September. I didn’t take a video of this project, but it’s pretty simple to follow the instructions.
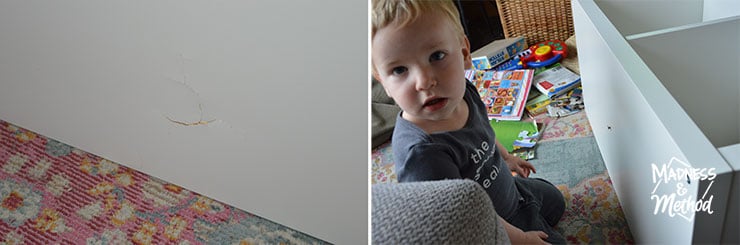
If you can build it without kids around though, that would be ideal :) Félix was playing inside one of the cubbies and ripped a dowel in half. I had to screw it in from the side. And… I may have been a little too strong trying to push another part together – and did a bit of damage.
Either way, from there, I built the Kallax dividers (we had one already) and added the doors. You can customize the storage to however you want – and I wanted something fairly symmetrical.
Soon after building the Kallax, our old TV broke. It cost almost as much to fix it as it did to get a new TV, so we got an early Christmas present (thanks Mom!). The kids thought watching TV on a computer was the funniest. Oh, and you get a real life view of how the books are usually stuffed in, ha.
Ikea Kallax Hack
The actual hack happened months later :) It’s mostly because the Husband was busy at work and I had to wait on the custom metal stand… as this next part didn’t take too long.

I did have to buy an extra pine project board because I changed my mind/didn’t measure properly the first time. If you’re doing a similar hack (wrapping the Kallax in wood), you’ll want one 72″ length and one 60″ length. If you are wrapping the whole thing (even the bottom), you’ll need 2 60″ lengths.
I didn’t do the bottom because it was a lot cheaper AND I wanted to address our un-level floors.
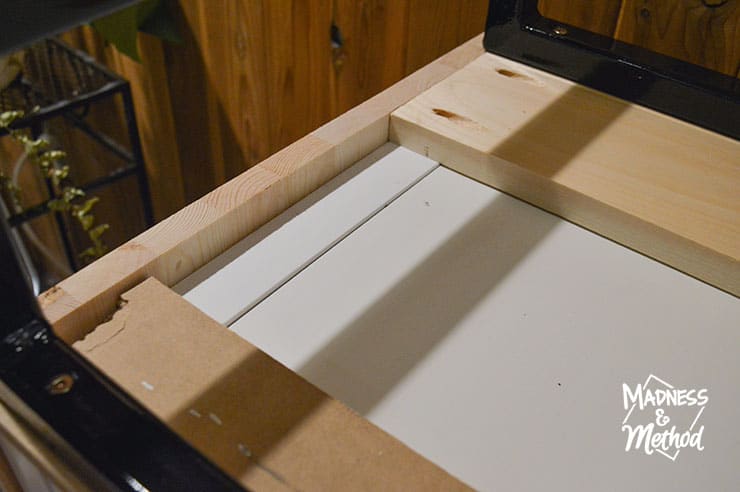
For the wood, cut two pieces at 31-5/8″ for the sides, and the top (and bottom) at 57-5/8″. The actual Kallax measures 57-5/8″ x 30-1/8″, and the boards are 3/4″ thick.
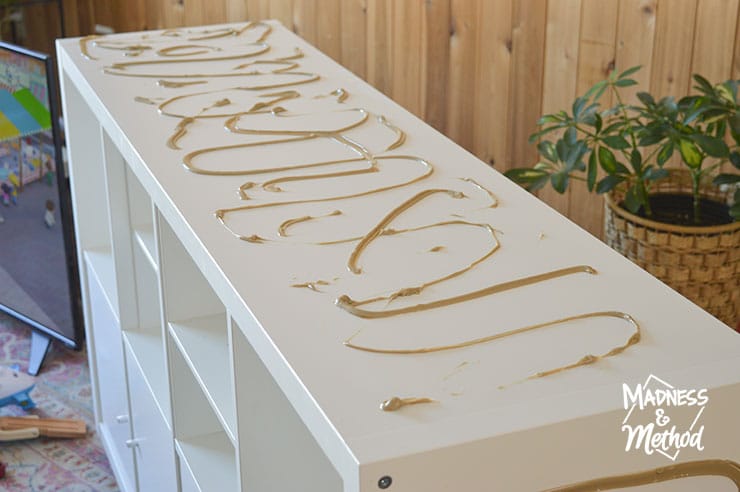
I added some pocket holes to the underneath of the top wood, screwed the boards together like a U-shape, then carefully placed it on the glued Kallax.
Note: If you plan to stain/paint your wood – it would be better to do it BEFORE you glue it down. I had spread my glue after taking the photo above, but still got some glops along the edges of the side pieces. Stain won’t stick to the glue, so just a heads up :)
From there, I added some clamps while the glue dried. At one place, I did clamp a little too hard and damaged the Kallax – but it’s on the inside of the door, so you won’t see it at all. I also put some books on the top to hold it down.
For the bottom front, I added a piece of 3/4″ pine board all the way across and screwed it into the the sides. I don’t have any screws joining the wood to the Kallax, just construction adhesive. (And the wood is tightly framed around the Kallax, so I’m not worried about it going anywhere).
Because my floors were so uneven here, I calculated that I’d need a 1/2″ board on the top, giving a difference of a 1/4″. My sides go down past the board (as you can see from the photo above), so you’ll never notice the difference.
If we decide to move this cabinet, I can simply take off my 1/2″ board and add something at the correct height. (Neither of the bottom boards are glued on).

While the left of the unit touched the ground evenly, I still had to prop up the right side. Rather than use cardboard, I simply stacked a little sticky felt pad here. You barely see it, and I’m sure that if I painted or coloured it black, it would blend in completely.
Since starting this hack, I see that Ikea now offers a metal base for the Kallax. So if you wanted to attempt something similar, you can use that base instead of making your own :)
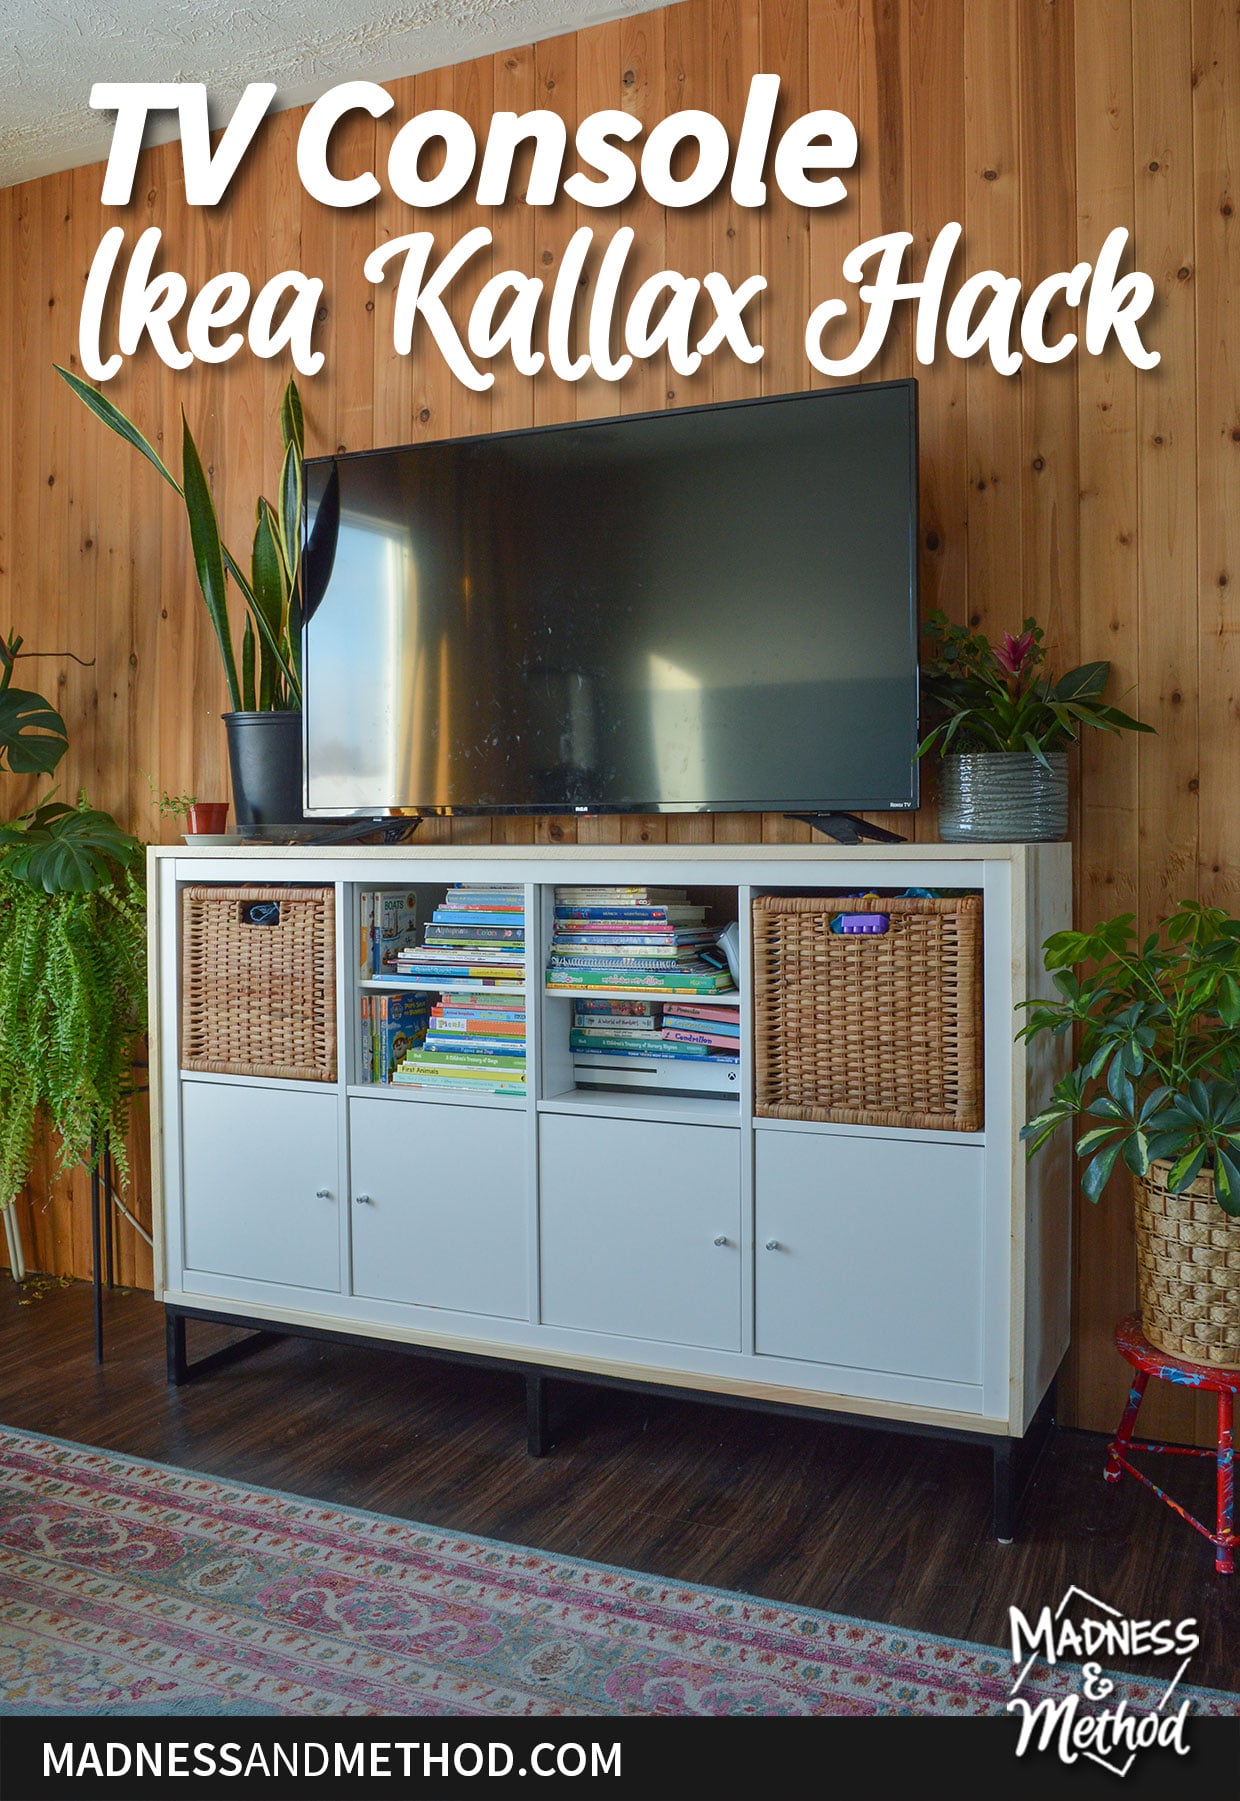
TV Console Kallax
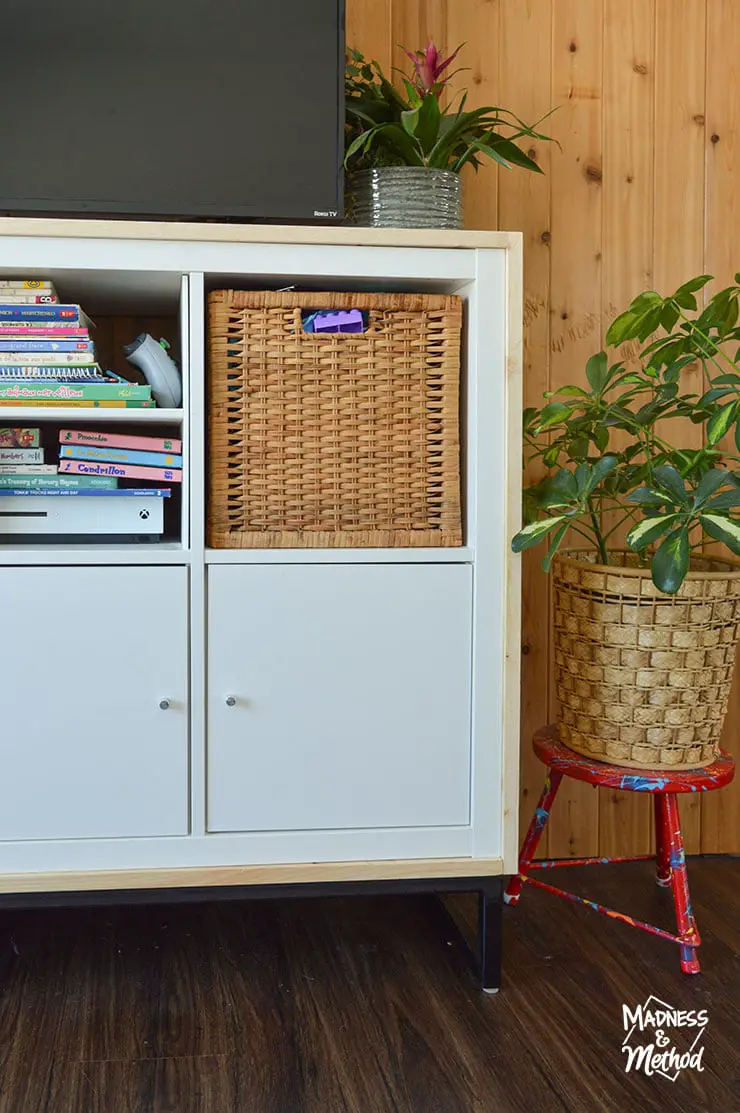
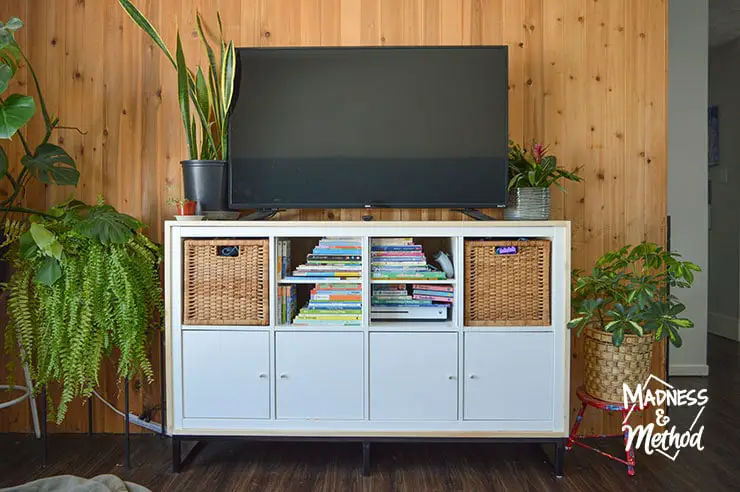
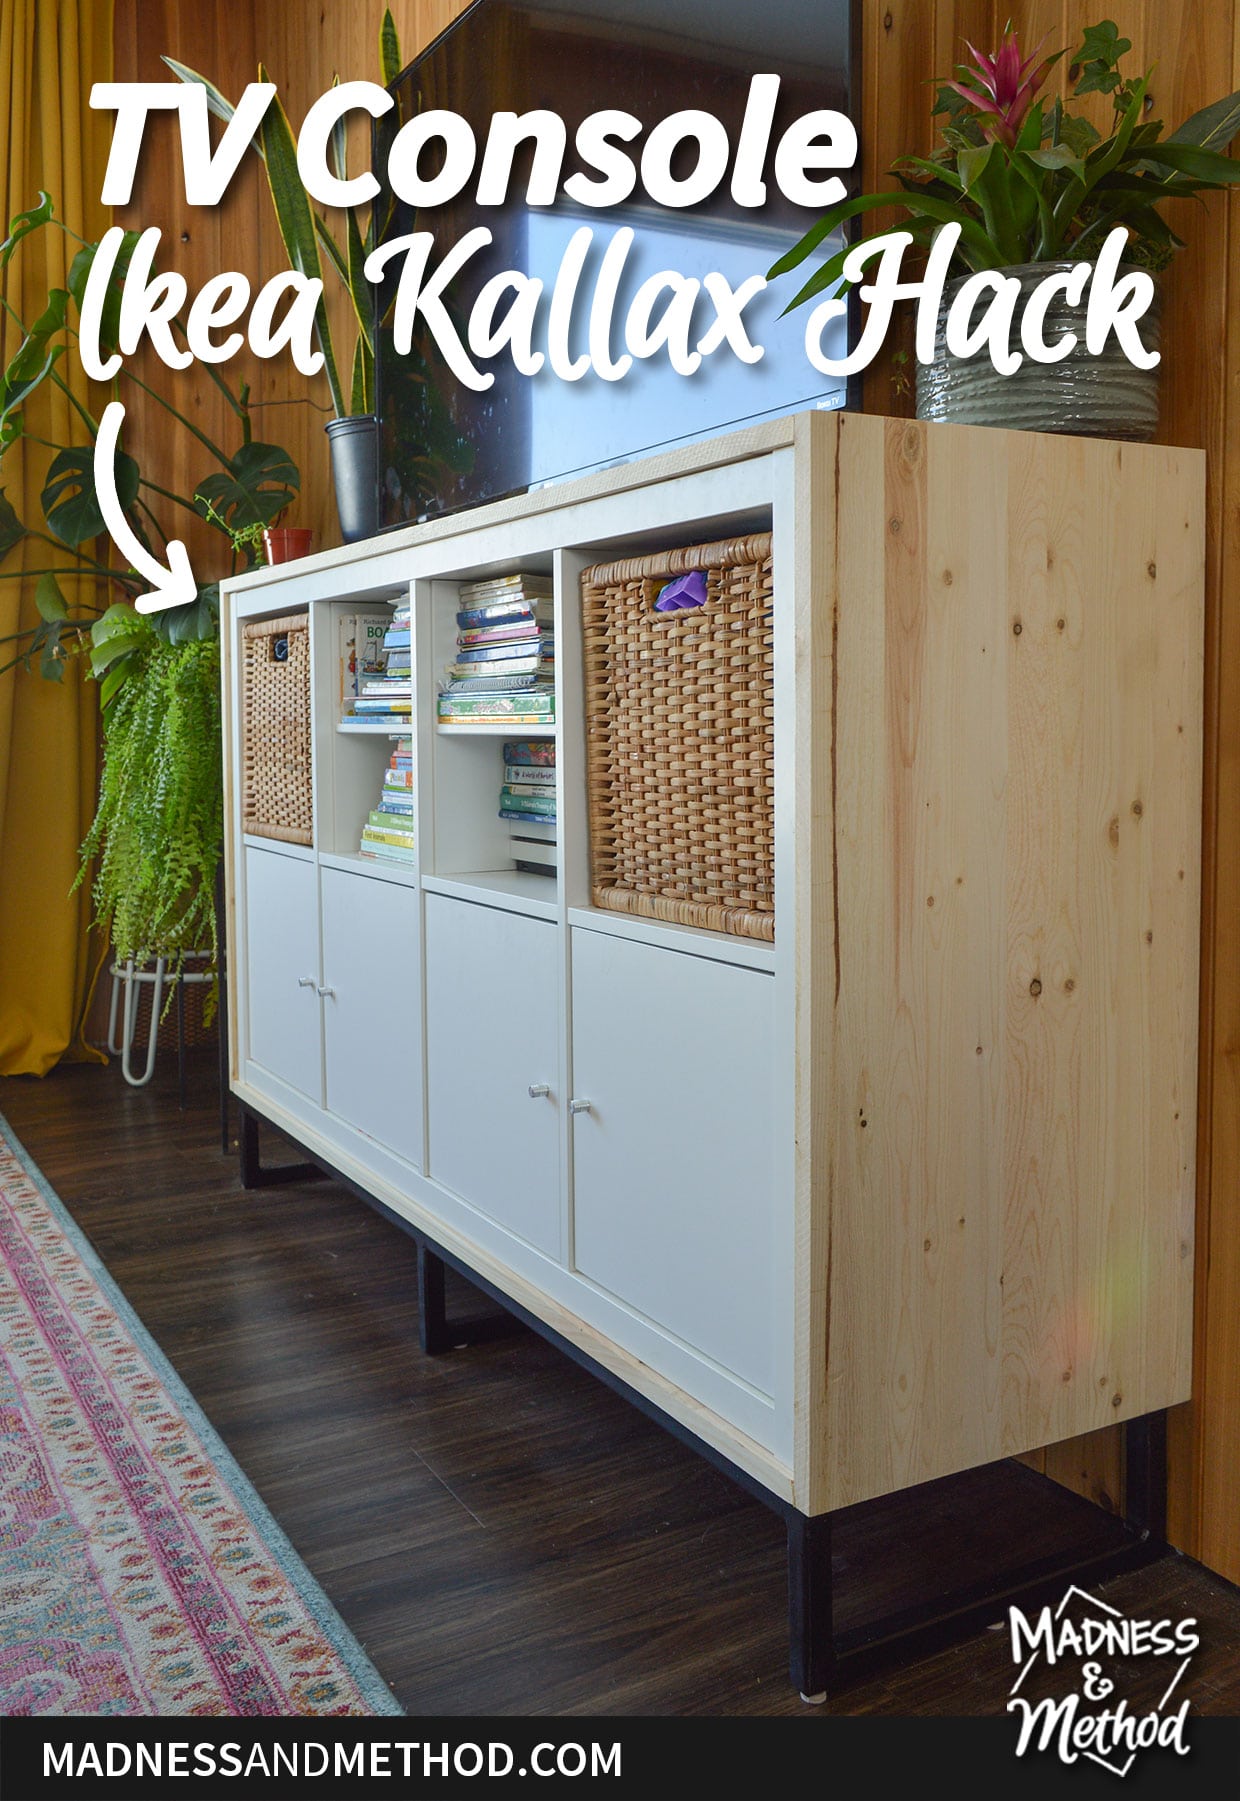
I love that our unit is lifted off the ground now! The black legs against the dark floors almost disappear, and it’s so much easier to clean underneath.

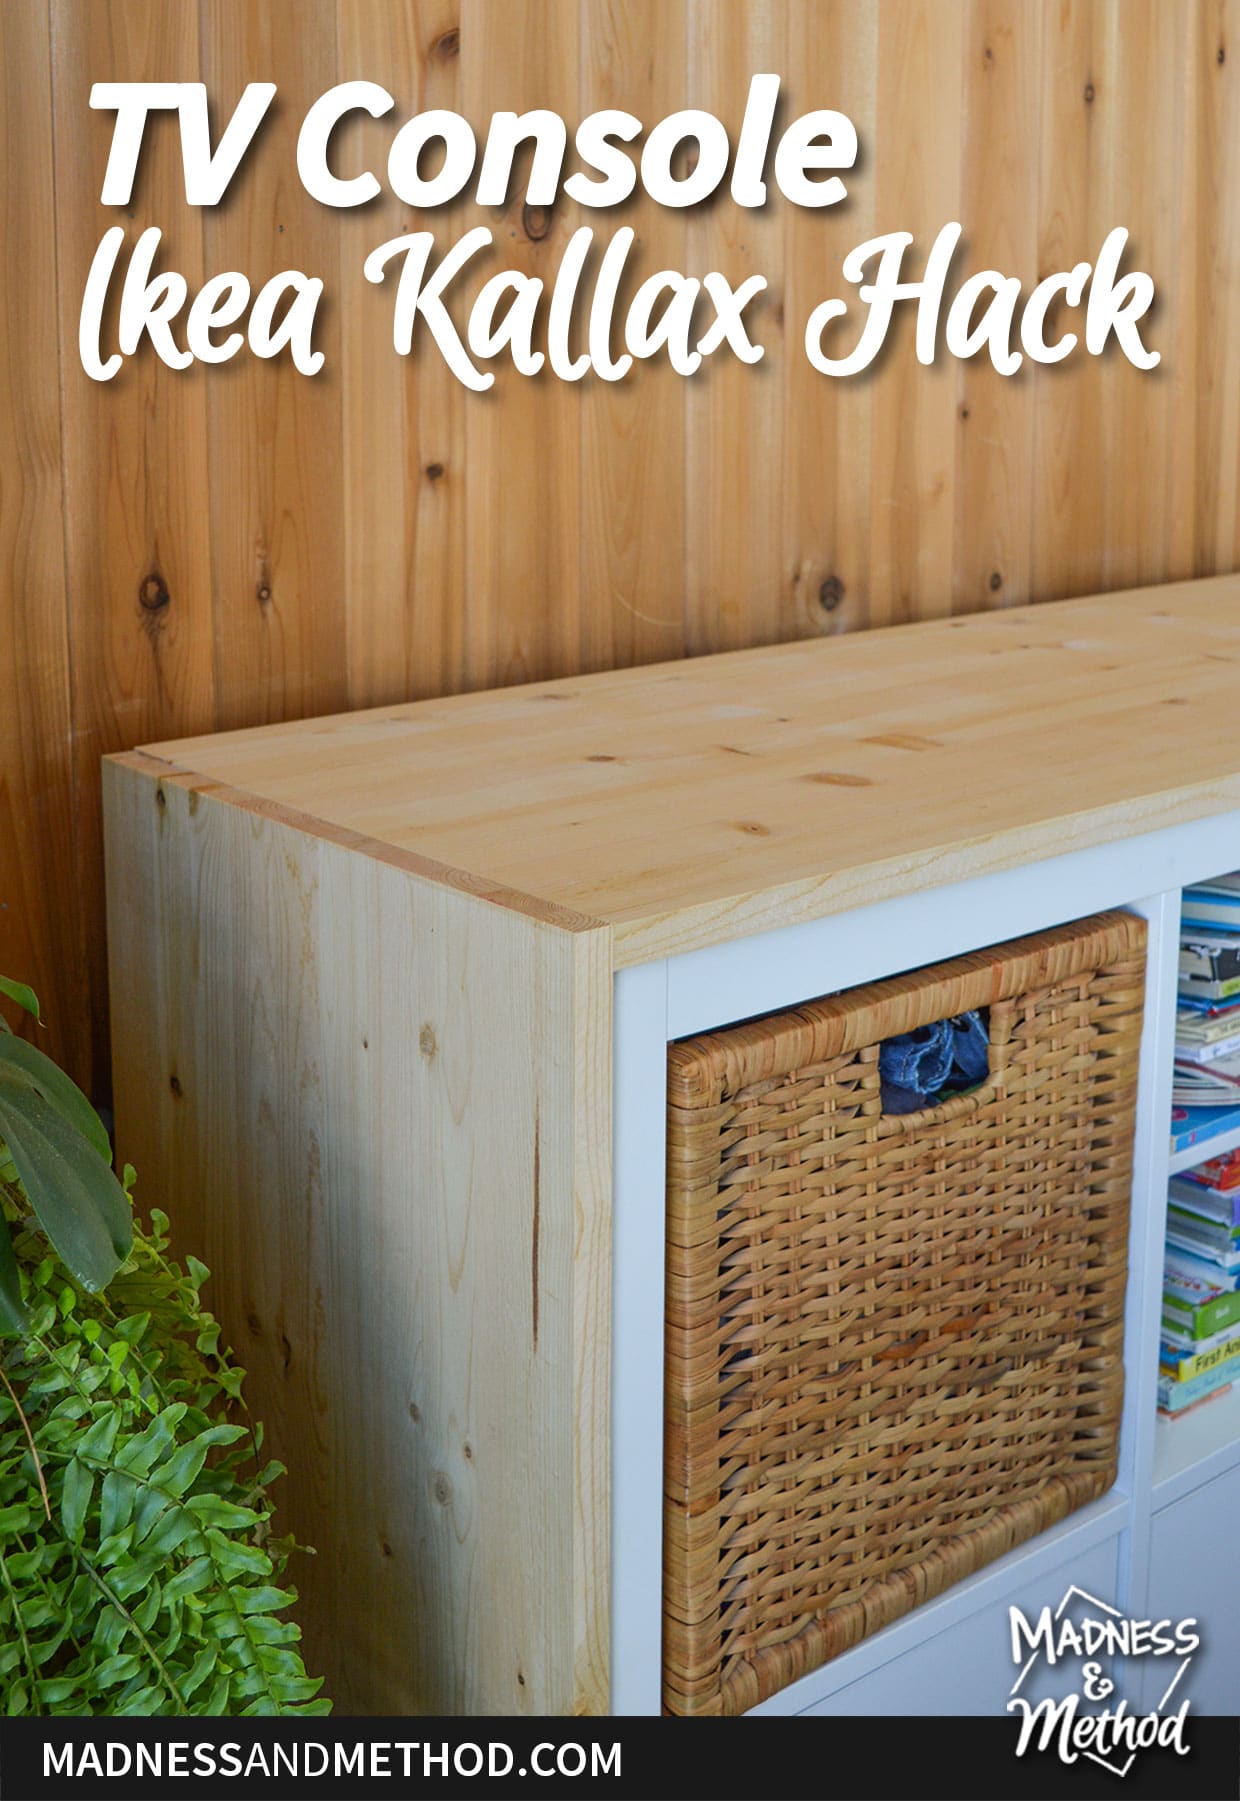
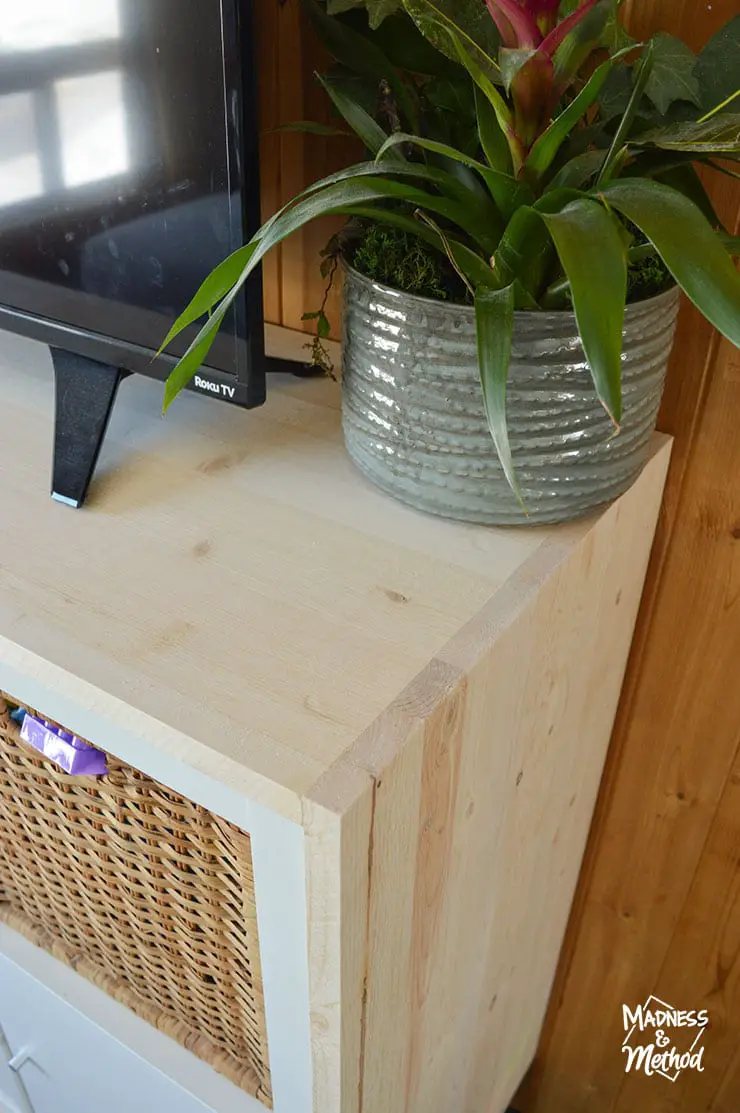
I protected the wood with a few coats of Matte Polycrylic (3 on the sides/front, 4 on the top) – and it was my first time using the matte finish. It honestly looks just like the bare wood!

My only complaint about this project is that the top board doesn’t sit perfectly flush against the Kallax. The sides come up about 1/16″ higher, and there is a little gap. I may have been able to close it in had I used more clamps – but alas, it’s not really noticeable.
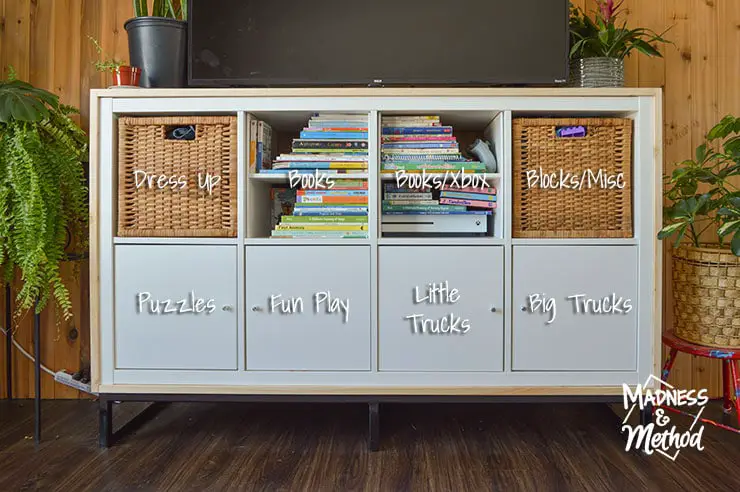
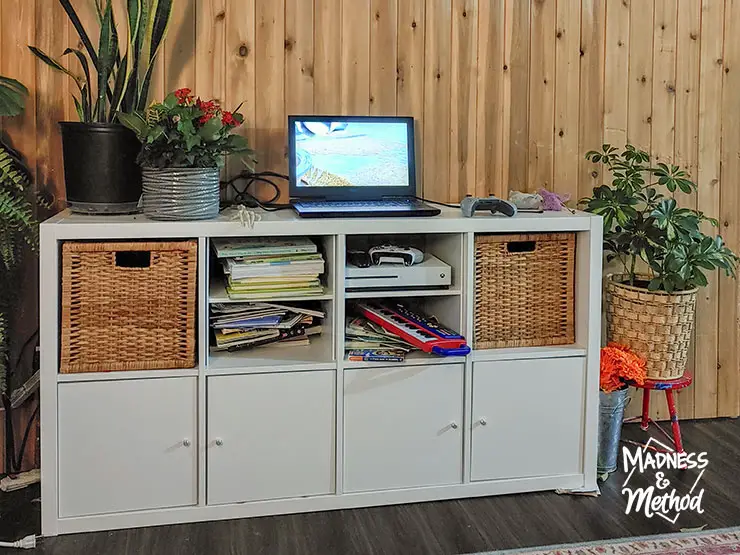
Since we’ve been using the storage part of the Kallax for the last few months, I’m confident that the different areas work for us. The image above shows a bit of a breakdown of how we have things organized. (Although, we just got the blocks a week or so ago, but luckily one of our bins had plenty of space).
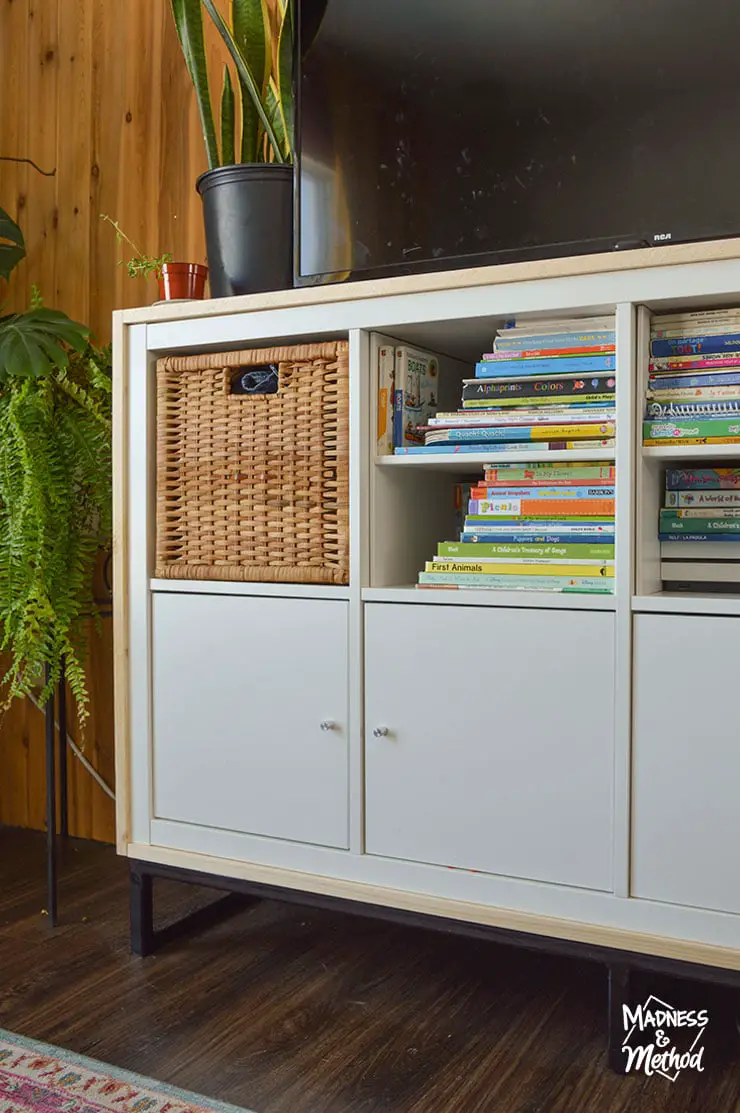
Oh, and the books are organized by language (English vs. French). I had them in colour order for a short time, but I much prefer stacked by size. Actually, if it wasn’t for the Xbox, I’d prefer them to be vertical. Easier to grab one out without disrupting the whole stack :)
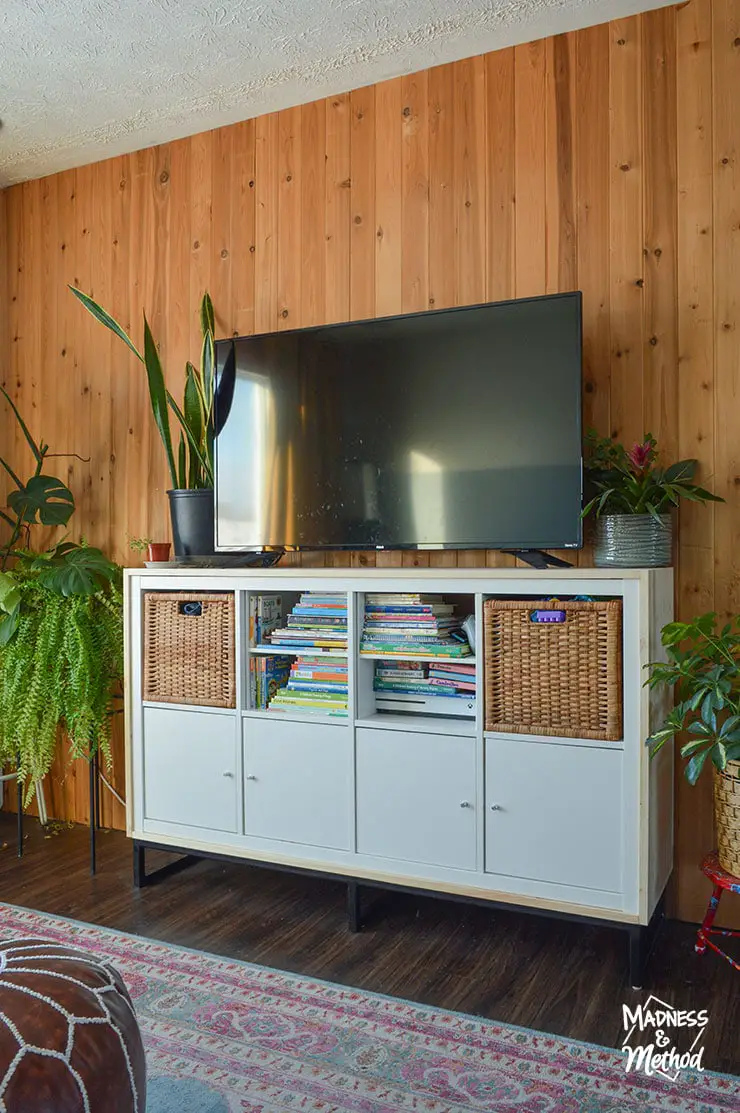
I may still move my plants around though, because the Husband requested the TV to be centered. It has been on the right since October, and you can see that layout in the animation above. We shall see!
With the wraparound pine boards, it completely hid the damage I had done to the Kallax. Although, I did clamp a little too hard when I was doing my pocket holes – but I don’t think you really notice.
TV Console Ikea Kallax Hack Video
The video details all the steps as mentioned here, and I show a bit of me taking out and cleaning around the old Kallax. See how dusty the floors were? Now I can totally get under there to clean, ha.
Going forward, I’m not 100% convinced about our rattan Branas baskets. They look really good with the stained wood wall, but I don’t think they can handle the kids pulling them in/out all the time. I’m not sure if I should try to add some support to strengthen them, or go with something else.
Like the Kuggis? Drönjöns? Dröna? Gnabbas? Rejsa?
I definitely don’t want anything with a lid. Let me know if you have a preference :)

2 Comments
17 Ikea Kallax TV Unit Hacks That Elevate Every Living Room
February 18, 2026 at 3:49 am[…] Source: Madness Method […]
17 Ikea Kallax TV Unit Hacks Ideas – perfecthomehacks.com
February 23, 2026 at 3:03 am[…] Source: Madness Method […]