
This week I don’t have a lot of progress to share in our bathroom, unfortunately. So, rather than show nothing – I figured I could talk about our storage setup. Aka the kitchen cart vanity hack I came up with! You can make a bathroom vanity from almost anything, so let’s chat about this one.
– Note: This post contains affiliate links. See more information about affiliates here. –
If you need a quick refresher – my name is Nicole and I live in Northern Ontario, Canada! We have been building a cottage for 1.5 years now, and we’re in the home stretch construction-wise.
I’m completing this makeover as a participant in the Fall One Room Challenge. In the first week, I introduced the space, and then shared my design plans and the construction progress in week 2. In the third week, I had the shower ledge built-ish, and last week I started prepping for the microcement.
Here is the BIG problem that I am at right now: I do not have enough material to continue the first coat. I realized this last week and have been trying to figure out a solution since. Can I skip the flex coat? Do I need to order more? The worse part, I’ve been trying to reach out to the distributors since then – and haven’t heard anything :o.
Anyways, while I wait for that – I can’t really do anything else major here. Luckily, we have a lot of other projects to finish at the cottage... but that doesn’t really help with this ORC.
I am estimating that I need four more bags to finish this room since two bags only got me this far.
Let’s look at what we can control/talk about!
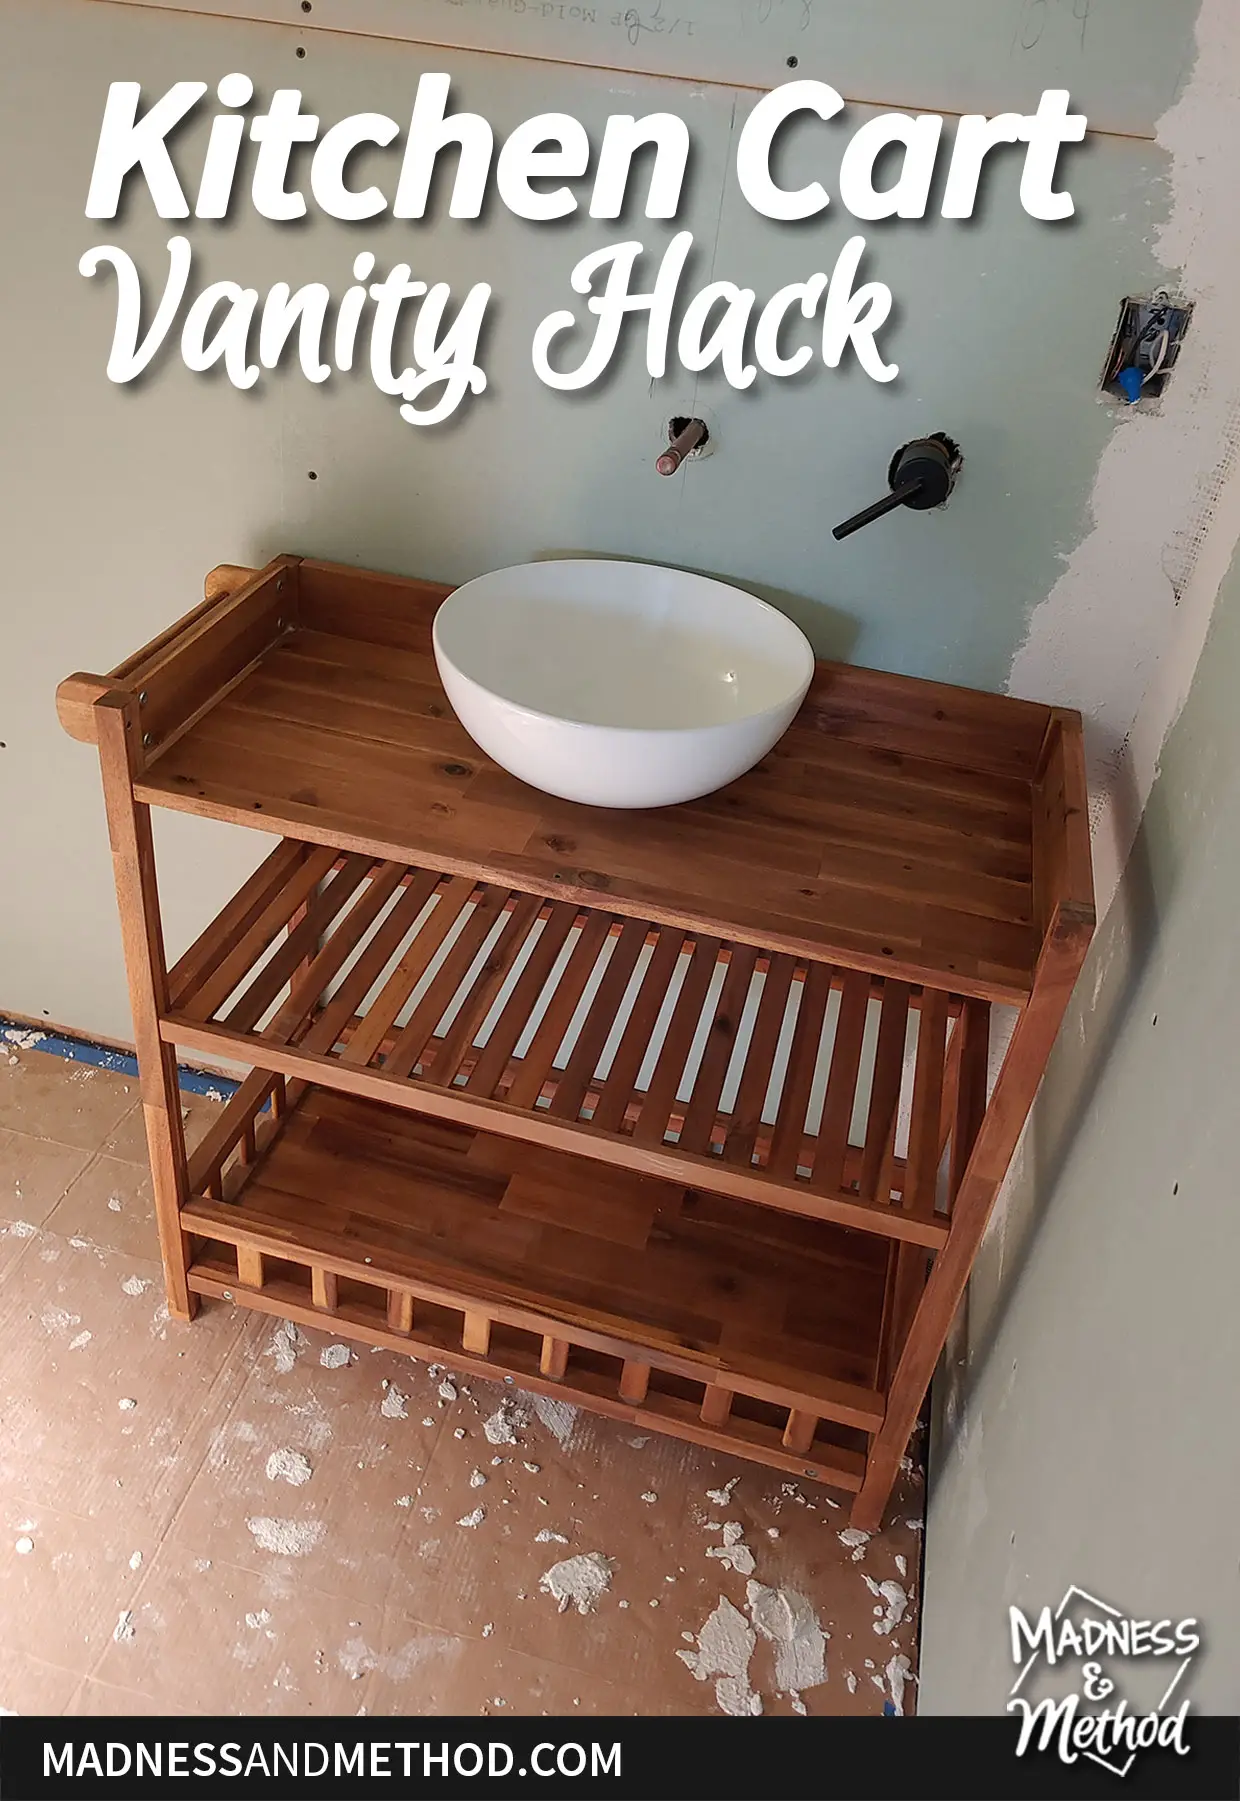
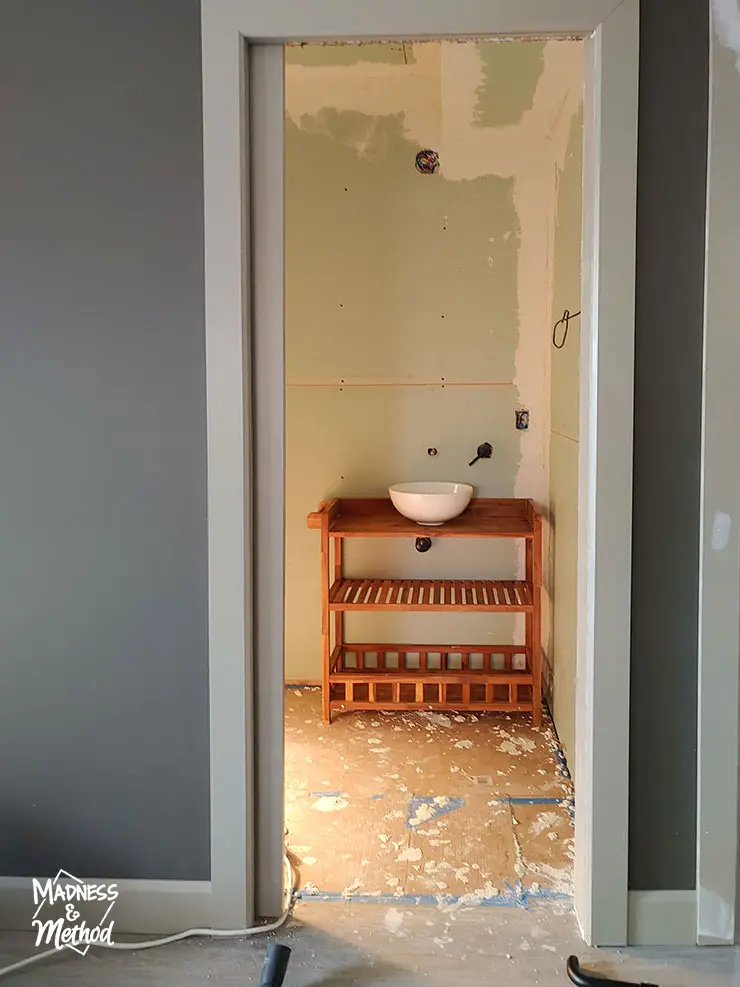
Kitchen Cart Vanity Hack
So why a kitchen cart? Honestly, I was not looking specifically for that, but I did want an open-shelf vanity. After considering other (more traditional) options – I knew that open shelves would be the most practical. Mostly since this is a) our second bathroom in the cottage and b) we’ll be renting it out as an Airbnb. Much easier for guests to see stuff in the open than having to open and close doors and drawers.
Anyways, I was browsing different vanity styles and came across this one at Wayfair. It had open shelves AND a rock-shaped sink (something else I wanted for this room). Problem was that it was out of stock (and may or may not have been like 3000$).
So then I started looking for shelves/cabinets that looked the same, where I could add my own sink to the top.
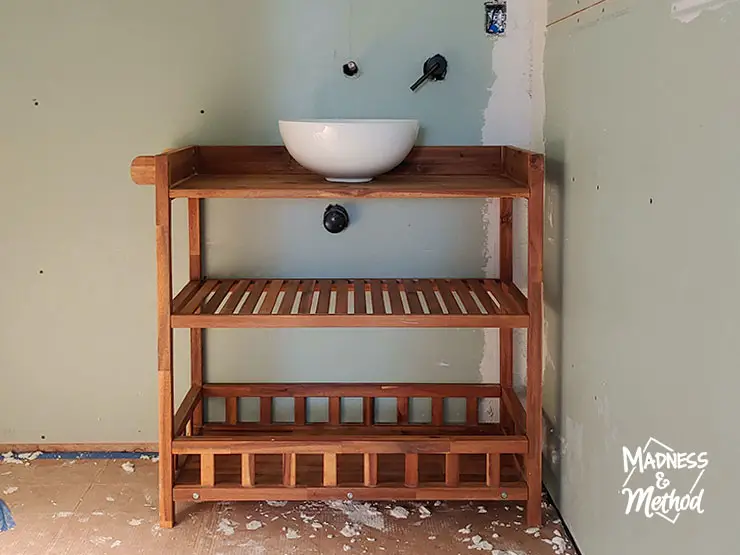
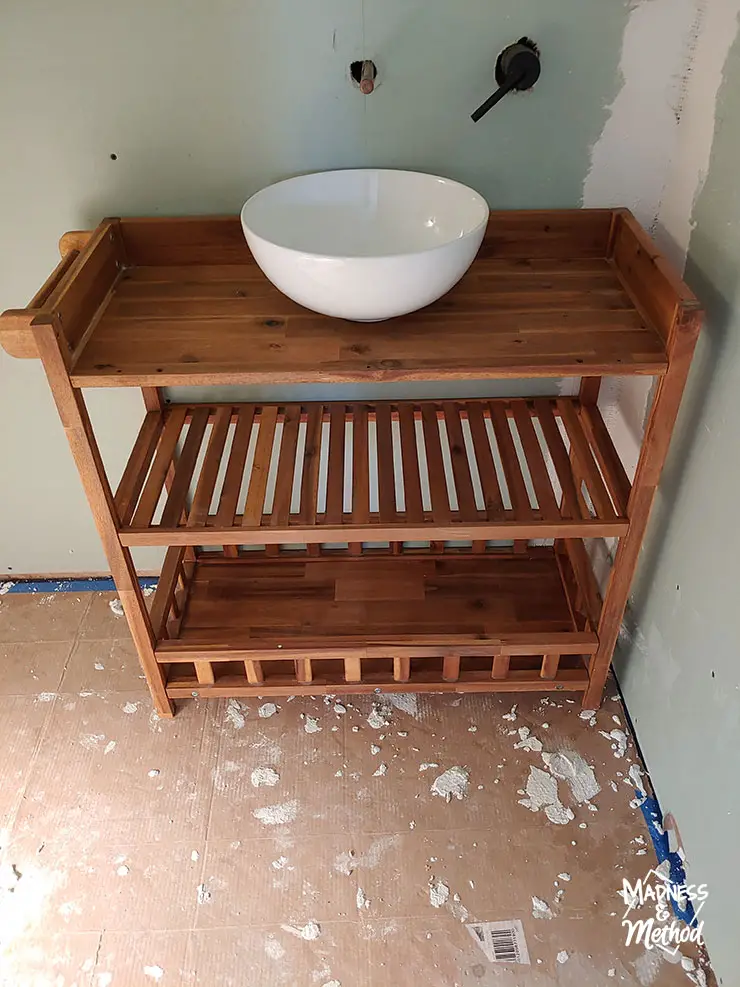
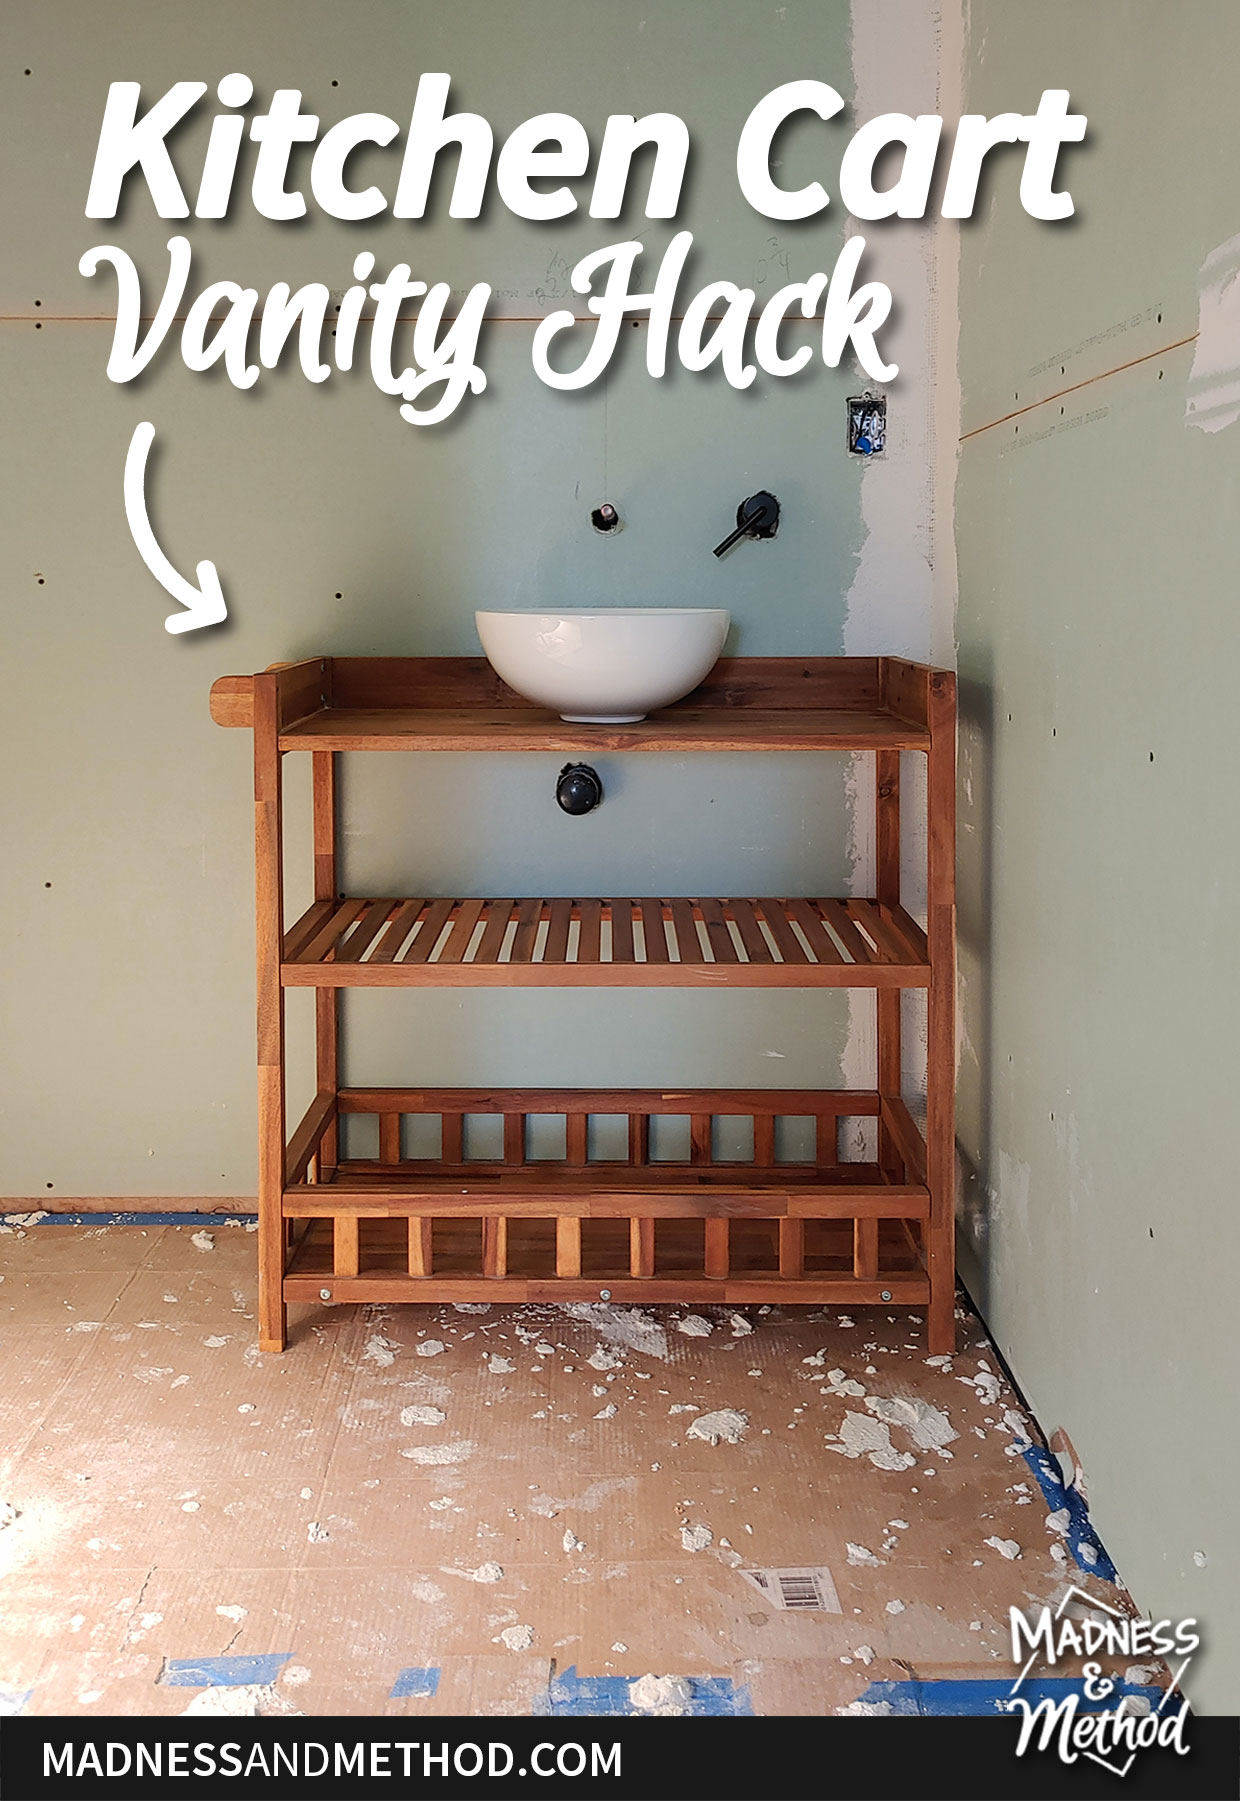
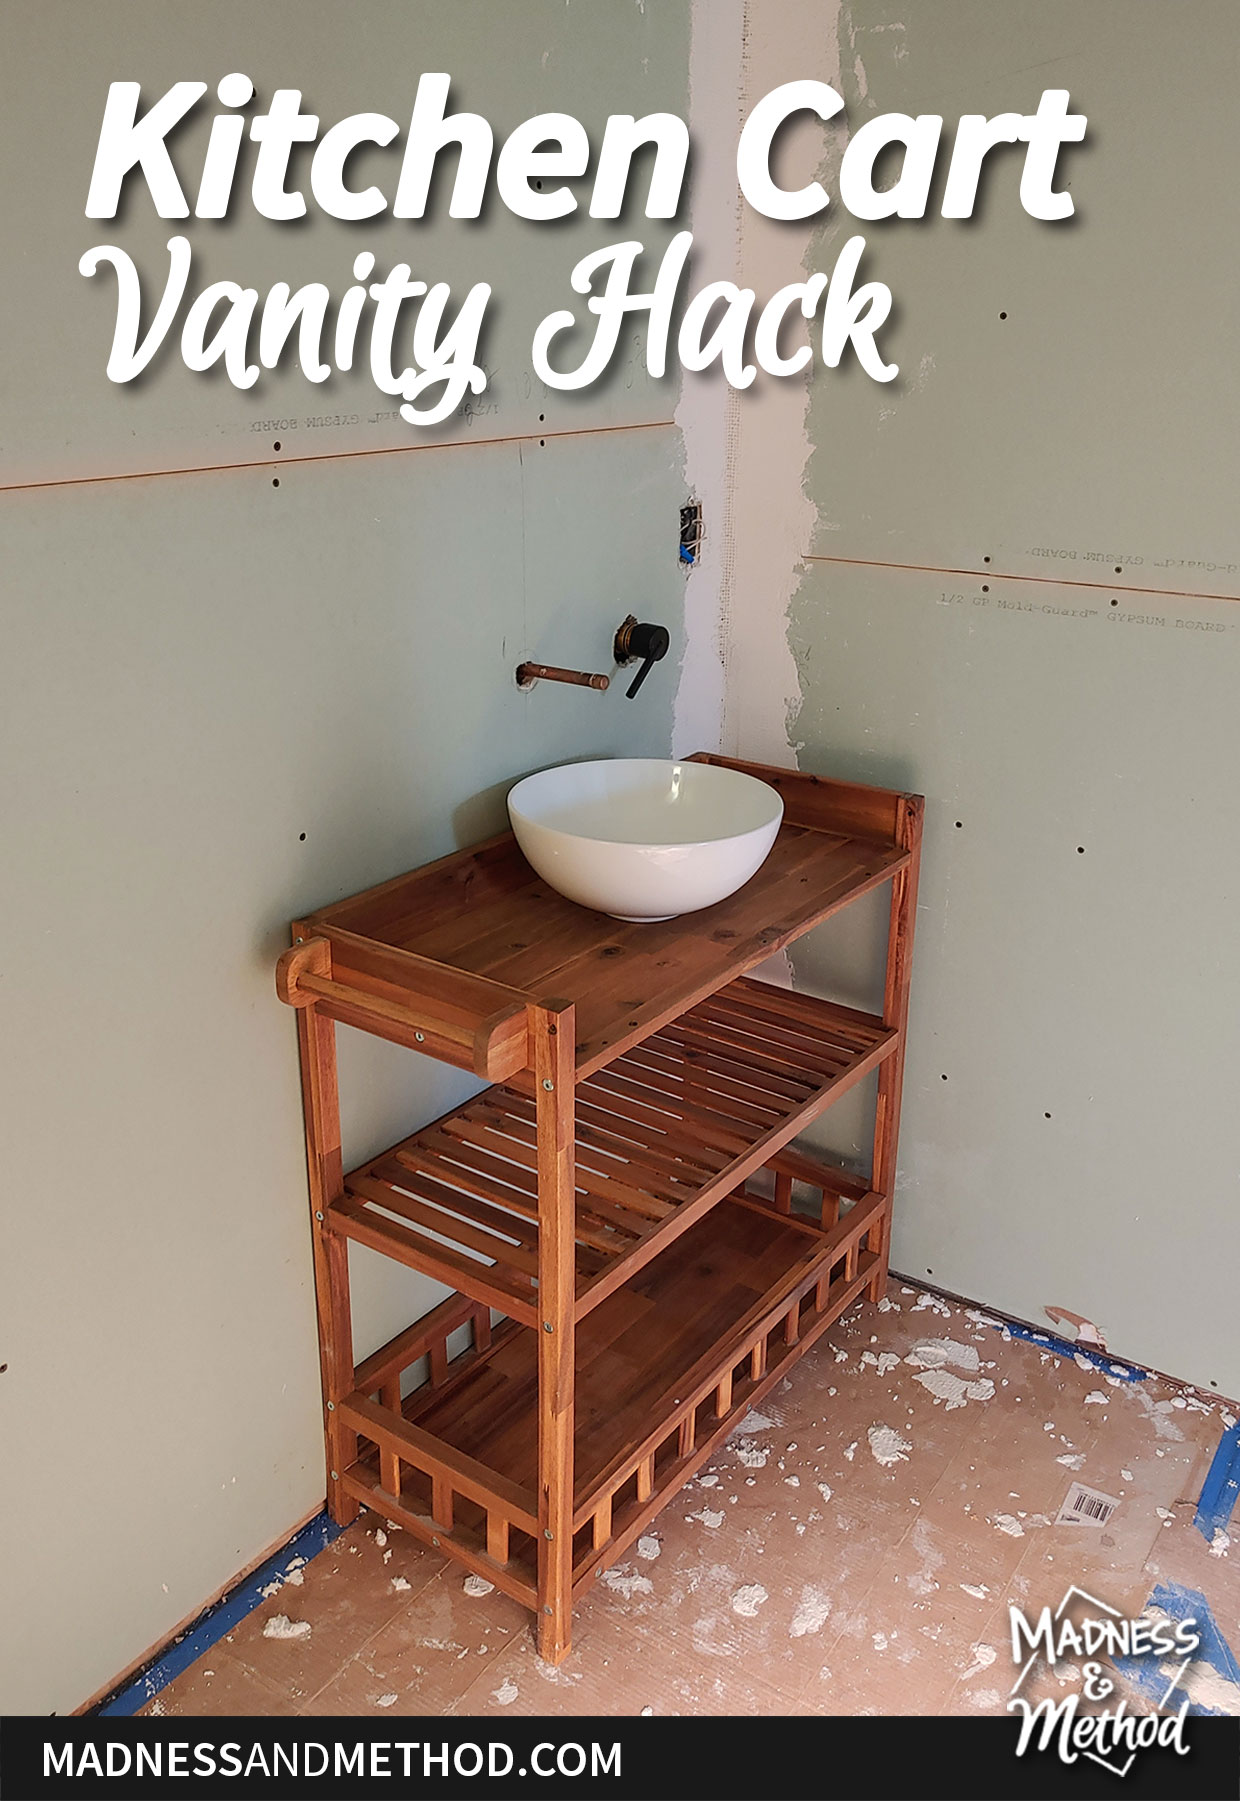
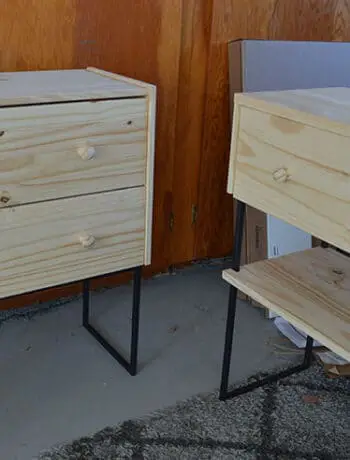
This is the kitchen cart I bought at Home Depot. And here is the round vessel sink to make it a vanity!
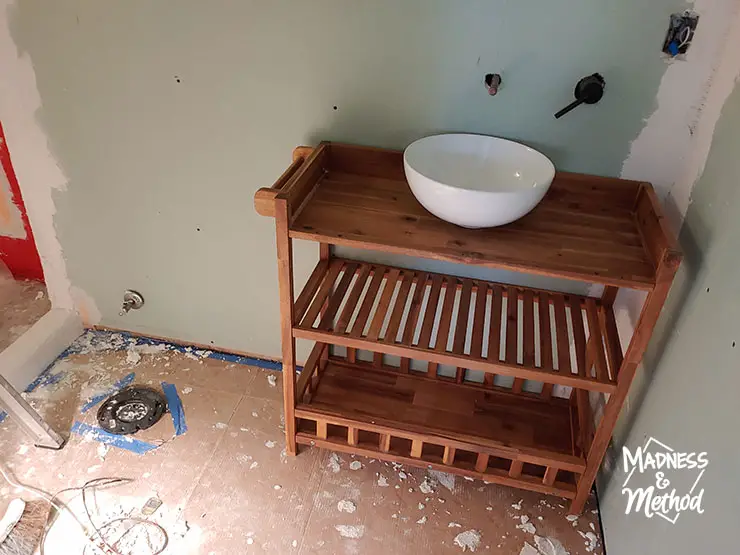
The dimensions were pretty good for what I needed, but it was a bit more shallow than a traditional vanity. That problem was easy to solve with a wall-mounted faucet. I also had to veto the rock-shaped sink at this point, because I needed something smaller in scale.
Because I was doing open shelves, I built and brought in the vanity before the plumbers finished their rough-in. I wanted to minimize the pipes that would be seen AND ensure we didn’t have to cut into the kitchen cart.
(We also did a bottom shelf and drawers for the upstairs vanity, so I am sure the plumbers are tired of my nonsense ha).
Anyways, you’ll have to imagine what this vanity will look like when it’s fully installed. Yes, there will be pipes underneath the sink – but I will have bins/towels/tp on the shelves to hide it a bit.
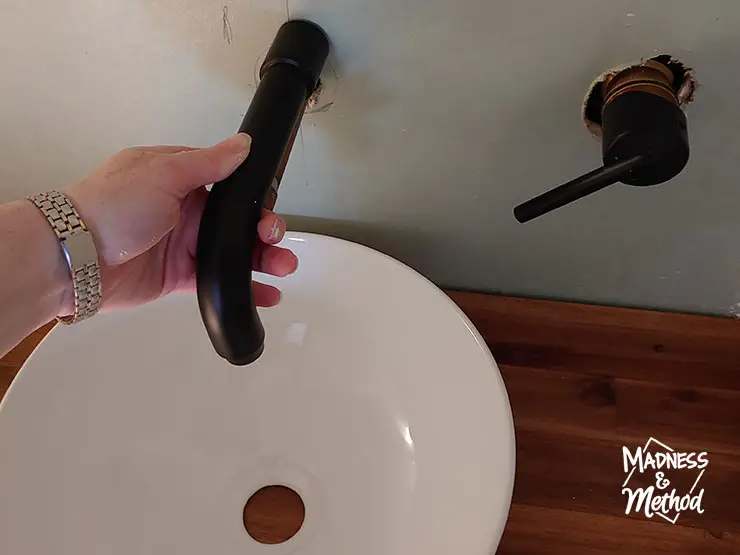
I think I need to get a drain stopper too, but I may have one from another project. That’s like a future problem/plumbing issue – so nothing we need to worry about now, ha.
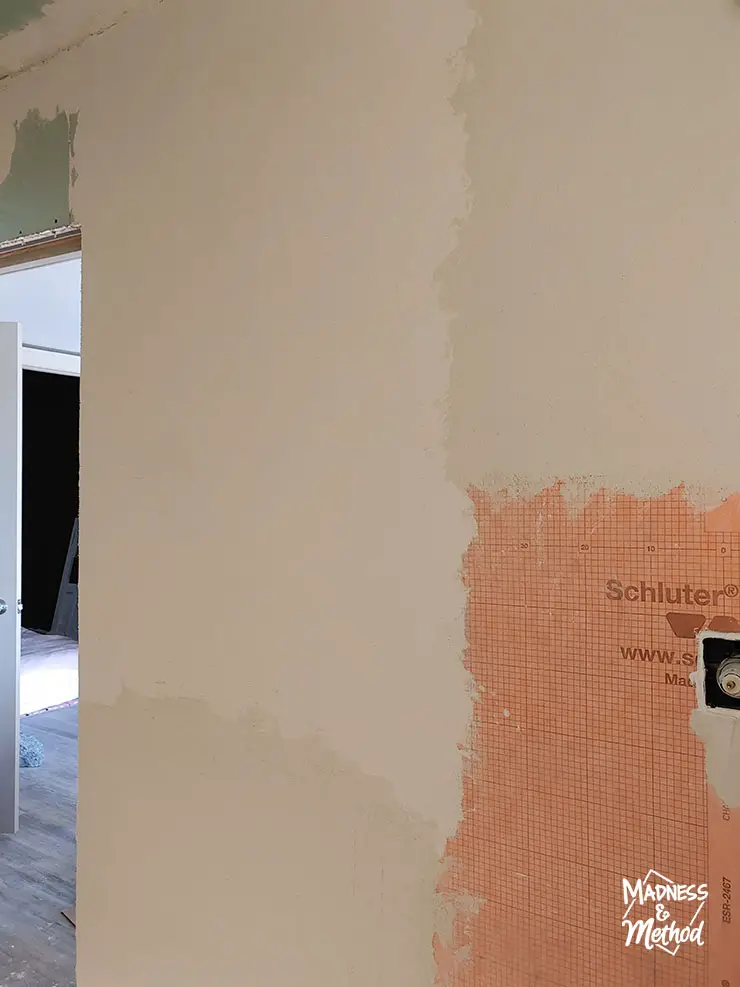
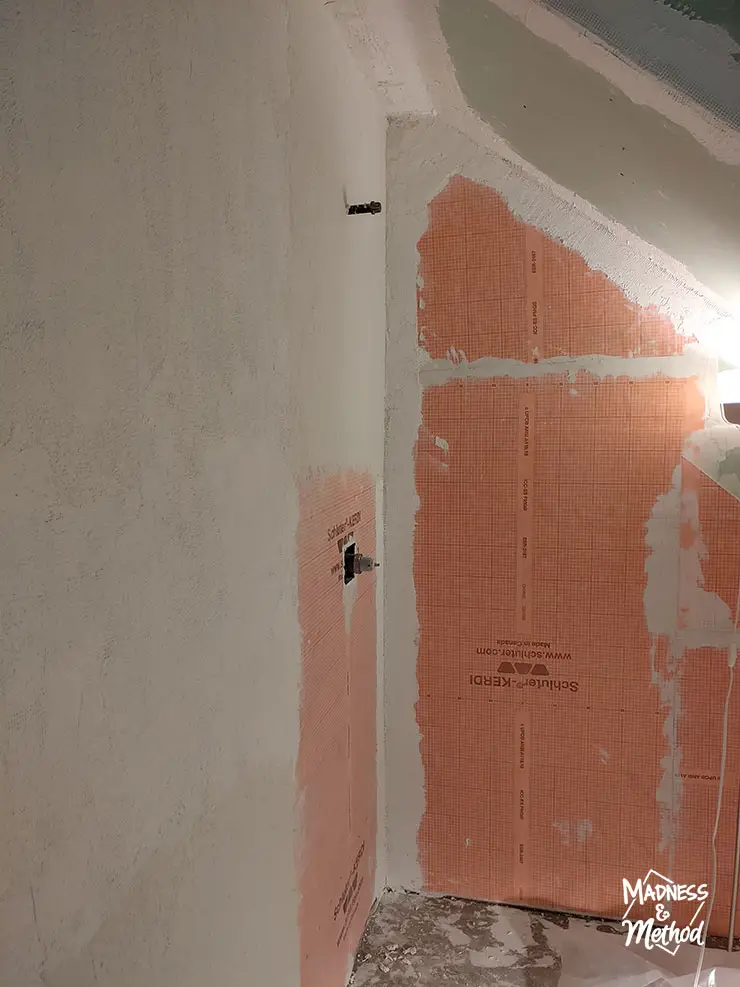
Because, as I mentioned, my SUPER immediate problem is getting more microcement. I need to get these walls finished ASAP. I’m still at the base coat layer, then there’s a finished coat to do too and a clear sealer. (On another note, I think I want the colour to be what it looks like when it’s wet, ha).
But yes, from there I can do the shower pan and tiling and then install the rest of the bathroom stuff.

Like this vanity :)
So fingers crossed I can get the material in on time!
About the One Room Challenge
Follow me on Instagram to follow my progress as it happens. And, visit the One Room Challenge blog to see everyone else’s projects too.

Follow My Bathroom Project
- Cottage basement bath plans
- Bathroom timeline and original design idea
- Building a custom shower ledge
- Prepping the bathroom for microcement
- Kitchen cart vanity hack (this post)
Upcoming (High-Level Tasks):
Finish the flex coat and finish coats for the microcement
Put in the shower pan/floor
Clean up and finish building the vanity
Install the shower rock tiles
Toilet/accessories installation (I keep forgetting about the toilet, ha)
Get plumbing/electrical hooked up
If you compare my to-do list to the one last week, you’ll know that nothing else got done ha. I’ll definitely be in panic mode if I can’t get the cement this weekend since that’s really the only time I have to work on things.
At least we have a bunch of other small projects to complete at the cottage!


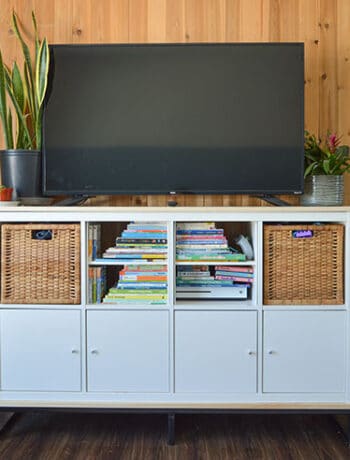
Here is a photo of the vanity decorated in the semi-completed bathroom! See more photos in the reveal post here.
No Comments