Do you have a basement in your house? And if so, does it come with those super short windows? You might think that buying blinds for such short windows would be easy… but did you know that blinds are usually priced by width, and not height!? Which means if you have super wide, but short, windows – you’d have to pay the same price for blinds that are 3-4 times the length! I definitely did not want to do that, so I came up with a DIY hack for our basement bamboo blinds… that involves cutting regular blinds in half! Check out how I did it…
– Note: This post contains affiliate links. See more information about affiliates here.–
Materials You May Need:
- Bamboo Blinds (long enough for 2 windows) *
- Eye hooks
- L-brackets
- String
- Glue, screws, drill
- Piece of 1×2 wood (cut to width of blind)
* I linked to some possible wide options from Amazon at the bottom of the post if you’re looking for something similar!
When we started a makeover on our basement, I took out the old slat blinds thinking we could easily replace them… well months later I’ve finally gotten around to it! I had searched so many online sites and checked in-person retailers, but it always seemed like the price of blinds depended on the width. Our two largest basement windows (we have 4 total) measure 51 inches wide, and only 20 inches tall (not including the casing mouldings). It was even hard to find blinds that came that wide (48″ was usually the biggest), and I didn’t want to pay HUNDREDS of dollars to get something custom made.
I also wanted something like a bamboo or wood slat, to bring in a bit of warmth and texture to our basement.
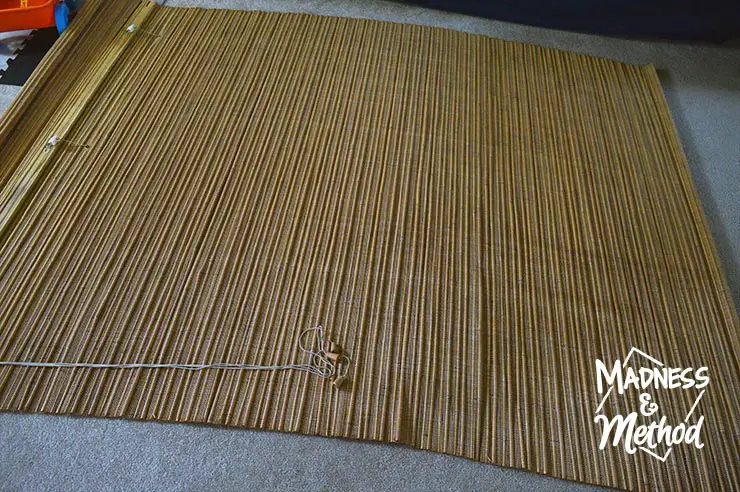
I finally found someone selling the exact kind of bamboo blinds I wanted and they were 64 inches wide (woohoo!). The length for one panel was a lot longer than I needed, but by now my plan had been to cut whatever blinds I did find in half.
I bought two panels (so I could make 4 blinds) and wanted to keep as much of the original blind construction intact. Normally, you’re able to cut a few inches off the bottom of your blinds, so I figured cutting it in half was sort of like the same thing!
Our two smaller windows (one in is the basement living room part, the other in the laundry room) were a bit narrower (but taller) than the other ones, so I figured I would use these as my “real blind” windows. I measured how much length I needed for each window, and cut my bamboo blinds once, giving each window a bit of extra length.
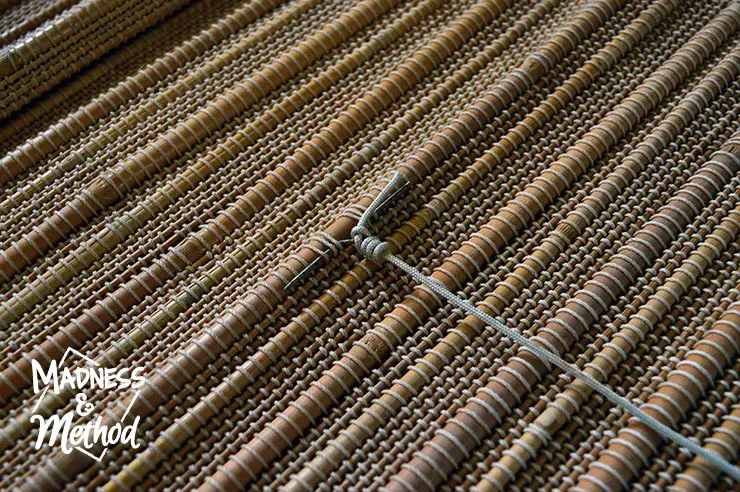
I also made sure that I cut sort of in between the little metal bars (the things responsible for pulling the blinds up when you pull the cord) and gave a bit of extra cord to my cut side.
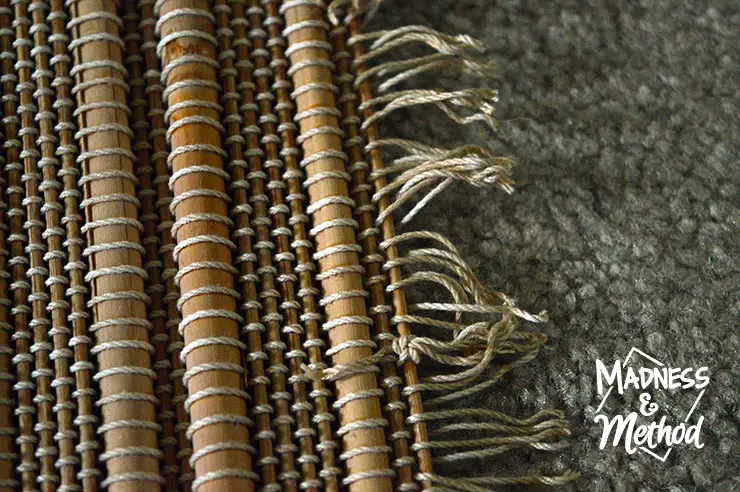
I took off a couple of the extra bamboo reeds on each side, and tied little knots every few strings along the frayed edge (so that they all wouldn’t come falling down).
The nice side of the blinds looked like it had simply been spun around a bit and glued, so that’s exactly what I did to the bottom of this piece to create a finished edge.
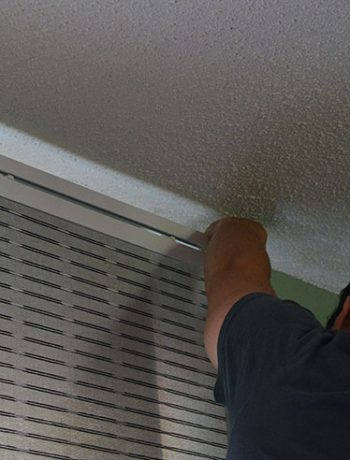
The Husband and I then installed the “good” blind on the smaller window, and everything seems to work fine (PS: I cut one of the pull cords shorter, but I’m going to make them all the same length eventually). We did have to install a piece of flat stock moulding across the ceiling to match the height of the weird jutted down section…
Making Your Own Bamboo Blind
Up until now, all we’ve done is basically cut a little bit of length off of our normal blinds. No big deal yet, but now I’m going to show you how we made our own blinds with the little leftover piece.
When I was originally looking for blinds I found this post about making bamboo blinds from scratch, and this one about shortening regular bamboo blinds.
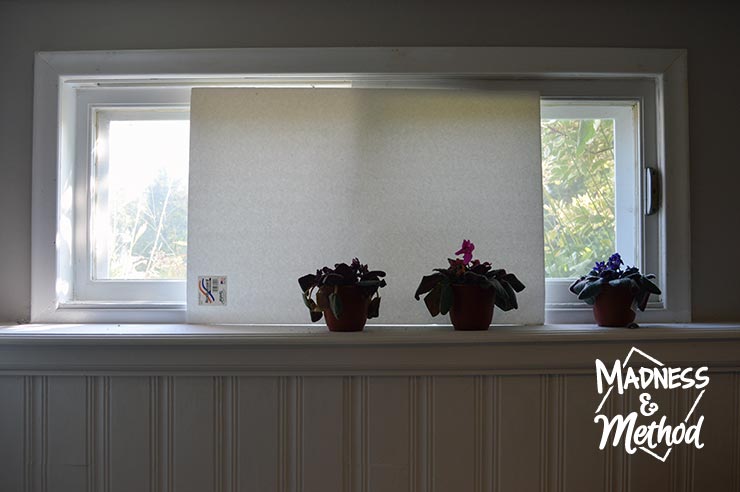
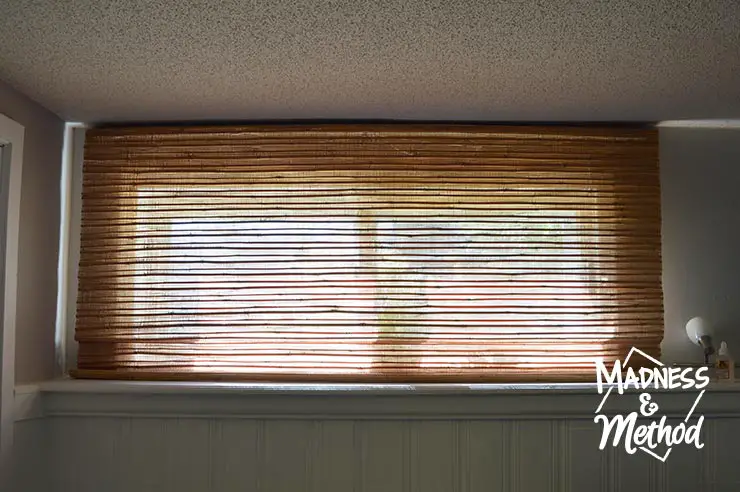
Our two wide/short windows were at the front of the house, in front of where our office setup in the basement. For months I had been using pieces of foam core as my makeshift blinds, and as the sun moved throughout the day I would slowly have to slide them over. Real fancy!
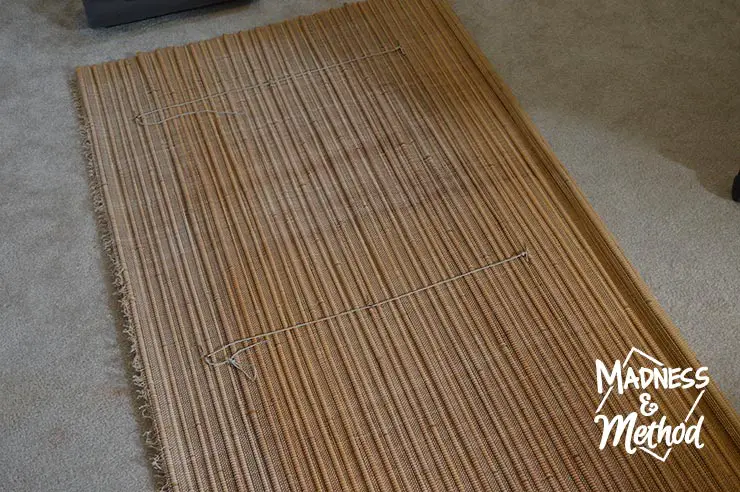
Using my two little leftover pieces of bamboo blinds, I had to figure out how to make this into a normal looking blind… and it would be nice to be able to pull the cords and have it lift up.
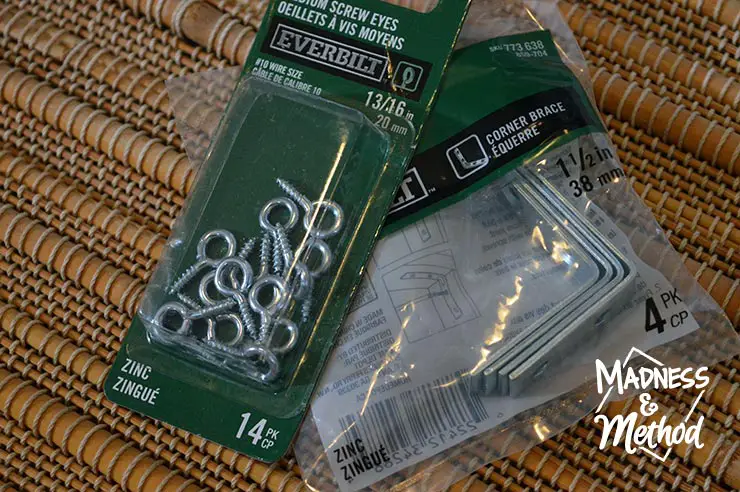
I purchased some eye hooks, L-brackets and two pieces of 1×2″ pine board (the good kind, not the construction strapping). PS: I should have bought 6 L-brackets since I knew I wanted three per blind (I figured I’d find the ones I have already… but I’m still looking!).
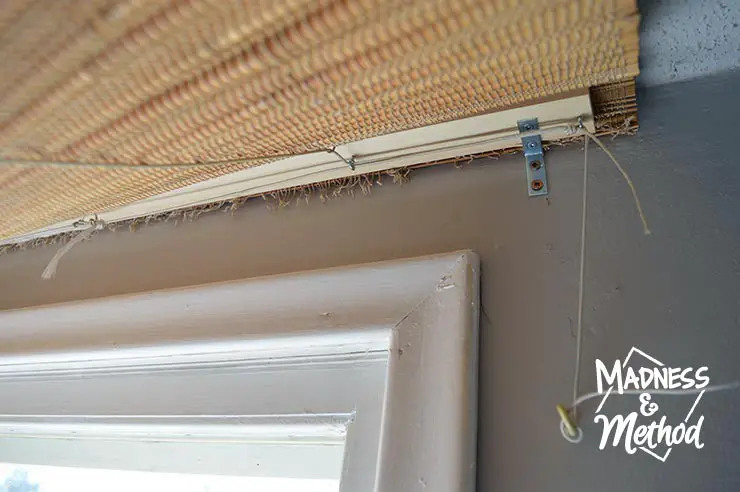
I decided that I would use the frayed side as my top, that way it would be hidden in the back where no one could see it. I cut the piece of wood to 62″ (so it would be a bit narrower than the blinds), added some glue and clamped it down to dry. I then drilled some pilot holes and added my eye hooks where the blind pull cords were.
You should re-string your blinds at this point too, since you will most likely not have enough string leftover to pull them closed.
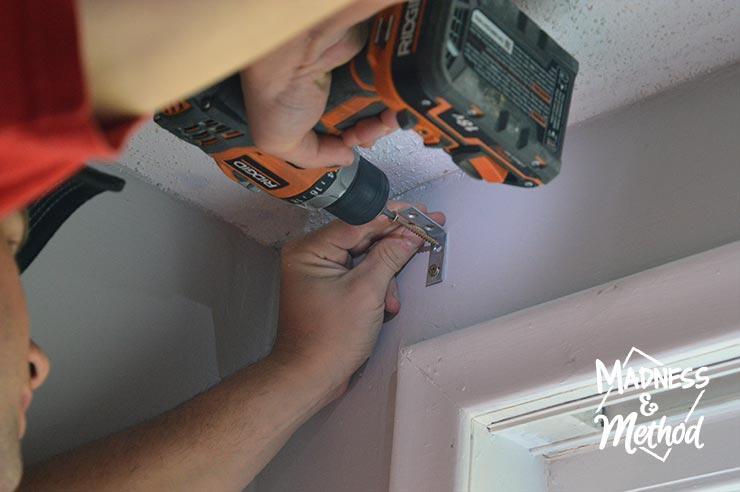
We then located the studs in our wall and added the L-brackets at the appropriate spots (I wanted the wood to sit on top of the L-bracket).
I then held the blind in position as the Husband screwed it in, and it was looking super sharp! NOTE: We did have to screw the blinds into the piece of wood along the top since the glue wasn’t holding/hadn’t really set at this point. We just put a few little screws in along the top, and it seemed to work great.
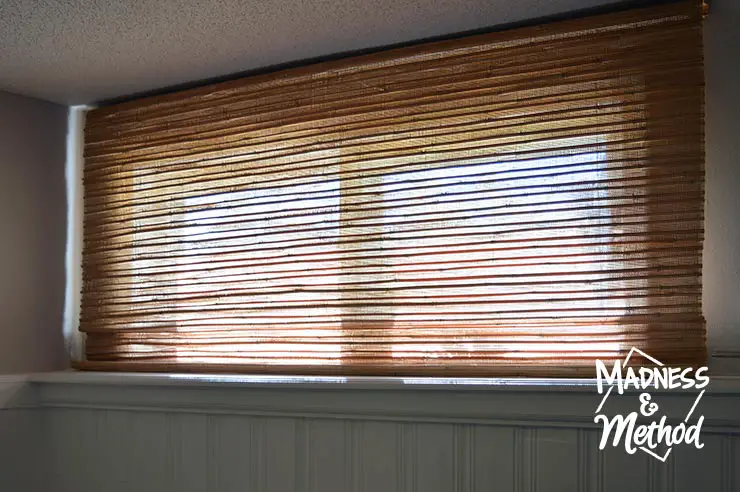
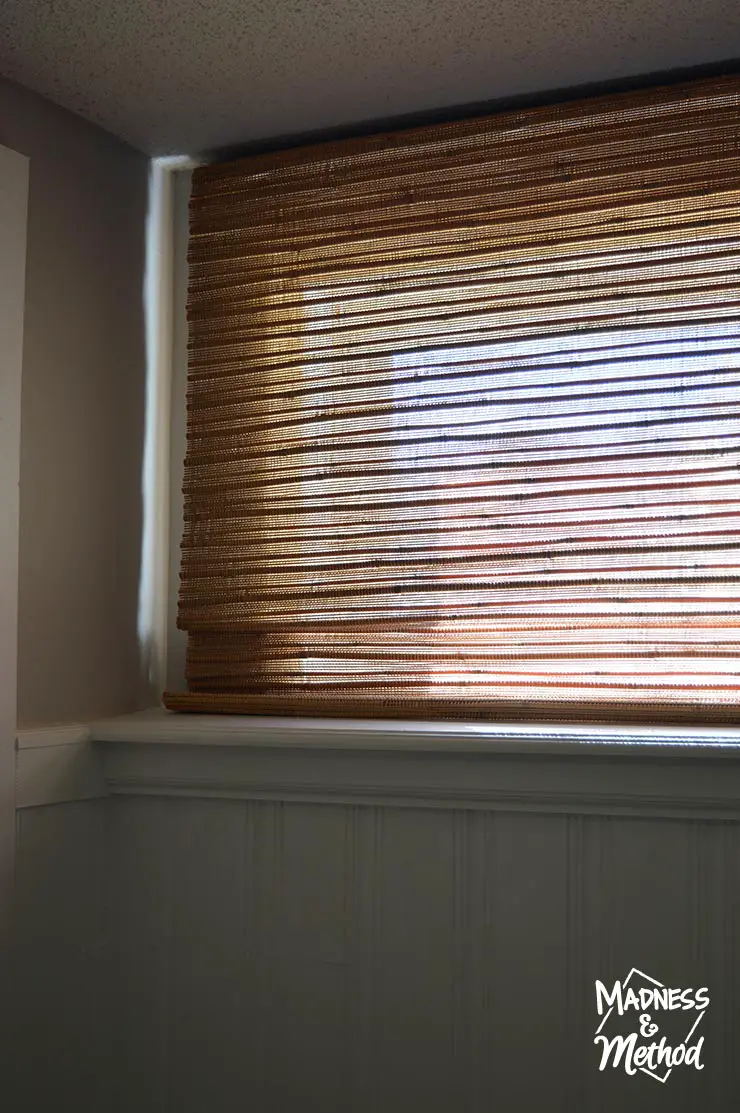
Now, doesn’t this look much better than a piece of foam core!? Unlike the “normal” blinds, these DIY bamboo blinds don’t have the flap that folds over on the top, but I’m super okay with that (you can easily add it in if you have extra material and like that look).
And this is the “secret behind the curtain”! Remember when I said to restring your blinds because you wouldn’t have enough length to work with? Well, I thought that I could just tie extra strings and it would be fine… but the knots don’t even fit in the holes… d’oh!
Oh, and normal blinds have that little mechanism that locks into place when you put the pull cord a certain way. My DIY hack involves a hook screwed into the wall, you simply pull the cord and tie them around the hook to “lock” them into place. I mean, I could put a cool looking knob or something there, but you only really see it when the blind are open.
Adding these custom bamboo blinds to our basement not only adds warmth with the added texture and wood tone colour, but the light that gets filtered through them is a nice warm colour too! I’m hoping that will fool me into thinking it’s warmer down here (because winter is coming soon!).
Basement bamboo blinds can certainly get costly if you have windows like ours that are super wide, but only so short! I know it’s a design trick to sometimes have the blinds extend past the window to make it appear larger, but unfortunately all our panelling sticks out a bit. Hopefully, my DIY hack will help you if you’re in the same situation, and I’m happy that I found a solution to making my blinds rollup like normal ones!
Buy Wide Bamboo Blinds







2 Comments
Greg Sonata
August 22, 2021 at 6:18 amThese basement bamboo blinds look great, and I am thankful for the DIY hack you shared here. This is great for me, and I will share it with my colleagues now.
Nicole
August 27, 2021 at 7:08 pmNo problem