
Surprise, surprise, we haven’t gotten any work completed in our basement bathroom at the cottage. Don’t worry though, we did plenty of work at the cottage – just on other things. In the spirit of sharing something, this week I’m going to chat about the basement bath timeline and the original design idea.
If you’re new around here – we have been building a cottage for what seems like ages (about a year and a half?). For this round of the One Room Challenge, I decided to hop in and finish the basement bathroom there. While most of the cottage is close to being complete (90% of trim installed, final touches everywhere else), the basement bathroom is pretty much untouched.
Not that we haven’t done anything down there (I mean, we did build the whole cottage)! But it’s nowhere near where the rest of the cottage is.
Ready to see how far we’ve come so far!?
A History of The Cottage (And Basement Bath)
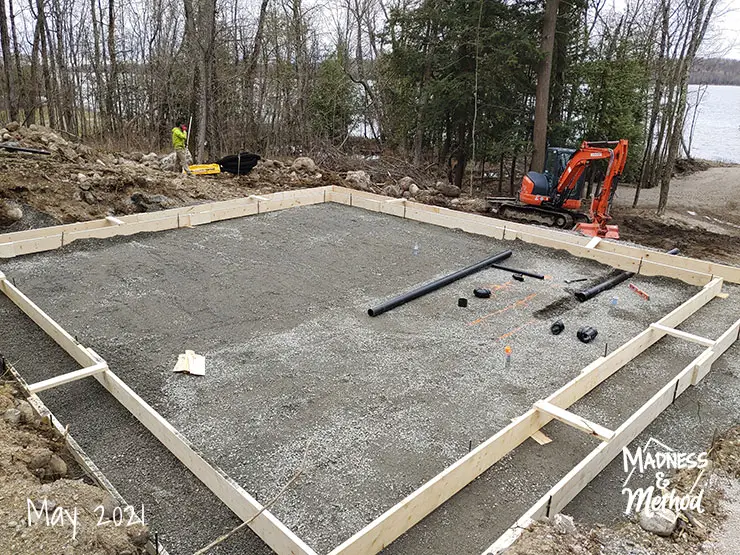
Way back in the spring of last year, we prepped the site and mapped out where this basement bathroom would go.
We had the pipes in place for the toilet, main stack and shower before we poured the concrete.

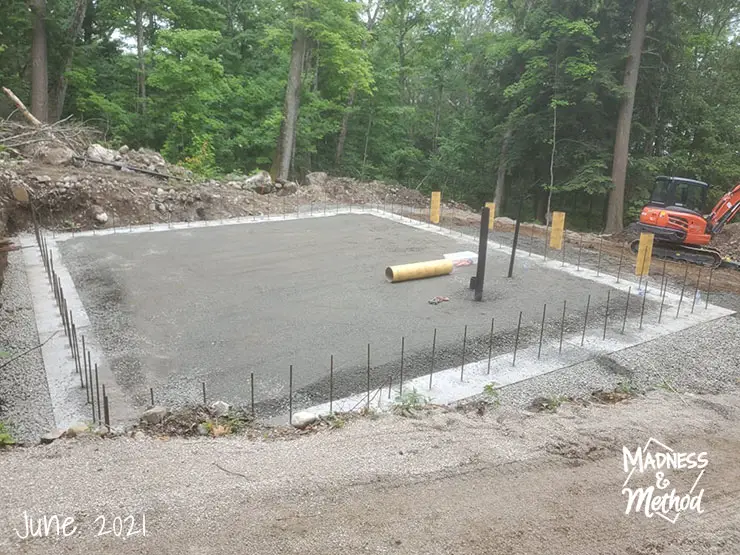
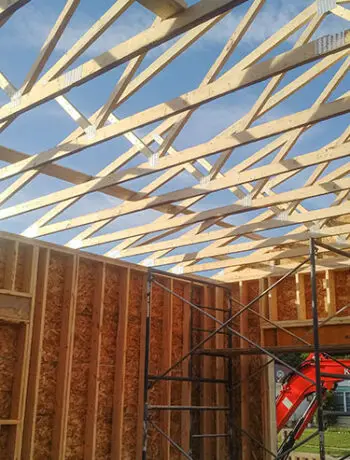
From there, we built up the walls with ICF blocks. It seemed like the house literally went up around the bathroom ha. PS: The skinny pipe is where the shower is.
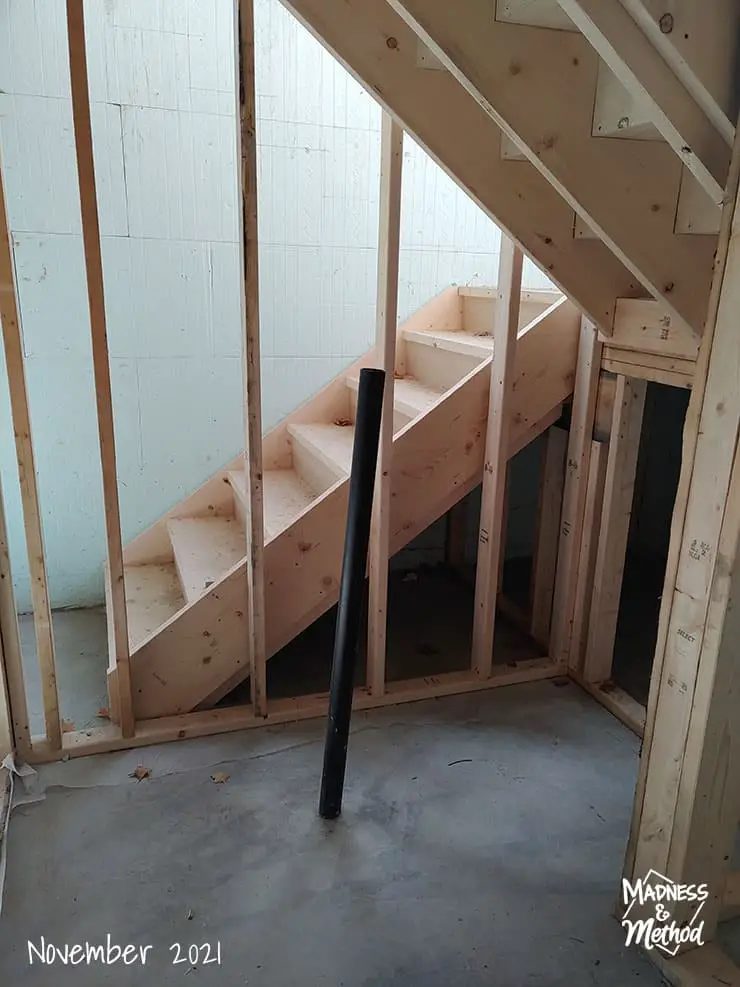
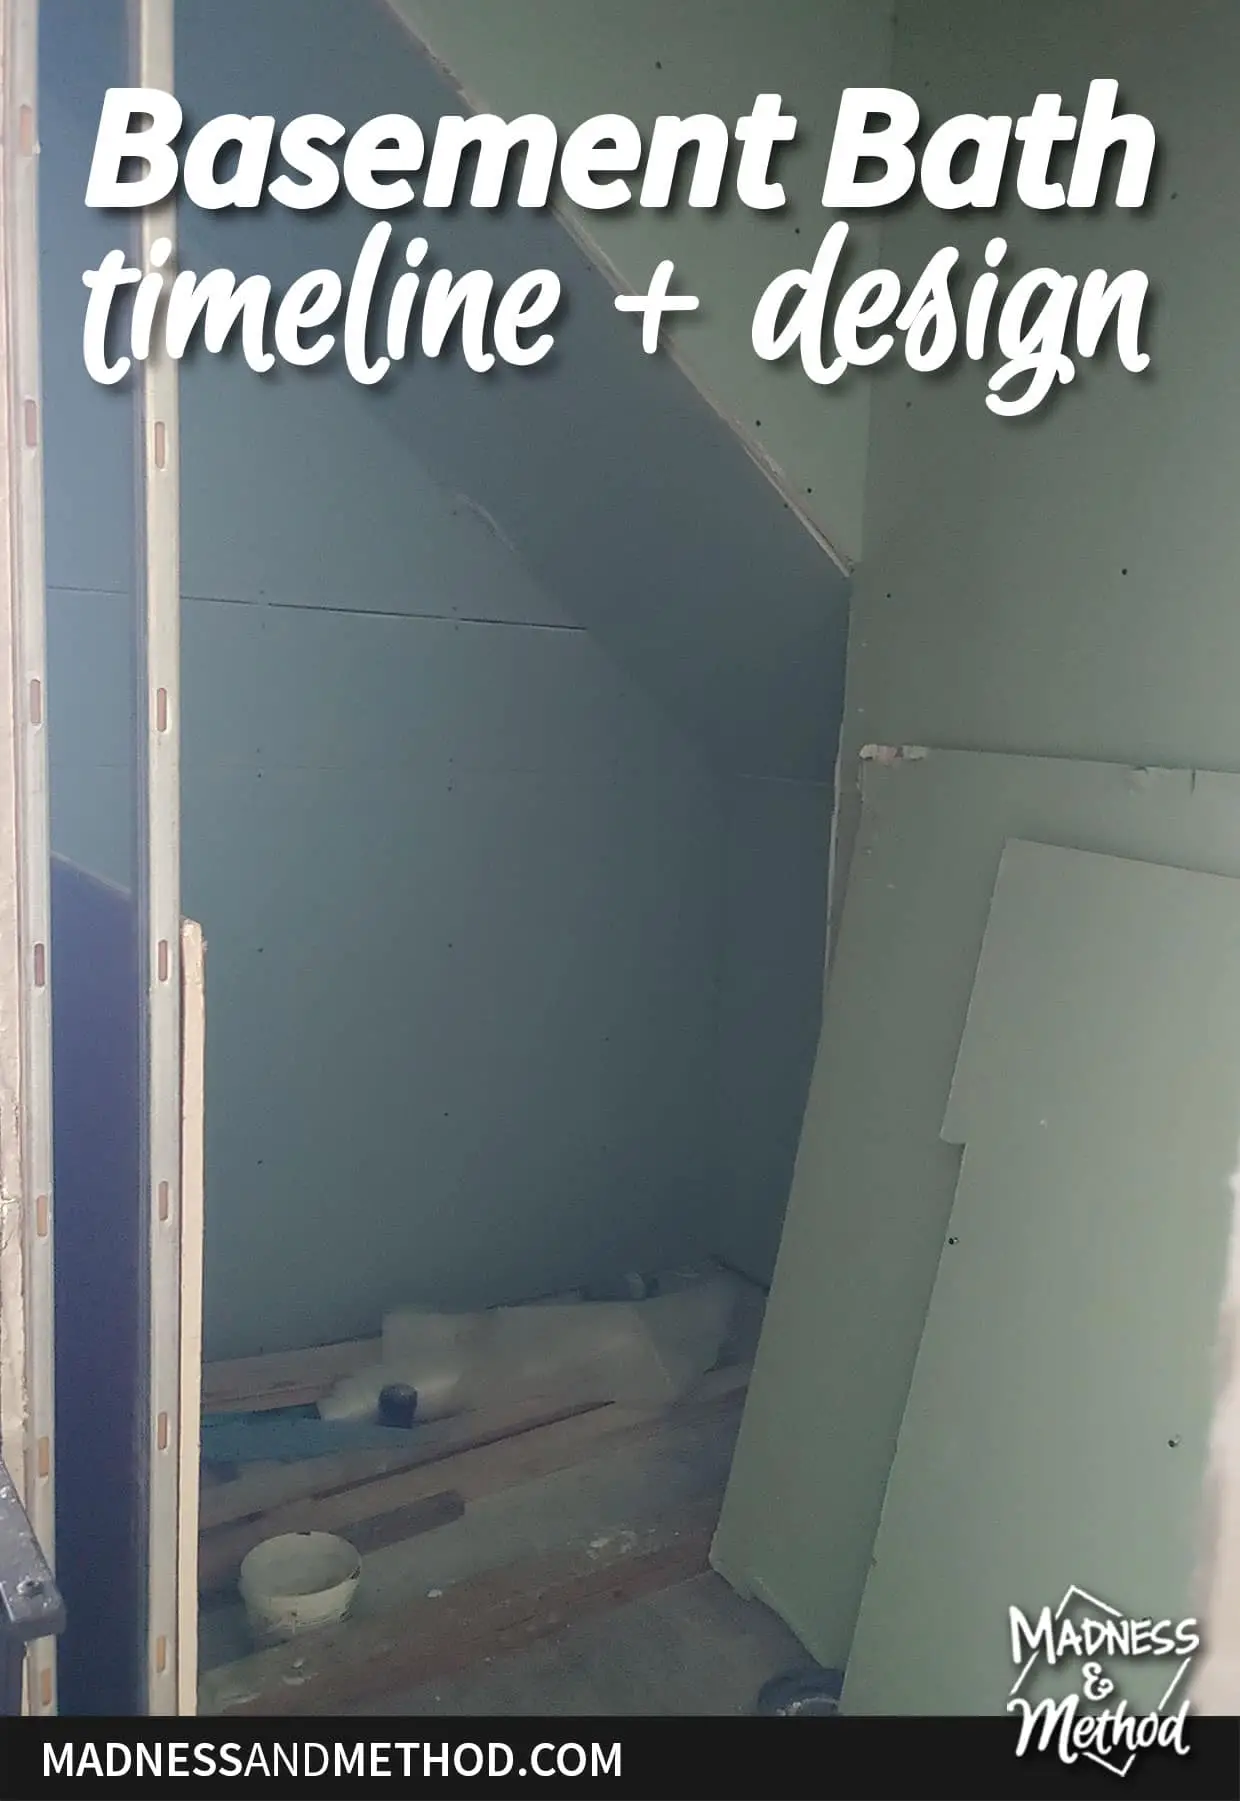
Eventually, we framed the rest of the house and rooms. The photo above shows the shower area. Much better than my photos last week when we didn’t have lights, ha.
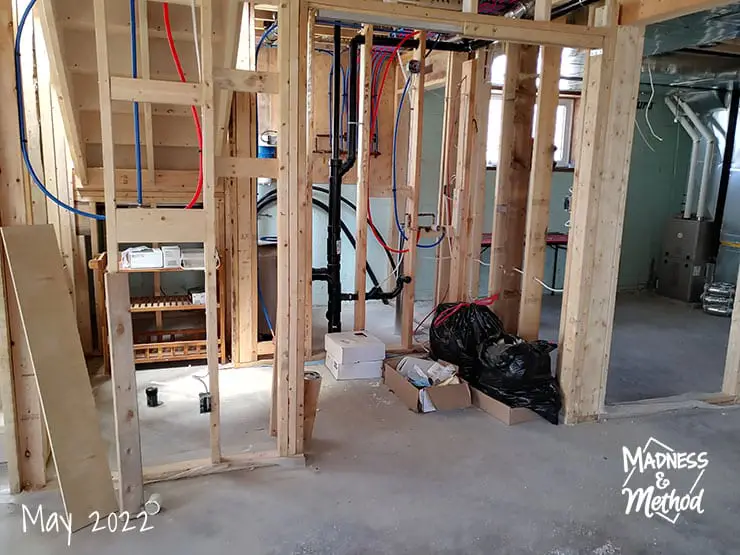
Here is the rest of the bathroom with the framing open. The plumbers eventually cut the pipes down, ha.

Basically, once drywall started going up – we began using this room as storage. And not much had changed!
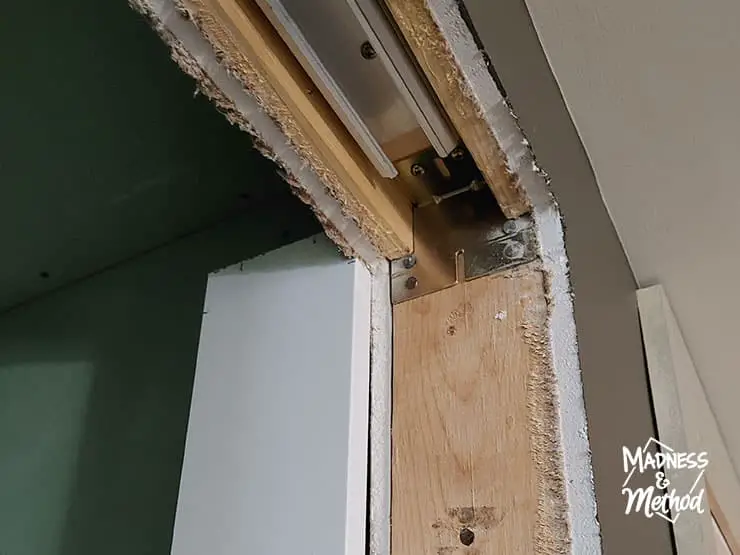
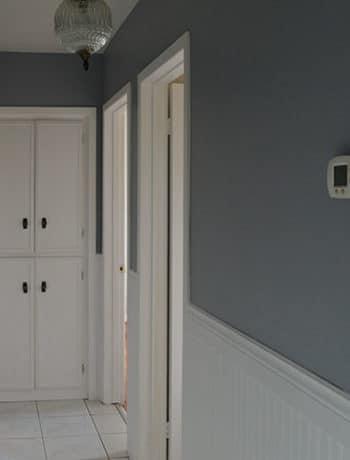
Although, this weekend we did finish installing all the doors, so that got rid of a lot of the big things we were storing. There is a pocket door that goes into this bathroom, and I just started the finish trim. (The piece of trim in the photo above is just there for me to mark the notches).
Original Design Idea
As I mentioned last week, I changed the design direction for this basement bathroom.
Originally, I was thinking of doing a multi-coloured hex tile for the wall. Here was my working moodboard:
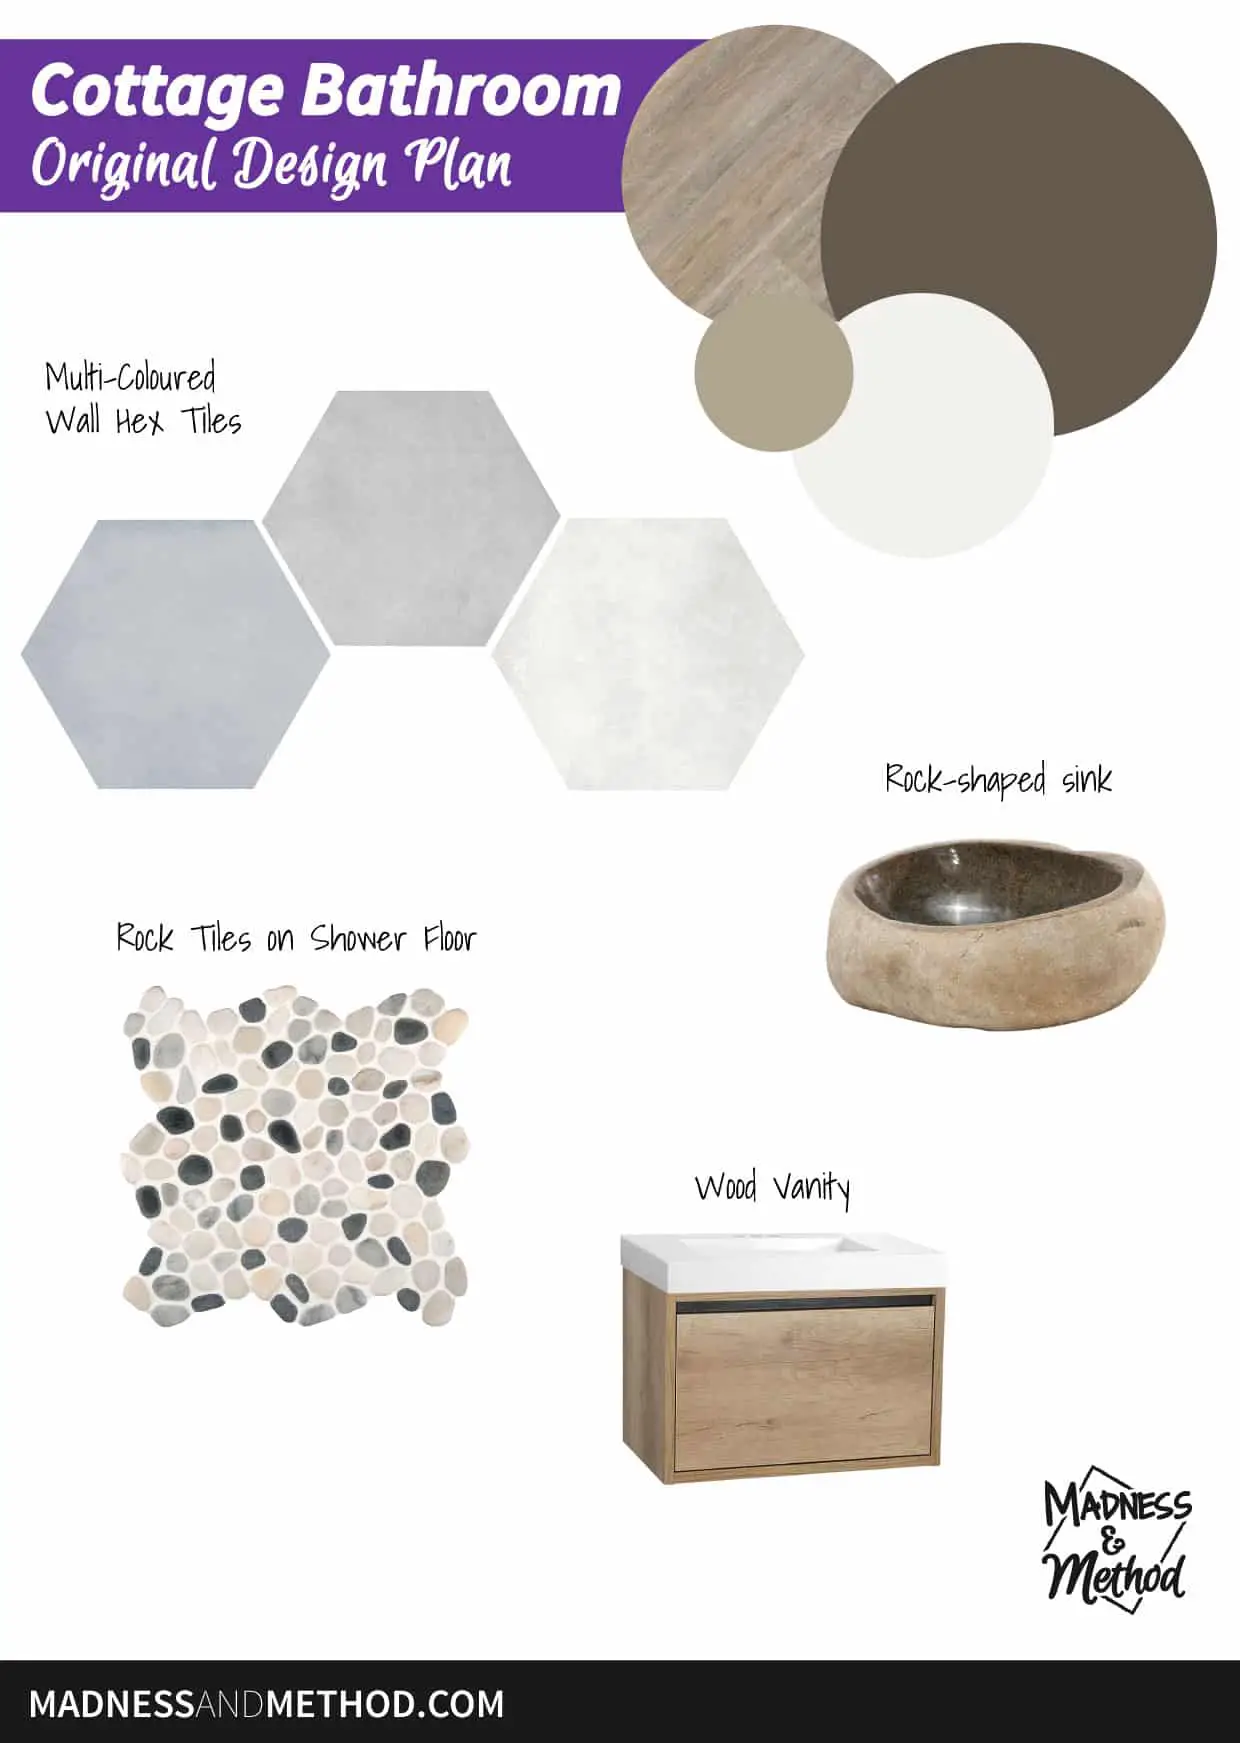
I also considered a rock-shaped sink (for the Rocky Retreat theme) but went with a regular one instead.
Here is an inspiration image that shows the hex idea I was thinking of:
View this post on Instagram
Essentially, I’d have the darker colour concentrated on the bottom, then randomly swap them going upwards. It would wrap around the whole bathroom but mostly be in the shower.
I love tiling, but I knew that a hex pattern would take a lot more time. Plus, I knew that long term, cleaning the grout may get annoying, and I wanted something that would look pristine.
Instead, I’ll be doing micro cement over all the walls and ceiling. Here is a picture of what I’m thinking:
The hope is that it’s a lot easier to keep clean!
But… I’ve never done it before – so hopefully it goes well.
About the One Room Challenge
Visit the One Room Challenge blog to see all the projects this round!

Follow My Bathroom Project
- Cottage Basement Bath Plans
- Bathroom timeline and original design idea (this post)
Upcoming:
Building a shower ledge/bench
Putting in the shower pan/floor
Prime the walls and add the mesh and flex coat
Finish the micro cement
Clean up and finish building the vanity
Install the shower/rock tiles
Final reveal
OH! I forgot to mention that the reason that we didn’t progress in this room is that I am waiting on the shower pan/floor. We need to build the bench first, but I don’t know where it will end up. And, I just ordered it last week – so hopefully it comes in soon!
(I think that I have everything else here already…)

No Comments