
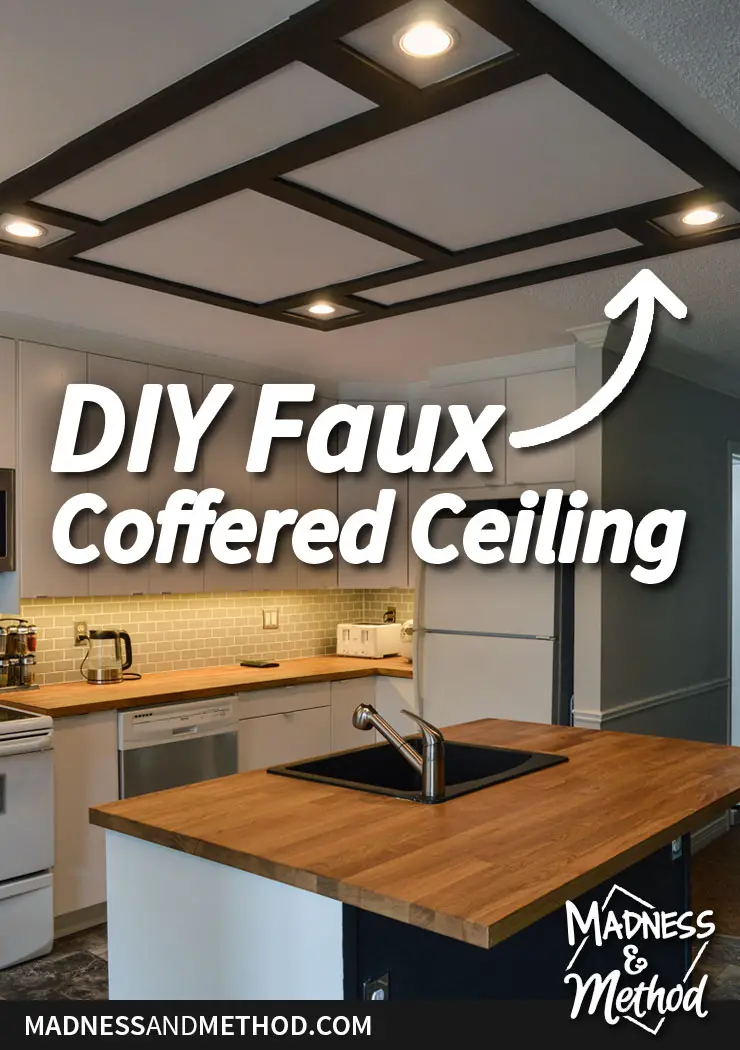
For my brother’s kitchen renovation, we ended up creating a super unique feature (that wasn’t even part of the original plans!). During the demolition, we realized there were some plumbing and HVAC that needed to be moved, which left us with a bigger hole in the ceiling. We tried patching it as best as we could, but ended up doing a faux coffered ceiling DIY instead… and it looks amazing!
– Note: This post contains affiliate links. See more information about affiliates here. –
If you remembered from the before photos, there was one single fluorescent light fixture above the cabinets. My brother didn’t want anything coming down from the ceiling, so we went with 4 pot-lights instead.
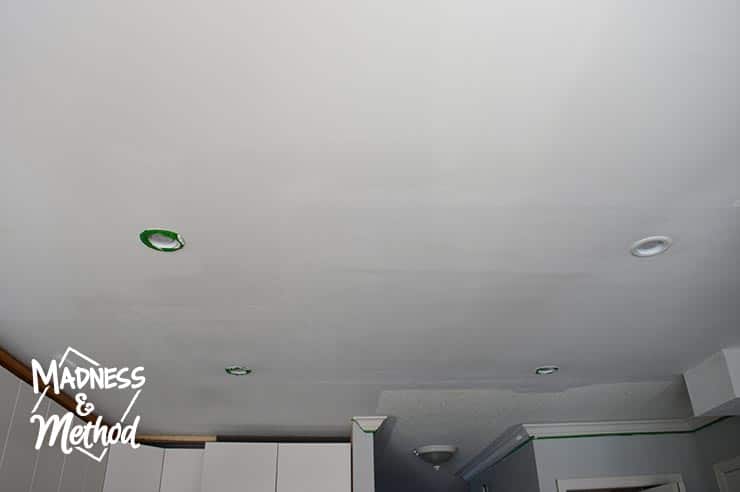
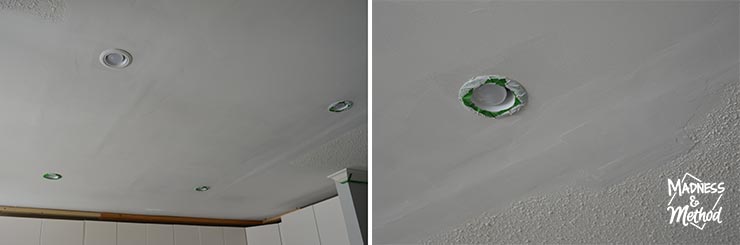
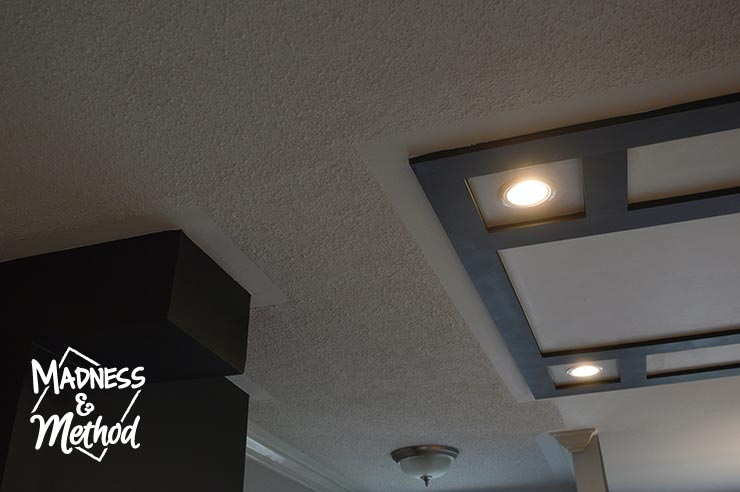
My parents ended up patching most of the ceiling while I was back home (remember, my brother lives far from me). But we couldn’t get everything perfectly seamless. (Oh, we were working on the ceiling around the same time we added the trim above the cabinets too!).
We assured my brother that the seams would be hidden once we did a popcorn patch on the ceiling (to match the hallway and rest of his house).
My brother didn’t want popcorn ceilings. He hated popcorn ceilings and wanted it to be flat.
I hated staring at these seams, so decided to do a faux coffered ceiling treatment to hide them!
But I first had to explain to my family what coffered ceilings were… Because my brother’s house only has standard 8′ ceilings, I also wanted to make sure that they didn’t come down super low (remember, he wanted it as flat as possible); and once I showed him a few pictures, he sort of got it.
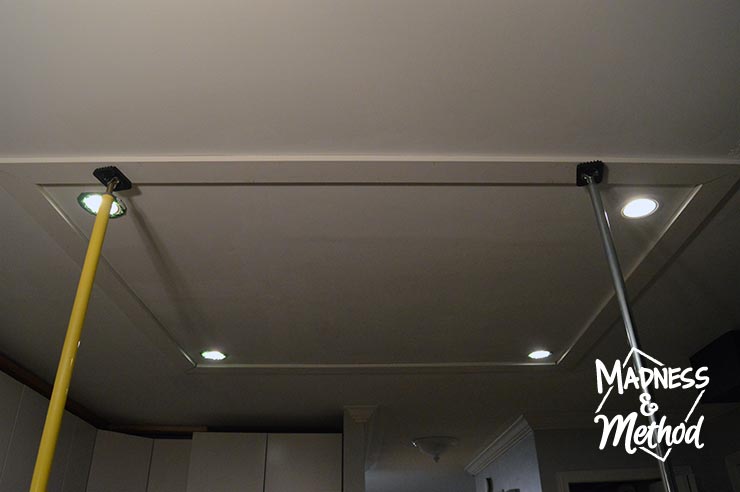
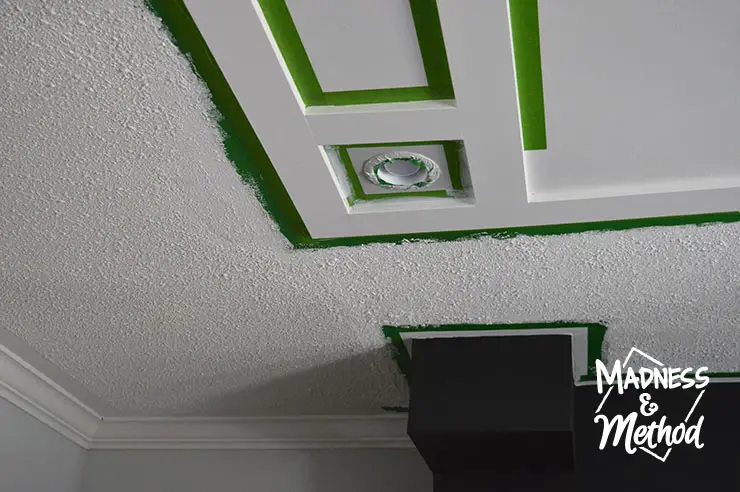
We used some plain pieces of Metrie 1/2″ flat stock and built a square around the lights. For each piece that we hung, we added construction adhesive, nailed them in AND held them in position with some support rods as the glue dried.
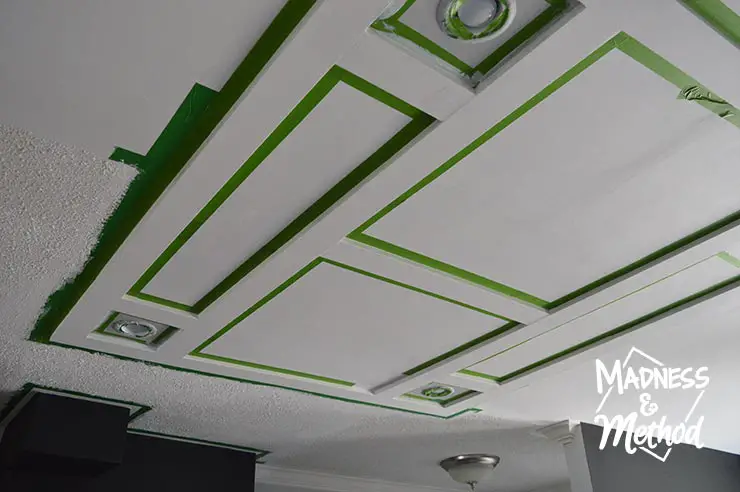
We then sketched out some different designs and had my brother pick which one he wanted. (Me and my Dad had SO many designs and it was a competition to see which one he liked best, ha!).
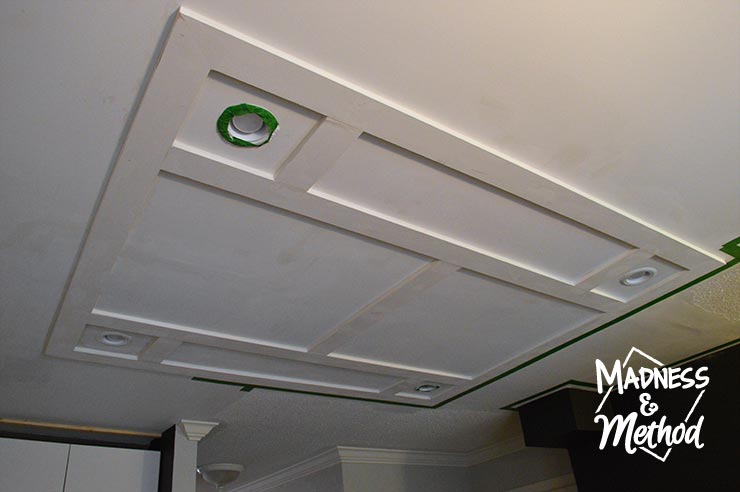
Once all the pieces were cut and attached in place (again, we used the support rods for each section we hung), we patched all the nail holes and caulked all the seams.
We decided to fill in the popcorn in the hallway section to match what was there before, but left the main kitchen and dining room as-is.
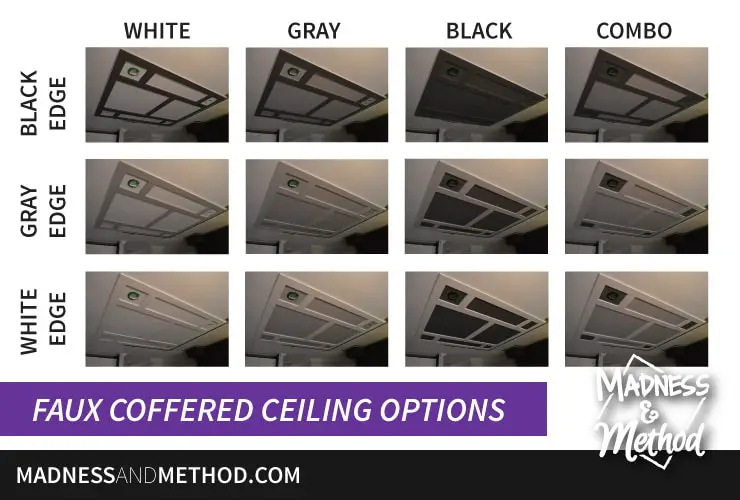
My brother didn’t want to leave the faux coffered ceiling white, so I did a few mockups on the computer to show different colour combinations:
After priming everything, my dad taped each little section and we got to work making this faux coffered ceiling really pop!
He decided to go with the black trim option with a white and gray background. It’s hard to tell, but each little square with the pot-lights is painted gray.
I originally thought the all-white look was a good way to go because it was more traditional, and helped the ceiling blend in a bit more.
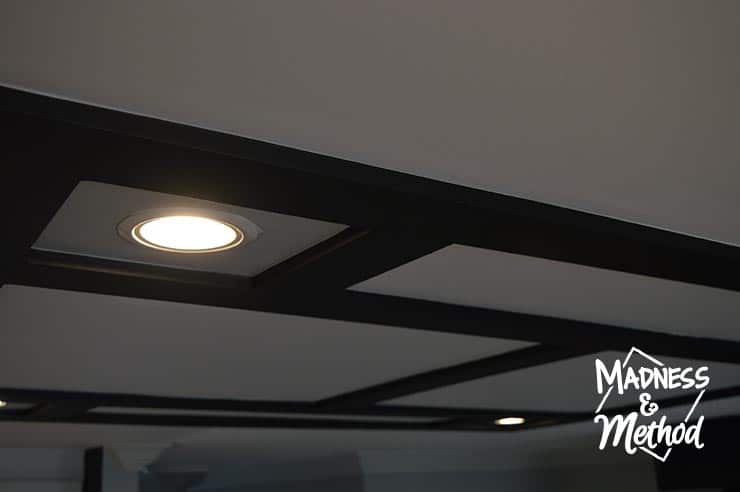
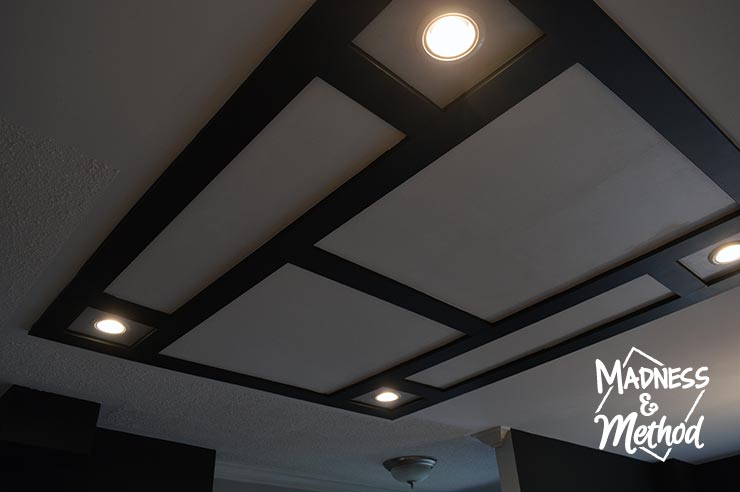
In the end, I’m really pleased with the black because it adds extra drama AND makes the faux coffered ceiling stand-out!
I was able to seamlessly blend in the popcorn patching with the old sections as well, and now no one will be able to tell there was a big hole here!
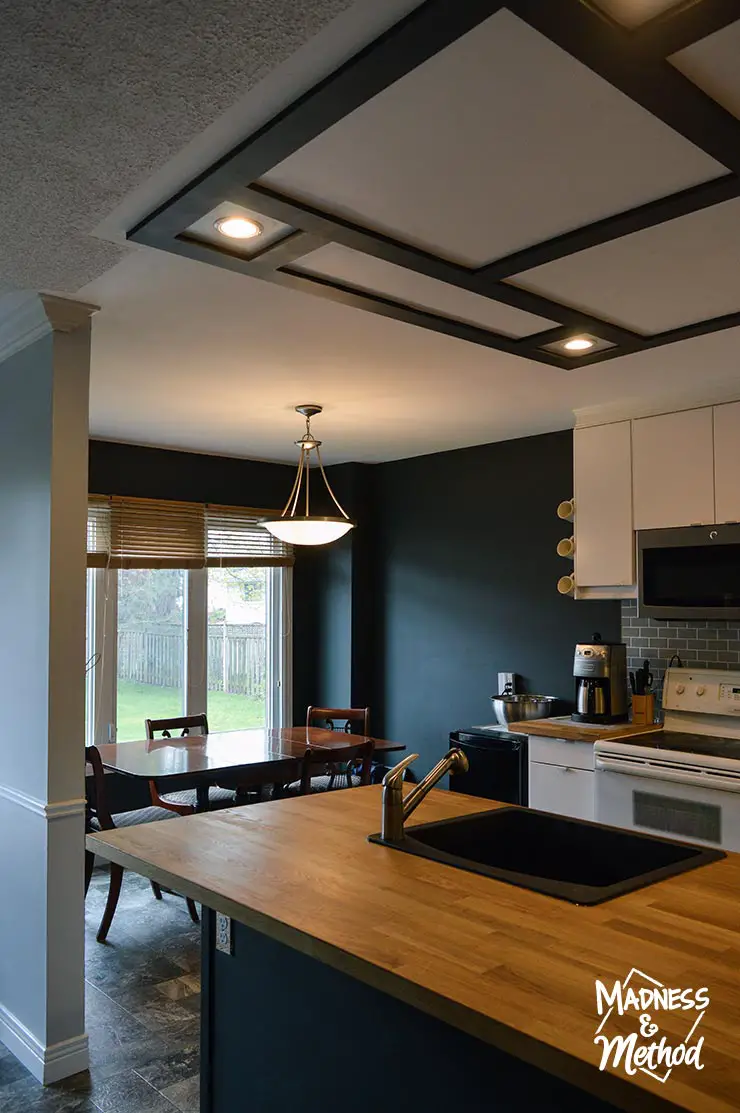
And here’s another sneak peek at the completed kitchen and black dining room! Make sure to come back next week for the full reveal :)
I mentioned that normal coffered ceilings usually drop a lot lower into the room (think 6-ish inches), but we definitely couldn’t afford to lose that much space and this was the perfect solution! For something that wasn’t part of the original kitchen plans and was only added to hide some drywall seams, this faux coffered ceiling DIY turned out great! But if you’re going to do something, might as well do it amazingly right!?


No Comments