
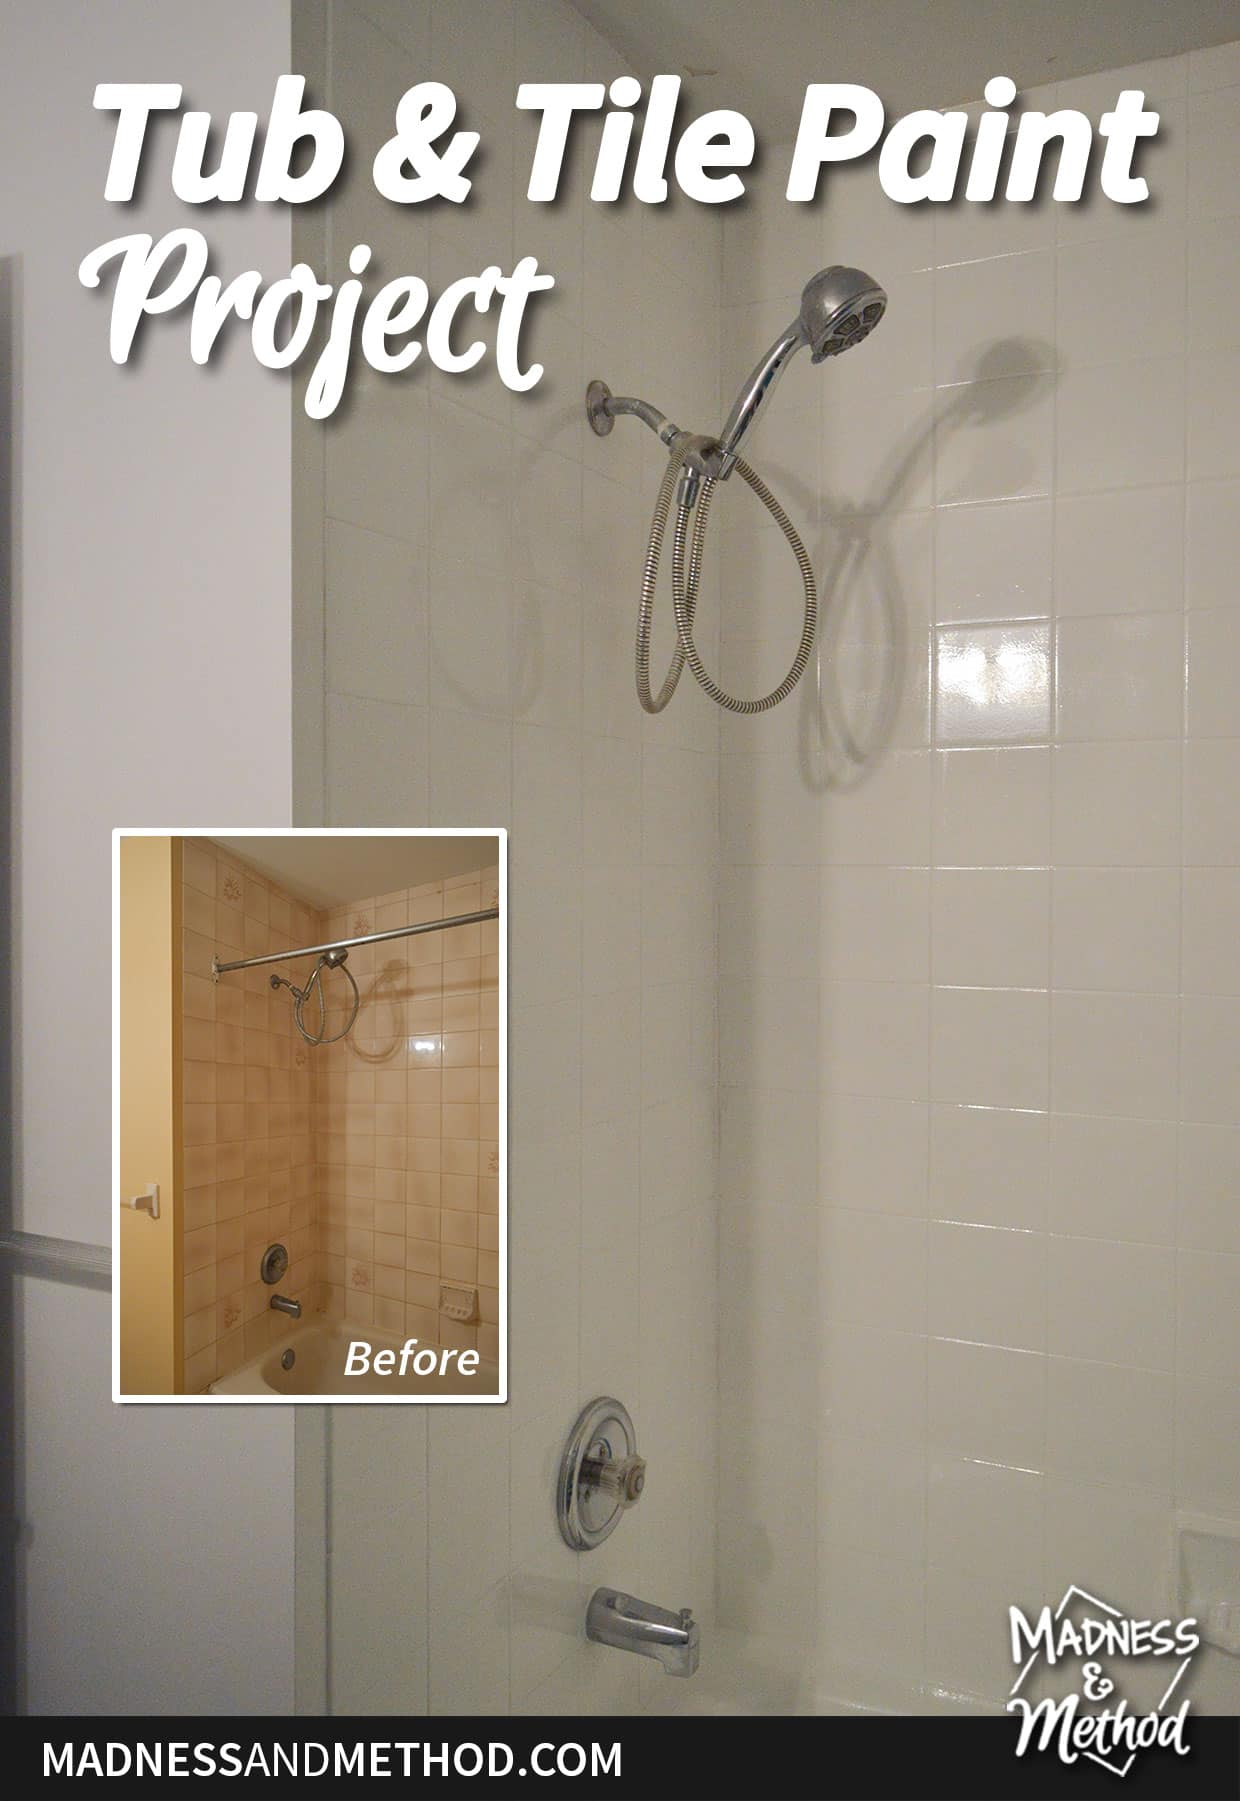
Do you have an outdated bathroom that’s still in good shape? Yes, you can paint your tub and tiles (and sink… and toilet)! This was my second time doing a tub and tile paint project, and the transformation is always great. I also wanted to test out a different product this time – so I’ll go over the differences a bit too. Read on for more details!
– Note: This post contains affiliate links. See more information about affiliates here. –
Welcome to the fourth week of my Spring 2023 One Room Challenge project! I’m redoing my brother’s main bathroom to make it look like his powder room. In the first week, I introduced the beige bathroom, in the second week I shared the floors, the third week was the toilet installation – and now, the tub and tile paint!
I call this V2 of the project, because I’ve already painted a tub and tile surround before with the Rustoleum Kit. This project was mostly the same, however I used a different product. I wanted to see how this paint would fare (ours yellowed over time) PLUS it was cheaper. Time will tell how it turns out – so I’ll keep you updated :)
Products Needed:
- Klenk’s prep kit (and bucket)
- Klenk’s Tub and Tile Epoxy (I used 2 full kits)
- Proper respirator, gloves, painting clothes
- Painting supplies (foam rollers, disposable brush, tray)
- Things to cover surrounding areas (tape, cardboard, plastic)
- Silicone removing tools (scraper, utility knife, caulk remover)
- Fan/ventilation
I recorded a quick video that’s embedded below and goes over all the steps. Check it out on YouTube here if you want more details now.
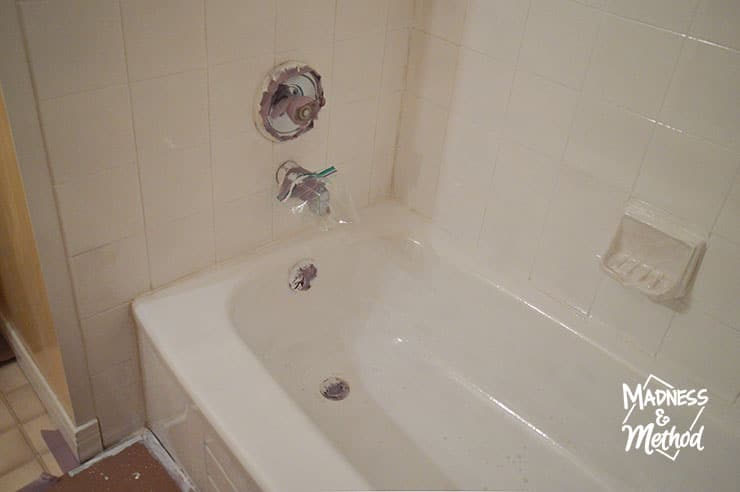
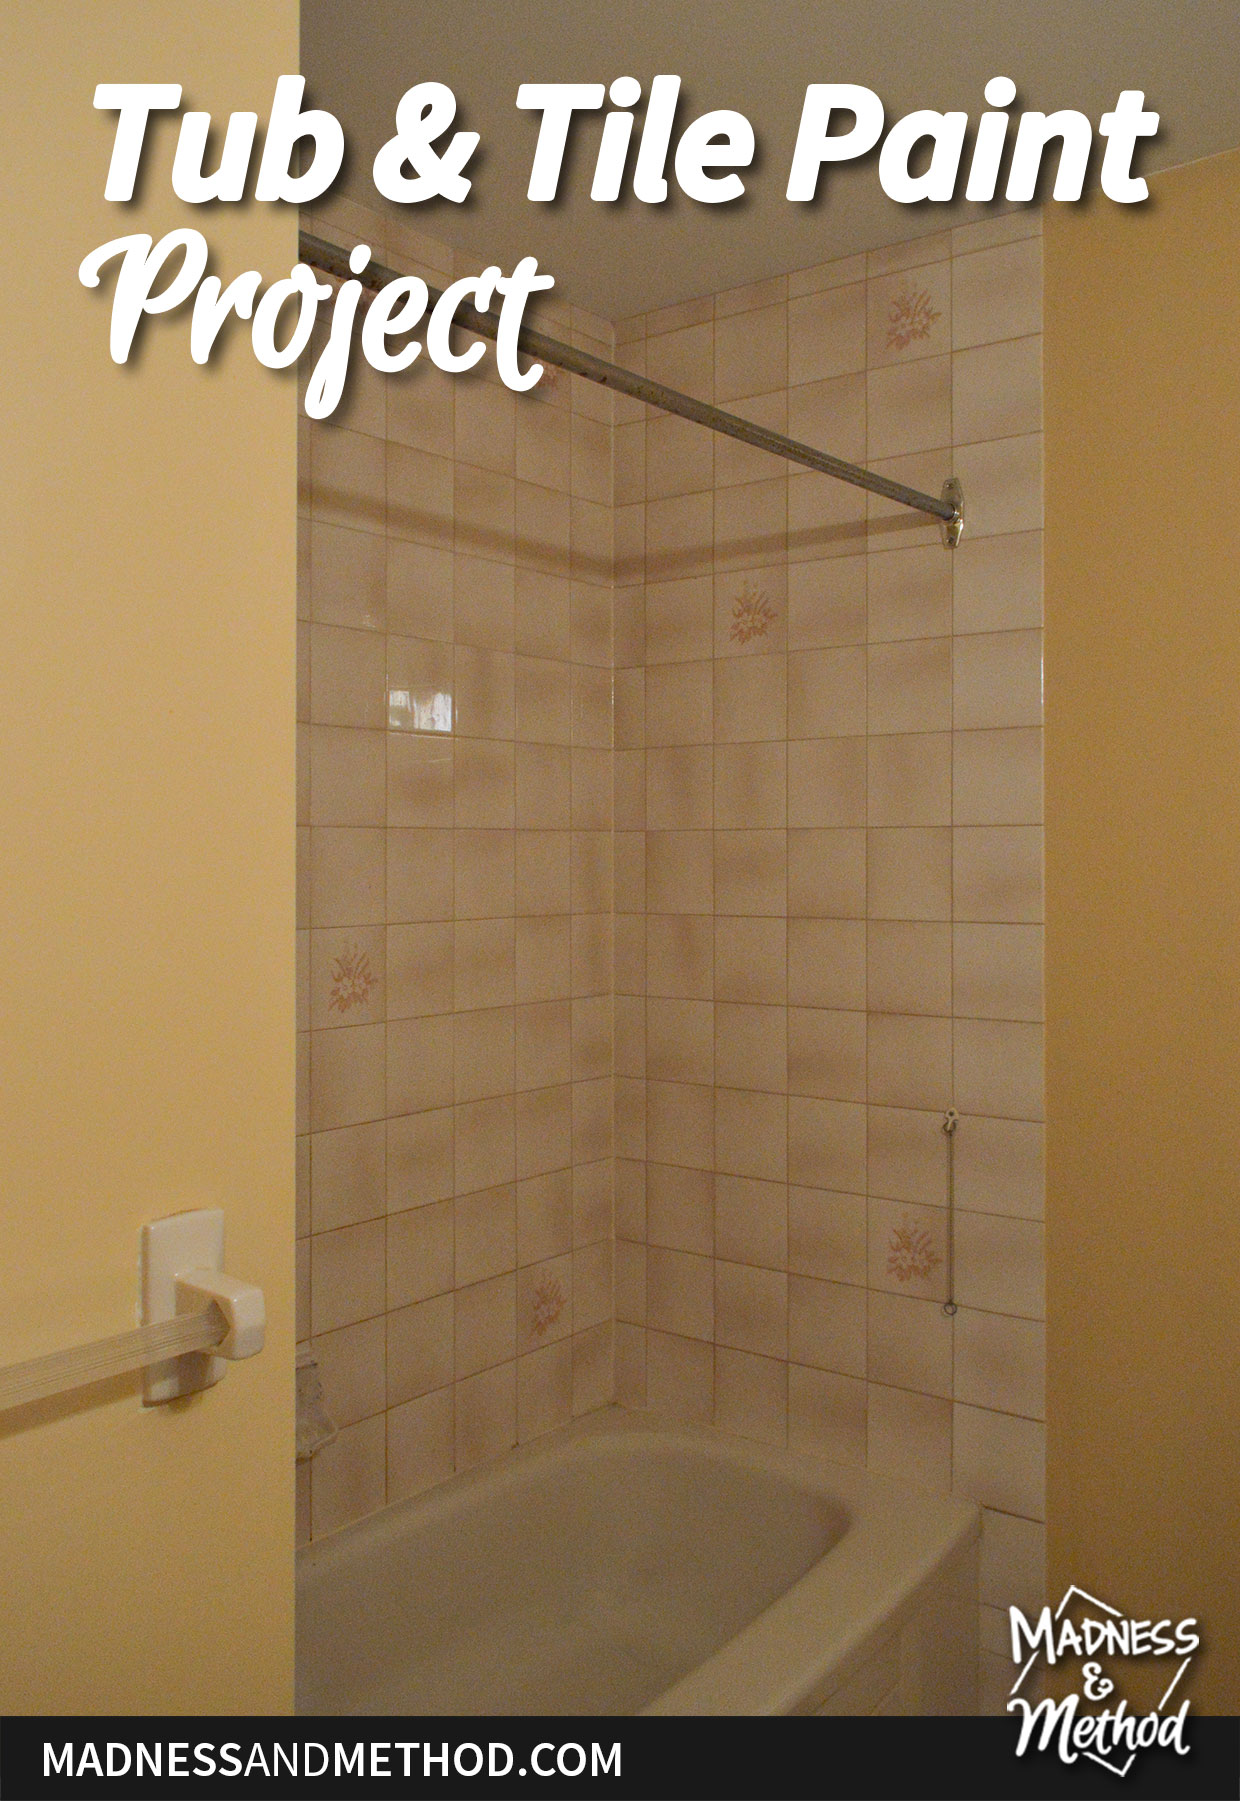
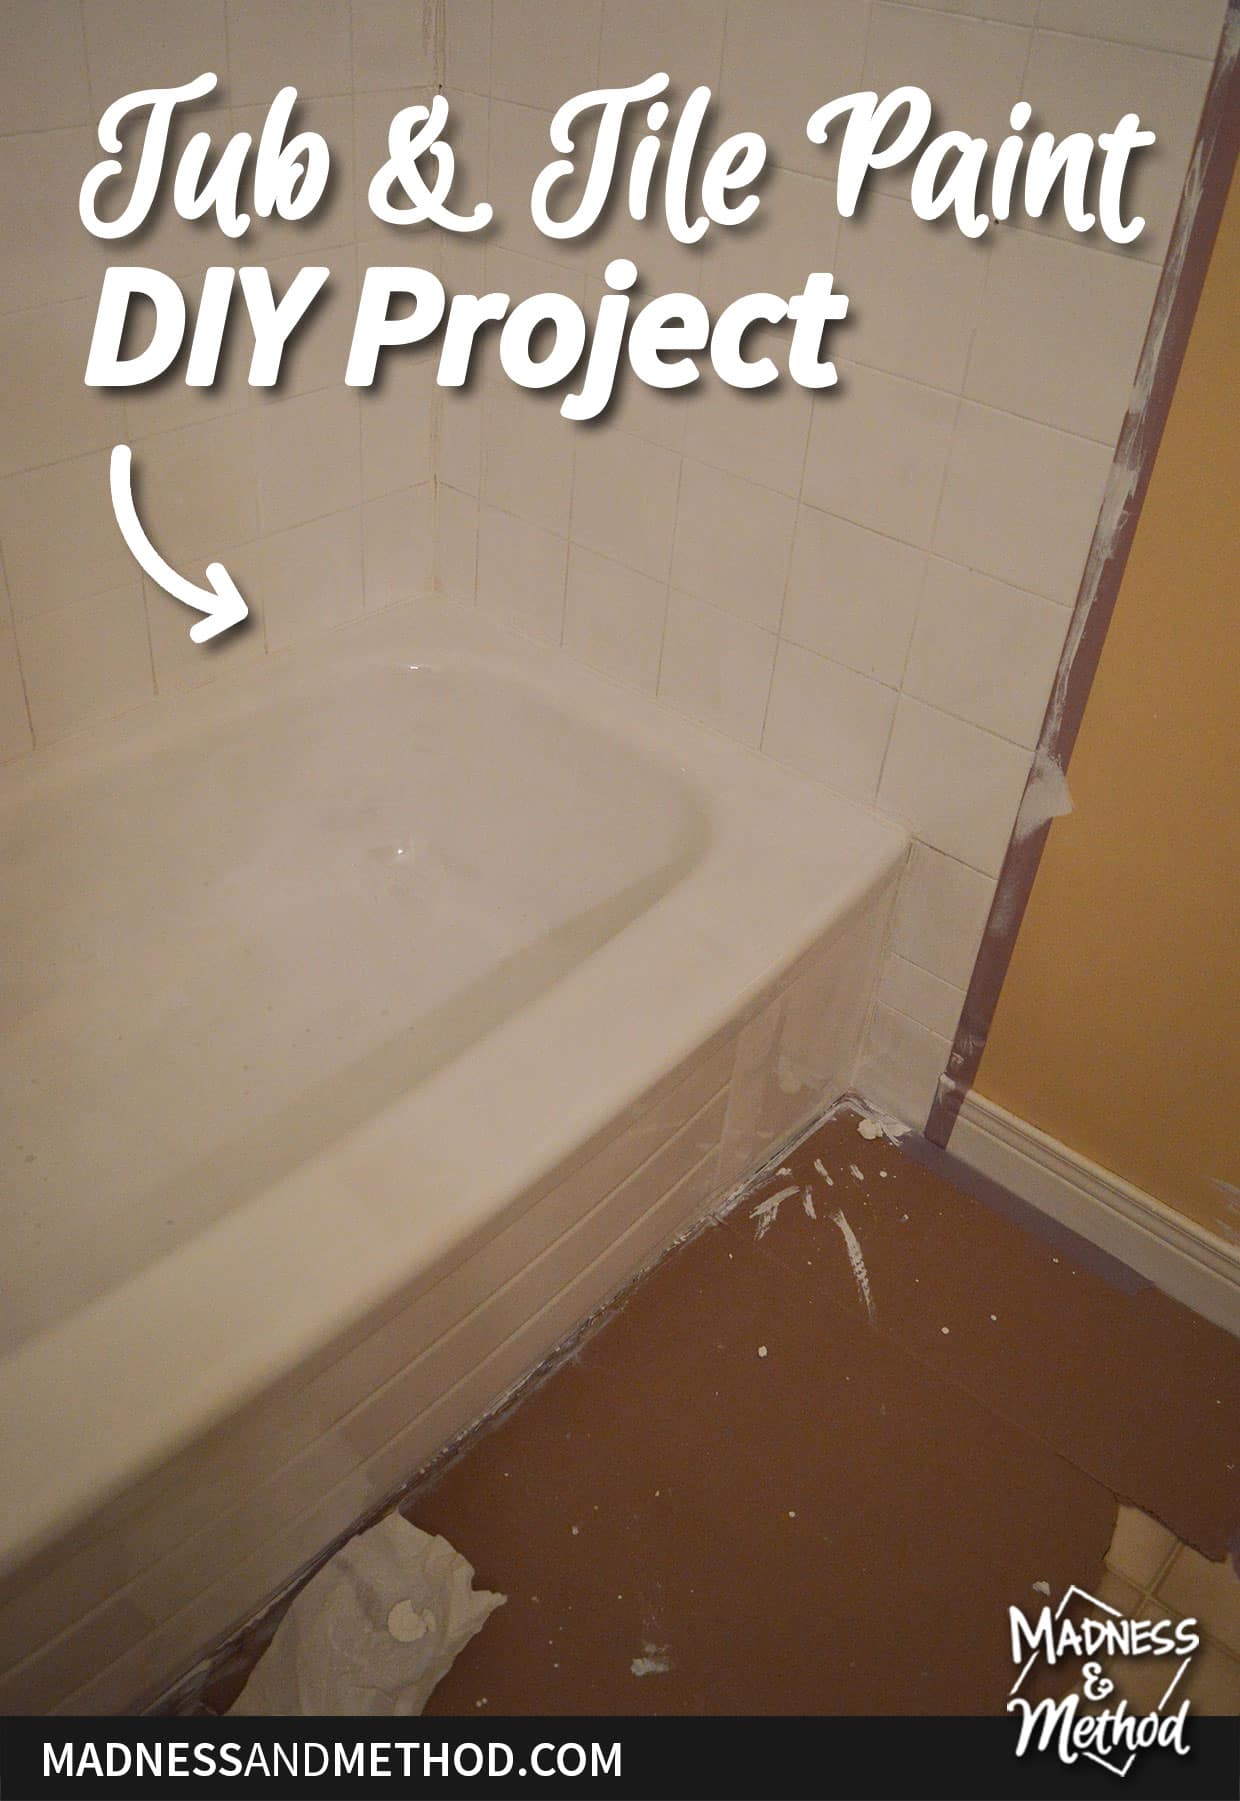
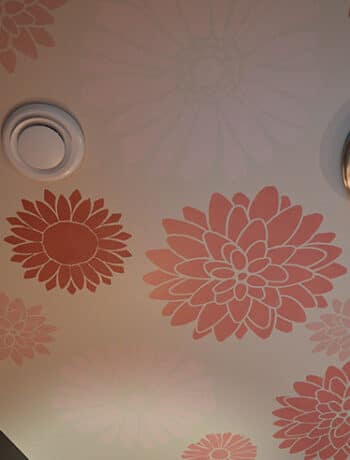
Let’s get to it! Here’s what the tub and tile surround looked like before:
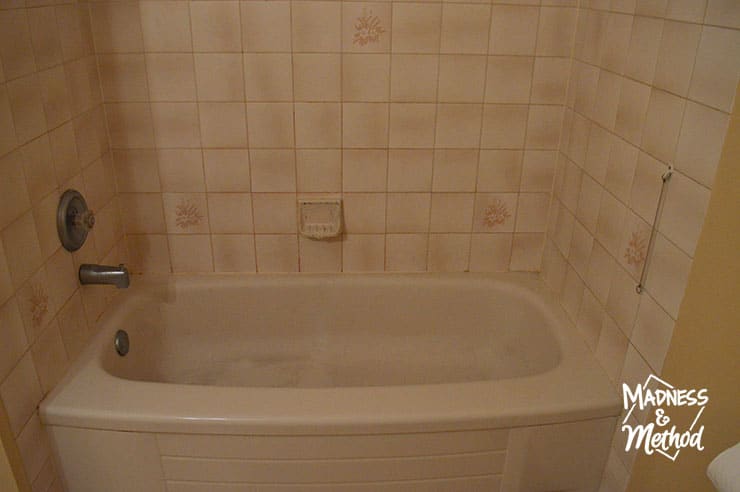
Almond/beige coloured tub with matching tiles. Some of the tiles had embossed flowers (randomly placed) and there was an old chain that we removed. I contemplated taking out the soap holder, but thought it might leave damaged tiles.
Tub & Tile Paint Prep
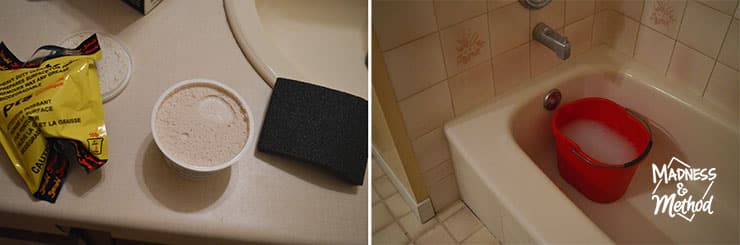
First up was preparing the tub and tiles! There was silicone along all the edges, so I had to painstakingly scrape all that up. Then, I followed up with the Klenks’ prep kit, which included a gritty scrub tub, and a TSP mix. I could have probably gotten two of these kits, as I found that the scrub was hard to spread around.
Essentially, you wipe it on, then scrub it with a sanding sponge to scour the surface. Then wash everything with the TSP mix, and rinse with water.
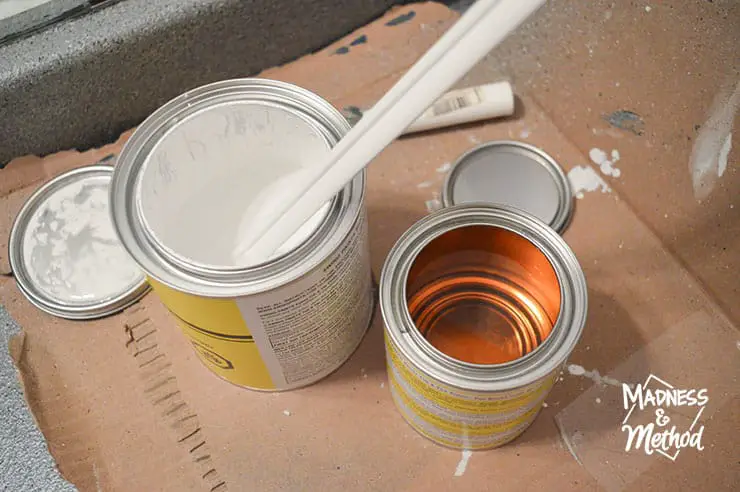
Once everything is dry (I think I waited overnight), you can mix your paint. I stirred the smaller jar, then the bigger jar – then poured the smaller one into the big one. Once that’s thoroughly stirred, it’s set aside for an hour.
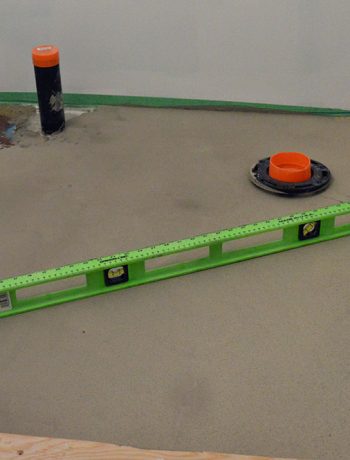
I took that time to prep my areas, including taping the edges, cardboard to the floor, and making sure I had everything ready.
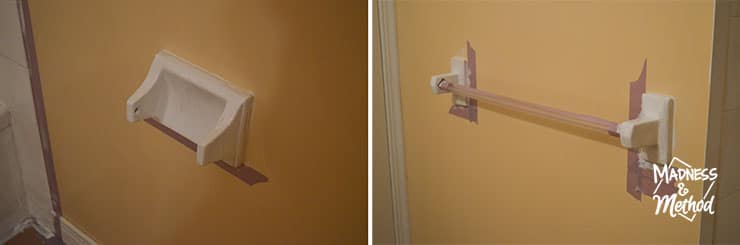
We also decided to paint the toilet paper holder and towel bar! They were the same almond-coloured porcelain, and it was easier to leave them in place than take them out and patch. (I also have areas on the ground taped/covered up) because I knew from experience that this paint would drip a lot!
Tub & Tile Paint Tips
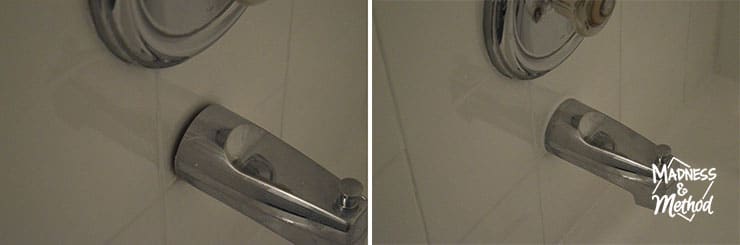
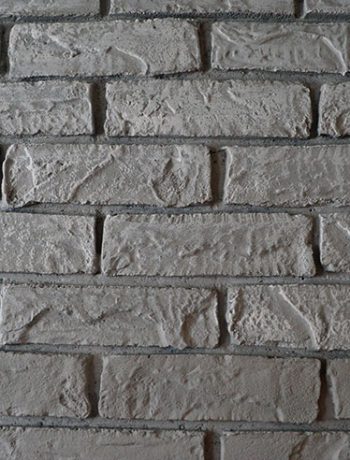
Here’s where we were after one kit (2 coats) of paint:
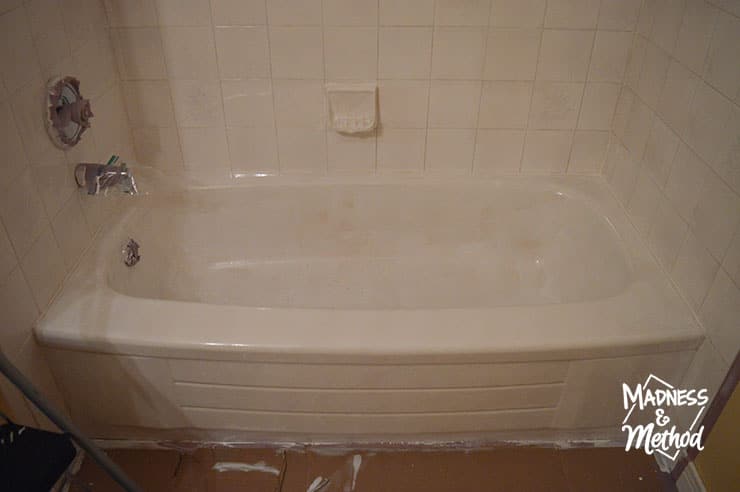
I was hoping that it would be enough since the tub and tiles weren’t as bright as ours used to be – but nope. Luckily, I did buy a few kits, so I just had to wait a few days to do the second pass.
The Klenk’s kit says it has a working time of 6 hours (which includes the 1 hour of wait time after mixing). If the painted area is still tacky, they mention that you can put the paint in the freezer for up to 24 hours. Our paint dried up perfectly in the amount of time I calculated (2 hours), and I didn’t have to freeze it. When I used the Rustoleum kit, I had the window open to air out the fumes and it seemed like it was tacky forever. It was October/November so it was cold out – and I had no idea that the temperature affected the dry time. (By comparison, the Klenk’s says to keep the room warm).
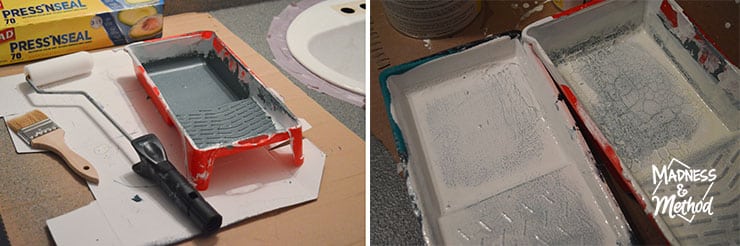
You should use a clean paint tray (and have extra rollers handy). I tend to reuse my paint trays without cleaning the paint after, and there was definitely some kind of reaction that happened a few hours later. The foam rollers also had a tendency to break up a lot easier.
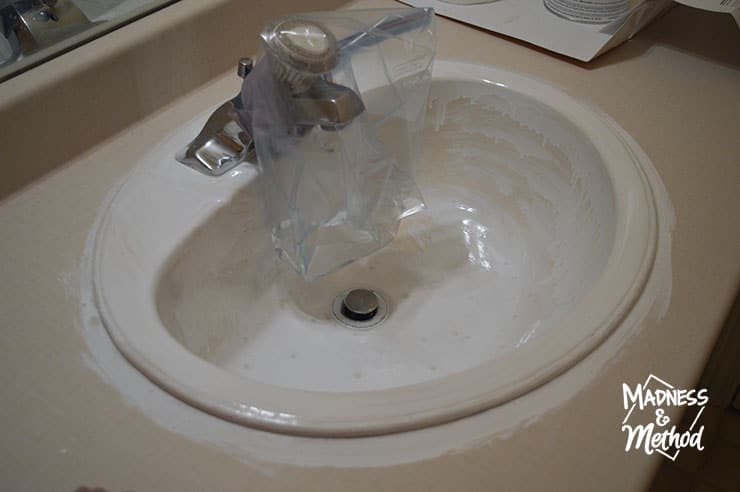
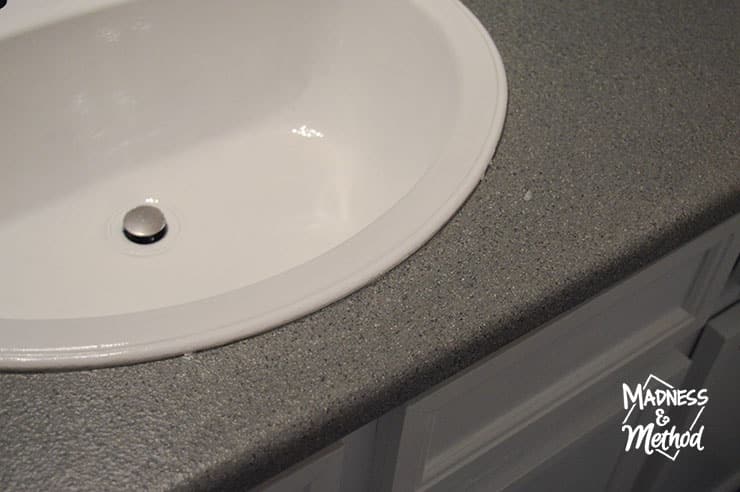
The sink was also painted at the same time – and I had a bag over the faucet at first to catch a drip. I eventually took off the faucet and put shut-off valves when I replaced the toilet. That was a lot better!
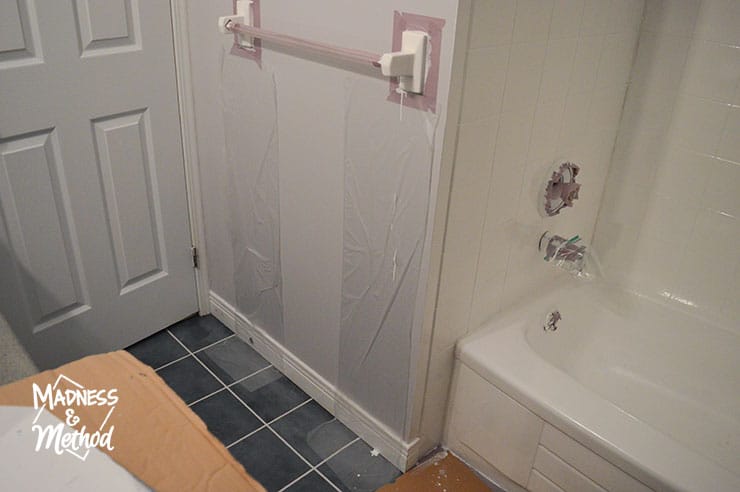
Oh, and check out my lovely plastic covering underneath the towel bar! I mentioned before that I was updating his bathroom all in one week, so you can see the newly painted floors. This tub and tile paint is very liquidy, so always expect drips to happen.
How the Tub & Tile Paint Turned Out
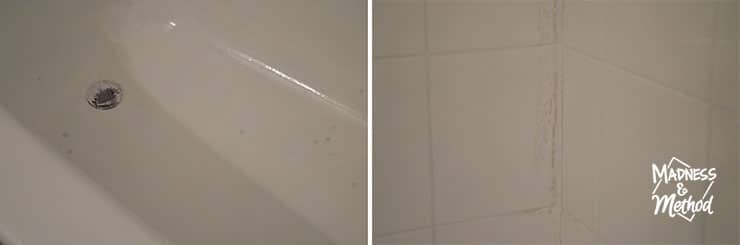
One thing I had in my brother’s bathroom that was not an issue in ours was leftover silicone that didn’t absorb the paint. These spots are called “fisheyes” and they sell an additive to add to the paint to cover them. Unfortunately it was really hard to find, but I did order some that didn’t come on time. I will be going back to his house soon to do another round of paint (with the additive) to see how it turns out!
I sort of mentioned in the video, but I did the first round of tub & tile paint with an inadequate mask. It’s what I used at our house, but I had the luxury of an open window to let air in. Here, I really felt the effects of the paint fumes in the closed space, and had to buy a special mask to paint the next time. The bathroom fan was on the whole time, and I had the windows in the adjacent rooms open with a fan blowing towards it. But ya, definitely wouldn’t do that again – so get a respirator!
And yes, I did get a small drip on the new countertops, but I will hopefully hide it when I am there next :)
Once everything was dry, I went back and siliconed all the edges and gaps that needed it. Including the old hardware holes from the shower rod/curtain chain.
You’re supposed to NOT get the area wet for 5 days afterwards, and I’m pretty sure my brother and his roommate were able to do that…
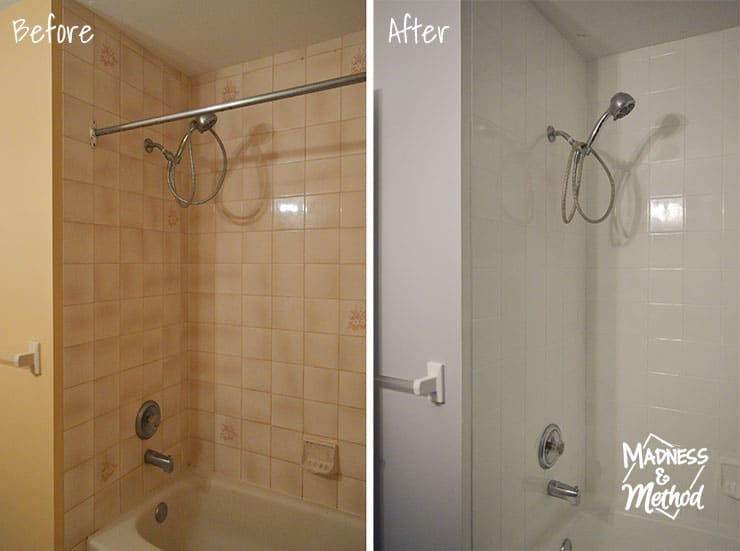
But yes, check out the before and after! I also painted the walls gray (which I’ll chat about in another post). We still need to install the shower rod, but other than that, everything else is the same.
Comparing Tub & Tile Paint Kit Brands
I mentioned that our shower painted with Rustoleum Tub & Tile kit yellowed over time (just a few months in actually). Not sure if it’s because our room gets a lot of sun (UV is bad for epoxy apparently) but I really hope this shower stays bright white. I did reach out to Rustoleum and got reimbursed – and they mentioned that they’ve never heard of that happening before.
Why would I attempt the same project if I didn’t get good results? Honestly, 1) the painted tiles look so much better, 2) they are really glossy and easy to clean (grout is normally porous – but this is not), 3) this room didn’t have a window, so hopefully no UV rays, and 4) there may be different results with a different product.
In full disclosure, I did think I was going to use the Rustoleum kit again. It was already purchased, and I had my etching cream packed. But then I happened upon the Klenk’s kit in our local hardware store – and I brought them all up! When I did my tile painting project in the Fall of 2020, the Rustoleum kits were 35$ CAD… and now they are 100$ each! That’s 3x the price, and trust me, you can’t buy just one kit.
By comparison, the Klenk’s 1L was 60$, and they also sell a half-size for around 40$. (I did buy the half size and will use it when I do the fisheye remover application).
Smell and application-wise, they were similar. Klenk’s does say you can roll it on (whereas Rustoleum recommends brushing). I was going to roll it no matter what, because it’s so much quicker!
Again, time will tell how this painted tub and tile surround fares – but I will definitely update this post when I know more :)
Check out the video above to see a quick recap. Or, watch it on YouTube here if the player is not loading.
About the One Room Challenge
Check out the One Room Challenge blog to see all the projects!

Follow this bathroom renovation:
Beige Bathroom Before (+ Plans)
Faux Tile Painted Floors
How to Install a Toilet
Hopefully you’ve enjoyed this post on doing the tub & tile paint, and this whole bathroom series so far :) I’m actually headed back to my brother’s this weekend to finish up the last little bits. Which includes:
- Adding the hardware for the vanity (the bolts were both too long and too short)
- Doing another coat of paint on the tub to remove the fisheyes
- Adding framing around the mirror
- Possibly swapping out his light fixture, and
- Installing the shower rod.
- Plus any little paint touch-ups or accessories that I need to add…
I think that’s it – he will probably make me redo his other vanity counter that peeled up a bit… I didn’t want to do it last time to monopolize all the bathrooms, but I may be able to squeeze it in now. There are still some completed projects that I need to share, and we have a few more weeks left for this One Room Challenge.
Let me know if you have any question about any of the projects, and/or want more details on the tub & tile paint too :)

No Comments