
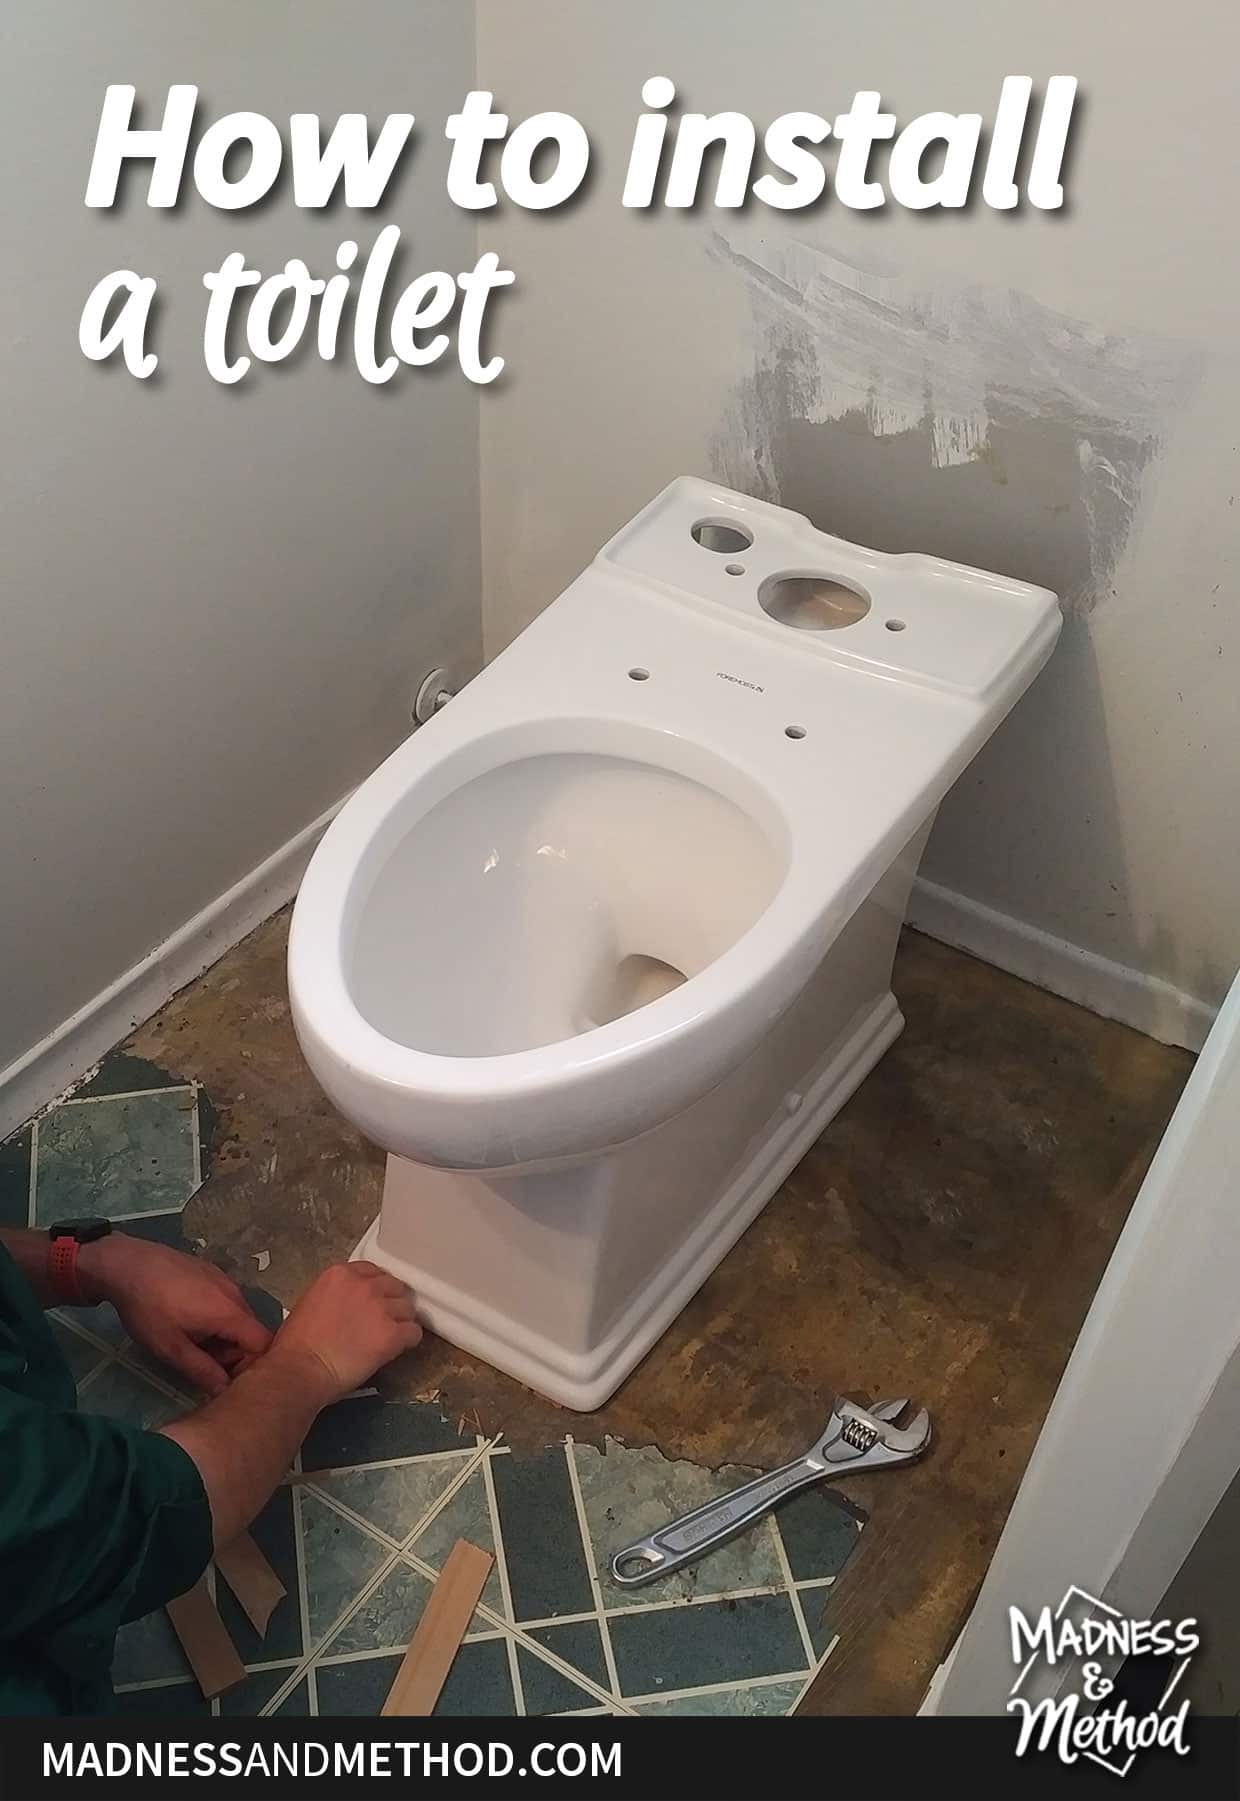
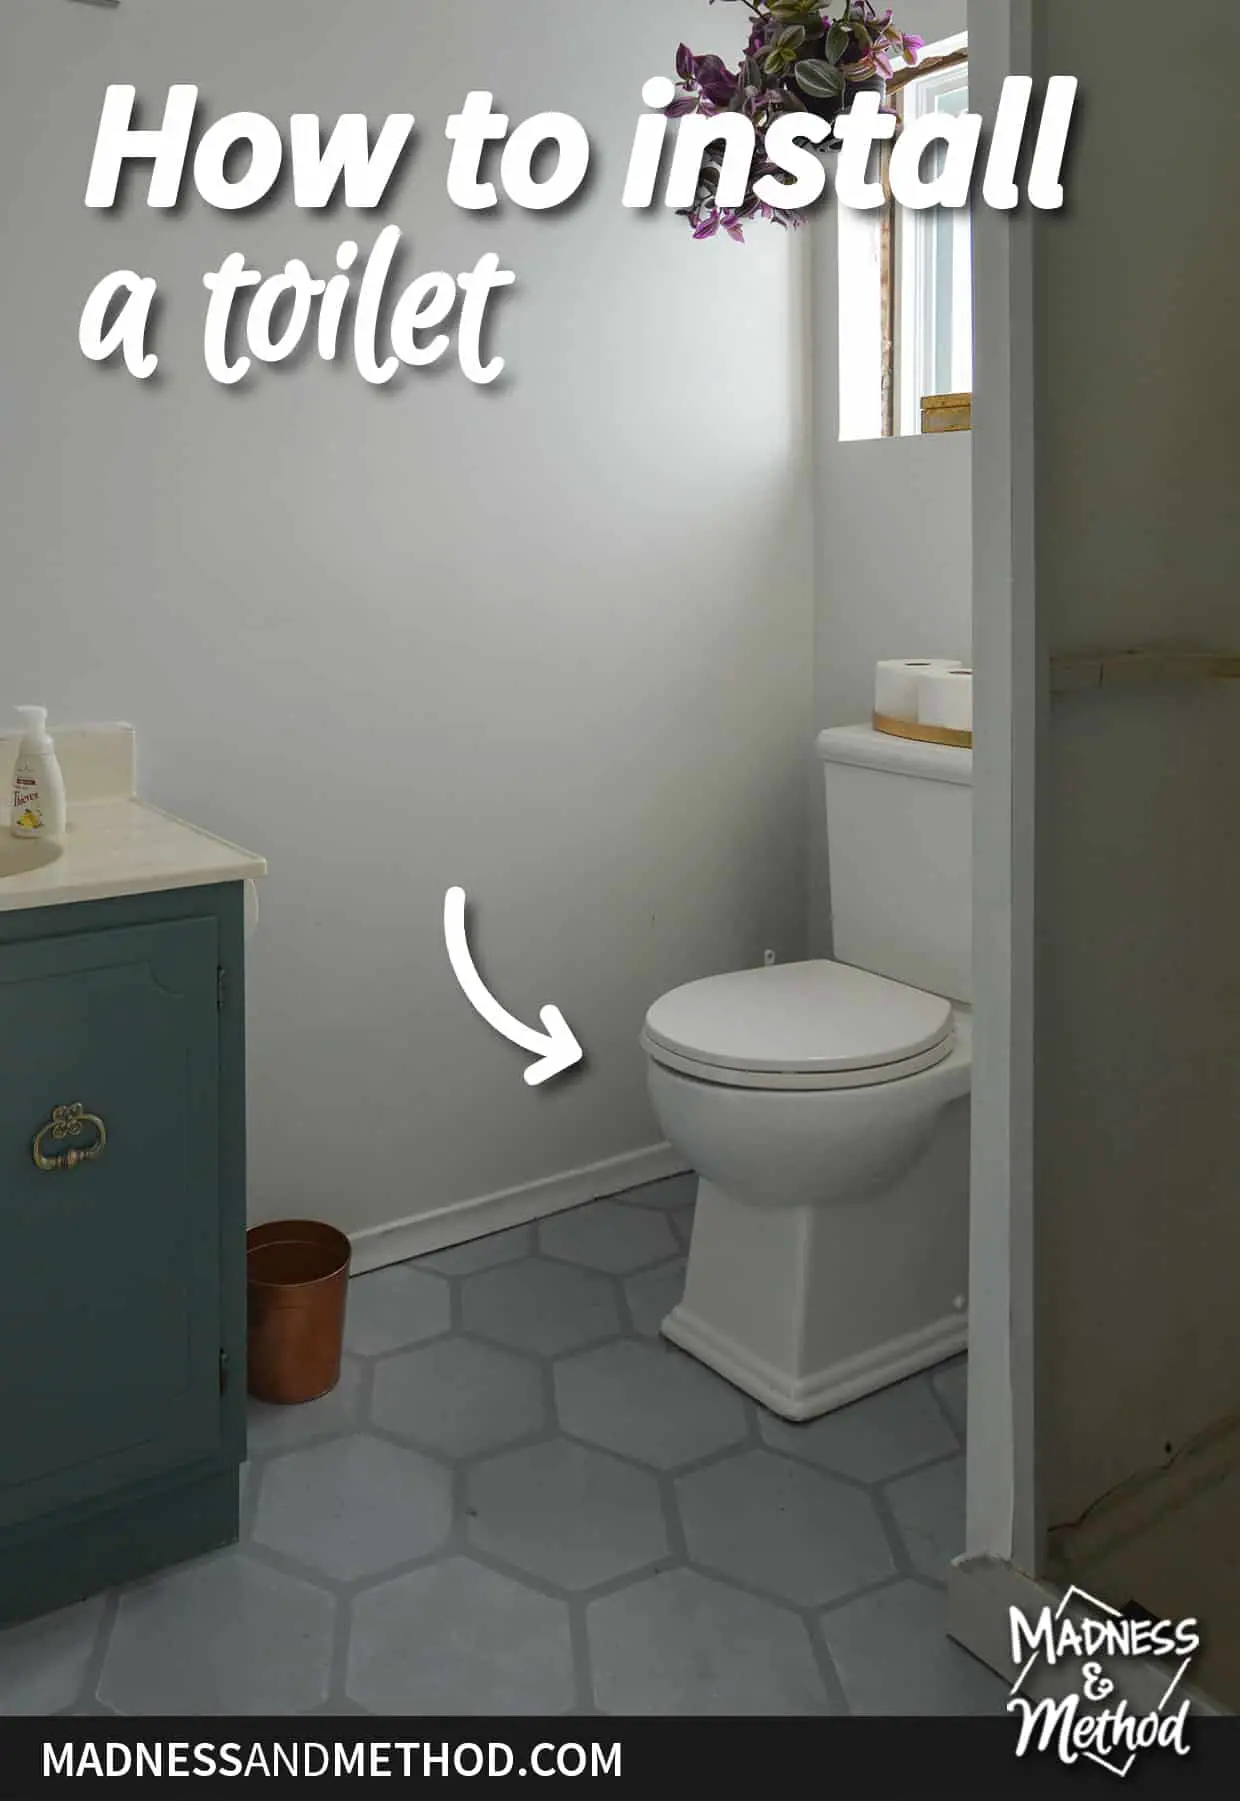
It’s been years that I’ve been writing this DIY home blog and I’ve never shared how to install a toilet! The strange part is that I’ve done it many times, even before I was blogging. Honestly, it’s not as hard as it seems – you just need a couple of tools, some rags to catch water messes, and a bit of muscle. Let’s go through the steps on how to install a toilet together :)
Welcome to the third week of my Spring 2023 One Room Challenge project! I’m updating my little brother’s main bathroom to make it look like his powder room. In the first week, I introduced the beige bathroom, last week we chatted floors, and this week is toilet time.
As a reminder, I completed most of the projects all mixed together in one week – so I’m trying not to give any spoilers of the other areas. (Hence why some of my graphics are other toilets/bathrooms – ha). You will see more photos of the floors that I shared last week, so that’s good :)
Tools You’ll Need
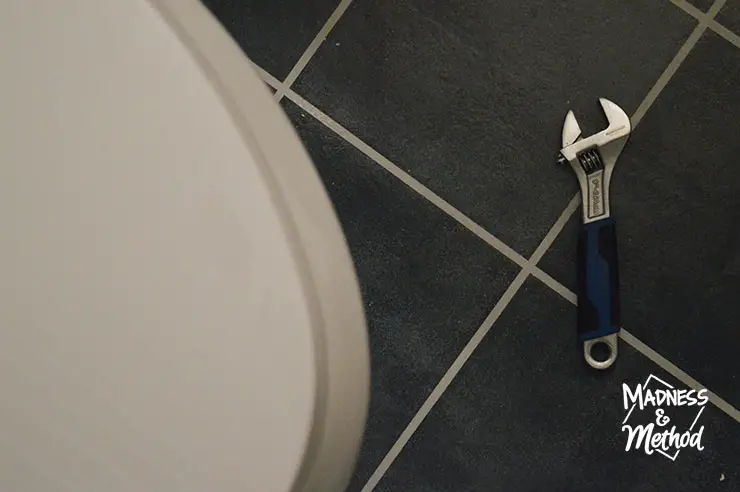
- Adjustable wrench
- Bucket
- Rags to clean messes
- Screwdriver (large flat head)
- Garbage bag
- Level (and possibly shims)
Removing an Old Toilet
The most annoying part about installing a new toilet is removing the old one. And the toilet at my brother’s house was literally the worst toilet I’ve ever removed. Everything was giving me grief, so I’ll share a bit of a breakdown, including our solutions.
Essentially, you’ll want to turn off the water supply line to the tank. (The plastic turn knob broke! We had to use plyers/screwdriver). Flush the toilet so the water empties from the tank (the part that holds the water, against the wall).
Grab a bucket, fill it with water, then quickly toss that in the bowl (the part you sit on) to force flush as much water as you can. That’s also a handy trick to flush your toilet if you don’t have a water supply :)
Removing the Toilet Tank
From there, you want to unscrew the washers on the tank. There are two, usually butterfly, washers underneath the tank that holds in onto the bowl. Maybe normal nuts and washers too. With luck, these will be easy to remove – but they’ll probably be rusty after years of use. If you can, fit a bucket or a bowl underneath to catch the last bit of water that was left in the tank.
For the life of me I could not remove the one side. After 30 minutes of trying unsuccessfully (you can try and hold a flat screwdriver from the top and twist from the bottom), I called my brother in to help. No dice, so we thought “no worries, we’ll just move the whole toilet together, instead of in pieces”.
Before you remove your tank, you’ll also want to disconnect the water supply line. Turn the knob/dial until it disconnects (remember, your water should be turned off!) and set it aside. Guess what? Our supply line was a rigid metal one and we could not take it off!
PS: some toilets are all one piece, so you cannot take the tank off separately.
Removing the Toilet
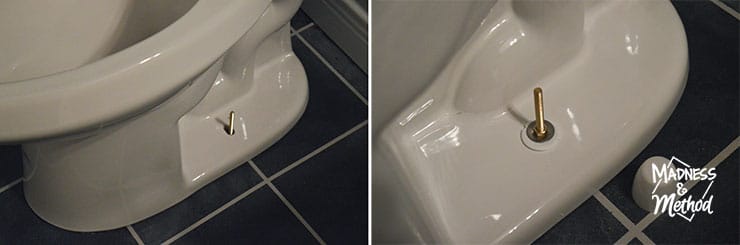
Now it’s time to lift your toilet bowl off of the ground. If you’re lucky, you have the tank out of the way so it’s a bit lighter. Remove the two little white caps near the ground to access the bolts. Then, using your adjustable wrench again, unscrew the nuts/washers that are holding the toilet down onto the flange.
Guess what? The one bolt was rusted right through again. What could have been an under 20-minute job was turning into hours of pain. (Emotional and physical, ha). Carefully lift the bowl off of the bolts and place it aside. If you can, put the bowl/toilet in a big garbage bag. That way, any leftover water will be caught as you try to maneuver it out of the house. (Or, if you have a tub nearby, you can move it there to let the water drain – we had just painted ours so didn’t do that).
Our solution? We had to saw the bolts off of the bottom of the toilet to lift it out of the way. If you don’t have a small orbital saw with a metal blade, the worst case could be to smash the toilet and break the porcelain from the bolt. But you definitely don’t want any debris in your plumbing hole – so avoid that one :)
Then, we also had to saw off the metal waterline. We turned the water off to the house too, and replaced the broken shut-off valve while we were at it. The new “Shark Bite” type plumbing connections can literally be pushed on the copper pipes, no need for soldering. (I also added shut-offs to the sink faucet since there weren’t any – but did have one issue there too, ha).
Finally, you’ll want to remove any leftover wax seal debris from your flange, and take out the old bolts. If you aren’t installing your new toilet right away, it’s a good idea to cover the plumbing hole to prevent any smells from coming out. You can use a small bag or rag over the top. Again, make sure it doesn’t fall into the pipe :)
How to Install a Toilet
One thing I should mention about installing a new toilet – is making sure that the rough-in depth is correct. The standard rough-in is 12″ (which is measured from the center of the flange to the back wall). But we’ve also had to replace 10″ depth and weren’t prepared (what a fun surprise!).
Installing a new toilet is similar to removing one… just in reverse! Luckily, I took photos of these steps to guide you through, but the instruction manual will be your number 1 helper.
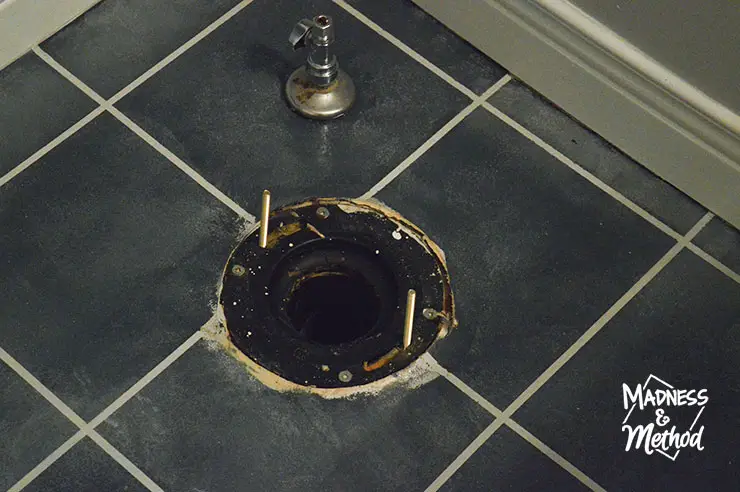
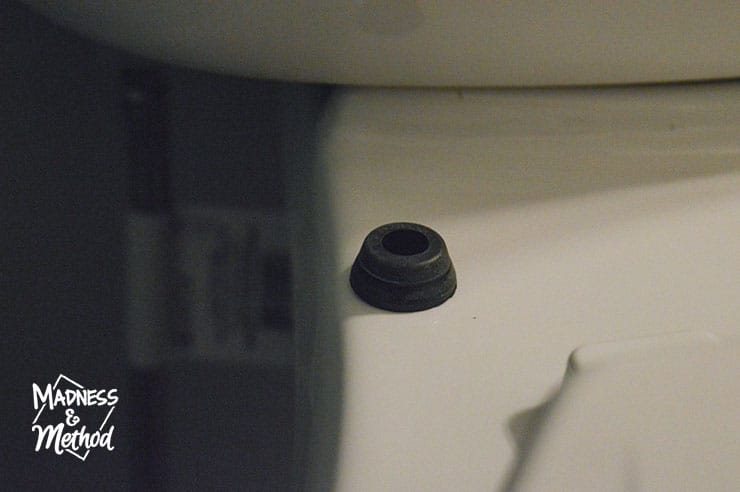
You’ll insert the new bolts into the holes in the flange. My toilet also had plastic washers that go on top and “lock” them in place – but I forgot to install them (and photograph them) the first time.
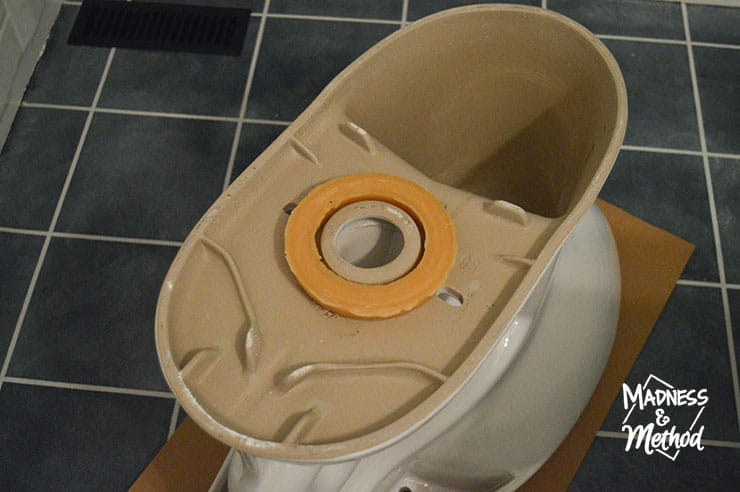
From there, you’ll install a new wax seal on the bottom of the toilet bowl. Place your bowl on a cardboard or a soft surface to prevent any damage. Squish the wax seal on there good, so that when you flip it over, it doesn’t fall off. (But don’t alter the shape or add dents).
Carefully lower the toilet bowl onto the bolts. This is easier with two people (one to guide) but everything can be done by one person. Sit on the toilet and wiggle around a bit until it doesn’t wobble. You can also use a small level to make sure it’s even from left to right and front to back – and use shims if not.
Then, add the dedicated washers, and cut the bolts to length if you need. (You need either a hacksaw, oscillating saw or bolt cutters for this – but I’ve honestly just left them too long and dangled the little covers on top).
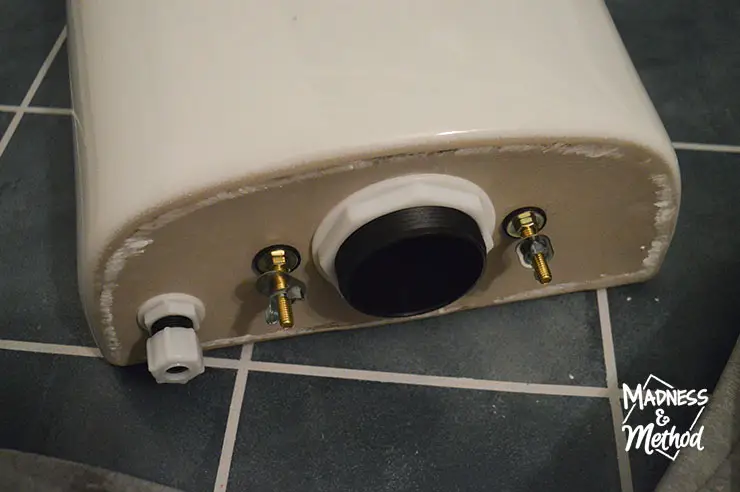
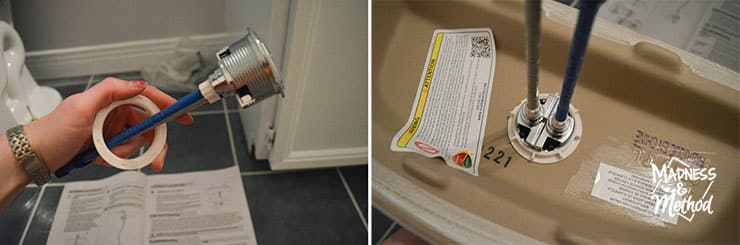
Luckily, the last few toilets I’ve installed have had the hardware for the tank all lined up and ready to go. You do not need to remove all the pieces (I did, then had to put them back) – just the flat washer and butterfly one.
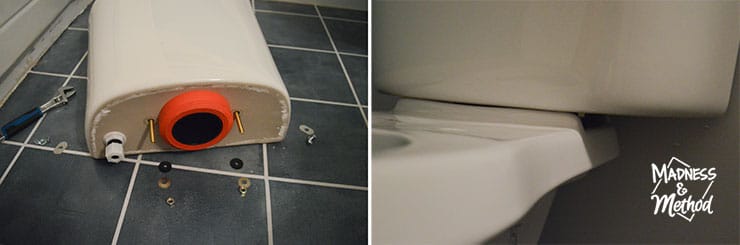
You’ll also need to install the small rubber gasket too (the orange thing in the photo above). Sometimes the instruction manual says to put it on the bowl then wedge them between. It’s a lot easier, and more foolproof if you attach it to the tank itself (trust me on that, ha).
Lower the tank onto the back of the toilet, into the little holes, and put the washers underneath. Tighten them with your finger, then the wrench (do not overtighten or the toilet could crack!). Again, you can check for level from front to back/side to side. It’s also easiest to tighten both sides a little bit at a time, rather than doing one side fully, and trying to tighten the other side.
Every time I remove or install a toilet, I’m always in an awkward position trying to tighten bolts I can’t see, ha. And changing a faucet while you’re cramped under a sink? Plumbers must have back issues!
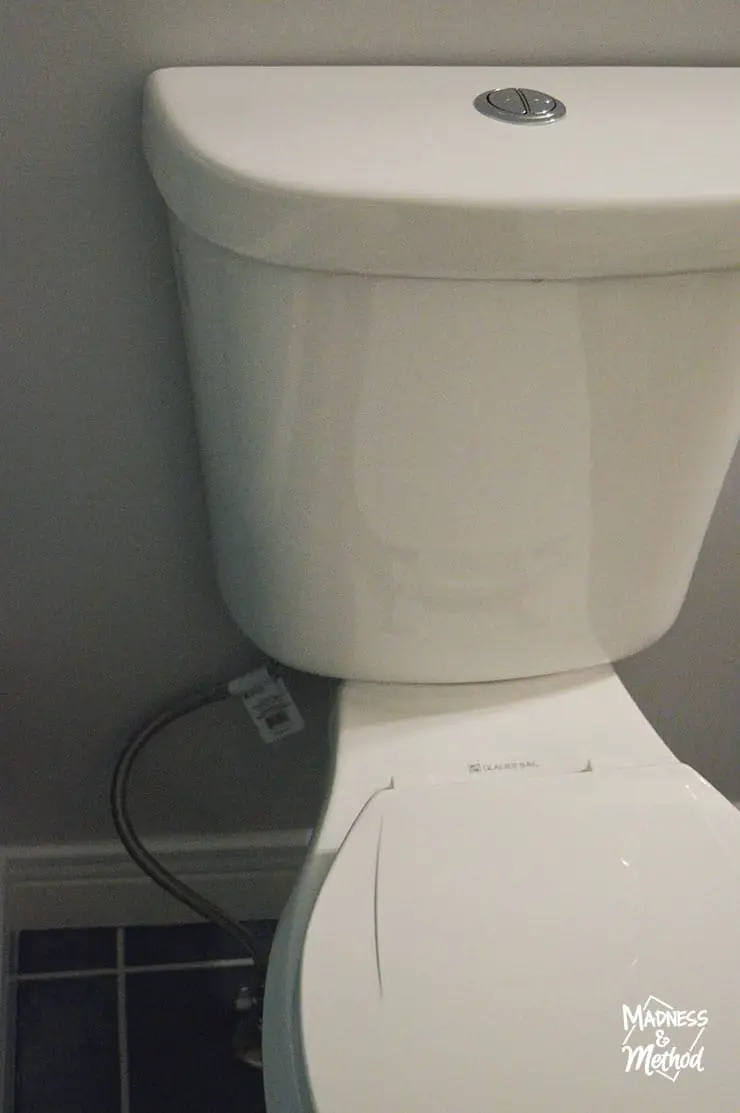
The toilet my brother chose has a dual flush on the top. It’s an extra step compared to a regular toilet, but pretty easy. You remove the plastic washer, place the long push buttons into the hole, the add the washer to the other end and tighten the lined up buttons.
Finally, you’re going to install your toilet seat (might need a screwdriver for this, or just your fingers). Then, reconnect your water supply line (ours was a brand new one!). I did have a heck of a time with this, until I realized that the toilet had a little rubber blocker for the water line that I had to remove…
Turn your shut-off valve back on, and watch the toilet tank fill with water. Check for any leaks, fill up the bowl, flush, and enjoy your new toilet!
About the One Room Challenge
Remember, there are plenty of other people participating in the One Room Challenge! There are many room makeovers happening in the next few weeks, so go check them out :)

Follow this bathroom renovation:
Beige Bathroom Before (+ Plans)
Faux Tile Painted Floors
There are still a lot of projects to share for this room, and some that I need to complete. I think I’ve figured out a weekend that I can go back down to visit my brother (he lives 7 hours away), so fingers crossed it works out :)
Hopefully, this tutorial on how to install a toilet has helped! Let me know if you have any toilet questions, I’ve learned a lot over the years :) OH and the toilet I shared in the graphics that weren’t from my brother’s house is from our basement bathroom. It has a hidden trapway (you don’t see the swirly part of the porcelain or the little bolt caps) and is my favourite type of toilet. They are a bit trickier to install, but once they’re in, it’s so much easier to clean!

2 Comments
Leslie Watkins
April 21, 2023 at 9:39 amWay to go, Nicole! Cheering you on from the sidelines!
Nicole
April 25, 2023 at 4:50 pmThanks Leslie :)