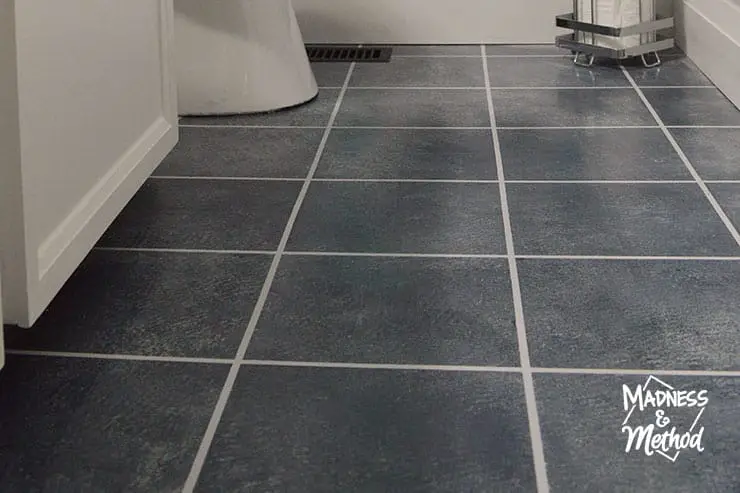
Not sure if I’ve said this before, but painting floors is one of my favourite projects! For my brother’s upstairs bathroom, he wanted the floors to be the exact same as I did in the main floor powder room. Easy-peasy, but this time, I also recorded a video so I can share the all the details :) Yes, you can do faux tile painted floors at home – and they’ll look great!
Welcome to the second week of the Spring 2023 One Room Challenge! Last week I gave an introduction to the beige bathroom at my brother’s house, and this week we’ll be chatting floors.
Oh, and if you’re just tuning in – hello! My name is Nicole and I live in Northern Ontario, Canada. And my brother… well he lives down in Southern Ontario – so I did the bulk of the work on this space when I went to visit him during March break.
So ya, ignore that some of the elements in the room change as the photos go on. I’ll chat about those in the next few weeks :)
How to Paint Floors
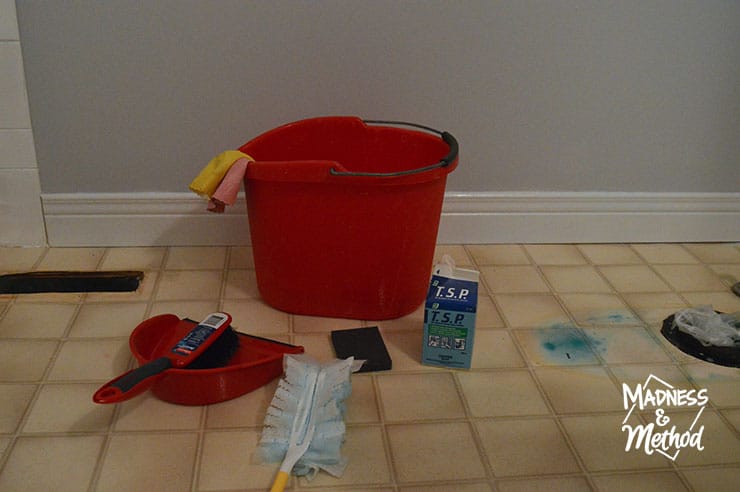
Let’s talk about one of the most important things when it comes to painting floors… proper prep work! In the video (linked below) I forgot to mention that I also mopped the floors – but that happened too.
First, we took out everything that we didn’t need from the room. The floor register, towels/decor and even the toilet. When I painted his floors downstairs, we left the toilet in place – but it’s obviously easier if it’s gone. (We were replacing it, so skip the removal if you’re using the same one).
Then, sweep and mop the floors and let them dry. Then sweep again, dust them, and scrub them with a water and TSP mix. Keep a dustpan and brush handy – because you will probably have to sweep up debris the whole time. There was a weird blue patch under where the toilet was (I think it was cleaner that fell there and dyed the floor).
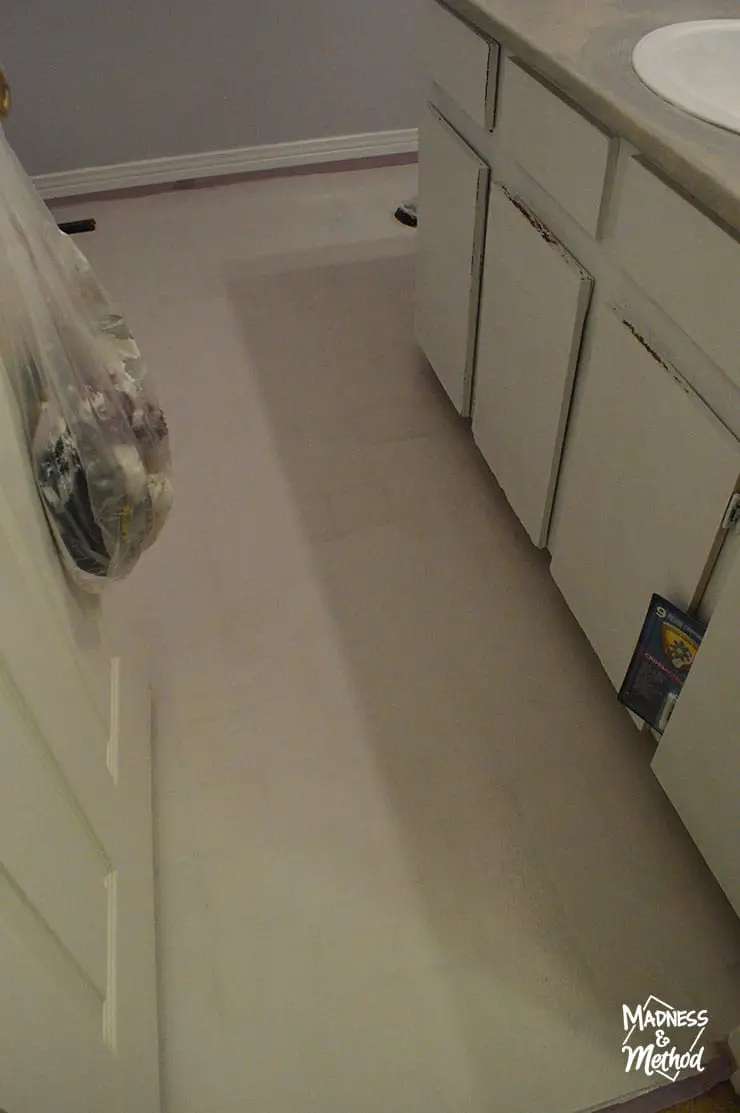
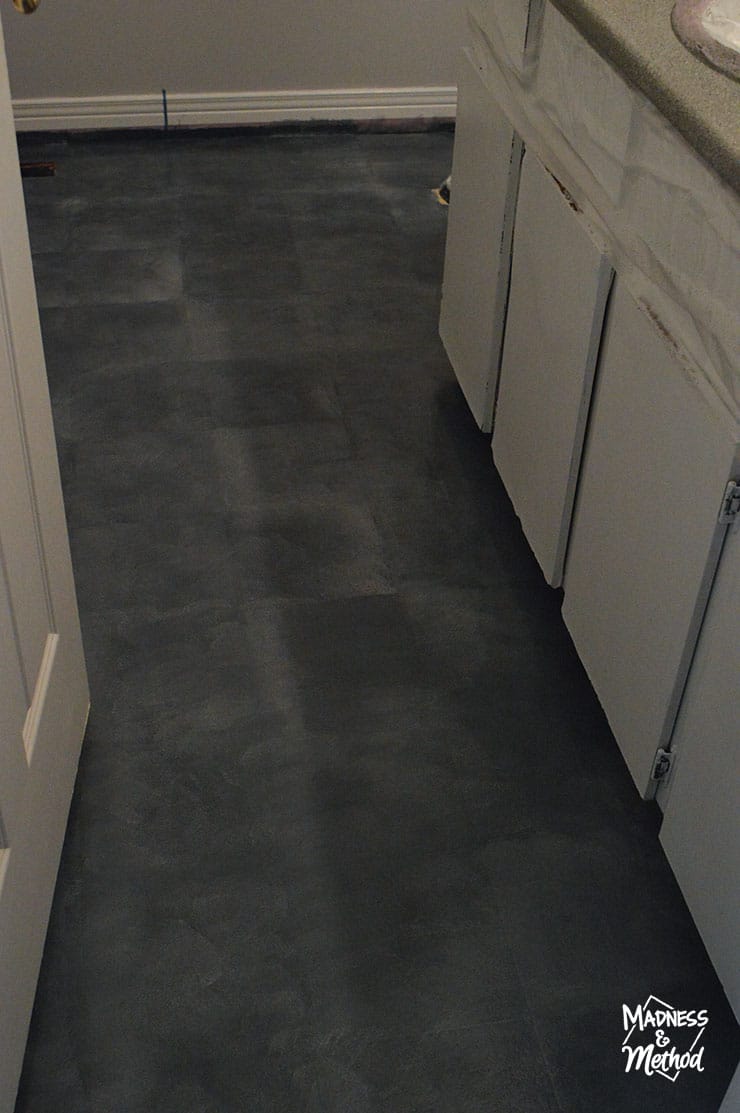
From there, choose your base colour (aka grout line colour) and paint the floors! You want to make sure it’s a floor paint (I used PARA’s Floor and Porch Paint in The Silhouette colour). I could still see through this coat of paint, so if you are doing a solid colour, or are worried about coverage, paint a second coat as needed.
You’re supposed to let the paint dry for 24 hours before foot traffic, but I was off-schedule at this point and did about 10 hours I think?
How to Paint Faux Tile
Ready to make these floors look like tiles? (Or at least, a better vinyl sheet pattern!?).
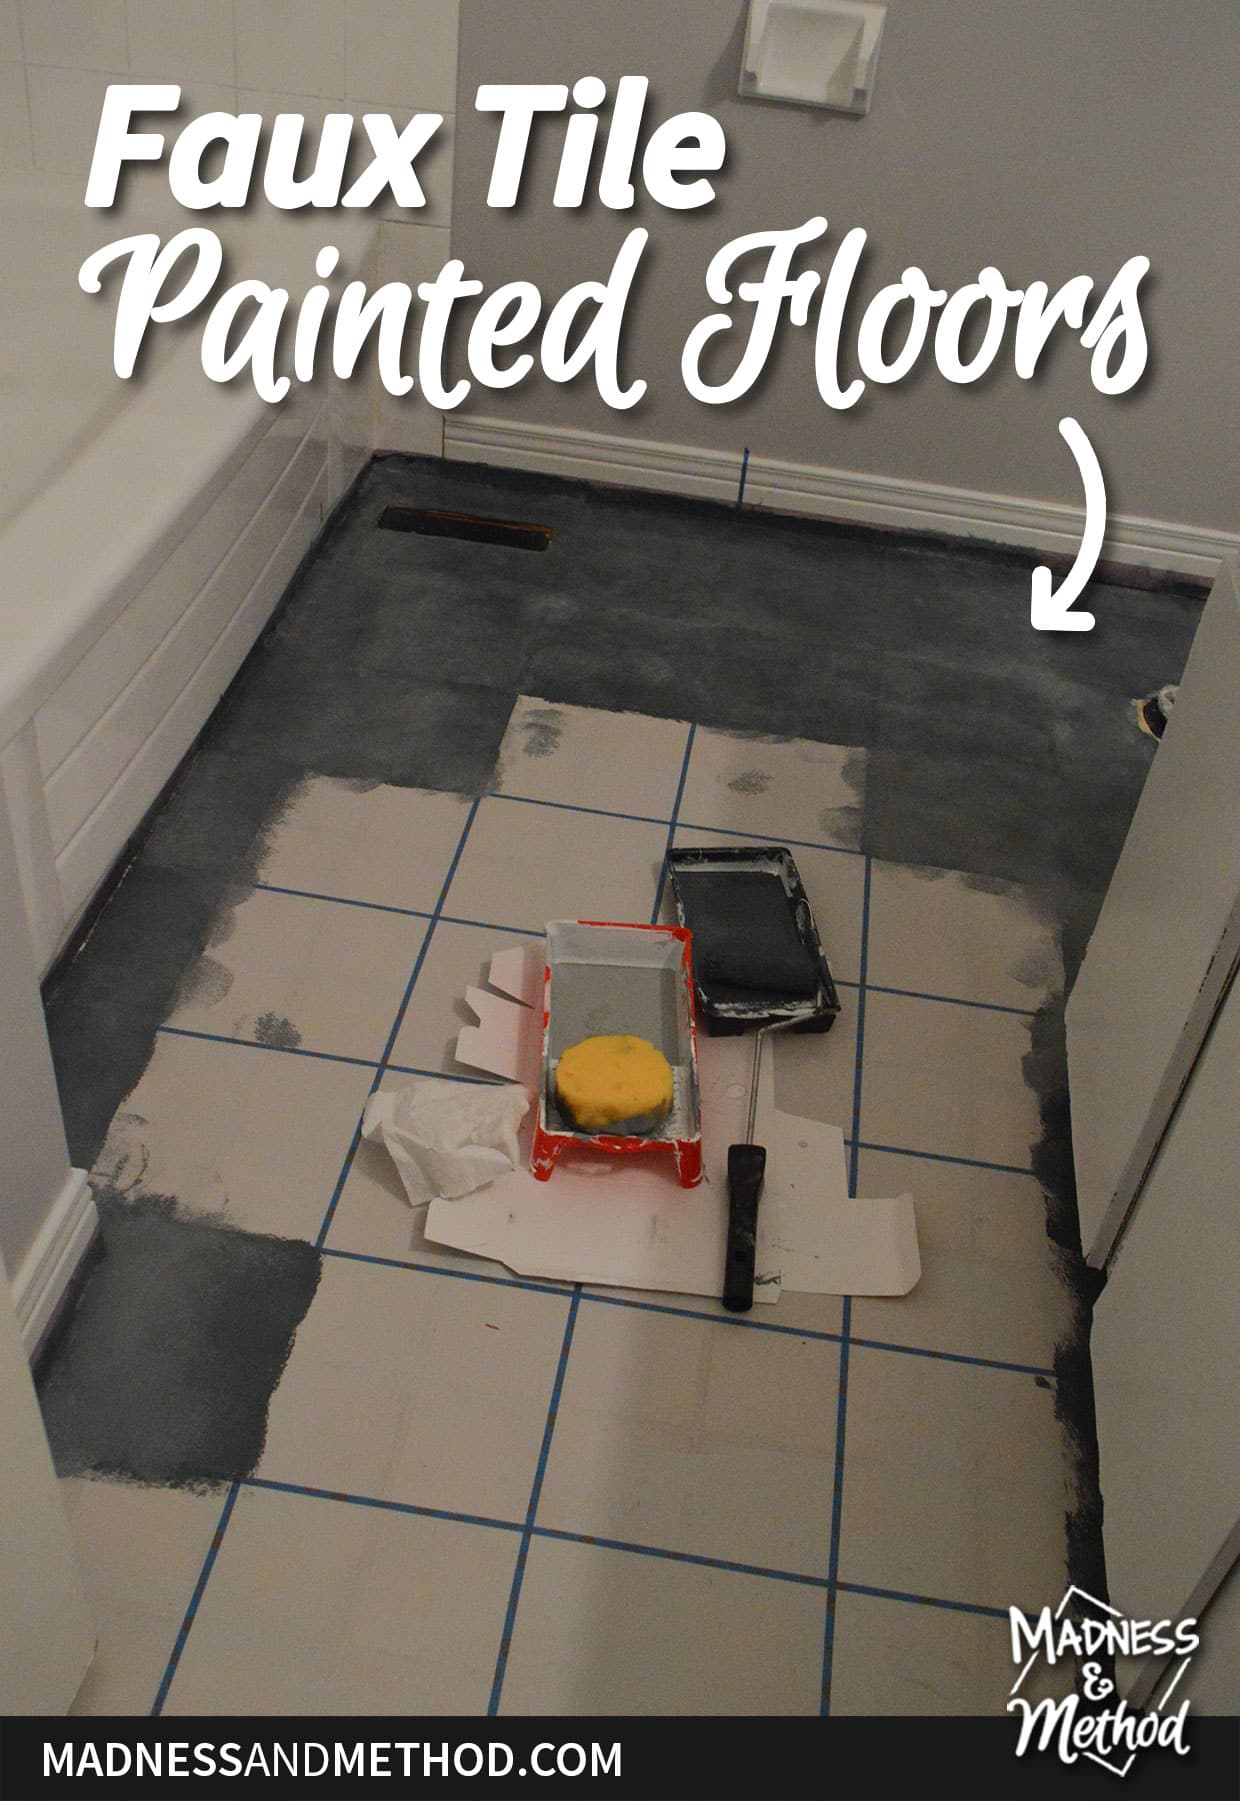
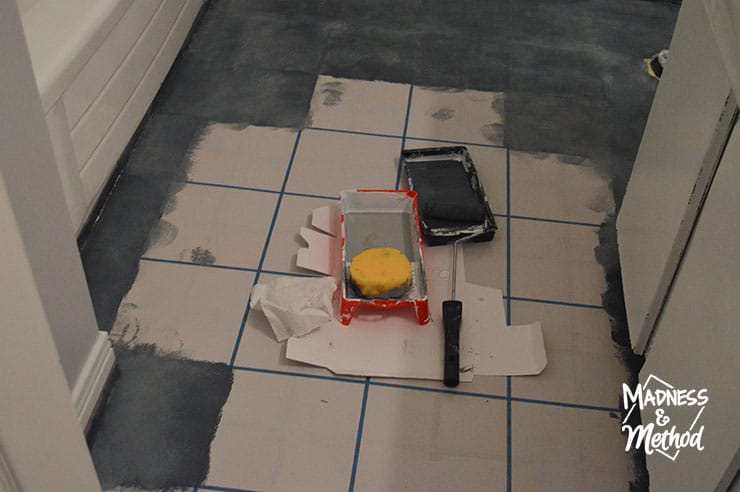
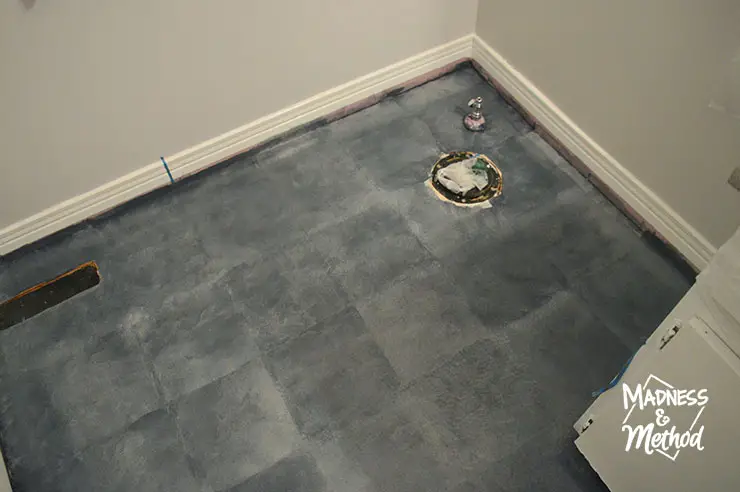
Again, I was copying the project from before, so used the same colours/pattern as I had already. I rolled on a dark blue (colour is called Uniform) and sponged a medium gray (Dove Gray).
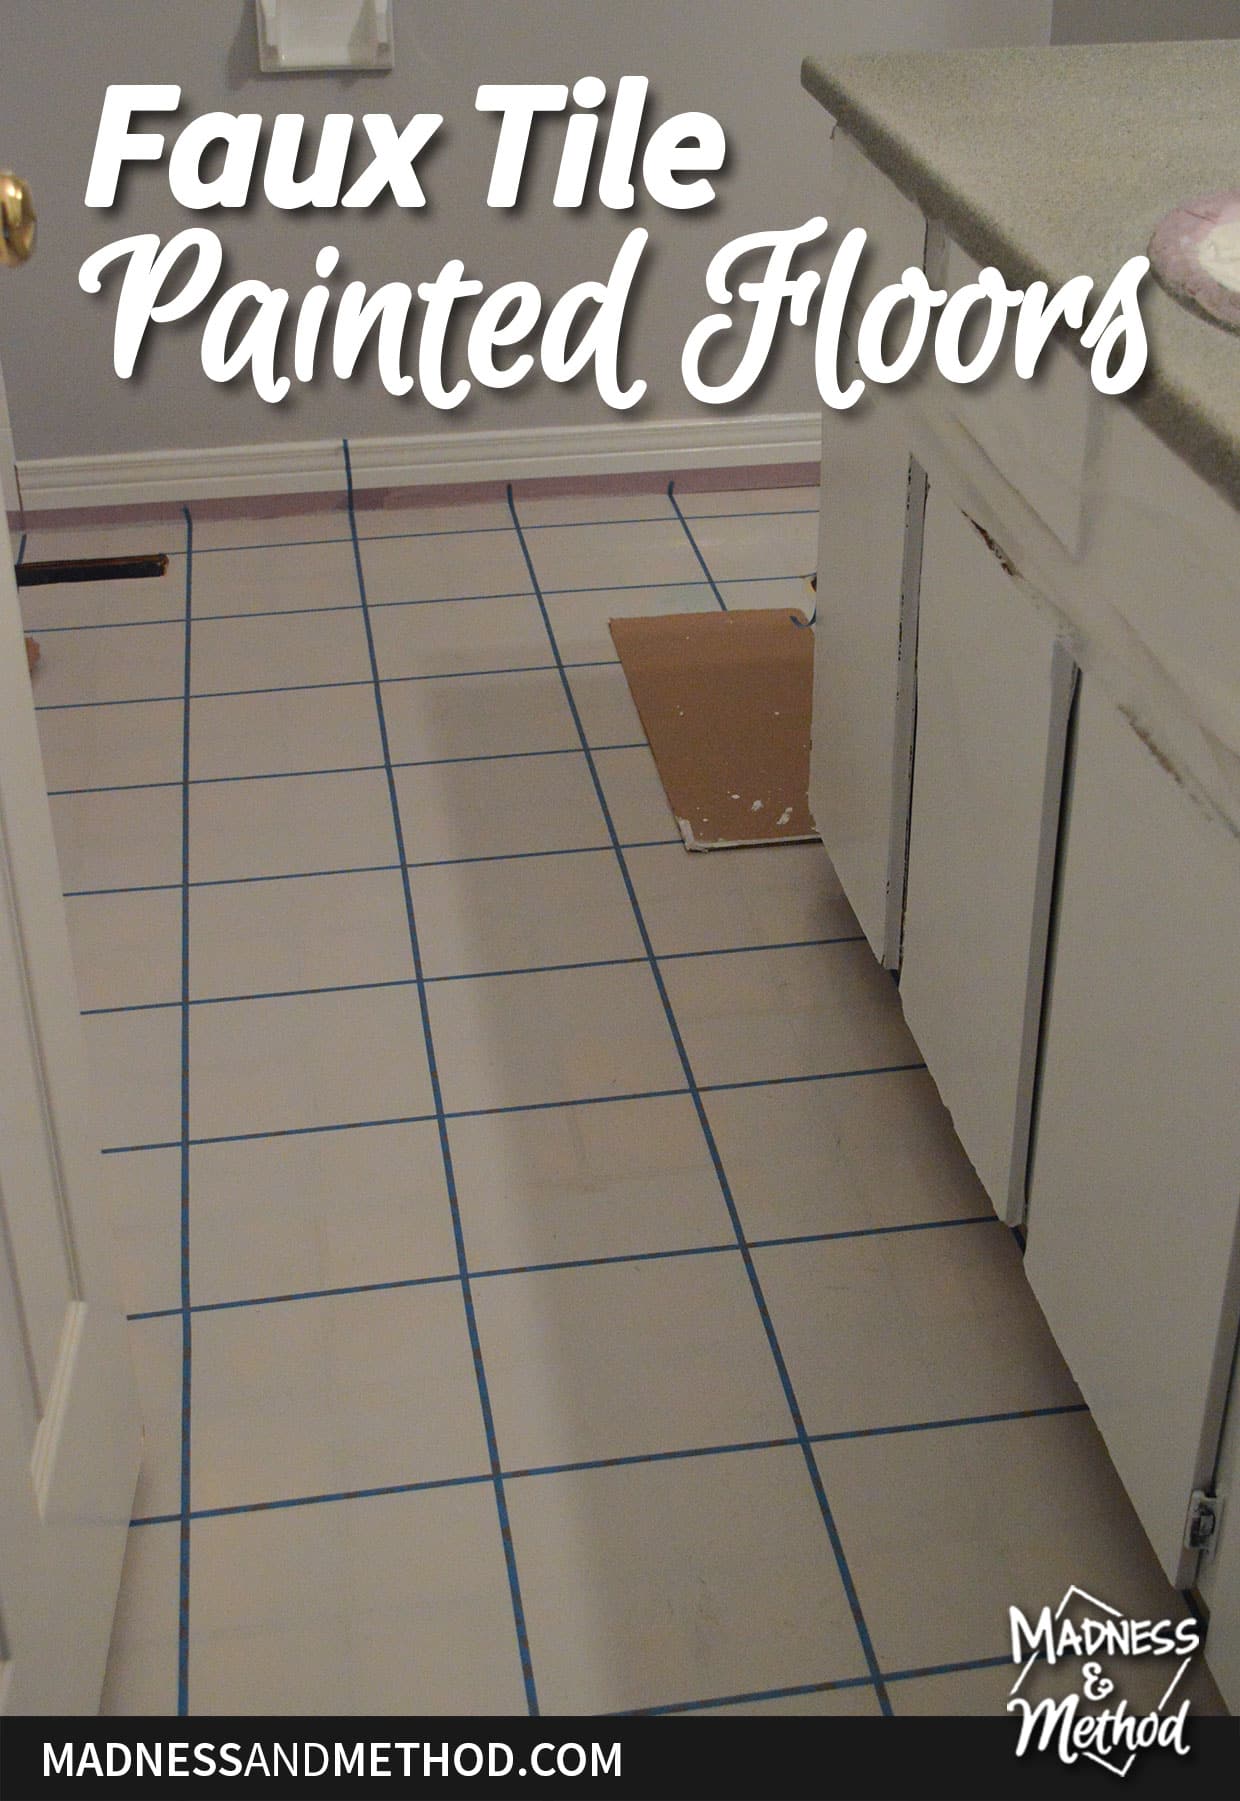
I tried to follow the shapes of the squares to make it look realistic, but it is tricky since the tape is so skinny!
You can always do a more random sponge pattern (ie: over the whole floor) or go with something else entirely.
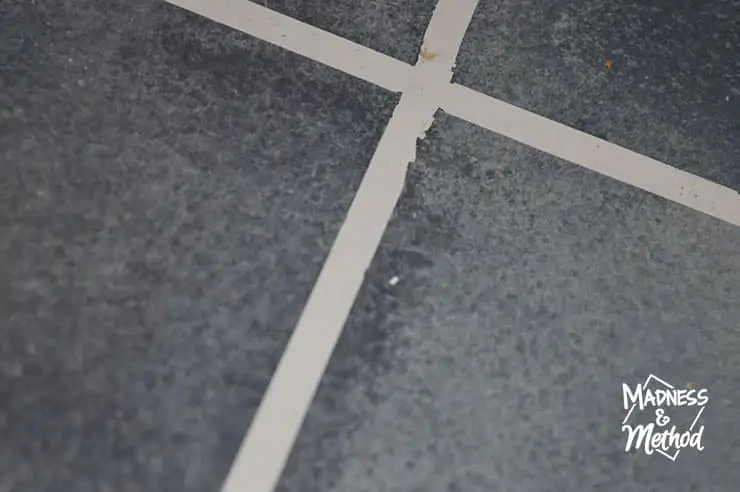
After the paint had dried (the full 24 hours this time) I removed the tape. There were some areas that bled through, so I used an artist brush and touched them up. I don’t remember this the first time, so I blame my dad for not being here to help me tape (he is very thorough, ha).
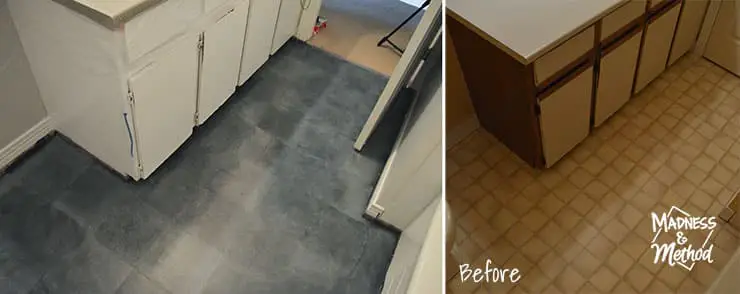
I’m not being sneaky and not sharing reveal photos – but I realized that I completely forgot to take photos of just the floors, ha! The side-by-side above shows the same two areas, so imagine it with the tape taken off to show “grout lines”.
OH MY GOODNESS! I just remembered that when I was painting the floors, my brother’s roommate was like, “oh the floors are getting painted too?”. And I was like yes, just like in the bathroom downstairs. He went down to check, then said “I had NO idea that was a painted floor!”
So if that’s not a compliment, I don’t know what is :)
I made a quick video that outlines all the steps! Here is a link to the video on YouTube if the player above is not working. All in all, I think it took a couple of hours over a few days.
About the One Room Challenge
Visit the One Room Challenge blog to follow all the participants! During the ORC, people makeover a room at their house and link up their projects each week to share with everyone else.
Follow this bathroom renovation:
Beige Bathroom Before (+ Plans)
Up next I’ll be chatting about painting the tub/tile surround, the walls/accent wall, replacing the toilet, framing the mirror and upgrading the vanity. Not sure the exact order, since there are some projects that are complete, and some I haven’t started yet… But that’s the upcoming post schedule for this bathroom :)
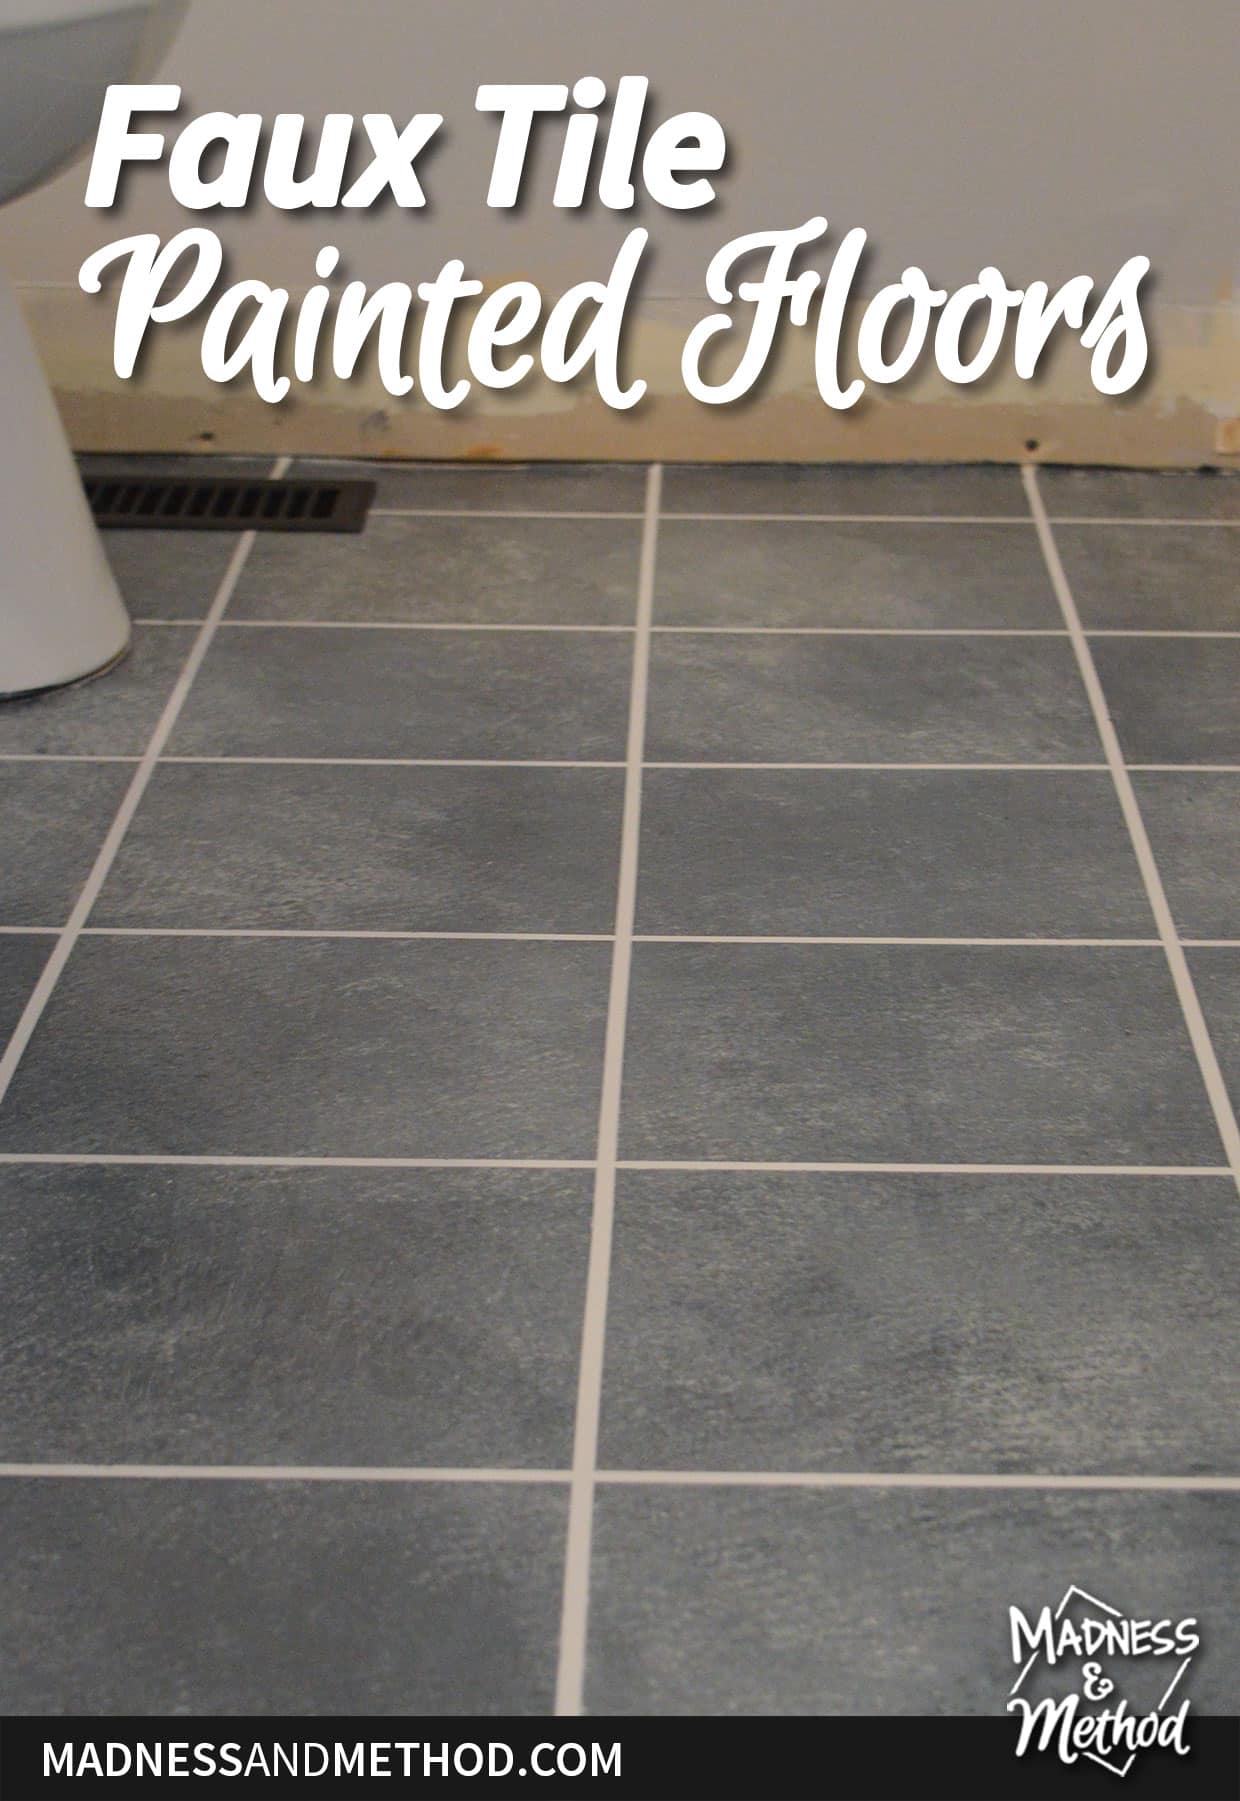
Hopefully the photo above from his powder room floors gives you enough of a hint of how they’ll look. Again, it’s the same colours/style, just may be a bit different with the sponging technique.
Related Posts
- Faux Cement Tile Painted Floors
- Painted Concrete Cloud Floors
- How to Smooth Grout Lines
- Bro’s DIY Painted Floors
- Bro’s Painted Bathroom Follow-Up
I think I have my weekend booked when I’ll visit him next to finish the space. Here’s hoping I can get the last few projects done :)



No Comments