
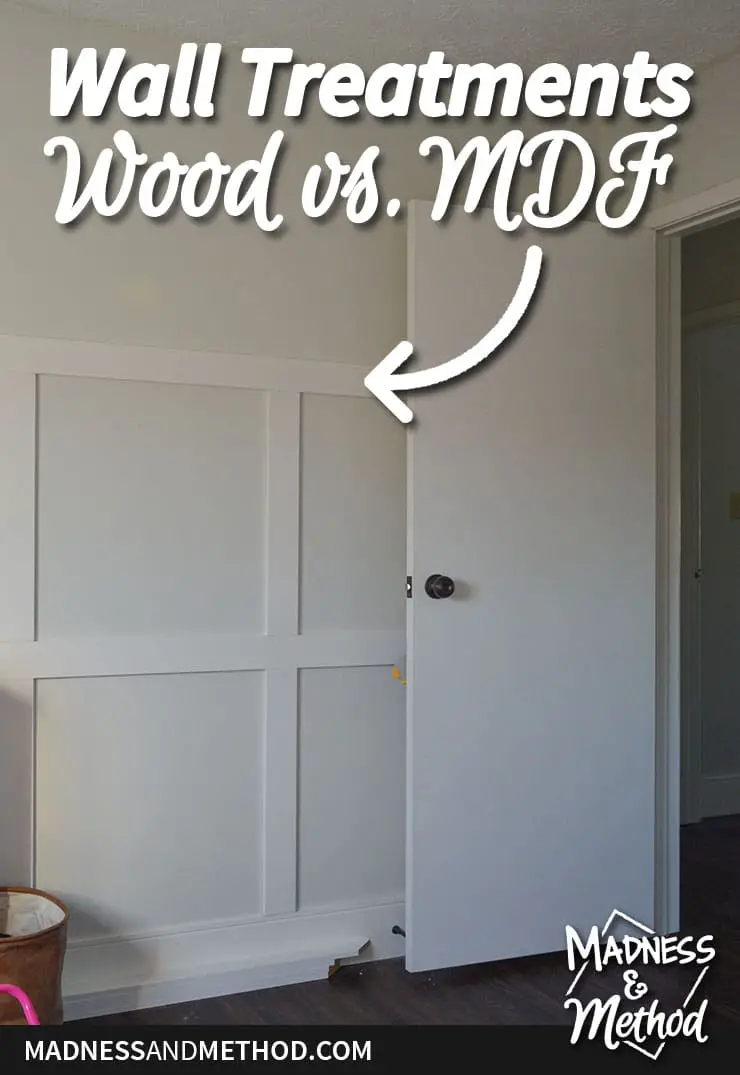
The wall treatments are almost done! Well, there’s still some finishing work to do, but the heavy lifting of cutting and installing the boards can be crossed off the list. In honour of that progress, I’d thought I’d chat more about the wall treatments, and why you’d choose wood vs. MDF. Plus some progress photos of the space, and the one little project that we added!
– Note: This post contains affiliate links. See more information about affiliates here. –
A quick recap: I’m giving our two oldest kids a bedroom makeover as part of the Spring 2021 One Room Challenge. Our oldest boy, Zachary, is almost 5, and our middle girl, Élise, just turned 3. He likes red, she likes blue. Luckily I love all colours of the rainbow, so the design plan came together to match the rest of our home. Last week, I wrote about how I quickly measure and plan a space, and this week we’re chatting about wall treatments!
In our last home, we added some pretty detailed wall treatments, including this diamond wainscoting and this layered take on the traditional square. I LOVED the look, but for this house, I wanted to do something consistent between all the bedrooms.
For the One Room Challenge last spring, our main bedroom was the first space to get a simple square pattern. The idea is that we’ll continue the same look in all the bedrooms, minus the main feature wall we had in our room.
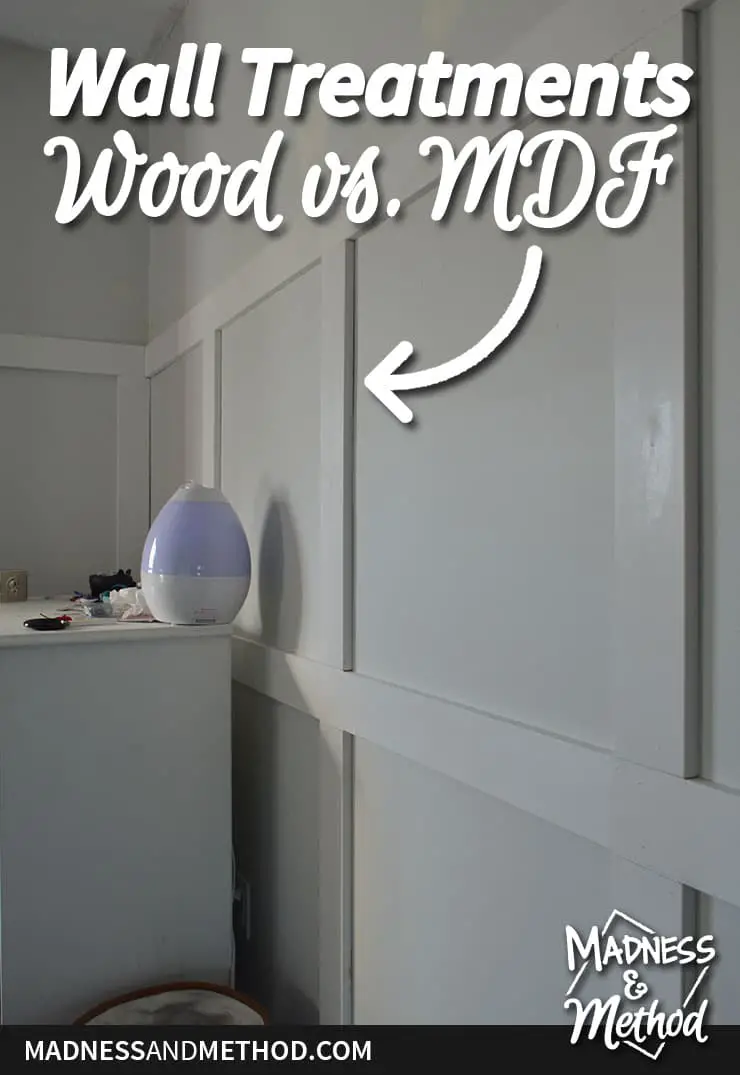
Wood vs. MDF
If you’re planning a simple board and batten like me, you could honestly use wood or MDF trim pieces. In our bedroom, we used wood (pine). Obviously, if you wanted wood wall panelling, it’s a no-brainer that you’d choose wood pieces. They can be stained and would add a nice, traditional look, or you could do something modern too.
There are some trim profiles (that’s the shape) that may be available only in a wood option, or only in an MDF. If you want a certain look (like you’re matching an existing section), you’d have to choose what you can. If you’re painting your wall treatment, the sky is the limit! I should also mention that you might also be able to select your wood species, ie: oak vs. pine, but again, the selection on each might be different.
In our bedroom, I went with 1/2″ baseboards, so I wanted to get flat stock (that’s the name for the plain/square pieces) to match. I chose a knotty pine, then had to go through the process of sanding and priming it using an oil-based primer. Sanding helped remove some of the rough edges/splinters, and the primer was so that the knots didn’t show through.
But womp womp, a year later, there are some places where the knots bled! This time around, I decided to go with the MDF, even though it comes in a 9/16″ (slightly bigger than my baseboards).
Having the 1/16″ thicker profile at the bottom was something I was willing to deal with so that I didn’t have as much prep work upfront. Once the boards are on the wall, it’s generally the same steps to finish the look (patch the spots where they join, the nail holes and caulk all the inside seams). Then primer, followed by paint.
Pro/Con list of Wood vs. MDF Flatstock
| Material | Pro | Con |
|---|---|---|
| Wood | All sides are the same Can be stained Thinner profile |
Need to sand rough edges Could have more wasted material (avoid large knots) Use of oil-based primer to remove tannins |
| MDF | Pre-primed/painted Less material waste Ready to go |
Could be an unfinished side Heavier (I think?) Need to address cut edges (mitre or hide) Swells when it gets wet |
I didn’t really mention cost (and possibly timeline/availability). Those are definitely factors when you’re choosing a material, but the price would vary greatly depending on what profile/type/length you are getting. Timeline is another big one, especially if you’re dealing with any COVID-related delays!
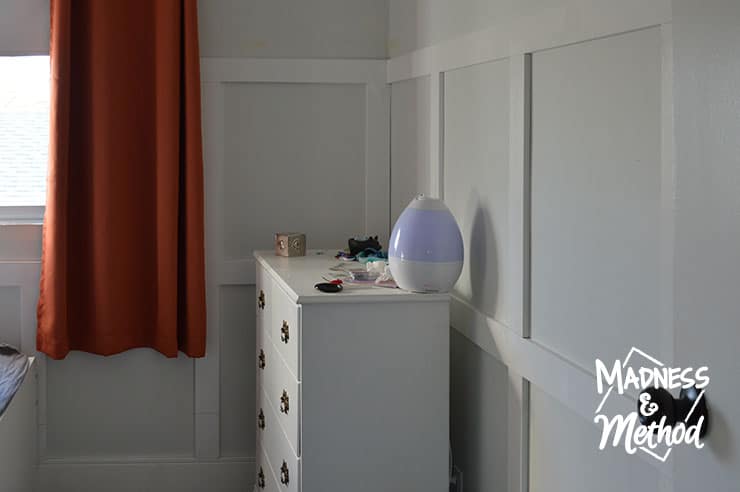
A couple of things I mentioned were that the baseboards are slightly smaller. Ideally, you’d like the baseboards to be chunkier (or even with) your board and batten pieces. Depending on the levelness of the walls, the 1/16″ difference could be hidden or exaggerated.
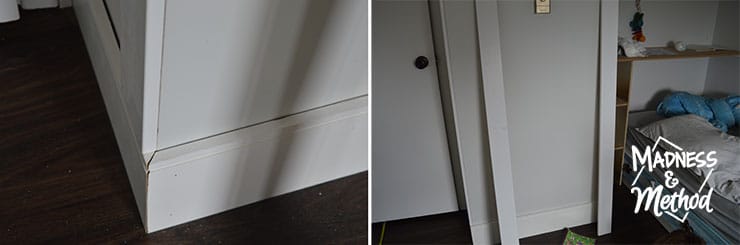
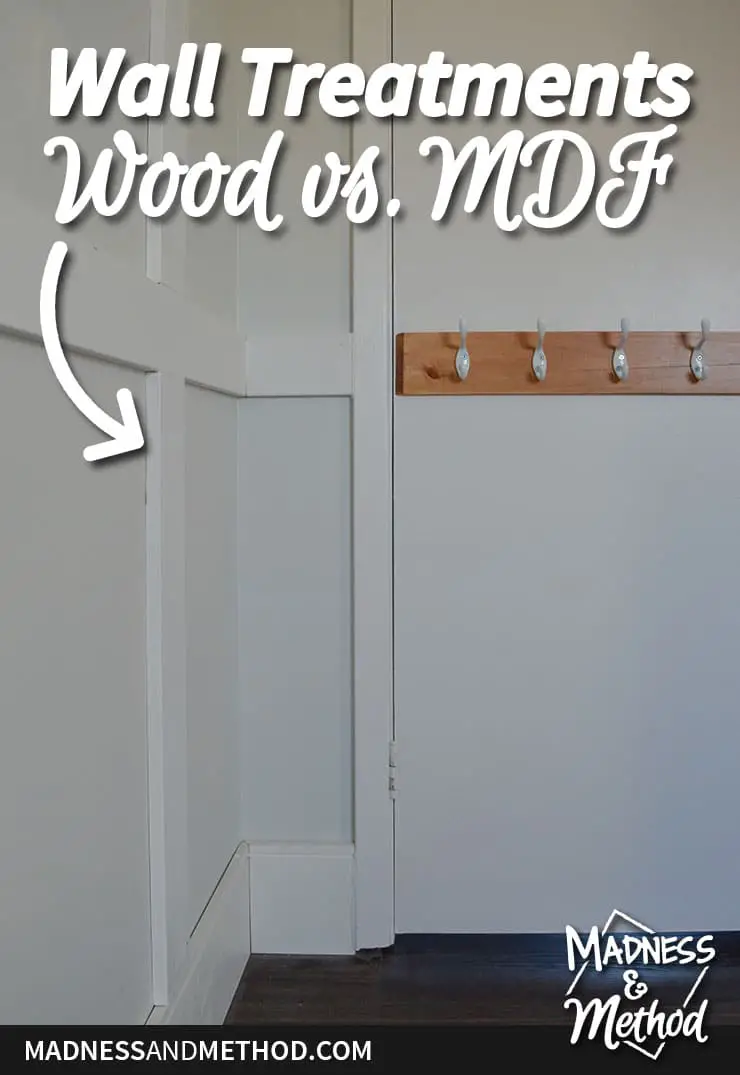
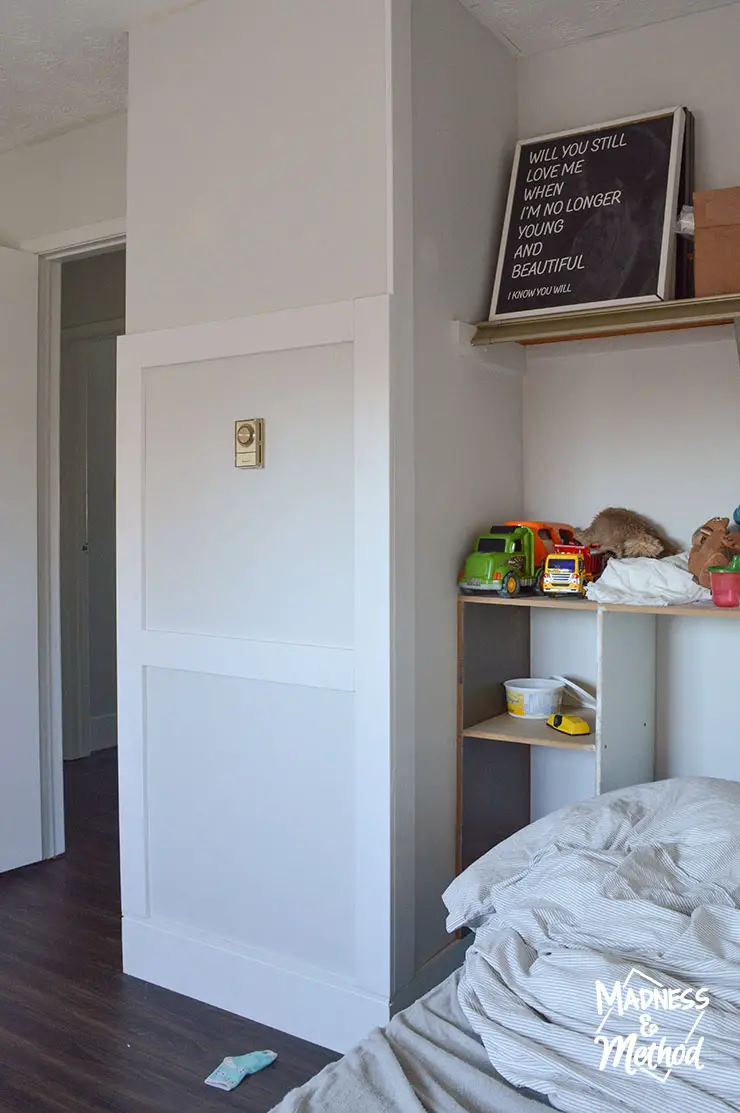
Another thing you’ll want to pay attention to is how your vertical pieces meet your corners. You don’t need a piece in each corner, but I liked the look for our bump-out. (And I did have some issues in the past with not having them, so there’s that).
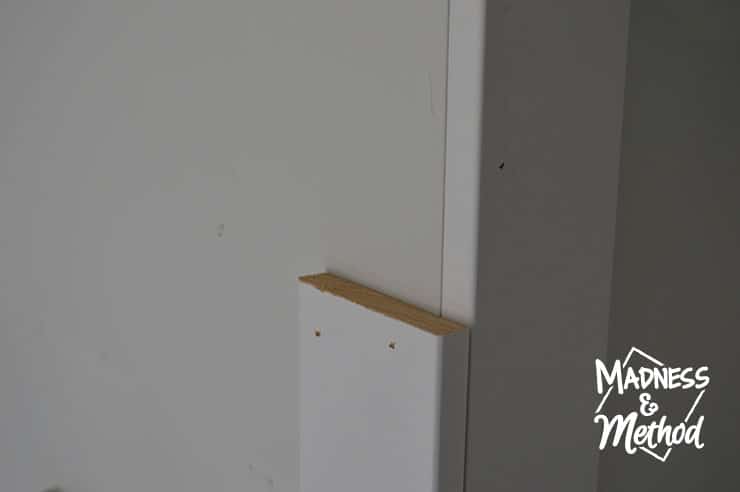
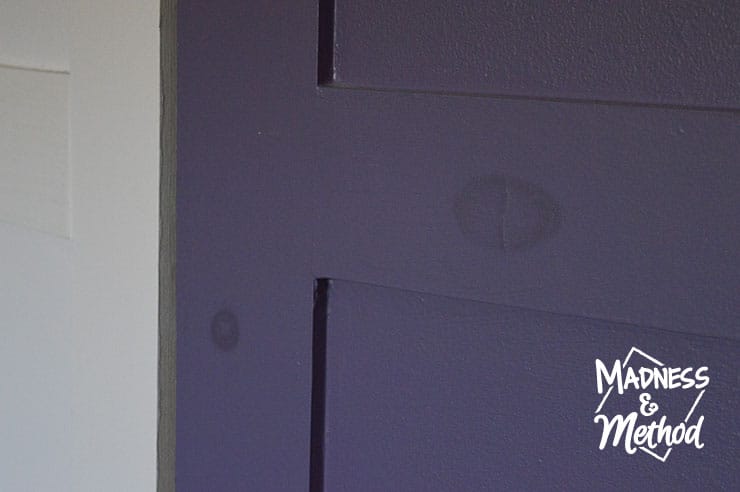
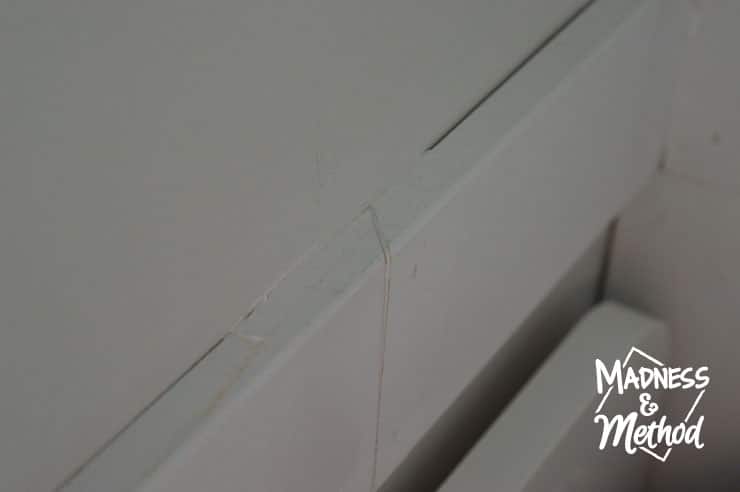
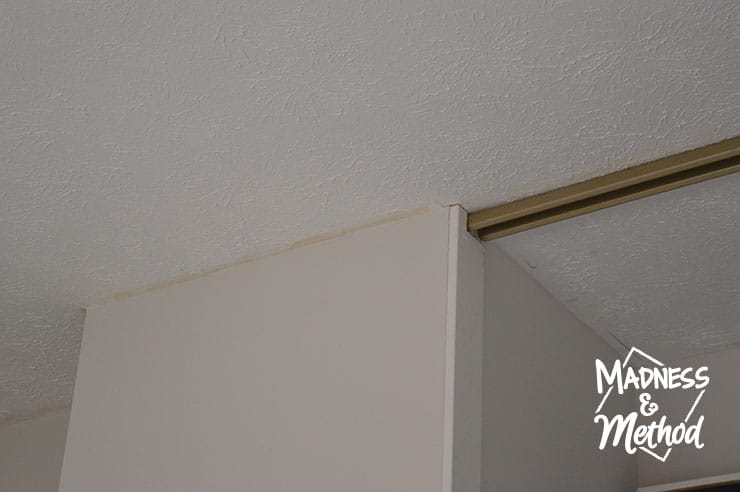
I only have one section where I left the exposed MDF. I made sure to put it somewhere hard to see (in this case, at the top part of the bump-out). I’ll still try to patch it and blend it in as much as possible. I should have mitred the corner (ie: cut the piece at an angle) so that it would have joined with the horizontal one. Whoops!

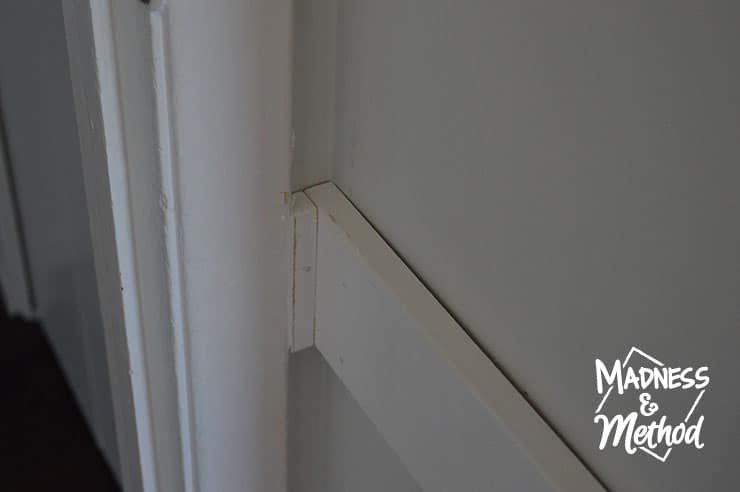
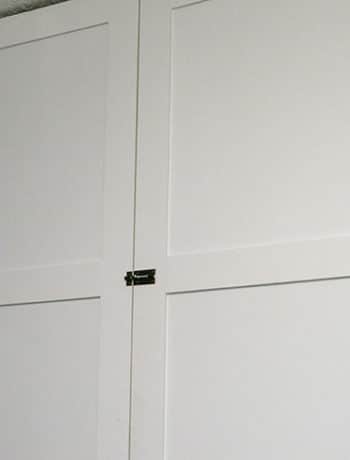
And, here’s a photo of an inside corner. Right now, there’s a gap along the edge – but once it’s all caulked and painted, it will be hidden.
Other Wall Treatment Tips
I realized that I completely forgot to share the floorplan last week. D’oh! Either way, here it is, (along with the wall elevations showing how I envisioned the board and batten):
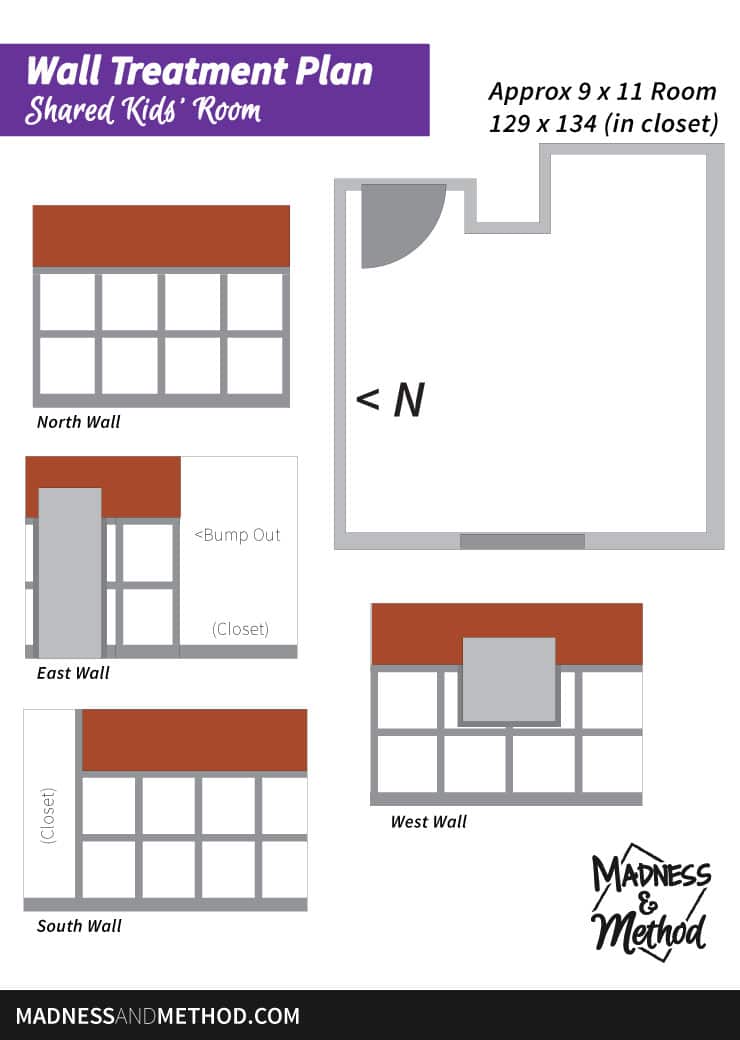
Essentially, once I have the room all measured, I plan my wall treatments then order my material accordingly. Since we did almost the exact same thing in our room, it wasn’t too hard to start!
I knew I had to install the closet vertical pieces first, and I worked from there. I always do the horizontal boards first, then install the little vertical pieces after. Starting on the south wall, I measured and marked off the spaces for my “squares” (they’re slightly taller than wide). Then, I decided to mirror the pattern onto the north wall.
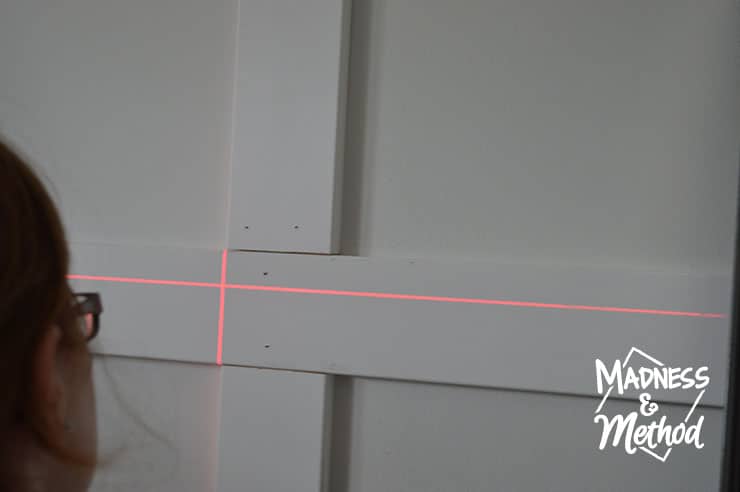
I always use a laser level (AND a regular level) to make sure my pieces are perfectly lined up. Zachary took that photo of me, so I figured I had to include it :)
Whenever you have a piece that’s longer than the boards (in my case, 8′), it’s best to cut your board at an angle to match it with the next one. You’ll have a better chance to hide the seams after patching it, and that way, you can nail the top board into the back so that it stays tight.
If you choose a trim piece with a different profile (like something squiggly), you’ll obviously have to mitre all your corners and edges. Doing straight cuts is a lot easier, and saves a lot of time! Don’t worry, once it’s all patched, caulked and painted, it should look like a seamless piece.
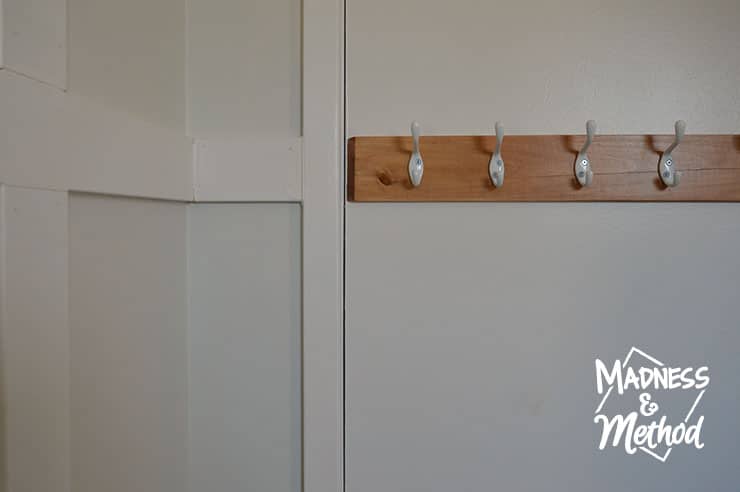
Adding Hooks Behind the Door
Zachary told me that he wanted a place to hang his sweater behind his door. I originally had a couple of over-the-door hooks in each bedroom, but as you can imagine, the kids never used them.
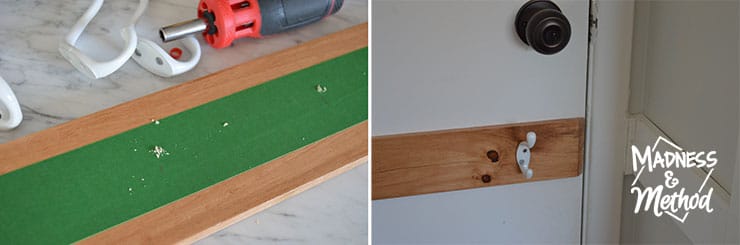
Since I had some pieces of our bedroom’s wood trim leftover, I knew that it would be the exact height of the MDF (3-1/2″). We stained it together, then I did a couple of coats of poly. I just had to buy a few hooks (which were surprisingly more money than I thought) and add them. I put a piece of tape on top, measured and marked the spacing, then predrilled one of the holes in each hook.
Then, I brought it into their room, drilled longer screws into the backs of the end hooks (to attach to the door), and smaller screws throughout.
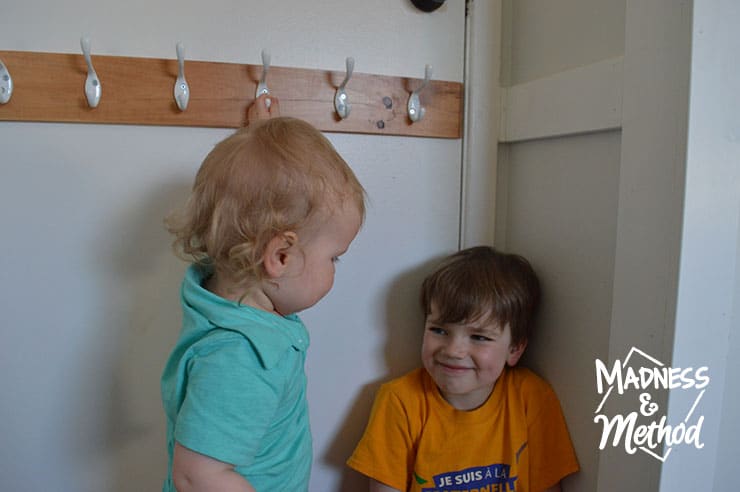
And this time, I had another little helper come to watch that part, ha! Spoiler: even the short screws are just slightly longer than the wood (darn), but I figured I could always patch the little holes if we ever remove it.
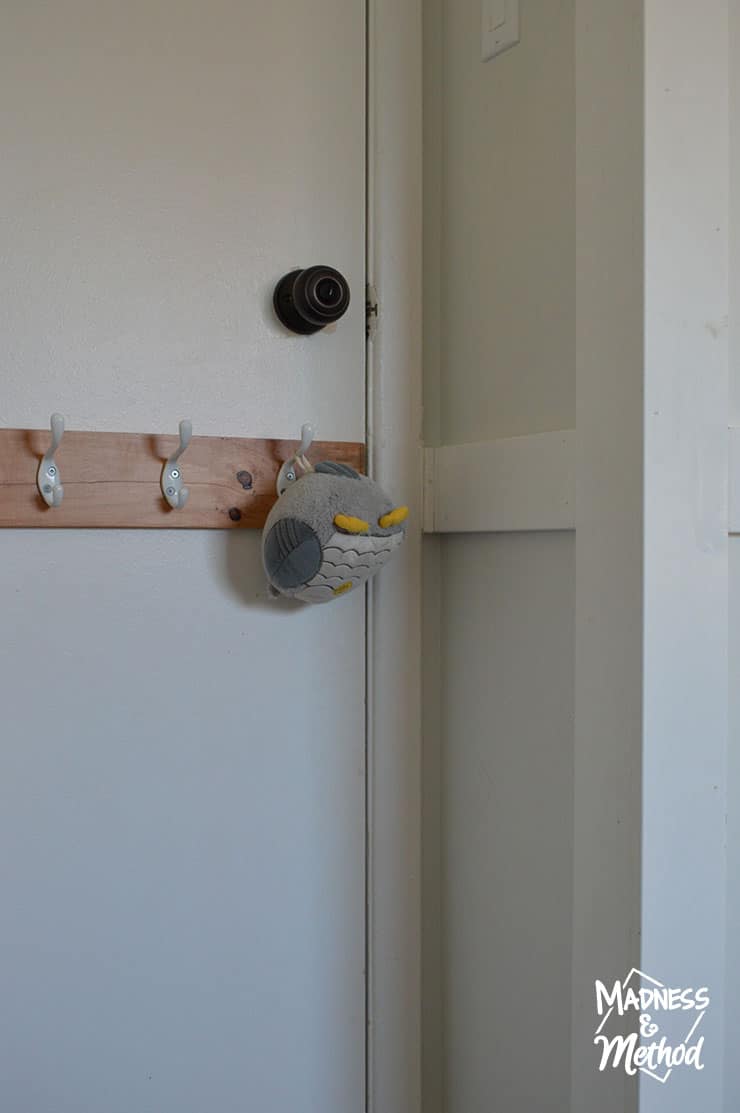
For now, the kids have liked having their own spot to hang things. Which, has mostly been stuffed animals so far…
To-Do List Progress:
- Measured, cut and installed trim (window casing, horizontal pieces, vertical corners, centre pieces)
- (Didn’t install all the window casing and some small pieces around there)
- Patched and sanded trim joints
- Worked on the headboards
- Took out the rug
- ADDED: build, finish and install door hooks
My plan WAS to paint/prime all the ceiling edges and the closet door slider today. (Along with things in the kitchen). But I messed up my apartment cleaning schedule and had to rush and do that instead…
Hopefully, by next week, I’ll also have the wall treatment caulked and primed! I need to prime the closet shelves while I’m at it. The idea is that the whole closet and the wall treatments will be red… so I’m thinking a grey primer should work. Plus I have some on hand, so that’s the real reason, ha!
About the One Room Challenge
As always, check out all the other linking participants (and 20 featured guests!). You can also check out my past posts for this challenge here:
- Shared Kids’ Room Before
- Quickly Draw & Scale a Room
- Wall Treatments: Wood vs. MDF (this week!)

We have just 5 more weeks to go (normally the challenge is 6-weeks, but it’s been extended to 8 due to COVID). That’s really good for us since we’re still on lockdown! I still need to buy my wall paint and fabric for the headboards… and I hate waiting for things.
Anyways, I hope this post gave you a good idea of our progress so far and provided more details about wall treatments and when to use wood vs. MDF. I love the texture and definition they add to a room, and I’m always looking for ways to level up our plain walls.
Let me know if you’ve used both, and if you prefer one over the other!
(Honestly, I do like having the leftover wood more to use for other projects… like the door hooks!).

2 Comments
Erin
May 20, 2021 at 9:04 amThank you for such a detailed post! We used MDF to create a feature wall behind the sinks in our spare bathroom – it works well for high humidity areas since pressed boards are less susceptible to warping than wood. GORGEOUS result! We’re enjoying following your transformation…good luck from fellow ORC participants!!
Nicole
May 25, 2021 at 12:23 pmThanks! Good luck with your project too :)