
I am so close to being done with the basement bathroom at the cottage… but figured you wanted some photos either way! Plus, I realized that sharing the semi-finished microcement bathroom gives you the chance to help me out with some last-minute design decisions :) Check out all the photos, details and more on my latest renovation project!
– Note: This post contains affiliate links. See more information about affiliates here. –
Hello all, my name is Nicole and I live in Northern Ontario, Canada. I’ve been working on a basement bathroom for this round of the One Room Challenge and am so close to being done (more details below). Oh, and scroll down to the bottom for all the questions/feedback I am looking for :)

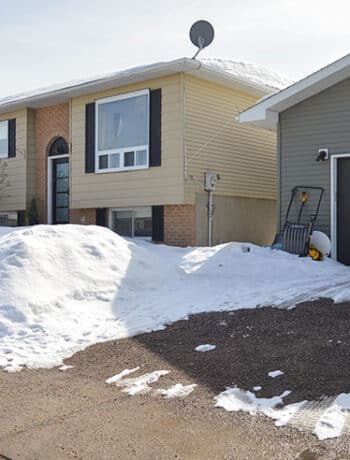
The 411 is that we purchased some property last winter with the idea to build a cottage (aka second/vacation home). It will be mostly rented as an Airbnb – so I designed everything with that in mind. For more information about the cottage check out the floorplan here, the interior design and framing, and a construction timeline.
Back to the bathroom! Catch up with the basement bathroom intro, design plans and construction progress, the shower ledge, microcement prep, the kitchen cart vanity, tinting the microcement and sealing the microcement. Since last week’s post, I’ve also done the shower pan and tiling, but I’ll have details about that later :)
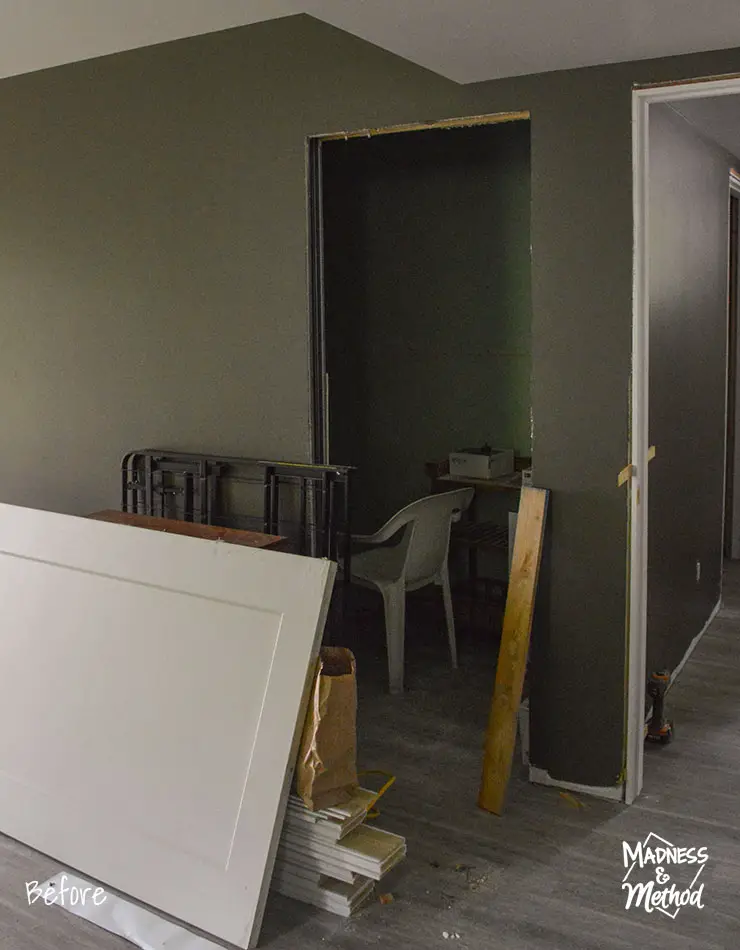
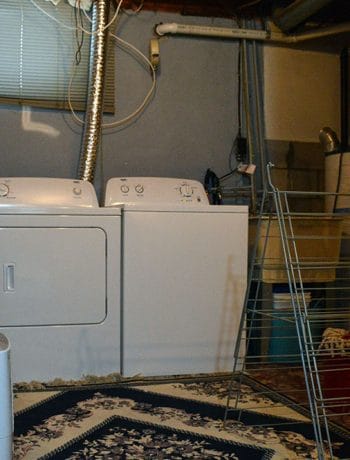
Here are the before photos:
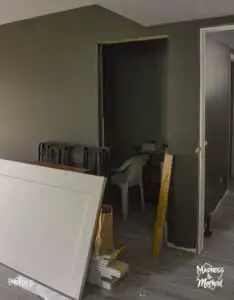
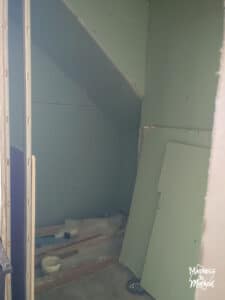
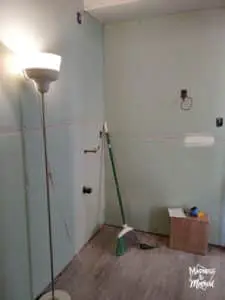
It was brand new construction, the only truly unfinished room in our almost-completed cottage. Aka our dumping ground for construction materials. We also had to re-attach the drywall to the ceiling after some electrical repairs…
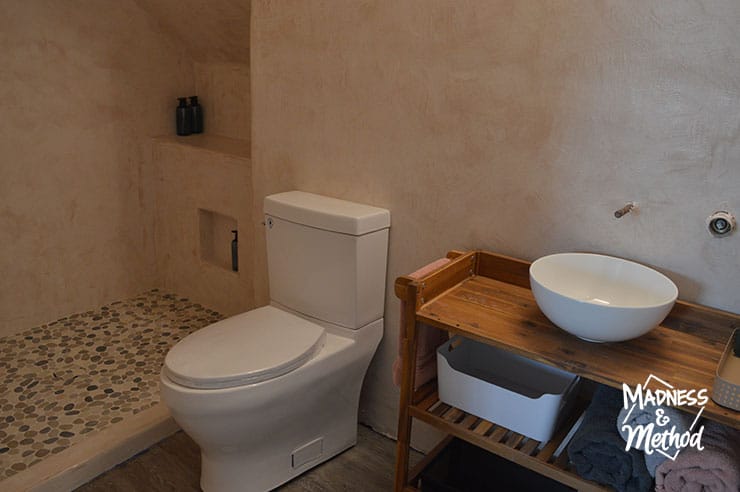
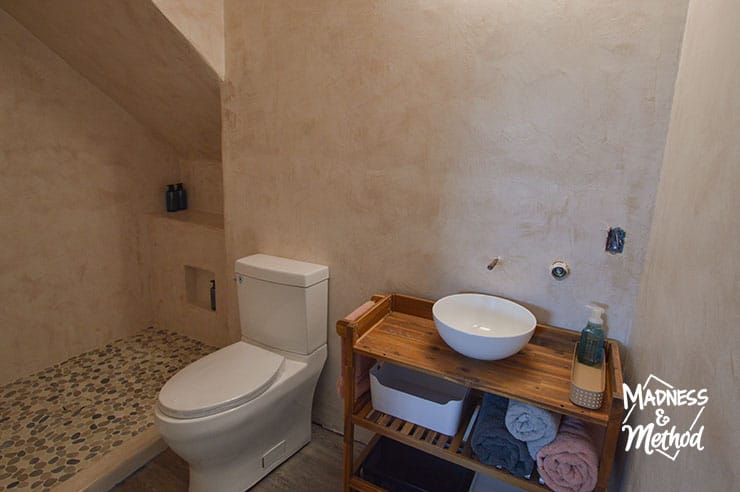
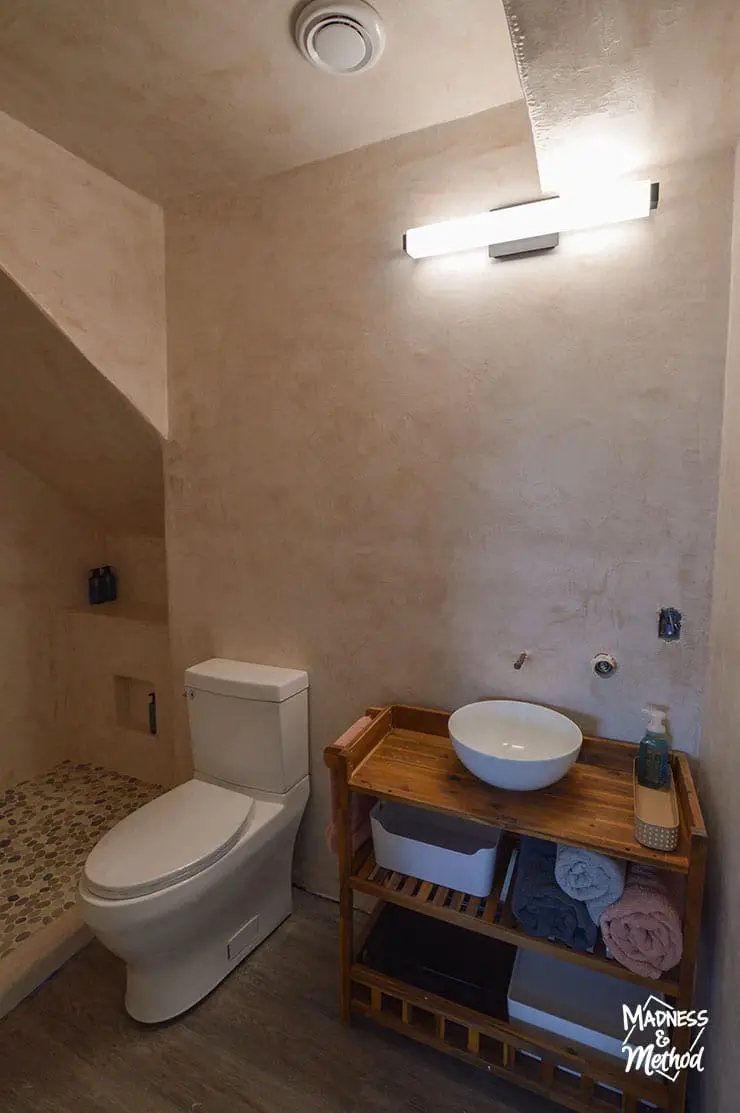
Ready to see how we ended up!? Let’s start at the door and work our way around…
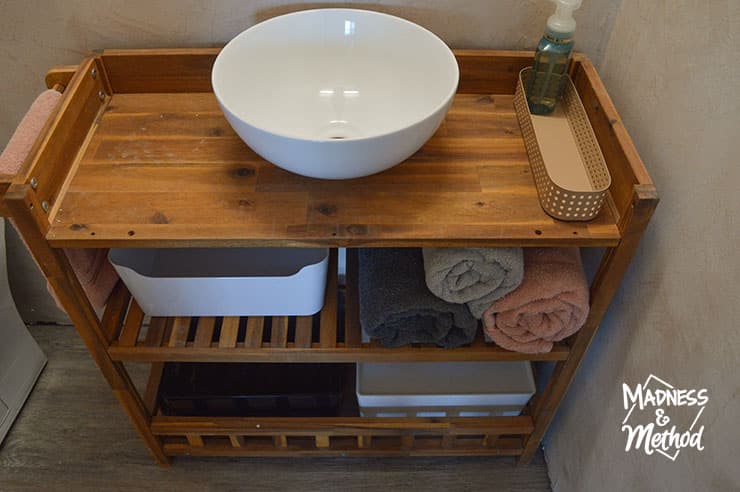
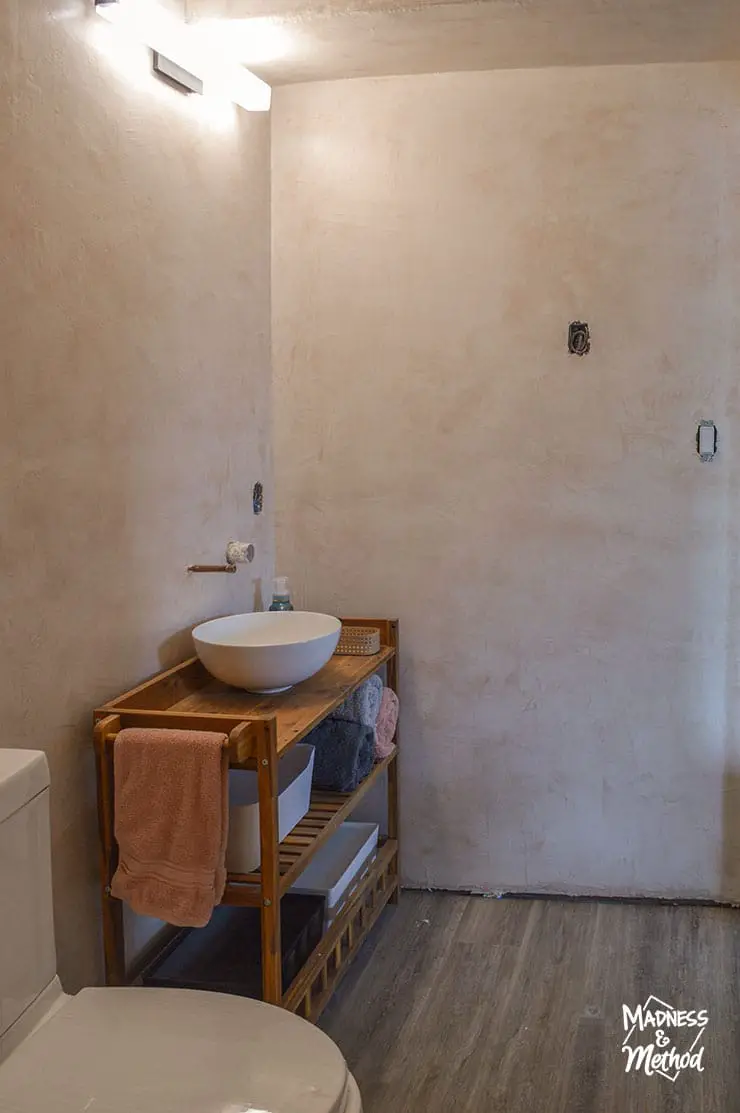
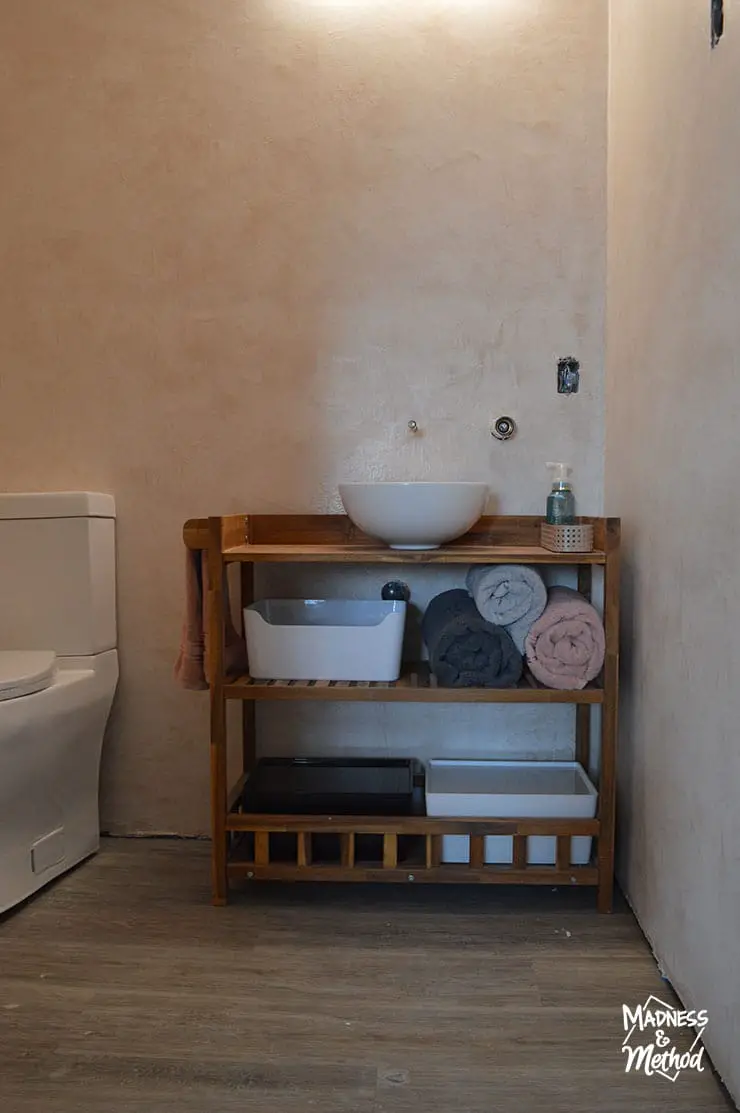
Open Shelf Vanity (Kitchen Cart)
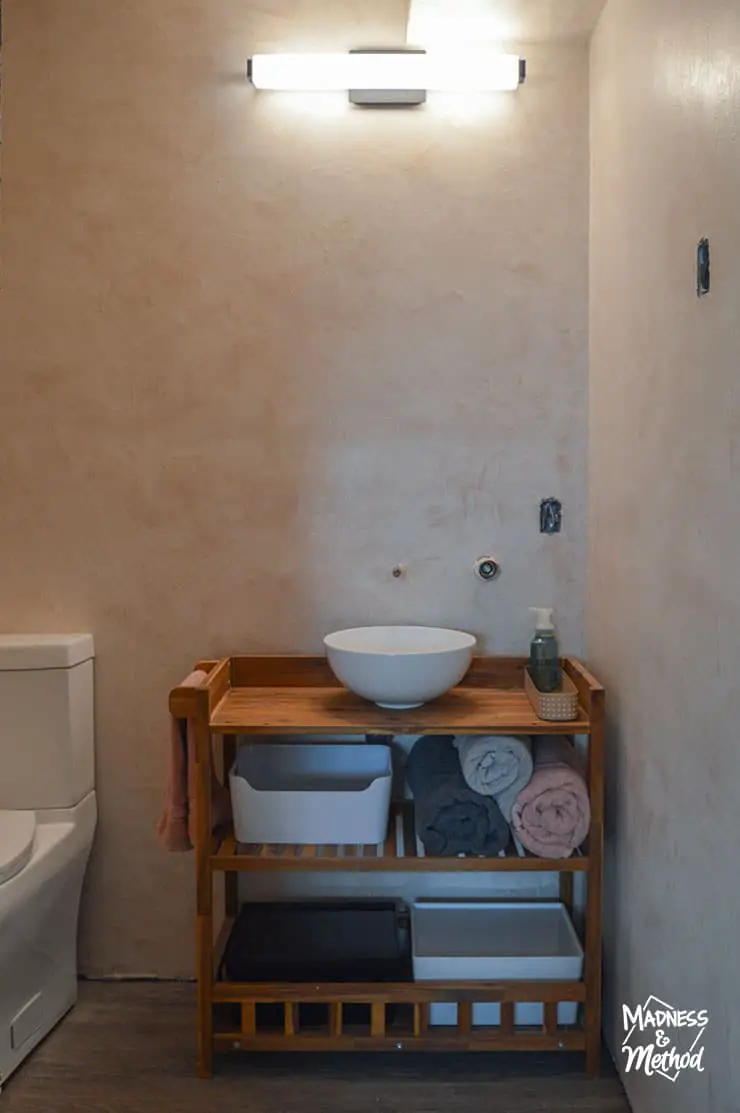
Yes, that’s right, I bought a kitchen cart to use as a vanity!
And no, the plumbing isn’t actually hooked up yet, ha. Apparently, we are low on the priority list – so TBD when it will get done.
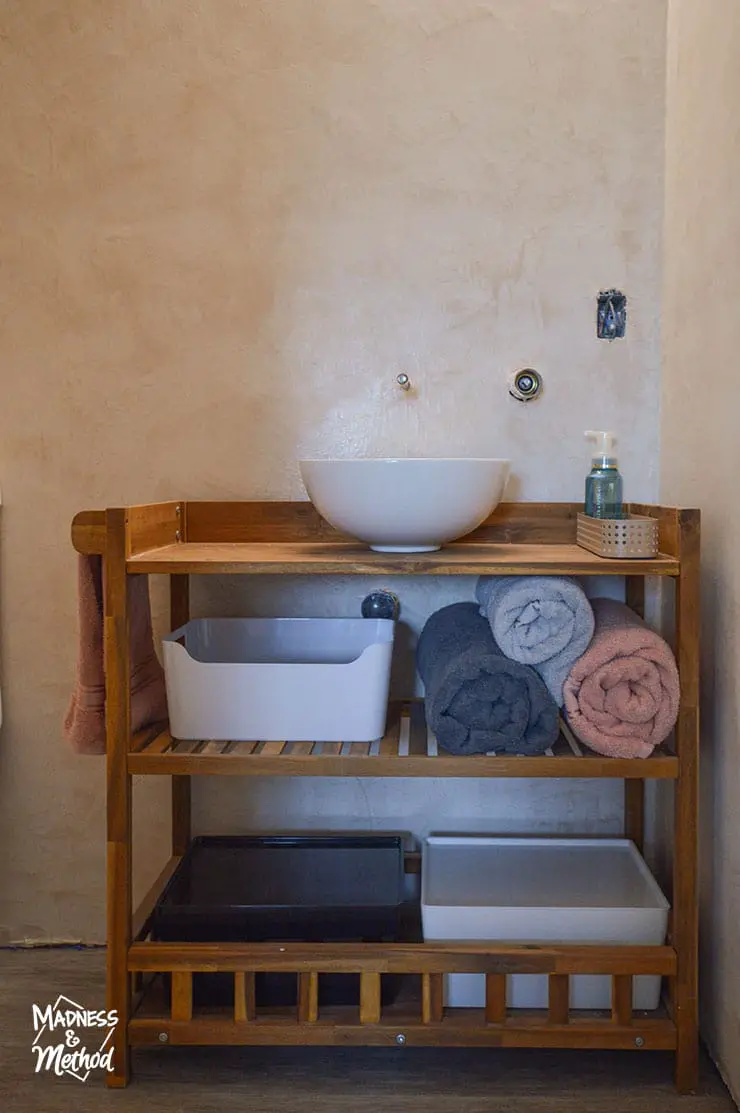
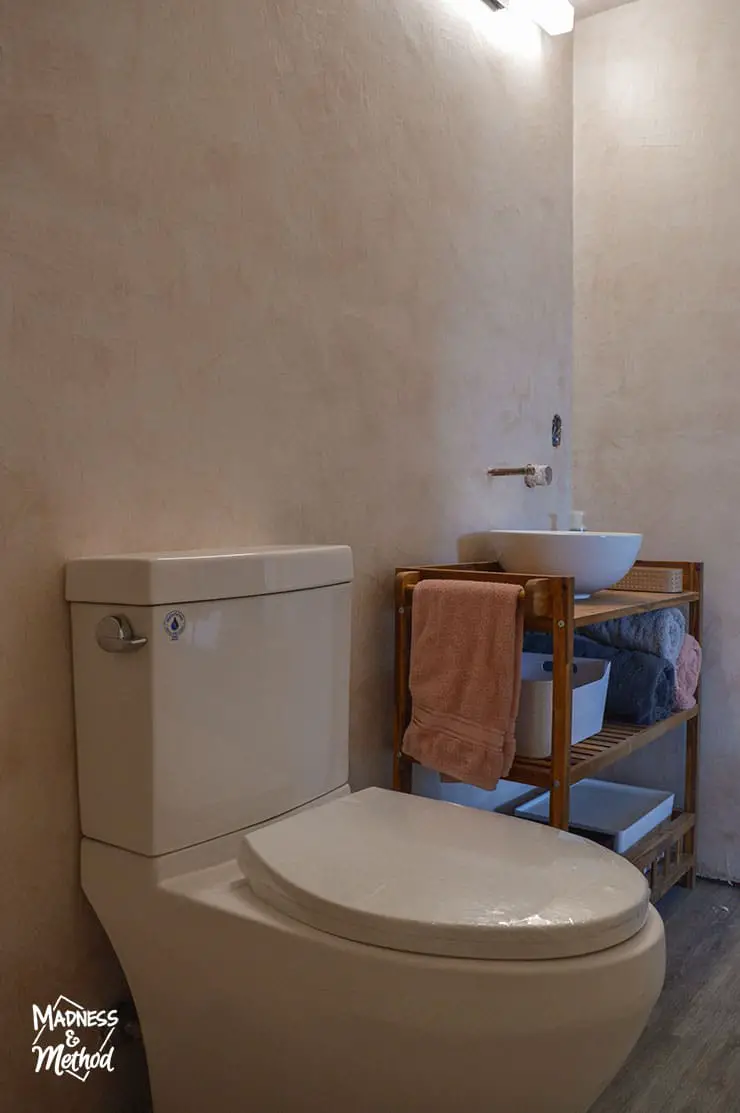
I bought various bins and containers (from Ikea) and have them sitting out. In reality, we’ll probably store more towels here, and some TP. But maybe a blow dryer too? The pipes will definitely take up more space in the top section.
Actually, I may get one of those TP stands that also store extra toilet paper. I don’t have a spot for TP yet and want to avoid extra holes in the walls, ha.
The faucet is wall-mounted, and there will be a mirror above there too. I have a round one, so we’ll see how it looks!

I also have to install the shower rod, and it will be on the outside (not the angled part).
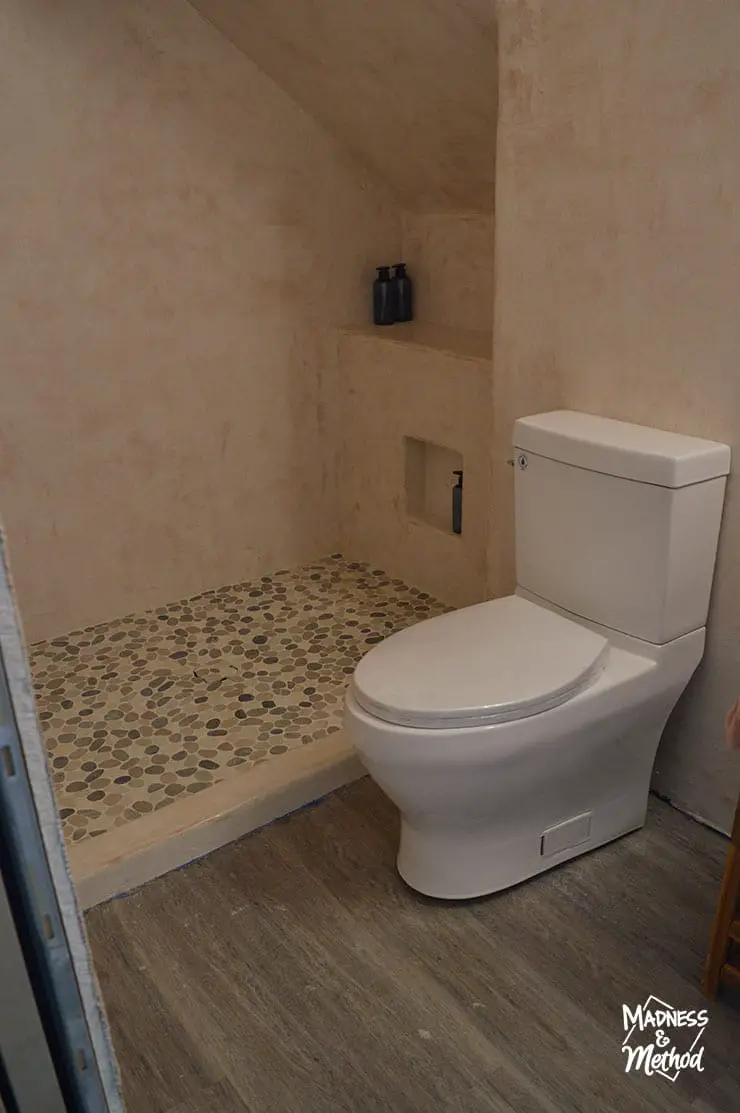
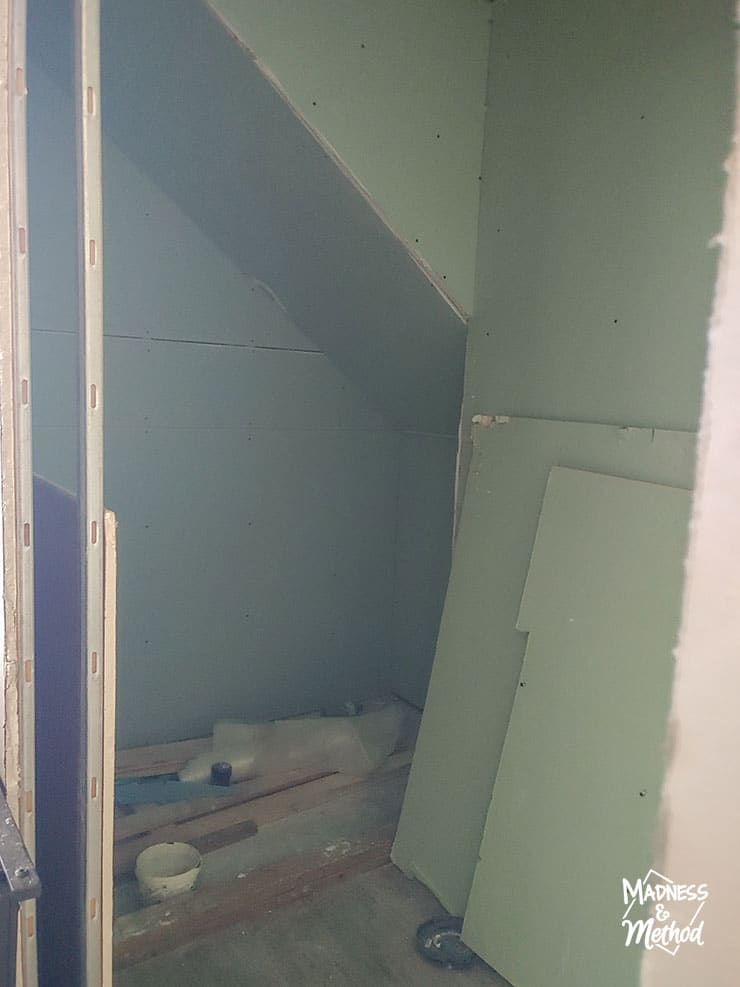
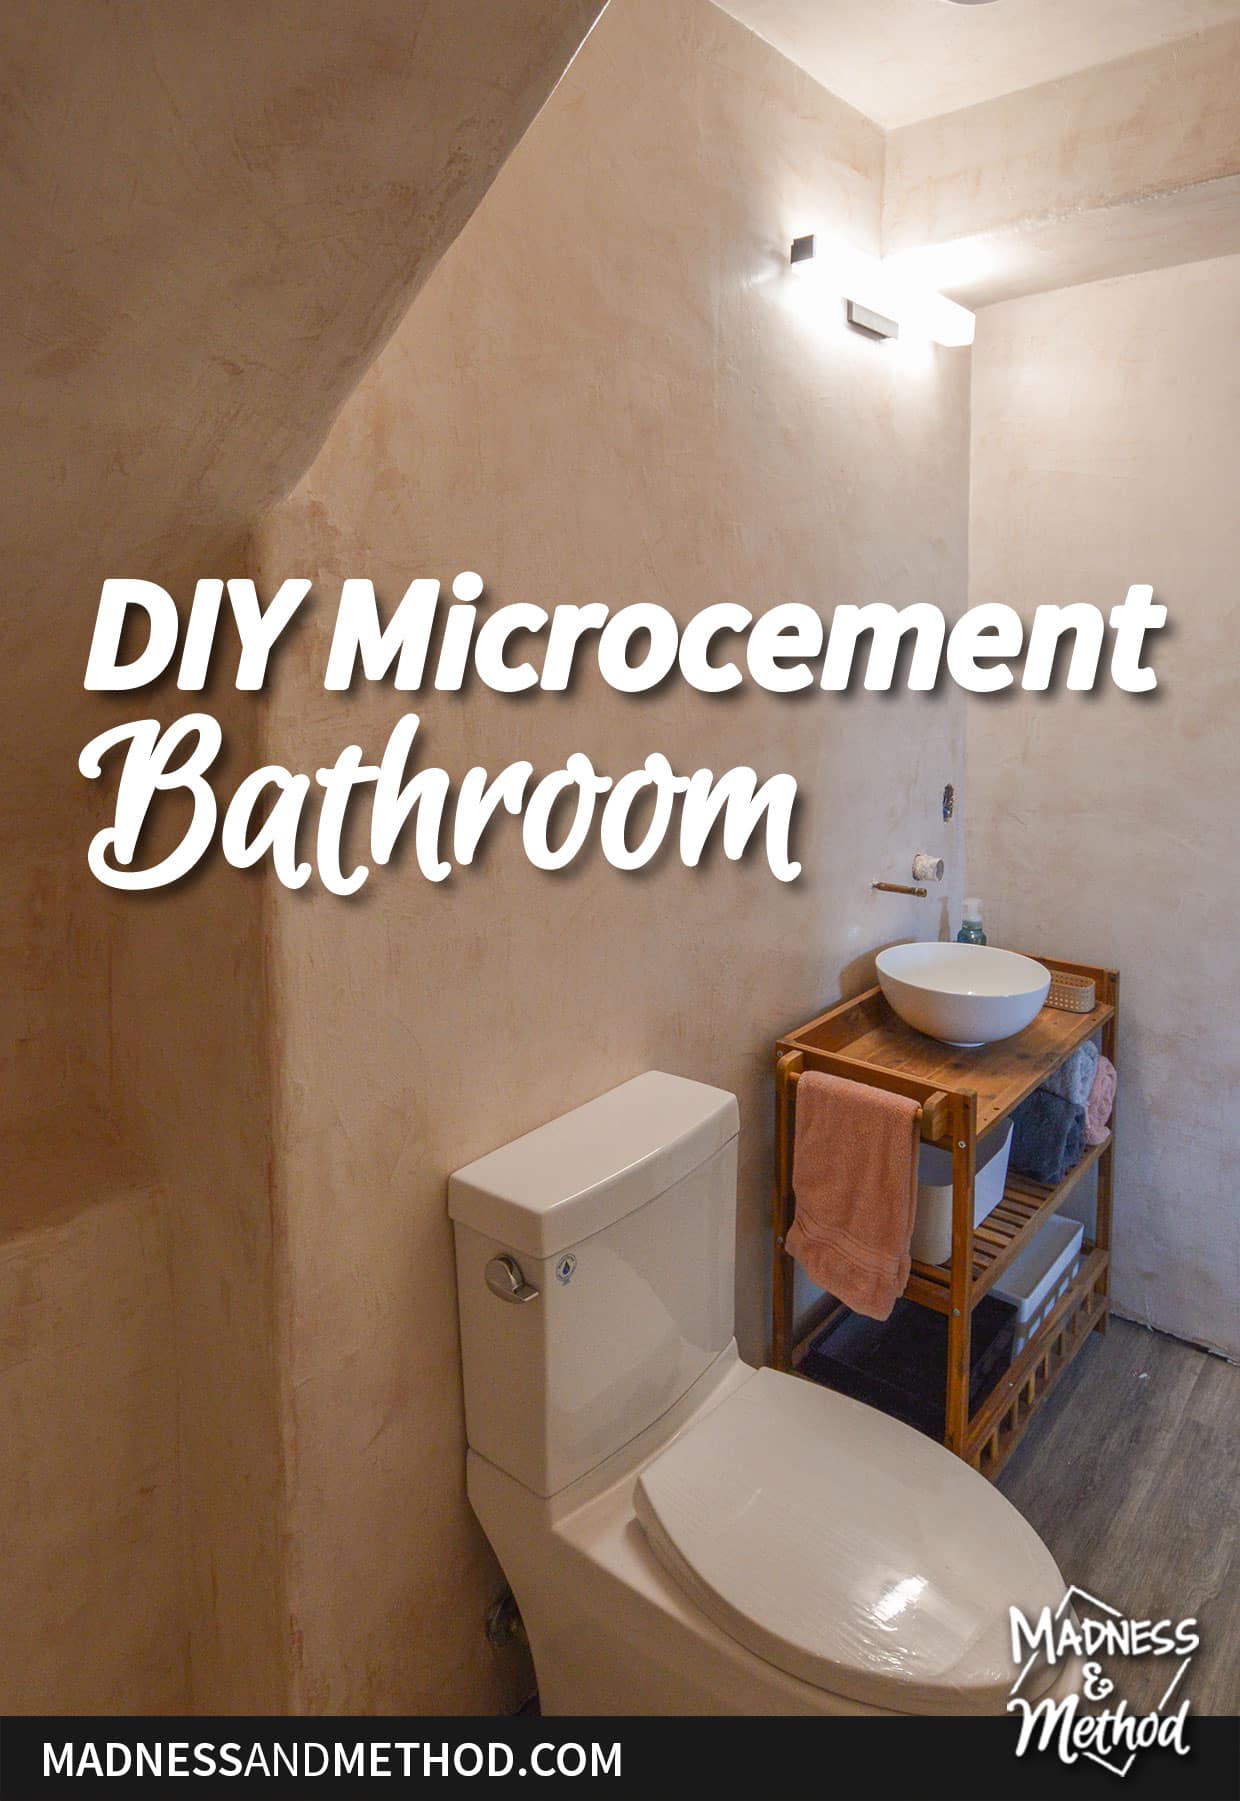
Under Staircase Shower Nook
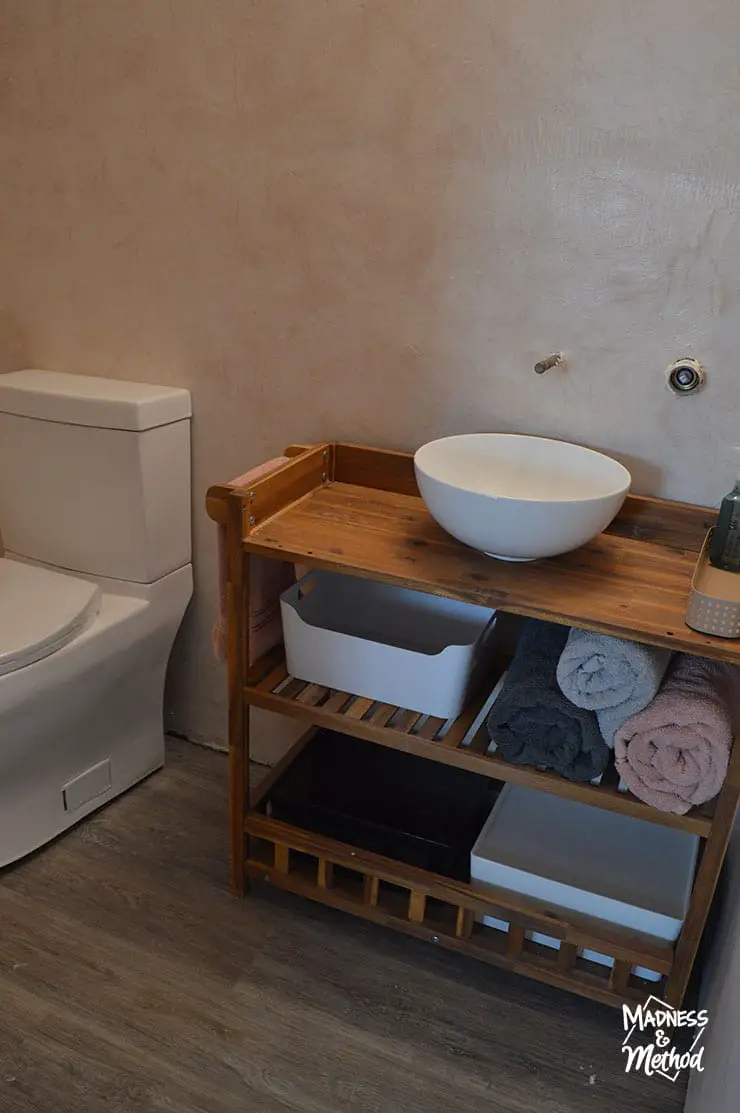
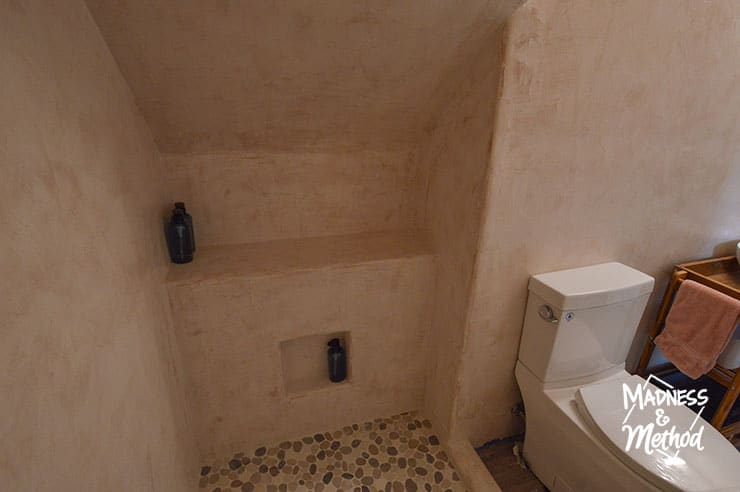
You can’t tell, but the toilet is not hooked up at all either. It was precariously floating above the flange and I shoved some cardboard to semi-level it on the other side. The plastic is still on the seat (and along the bottom) and I packed it all back in the box after these photos were taken :)
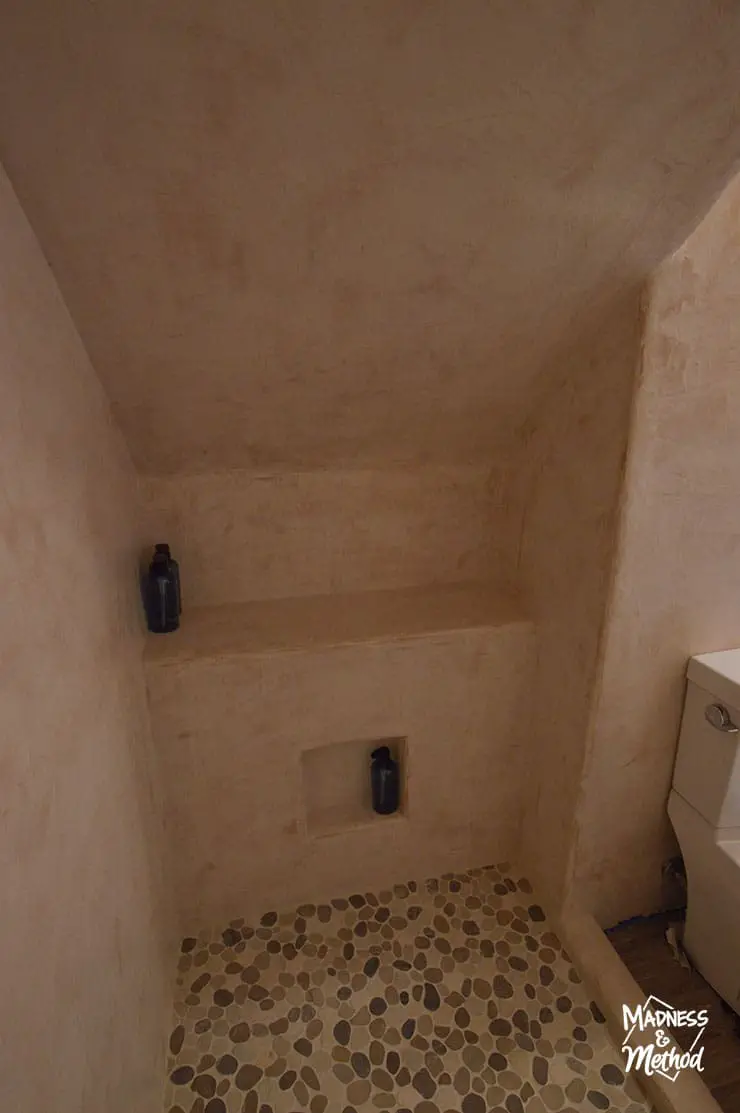
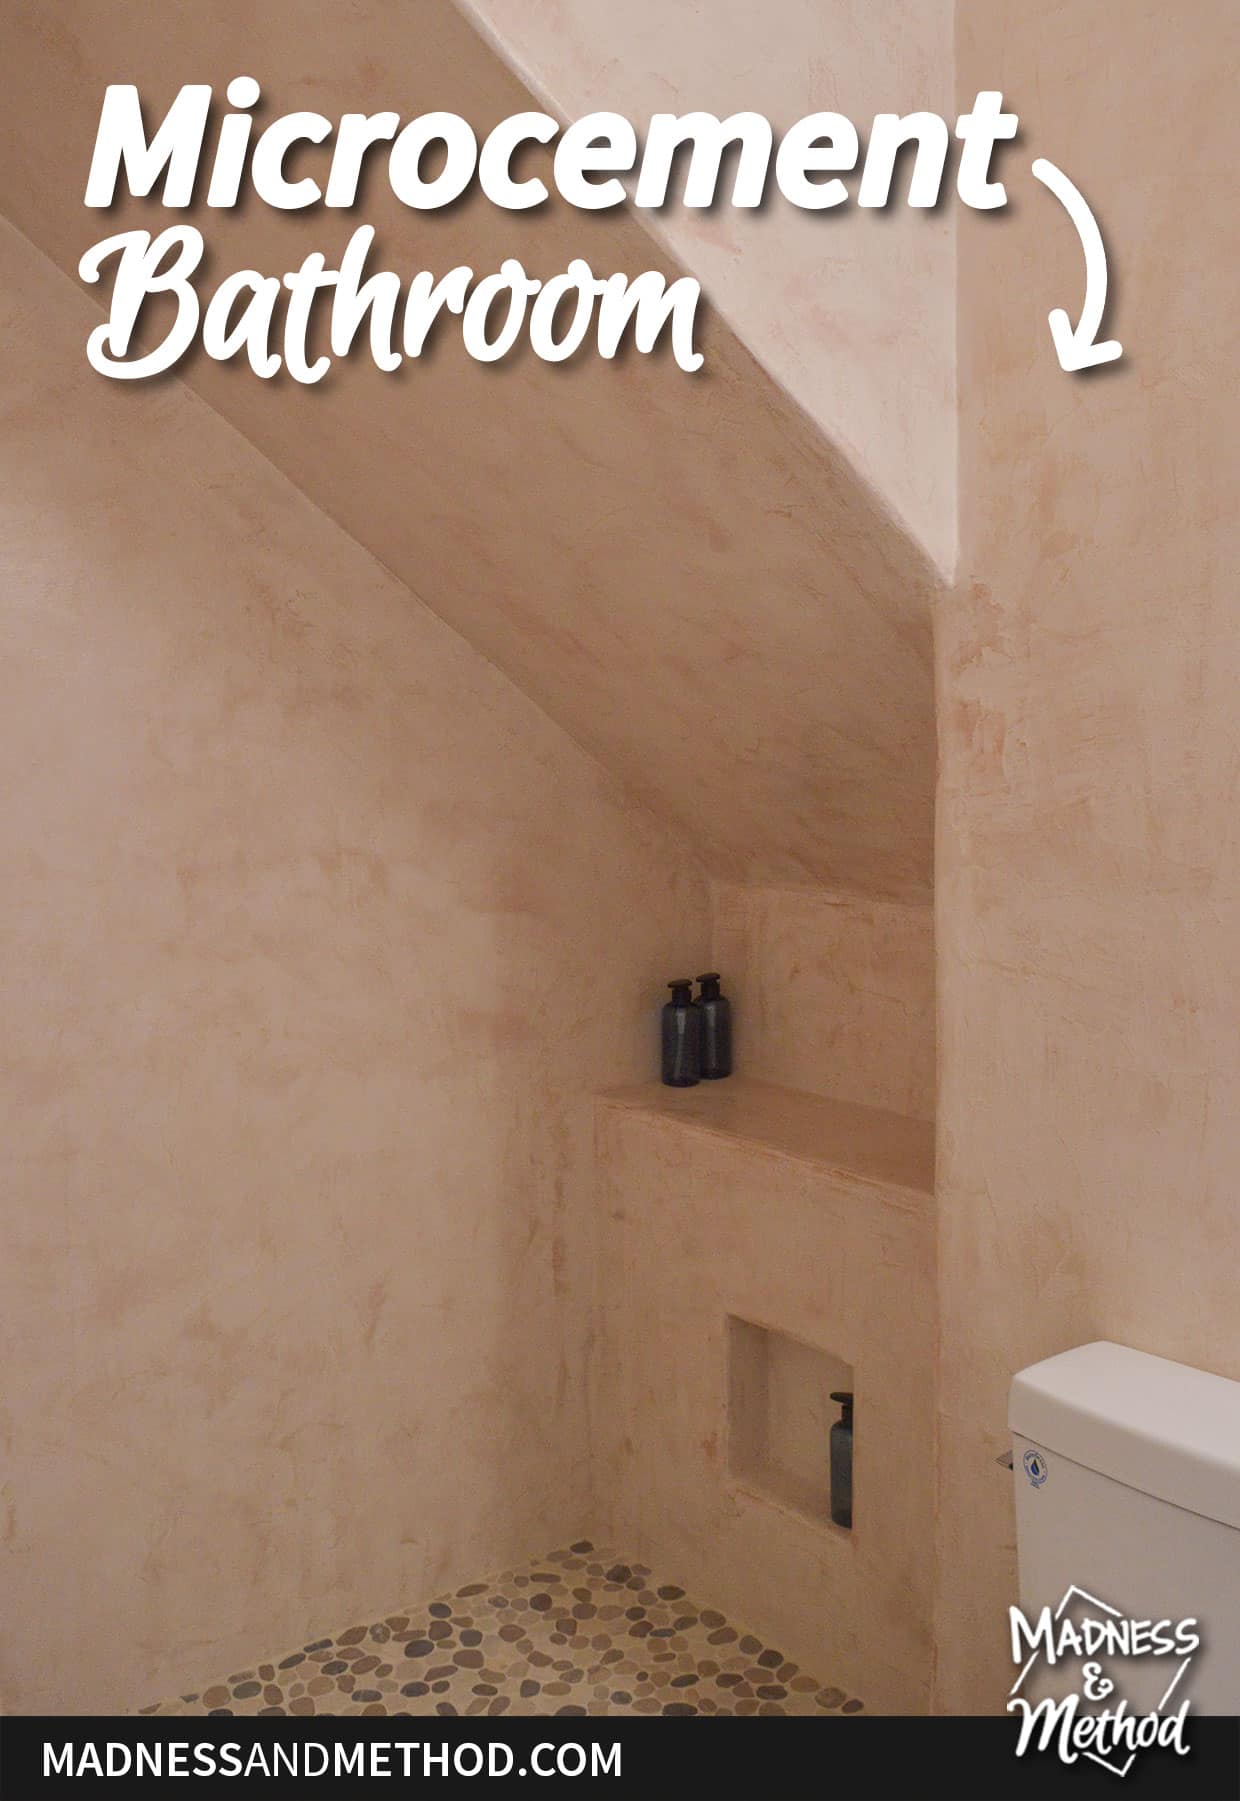
I LOVE the microcement angled shower. Honestly, I do not know how I would have done tiles (my original plan was for a multi-coloured hex). This better be super easy to clean, ha!
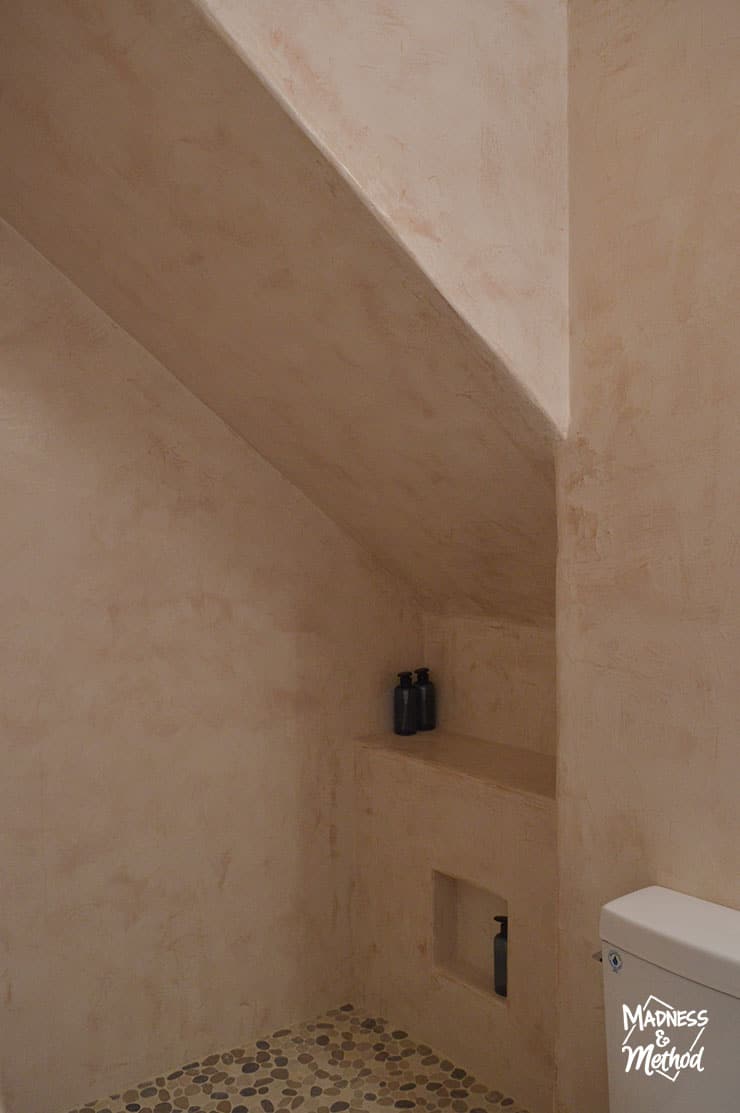
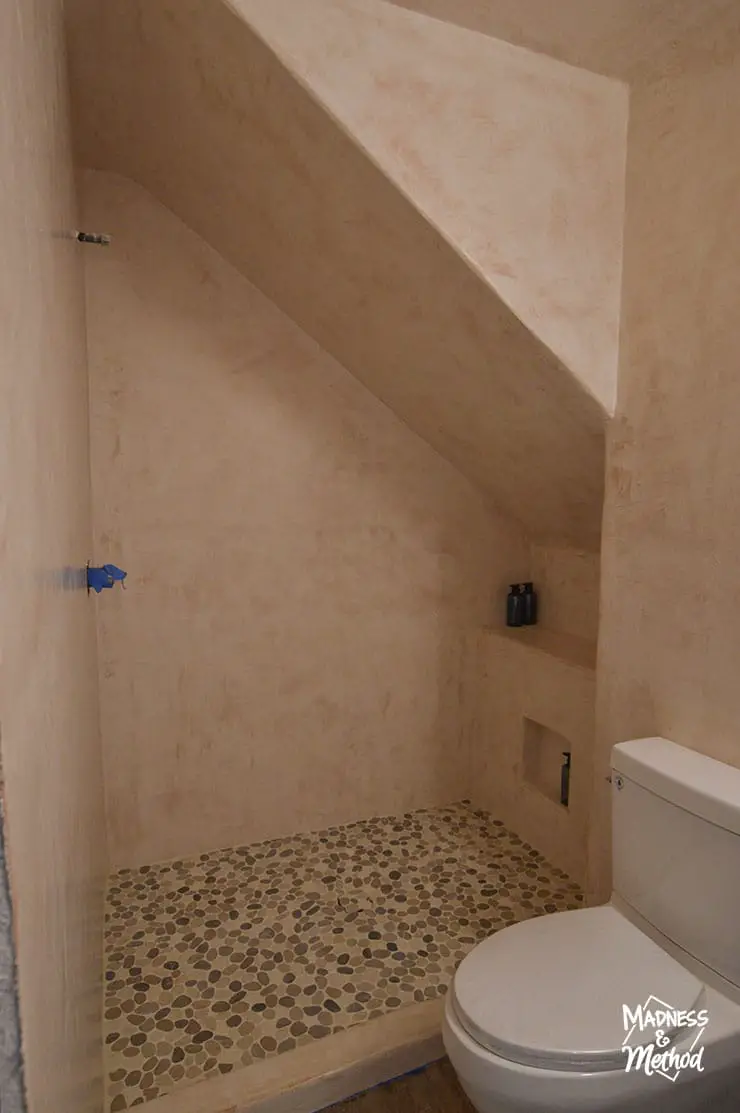
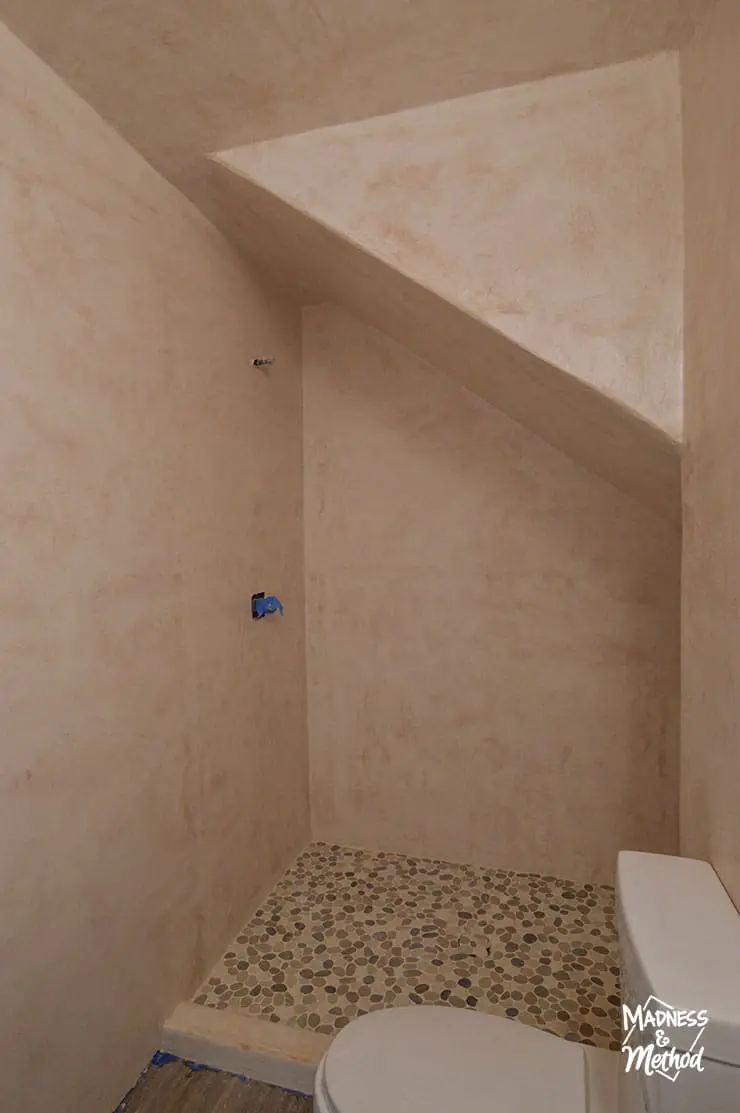
I call our cottage the “Rocky Retreat” and this bathroom embodies that perfectly. The microcement walls are cave-like, and the pebble tiles on the floor fit the theme perfectly.
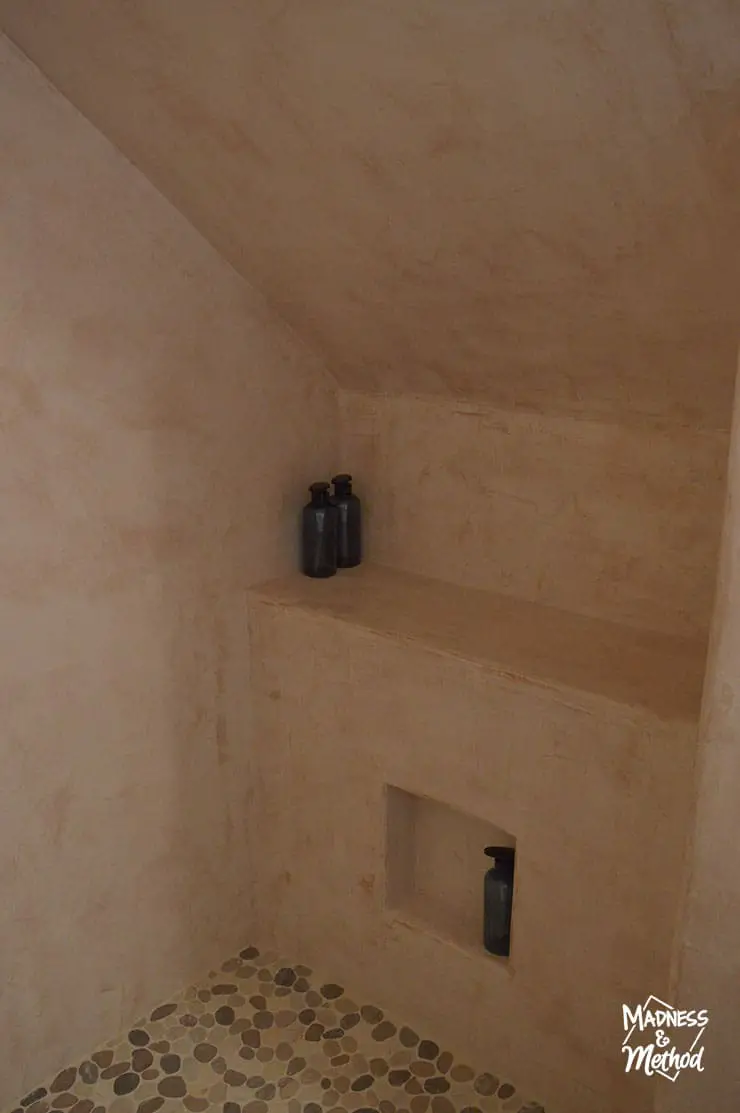
Because this section is lower because of the stairs – it made perfect sense to build a ledge for storage.
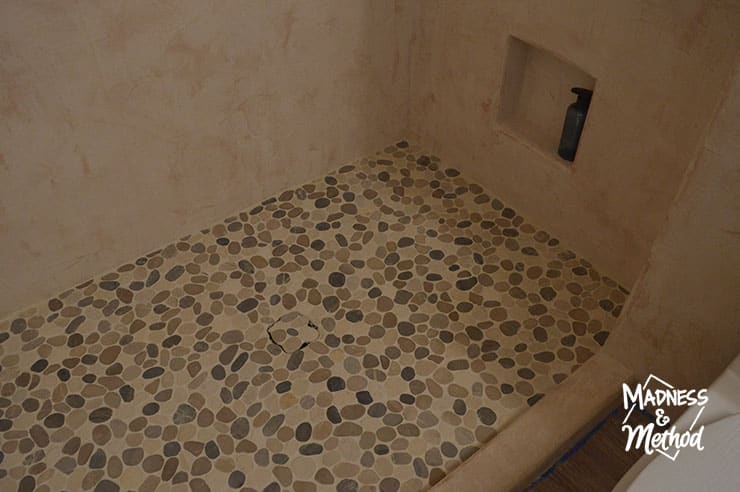
As mentioned, I finished the tiles this week. I probably have a bit more haze to remove, and will need to seal and silicone the edge. I went with a tileable drain cover and added some rock tiles on the top to blend in. We will see how it works!
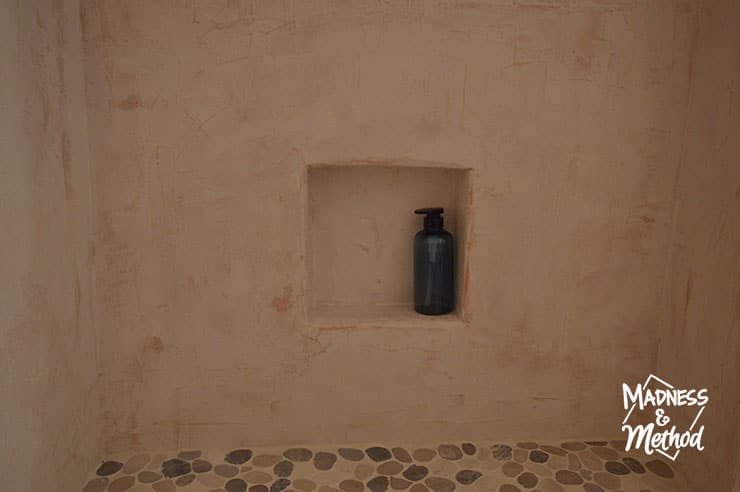
In Instagram Stories, I did a poll on the shower ledge, and whether I should have a lower “shaving height” spot. In the end, I went with a square niche. These are the bottles I bought for the upstairs bathroom, so I may get more for down here.
I did bump my head a few times while working on this bathroom, but hopefully, that doesn’t happen to people using the shower, ha.
Other Bathroom Details
In reality, there will be a shower curtain here that would block most of the view to the toilet. I think I may need to choose something clear/transparent since there isn’t a light in the shower. Send me your suggestions!
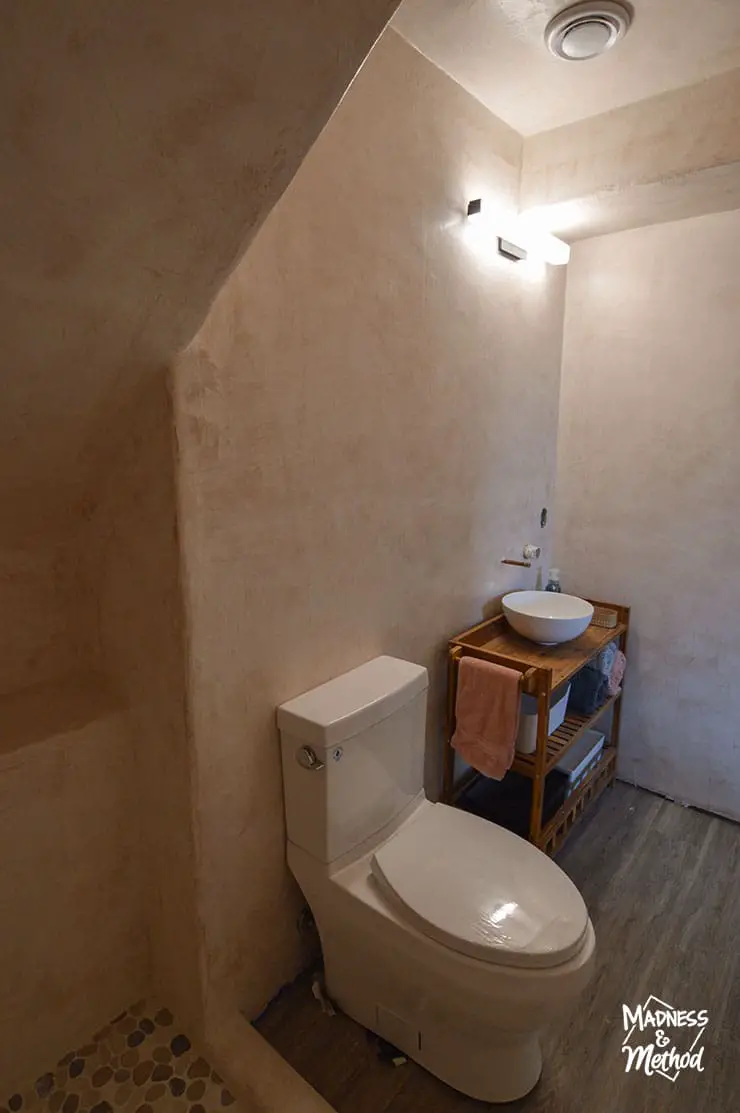
Up until a couple of days ago, I was still using my lamps for light in here. The electrician came in and hooked this long contemporary one up just in time.
I also went with a more modern-looking toilet (with a hidden trapway – my favourite).
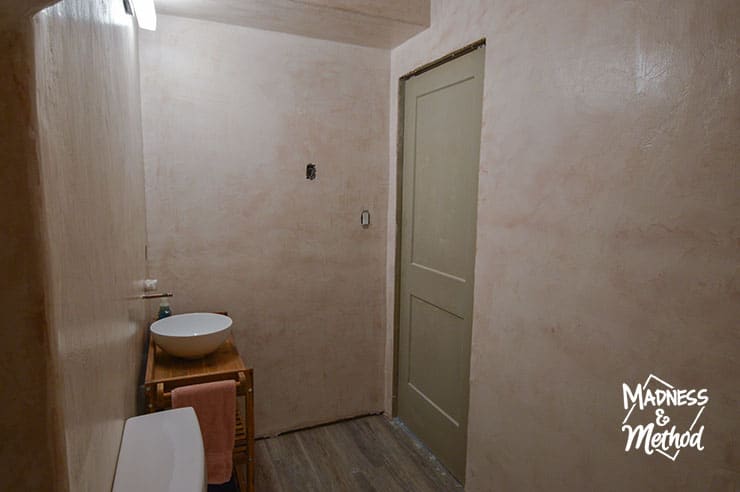
Not sure if I mentioned it before, but this bathroom has a pocket door. One of my big hang-ups, when I was deciding on the microcement colour, was that it did not match our trim’s tone.
When I was working here, the door was open most of the time. But in reality, people use the bathroom with the door closed :p
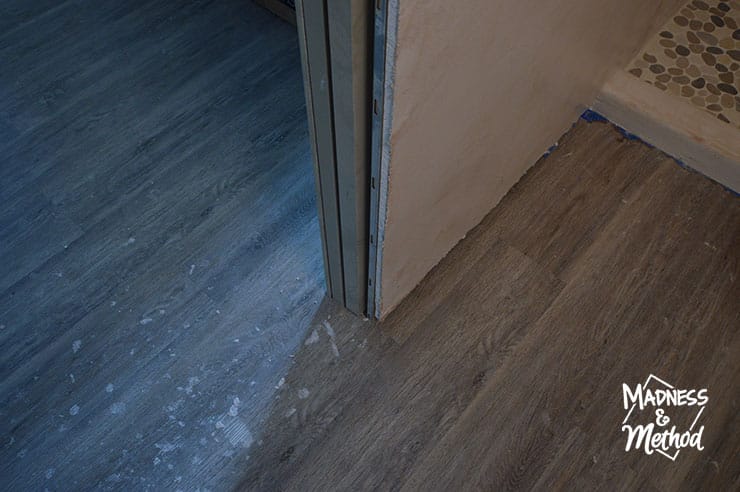
I do still need to finish the pocket door trim on the inside and add the casings and baseboards. So wondering if I should paint them to match the rest of the house, or go with something a bit pinker. Oh, and let’s not forget my damaged floors…
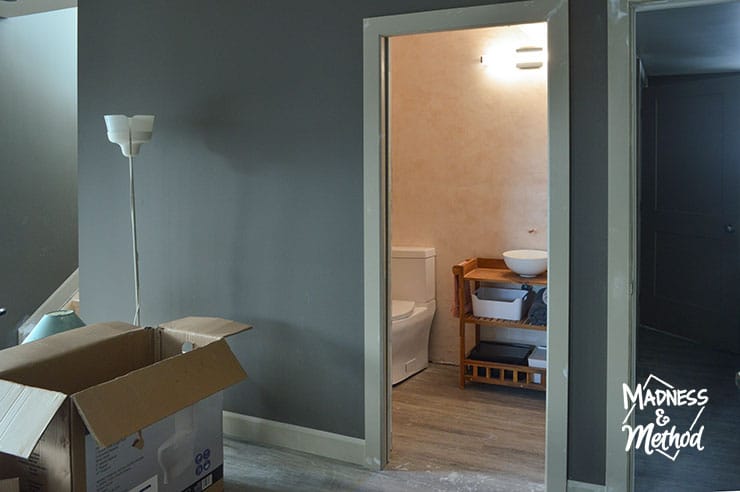
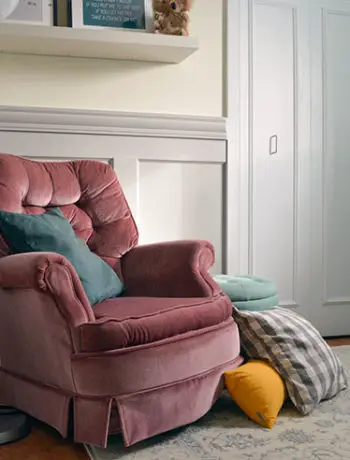
The view just outside of the bathroom is a little improved as well! I finished 95% of the trim in the house, and just need to do a second coat of paint.
Here’s a reminder of where we were two months ago:
Ya, much improved :)
But yes, the vanity area/styling will probably be changing the most.
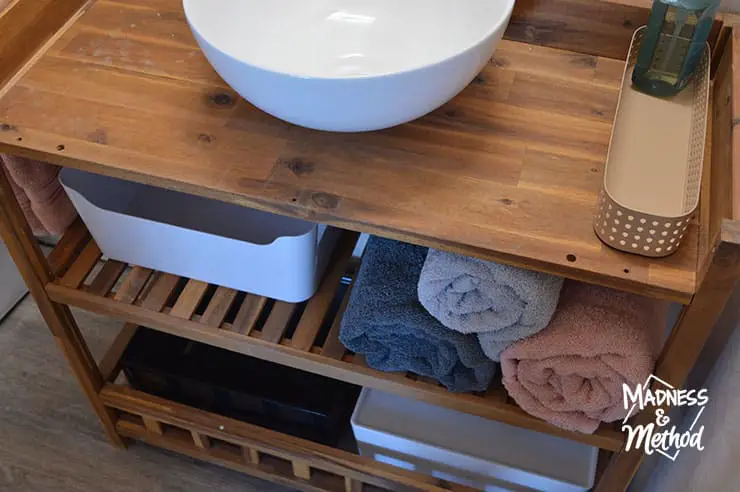
Probably a whole shelf for towels? In our current Airbnb, I always take out towels and leave them on the beds for guests, which do you prefer?
Here’s one more before photo…
And a wide-angle after. (But also, check out this Instagram post to see the weekly-ish progress).
And another from the other way :)
About the One Room Challenge
Visit the One Room Challenge blog to see all the project reveals! Haven’t heard of the ORC before? 10 years ago, Linda of Calling it Home created the first 6-week makeover challenge. Since then, it’s become a bi-annual event with thousands of completed rooms so far. Each week (during the challenge), people makeover a room at their house and link up their projects to share with everyone else. It’s become super big on Instagram too, so follow me there for more behind-the-scenes :)

Follow My Bathroom Project
- Cottage basement bath plans
- Bathroom timeline and original design idea
- Building a custom shower ledge
- Prepping the bathroom for microcement
- Kitchen cart vanity hack
- Tinting & finishing microcement
- Sealing microcement
- Semi-Finished Microcement Bathroom (this reveal post)
Check out my past One Room Challenges:
- Spring 2016: Basement Half-Bathroom Addition
- Spring 2017: Bro’s Budget Bathroom
- Fall 2017: Garage Makeover
- Fall 2018: Basement Kitchen Renovation (which we didn’t complete until much later, you can check it out here)
- Spring 2019: Main Bedroom 1 AND Main Bedroom 2
- Fall 2019: Not-so-Neutral Nursery
- Spring 2020: New Main Bedroom
- Fall 2020: White and Rainbow Bathroom
- Spring 2021: Shared Kids’ Red Bedroom
- Fall 2021: Cleaned Basement Refresh
- Spring 2021: Colourful Hallway
Bathroom Sources/Feedback/To-Dos
Sources
For the shower floors, a rocky pebble tile (grout colour is “light almond”)
The walls are Durocret microcement, tinted very lightly to “light brown” – although it’s a pink tone
The vanity is a kitchen cart with a vessel sink
A wall-mounted faucet and matching shower hardware still need to be installed
This black light fixture fits in perfectly under the bulkhead
Kalie toilet
Other things I’ve bought for the space include a minimalist toilet brush, blue hand towels (but I used pink here). Plus a bunch of stuff behind-the-scenes/walls like waterproofing, priming materials, etc.
Small Tasks to Finish
Scrape tape off floors, repair vinyl plank
Baseboards/casings
Seal the grout + silicone edges
Shower rod, mirror and hooks up
Decide on TP holder and vanity setup
Pros: finish electrical and plumbing (including toilet, sink, and shower)
And finally,
Looking for feedback:
Should each bathroom at a rental house have a blow dryer? What other things would you want in a bathroom?
Do you prefer your towels in the bathroom, or on your bed (when staying at a rental)?
Shower curtain (clear/transparent) suggestion?
Does the trim/inside door colour need to match the rest of the house? Or something better suited to the bathroom?
Shower hooks/bar? I’m a hook person, but I need to find the studs to hang them properly…
Ha, I guess not being done-done gives me the chance to ask all these little questions :) I think those are the basic things that are still being decided.
Right now I’m in the mood of “maybe I’ll wait for the plumbers to finish before I get back to this project”… but we’ll see what I end up doing… I do still have the rest of the cottage to finish :)

No Comments