
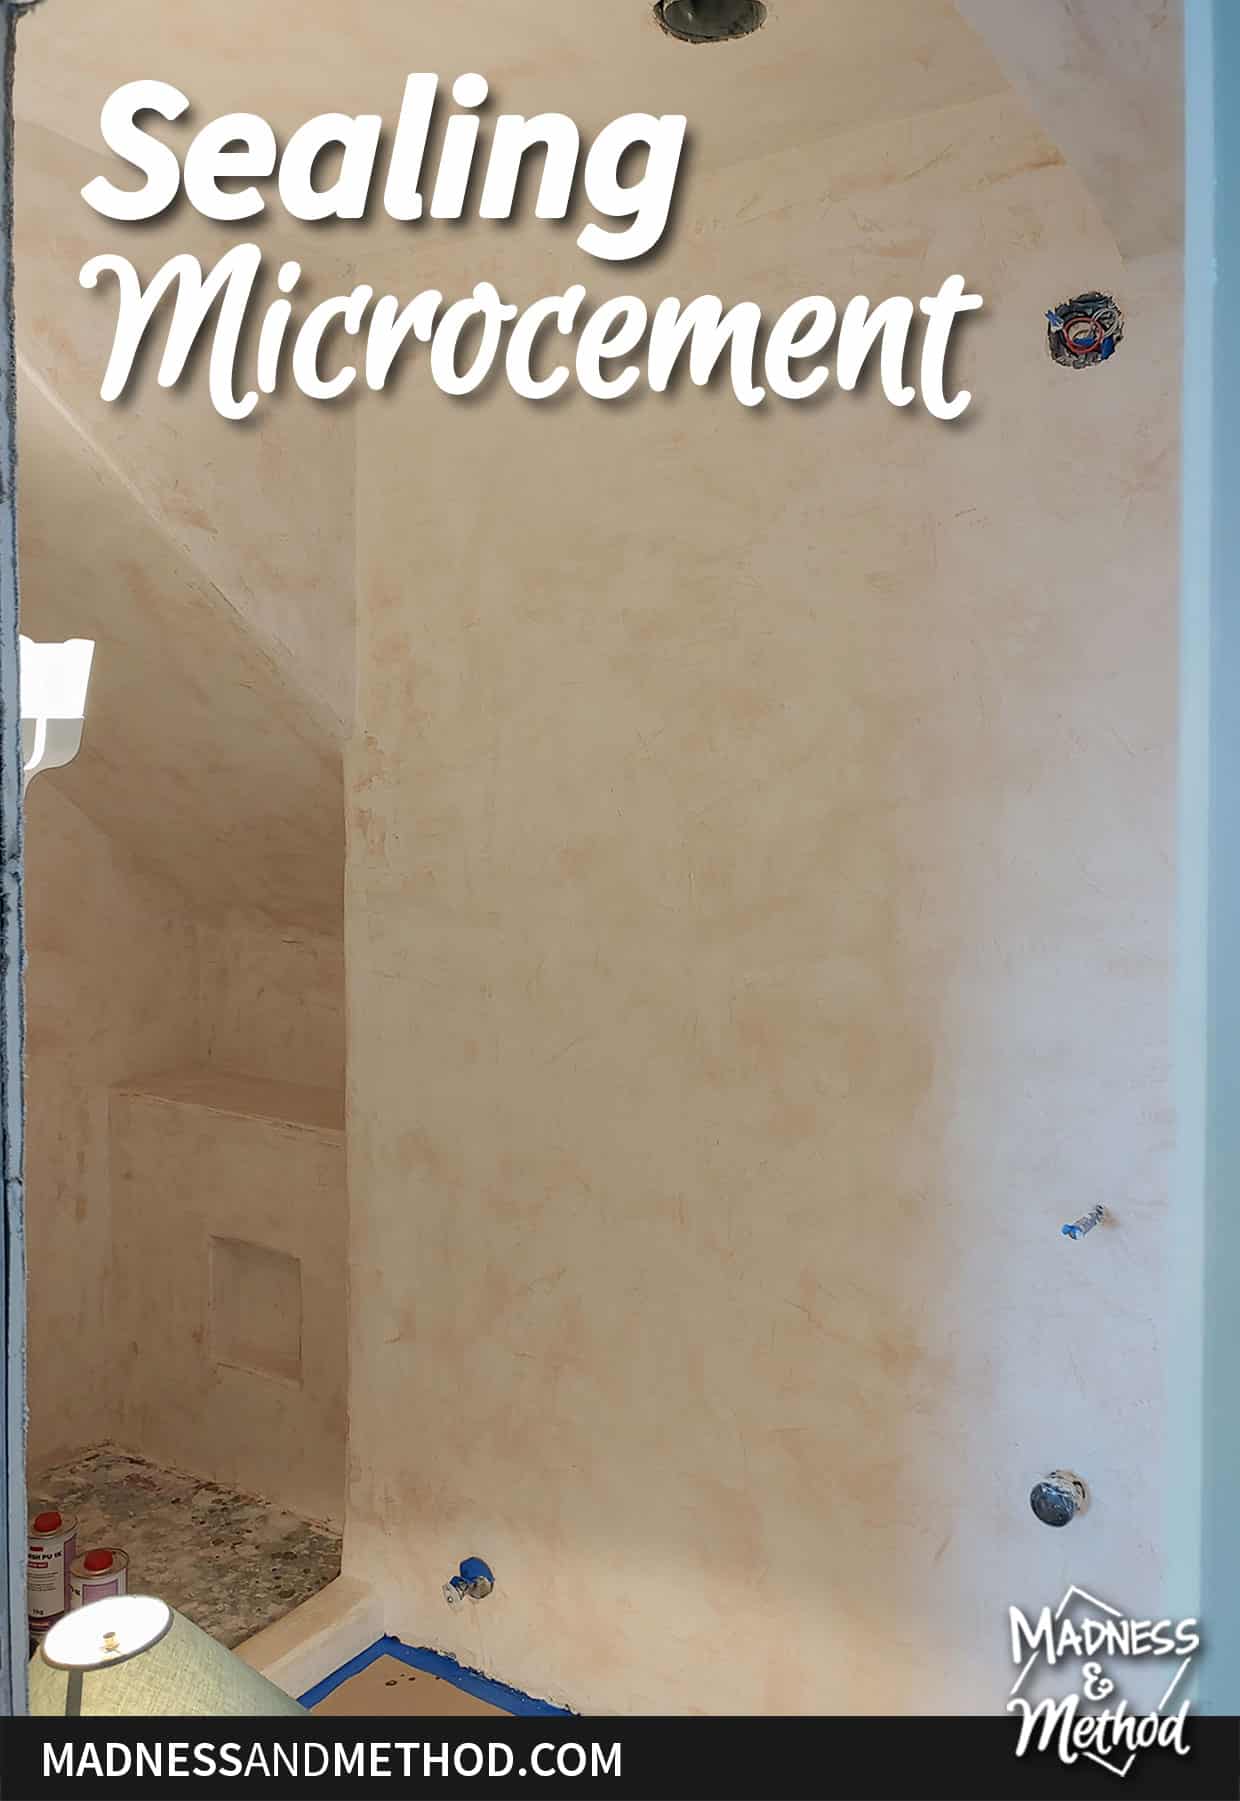
Still working on the microcement walls and ceiling in our bathroom! While I was hoping to have the shower floor tiles in (or at least the pan started), we are getting there. This week was all about finishing and sealing microcement – so let me share where we’re at :)
If you need a refresher, I am finishing our cottage basement bathroom as part of the Fall One Room Challenge. We are almost 2 years into building this cottage (mostly ourselves) and this was the last room to be started. We still have a lot of little tasks (trim, railings!) but it’s all coming together.
Want to read about this bathroom project? Check out the basement bathroom intro, design plans and construction progress, the shower ledge, microcement prep, the kitchen cart vanity, and tinting the microcement.
Okay, last week I decided on the colour direction for our microcement. As a reminder, the tint I bought wasn’t exactly what I had in mind.
Let’s just say… it was a lot pinker than I was envisioning!
The pink really glowed nicely (and matched our Ikea blanket/sheets in the bedroom). The Husband loved it, but I wanted a subtle beige.
At this point, I also tested sanding a small area. Sanding made the microcement really smooth – so I decided to go with that. (As opposed to pressure treating it – ie: going over it while drying with a wet trowel).
Final Coat of Microcement
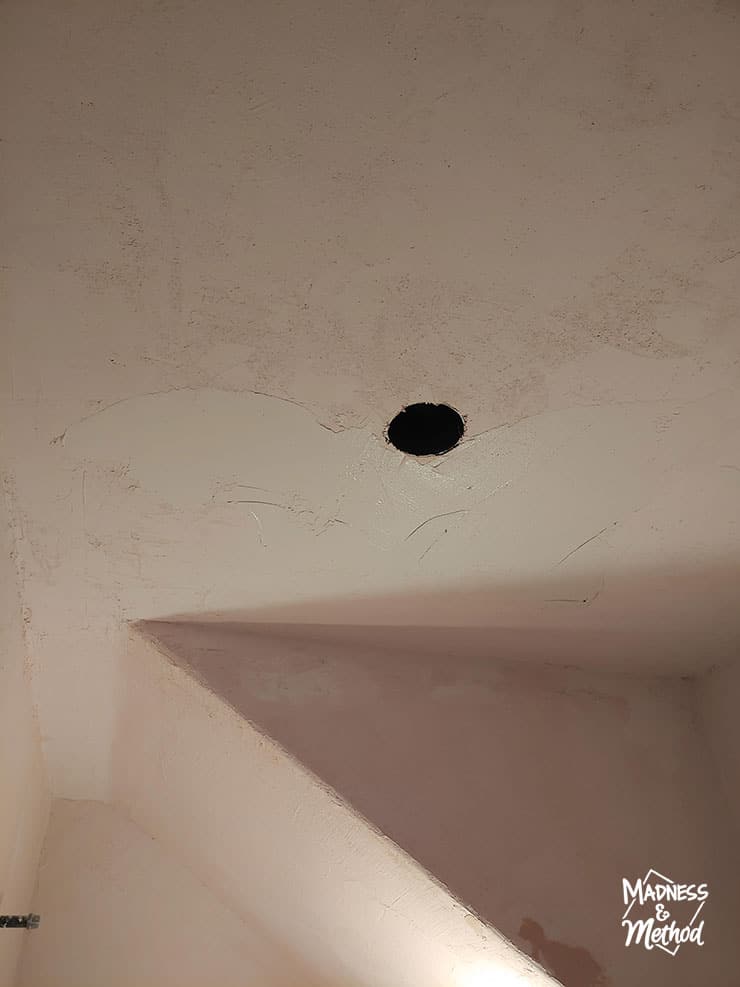
Before I did my final coat of the finish microcement, I redid the corners/edges that weren’t perfectly smooth. Plus the one patch I had tested with the white.
The dark spots are the wet microcement that I added. Yes, it dries to that lighter colour!
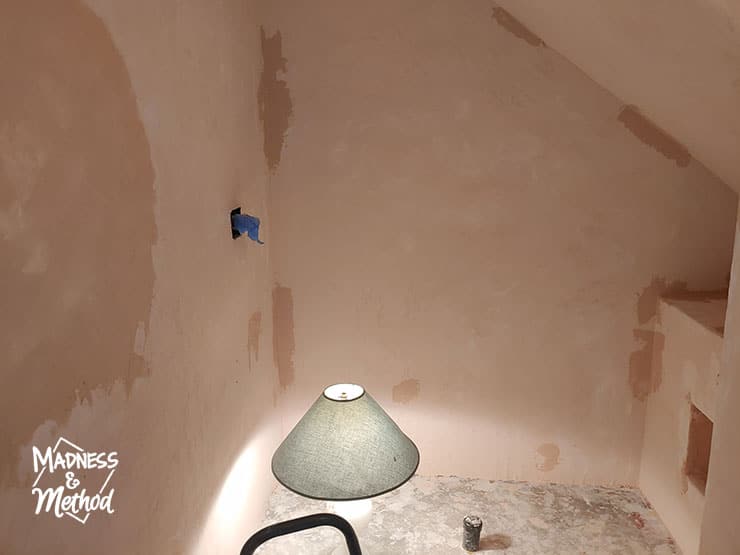
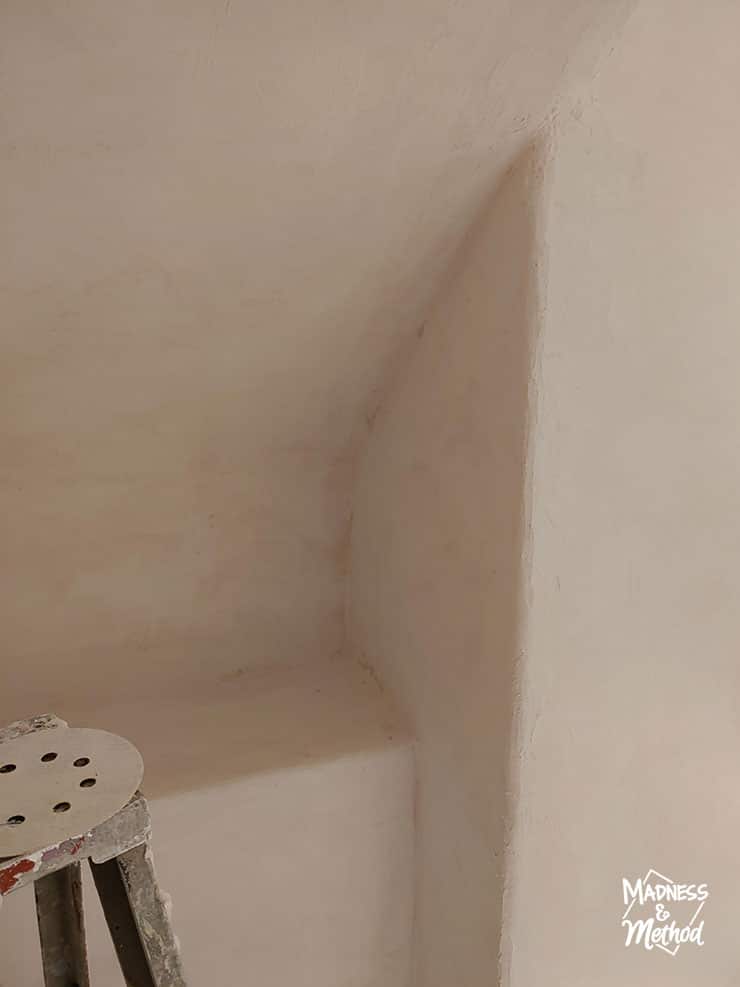
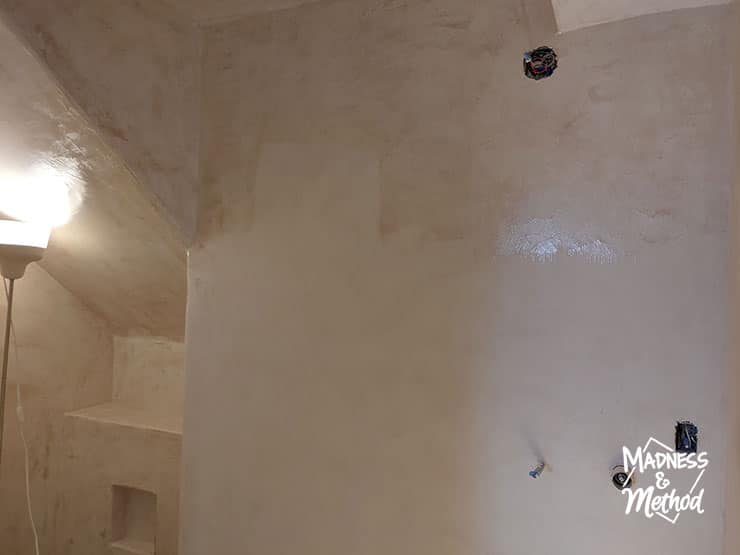
For the final coat, rather than do a thin coat of white, I mixed a very light pink. The ratio was 4:1 of water vs. tinted water for the microcement. I also mixed it a bit wetter than I did for the rest, so I could get a nice thin coat. It looks almost the same colour here (see on the ceiling), but I knew that it would dry lighter.
The photo above shows the lighter colour on the ceiling vs. the darker one on the walls. Again, it wasn’t fully dry yet.
I came back a few days later, and everything was a lot lighter than the millennial pink we had before :)
I’m happy I went with a hue, but I think it would have looked good in white (or the darker salmon colour).
Now time to sand and seal!
Microcement Pre-Sealer
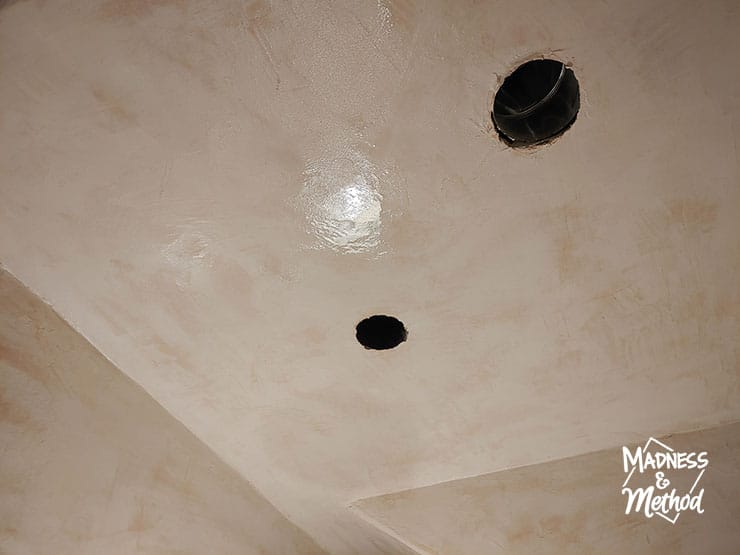
Oh wait, before I go into that – let me also share this HUGE conundrum I discovered.
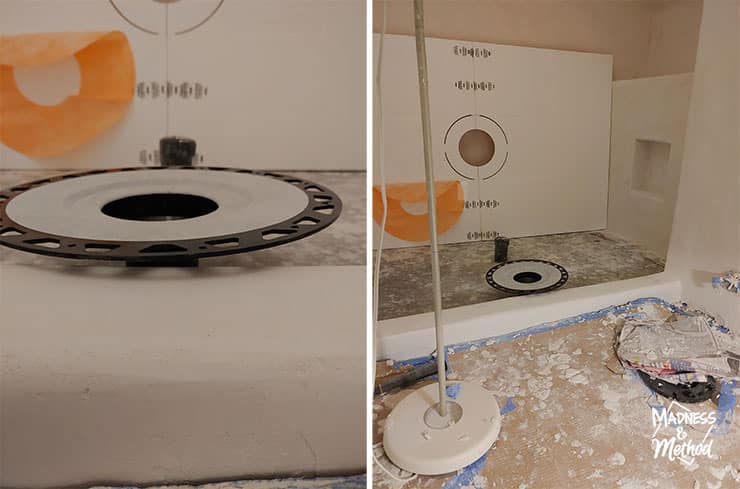
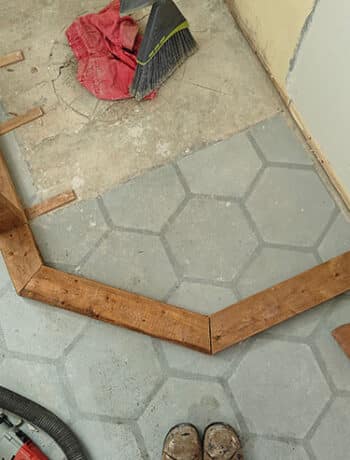
While dry-fitting the shower pan, I realized that the drain piece sat way higher than it should. If we cut the pipe flush with the concrete, it would be ABOVE the shower curb. Clearly not holding any water in. The two solutions were 1) jackhammer the concrete down and set the drain lower, or 2) build the shower floors up to match the drain.
Back to the pre-sealer…
Okay, so that’s probably the best way to describe this part of the microcement process. As a reminder, I am using the Durocret microcement by Isomat. Here is a video that goes over the whole process I am doing.
This VSW is what I’ll call the pre-sealer. The video shows that the microcement walls coated with the VS-W show less contrast in the end. And that’s really what I wanted, something more subtle.
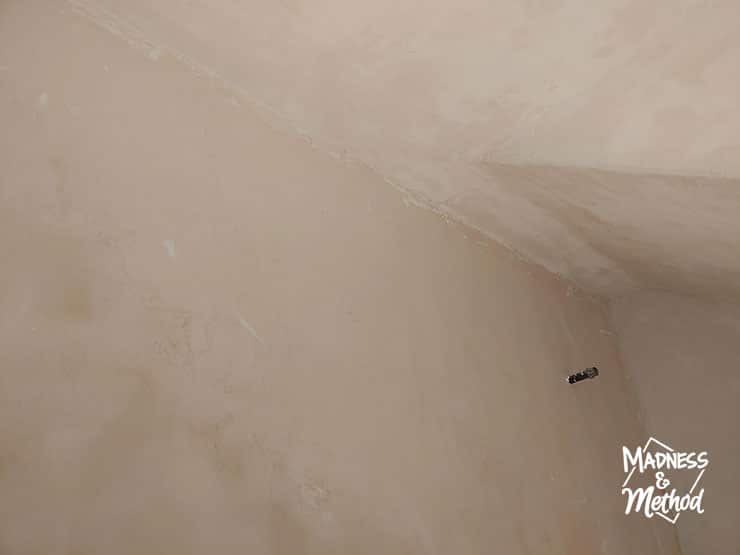
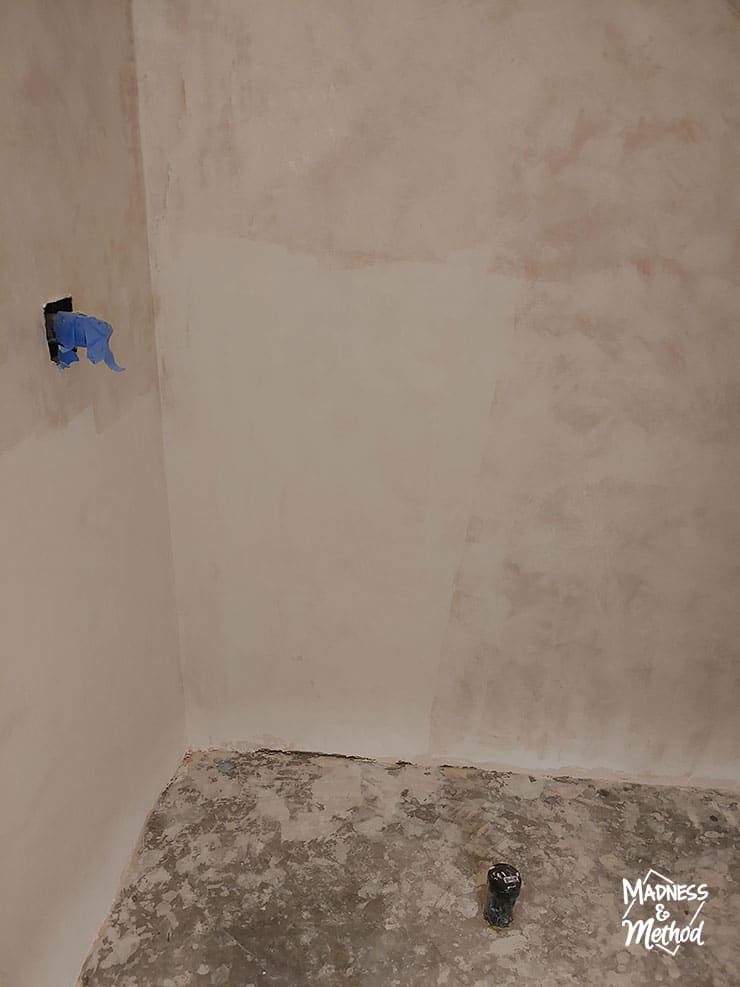
So after sanding all my walls (then vacuuming and lightly mopping them) I applied the VSW. The photo above shows the same area before and while it was wet.
OH I should mention. The instructions say to sand after 24 hours, then wait a few days to apply the VSW. I sanded a few days after my final finish coat but pretty much did the VSW right after that. Not sure if the final results would be different, but something to consider.
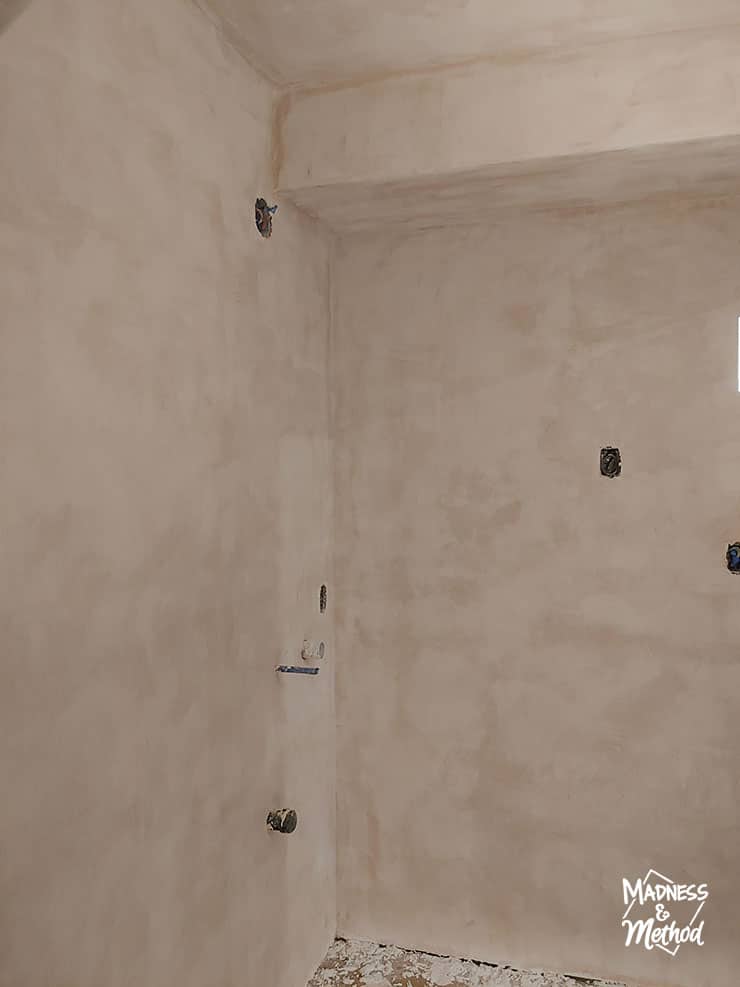
Essentially, it brings out all the variations for the areas and the different ways you wiped/applied the microcement. A little worried at this point but I trusted the process. I figured that they would come out now, and not during the sealer phase…

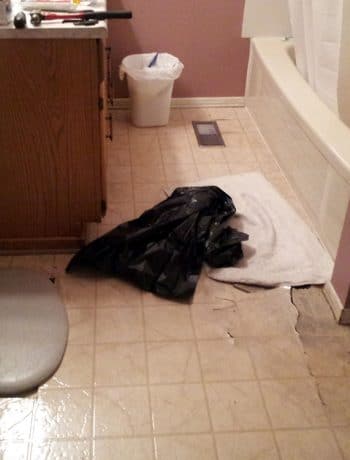
I also decided to rip up my gunked-up cardboard. It was protecting my vinyl floors, but WHOMP WHOMP I ended up gouging a huge chunk (see it on the left above?) out from a piece. Plus, I have a lot of dried microcement just outside of the bathroom (where there wasn’t cardboard) so may need to replace those sections too. TBD!
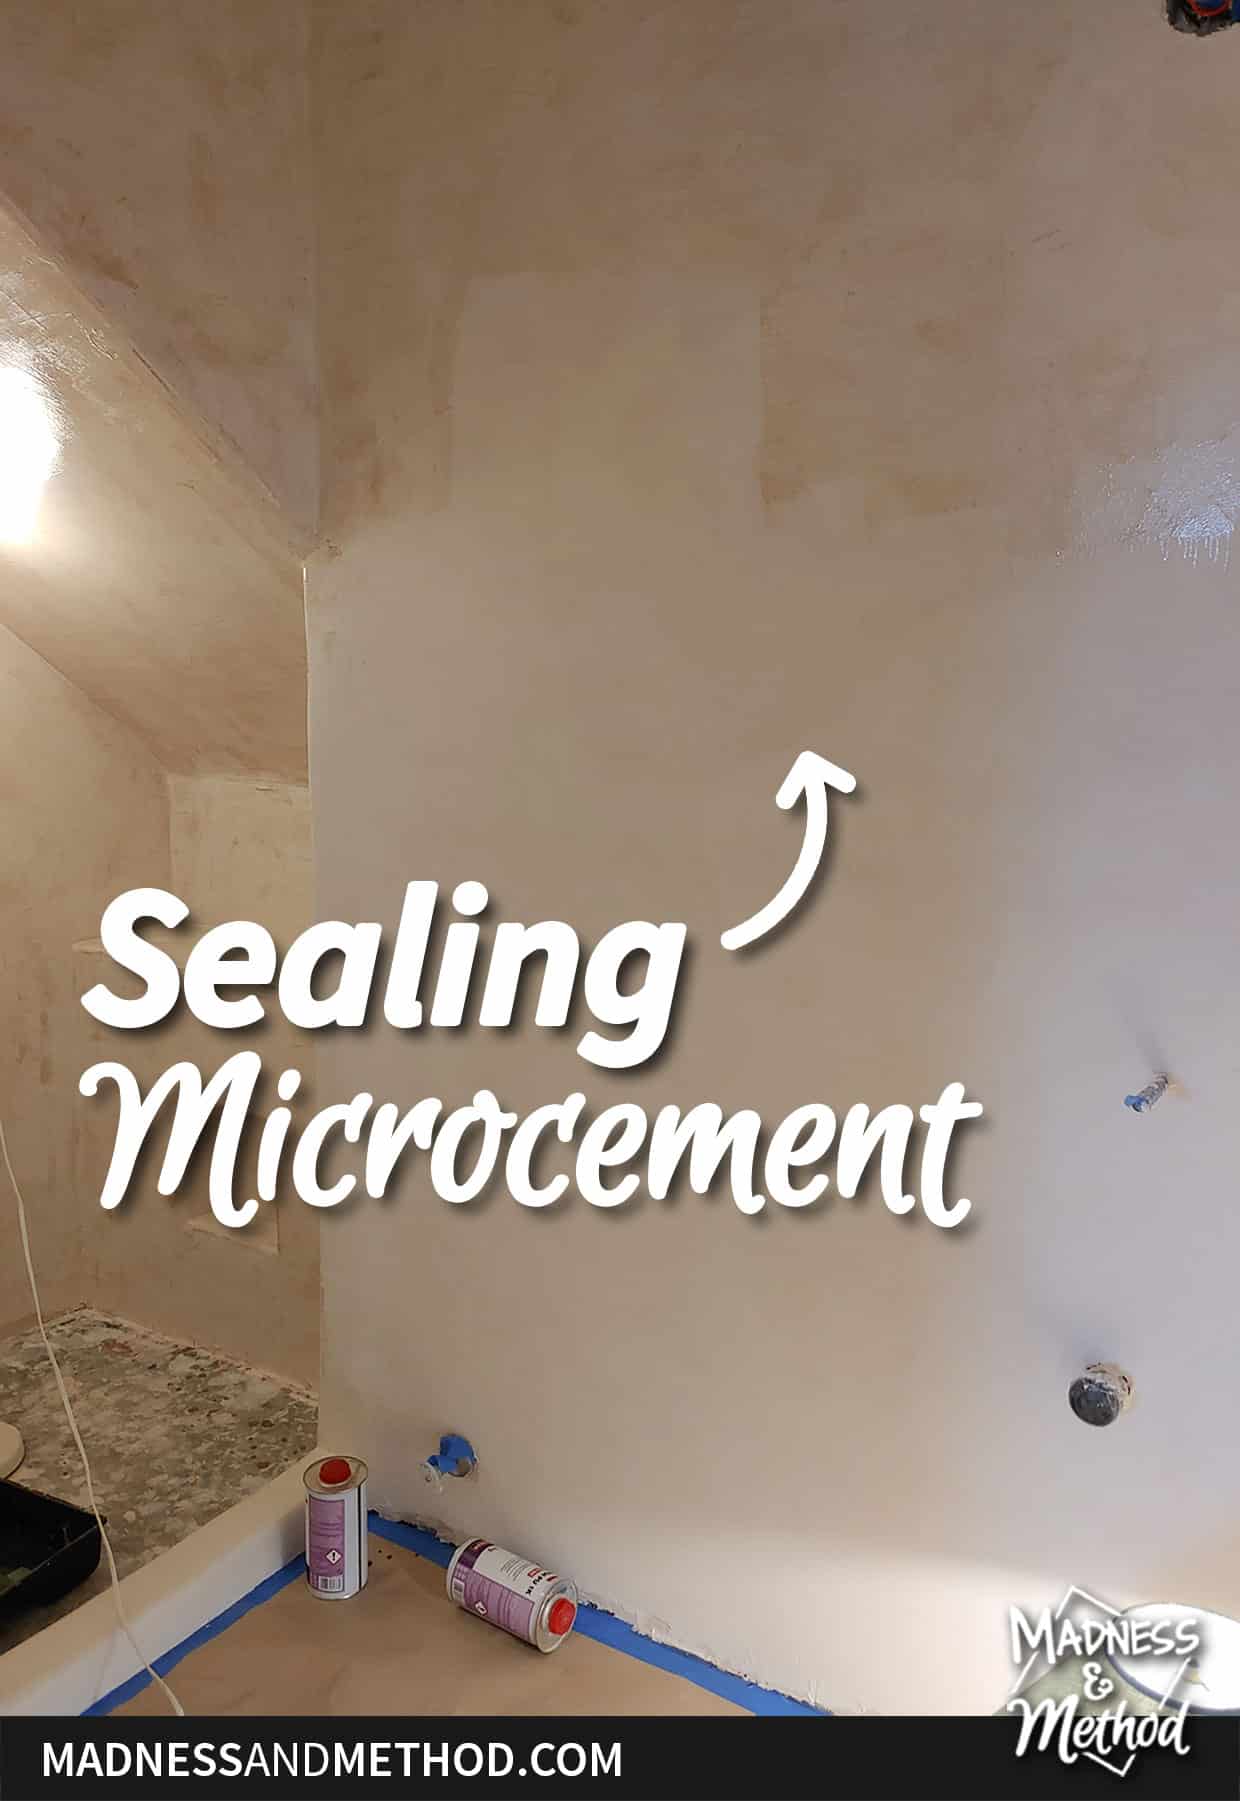
Sealing Microcement
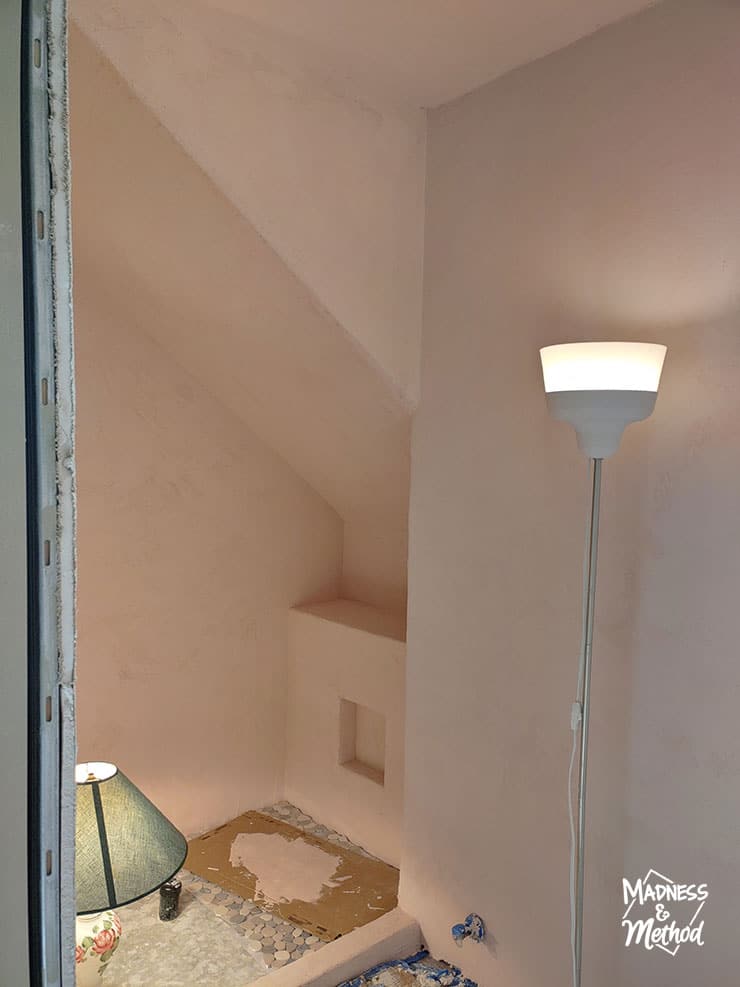
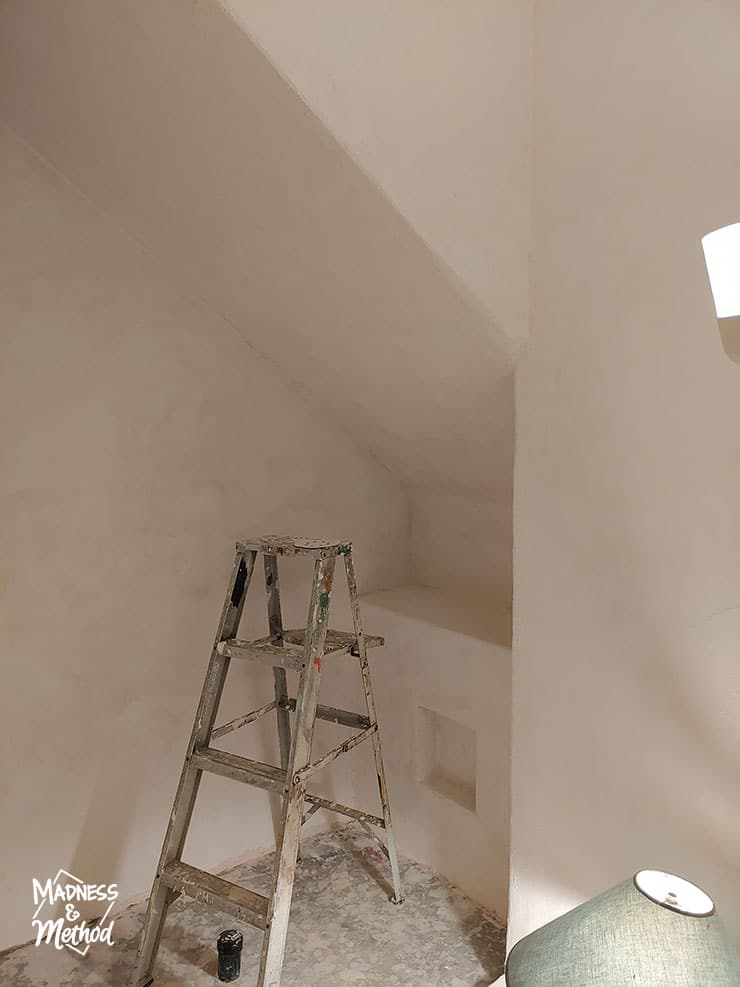
When I came back a day or so later, the walls were dry and looked like they did before!
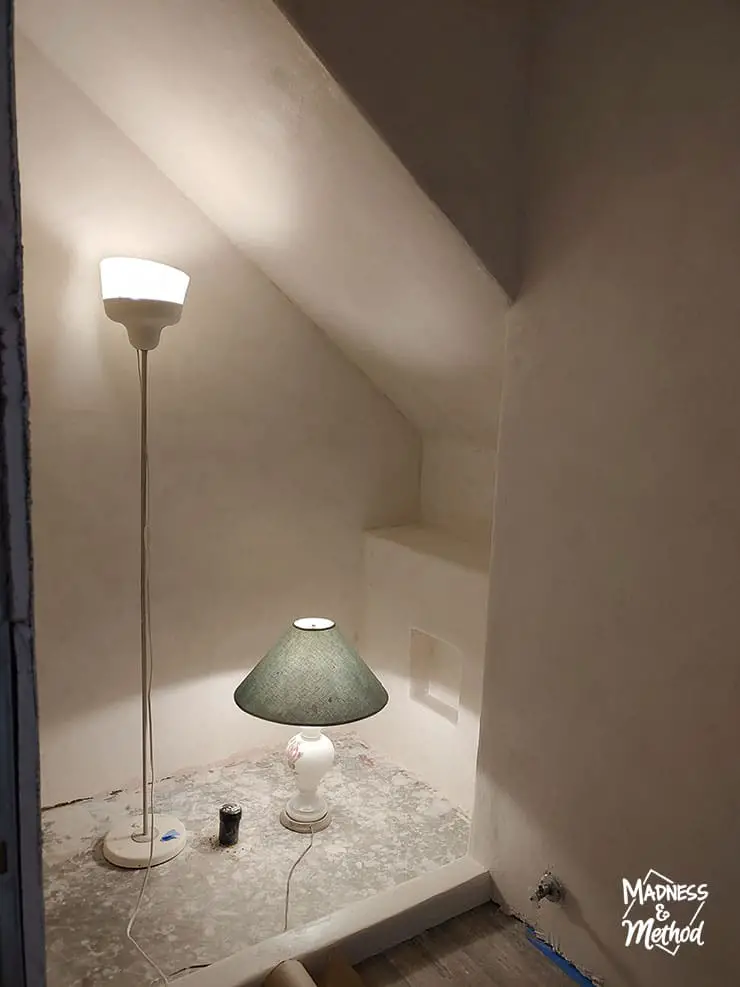
PS: I move the lamps around depending on where I work, ha. I can’t wait to have a regular light in here – although I should be done working by then!
I went with the Varnish PU 1K in satin matte for the sealer. Other options were 2-part epoxies, so I figured this would be the easiest. It said “solvent-free”, but it cannot be cleaned with water. Essentially, I brushed and rolled it on and the variations in the microcement became visible again. (But less I think?)
I was hoping to get all my coats in on Sunday, but I have no idea how long this takes to dry. The instructions say that the next coat needs to be applied within 24 hours of the first one drying. So yes, I have so far driven back to the cottage every day to apply a new coat of sealer.

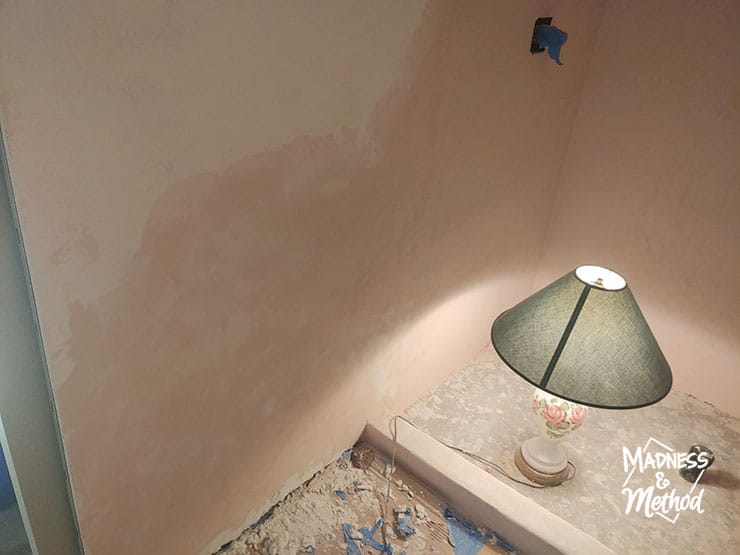
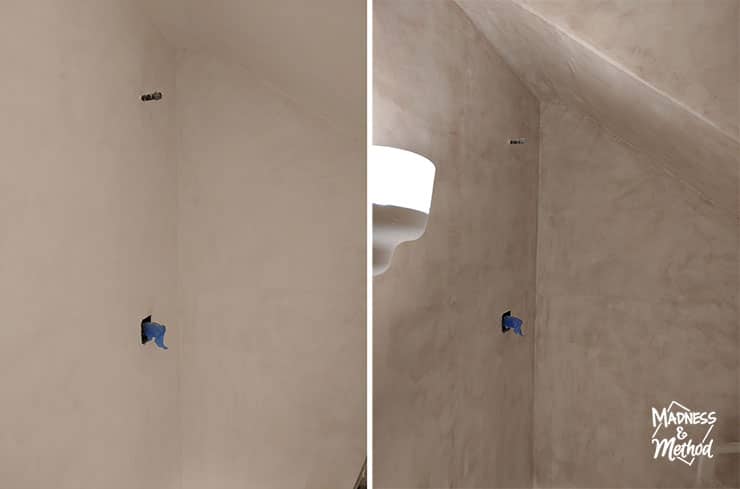
The photo above shows the same(ish) area before and after the sealer has been applied. See how there is more contrast in the colours? Supposedly, NOT using the VSW would have had even more variations.
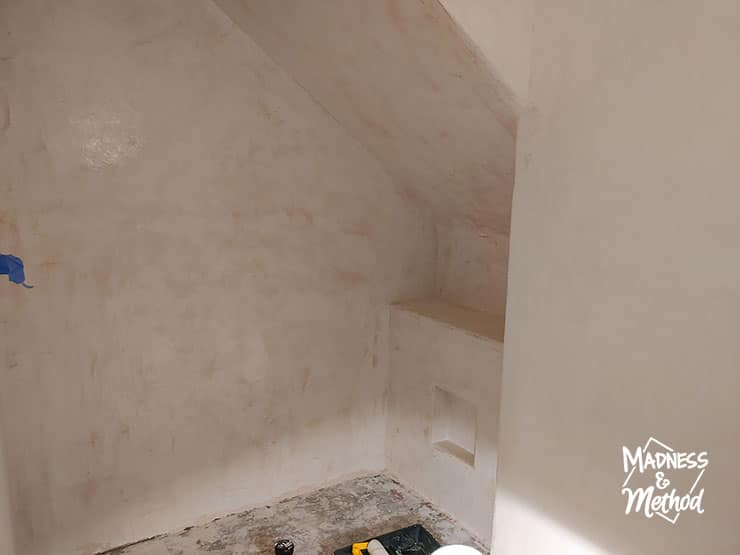
The sealer goes on really thick and is super glossy. It really reflected the light!
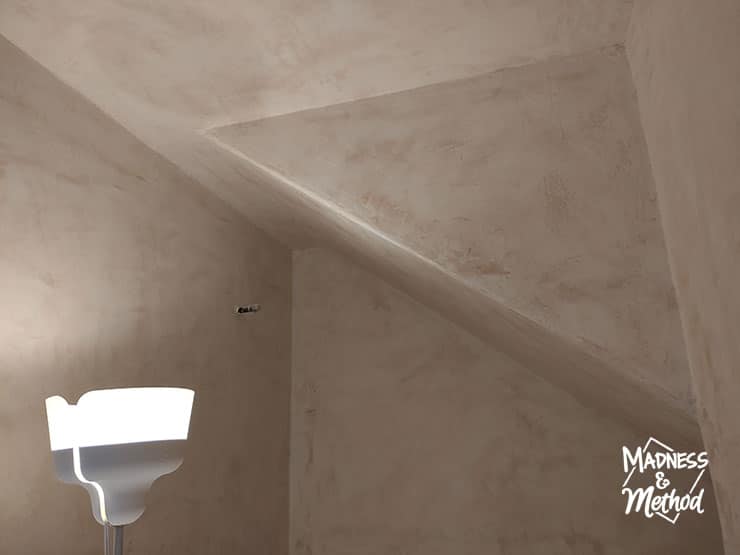
The photo above shows what it looks like when the microcement sealer is dry. Again, I went with a satin matte, but you can choose a glossier finish if you want.
I did two coats on the main walls and ceilings and will be doing 4 coats in the shower area.

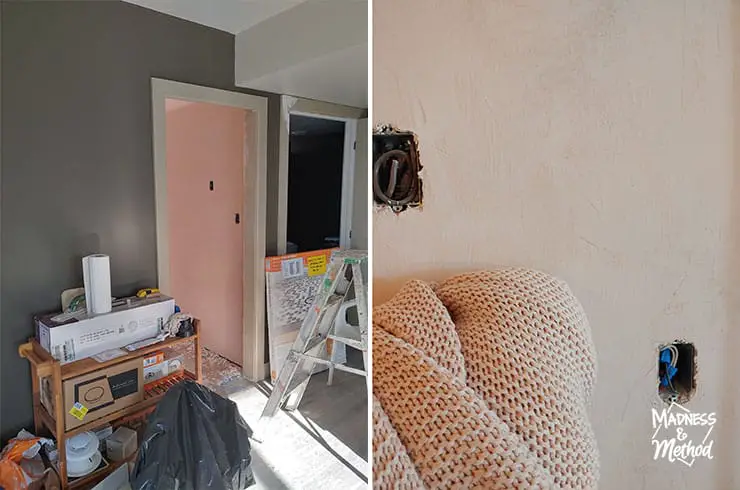
Oh, and one thing I just noticed today! Apparently, I globbed on a lot of sealer on the bulkhead near the door. See the photo on the right? I just chiselled the dried pieces off then did a thin coat there to seal it.
Everything feels really smooth :)
About the One Room Challenge
Follow me on Instagram to see progress as it happens. Want to see more room makeovers? Visit the One Room Challenge blog to see all the projects this round!

Follow My Bathroom Project
- Cottage basement bath plans
- Bathroom timeline and original design idea
- Building a custom shower ledge
- Prepping the bathroom for microcement
- Kitchen cart vanity hack
- Tinting & finishing microcement
- Sealing microcement (this post!)
Upcoming (High-Level Tasks):
Put in the shower pan/floor
Install the shower rock tiles
Clean up and finish building the vanity
Toilet/accessories installation
Get plumbing/electrical hooked up
Okay, we have LOTS of tasks left and little time to finish them. We tried to book the plumbers/electricians in this week to complete their parts, but apparently, they are all gone hunting…

So in less than one week, I need to attach the drain pipe (we chiselled out the concrete today!), mortar my shower pan down, waterproof the edges, tile the shower floor, grout the tiles AND clean the vanity.
Fingers crossed that the pros will be in to install the toilet (I still need to buy it!), the finished plumbing, and the electrical. Tomorrow the plan is to do the drain, the final coat of sealer in the shower, and possibly the shower pan?
Will I finish this bathroom on time!? Stay tuned…
(But really, I have NO idea at this point, ha).

No Comments