
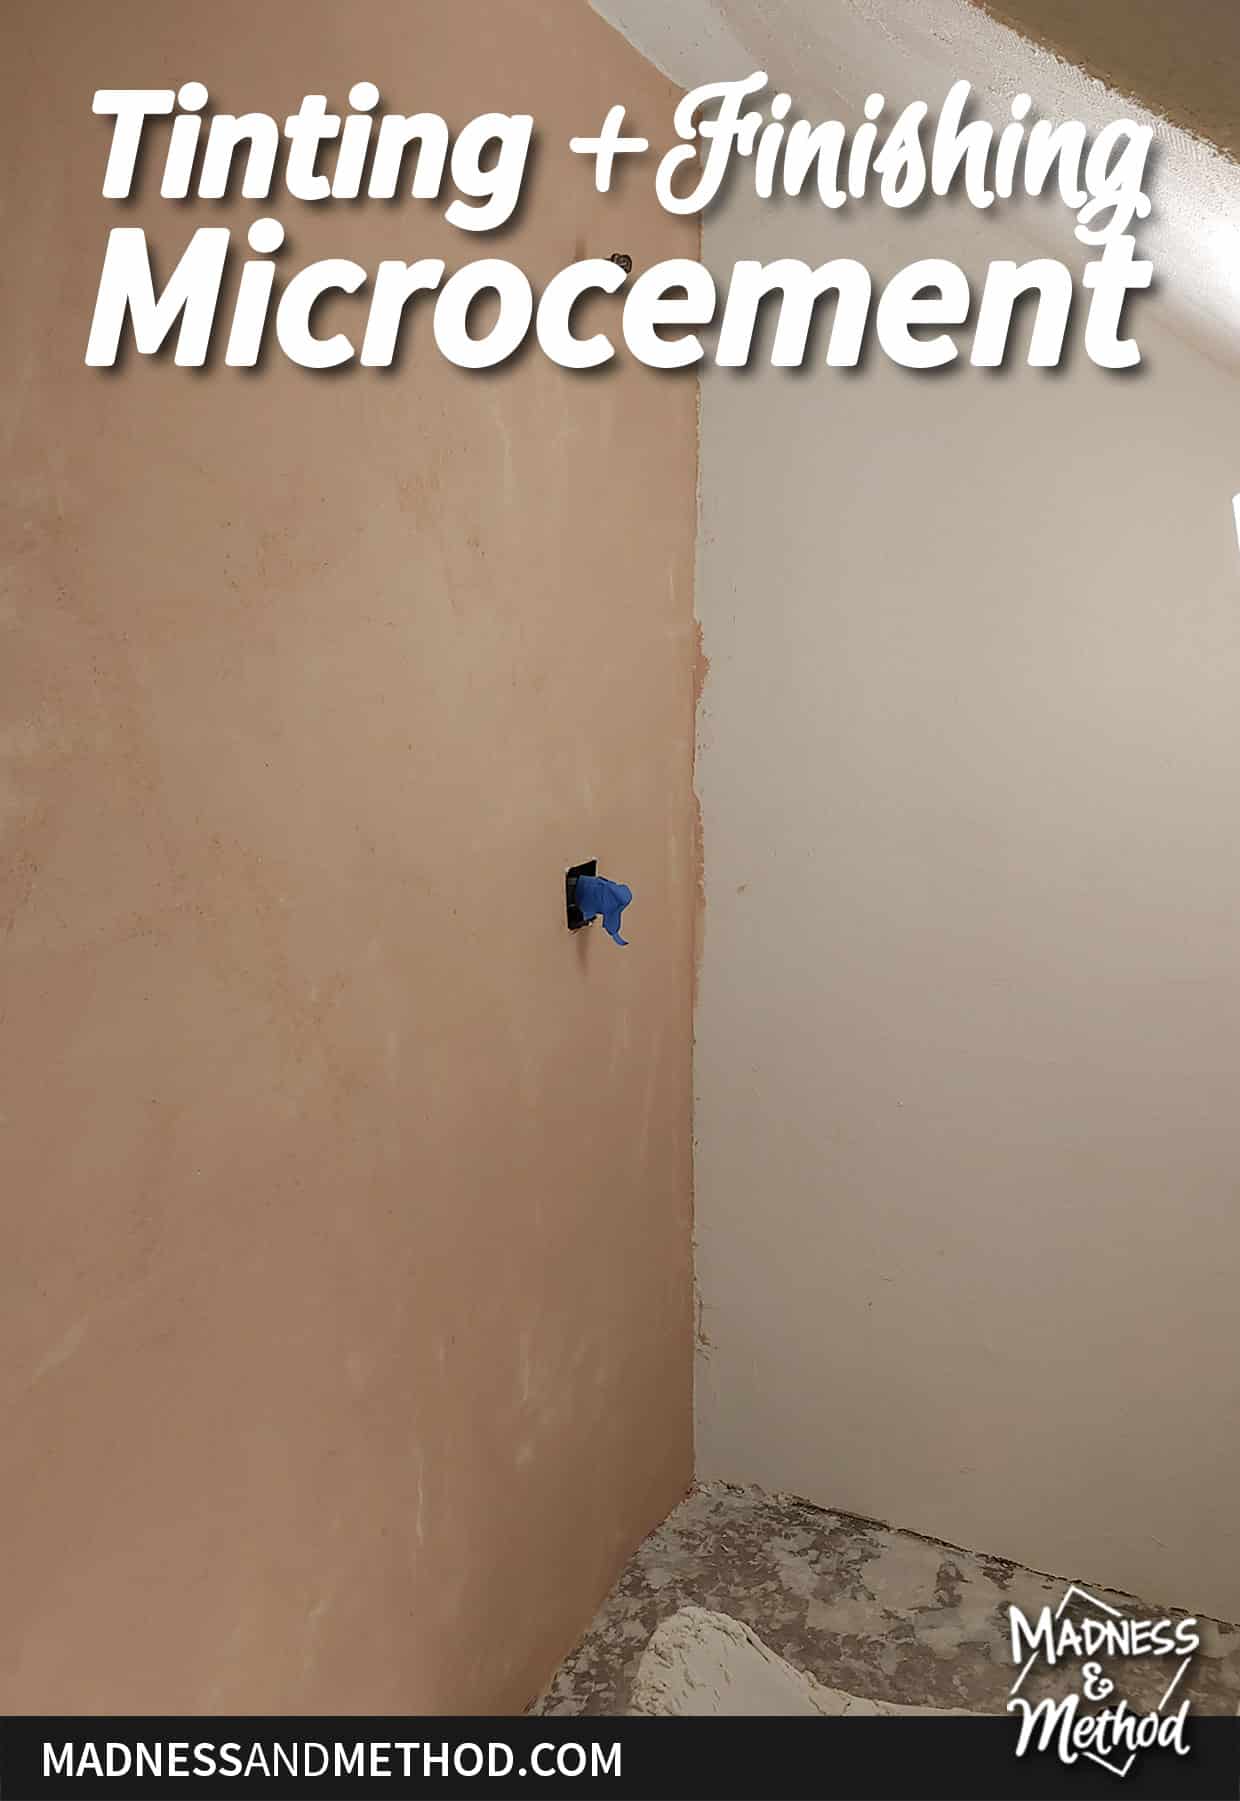
This title is slightly misleading because I am not finished with the microcement. But I’m 80% sure I know how it will be done, I just need to do it! There was definitely a LOT of debating going on this weekend, especially in regards to tinting and finishing the microcement. Andddd I do have one more question/design I’m waffling through – so please let me know your thoughts!
Have you heard more about microcement? There aren’t many DIY microcement projects yet, but I’m sure that will change in the future. It’s certainly my first time working in this new-to-me medium, but I’d guess that it’s close to stucco/plaster in looks. My main reason for going with a microcement in our cottage basement bathroom was for future upkeep. Tiles, and especially grout, need to be maintained/cleaned regularly. I’m hoping that these microcement shower walls will look good for a long time :)
Want to follow the rest of my Fall One Room Challenge? Check out these posts: basement bathroom intro, design plans and the construction progress, the shower ledge, microcement prep, and the kitchen cart as a vanity.
I started the first coat of the microcement a couple of weeks ago. Because our bathroom had drywall, I needed to use flexible cement with fibreglass mesh embedded to create a more stable surface.

Here’s a bit of a close-up of how the walls looked after that flex coat. You can see the bumps and lines from the mesh – so we need to add a coat (or two) of finish microcement.
Remember, here’s a video showing the product I used and all the steps.
Tinting Microcement
I purchased all my microcement at the end of the summer and got a container of “Light Brown” to tint it. Unfortunately, I ran out of the flex coat and had to order some more. Thank goodness it came in the nick of time! (I was slightly panicking, ha).
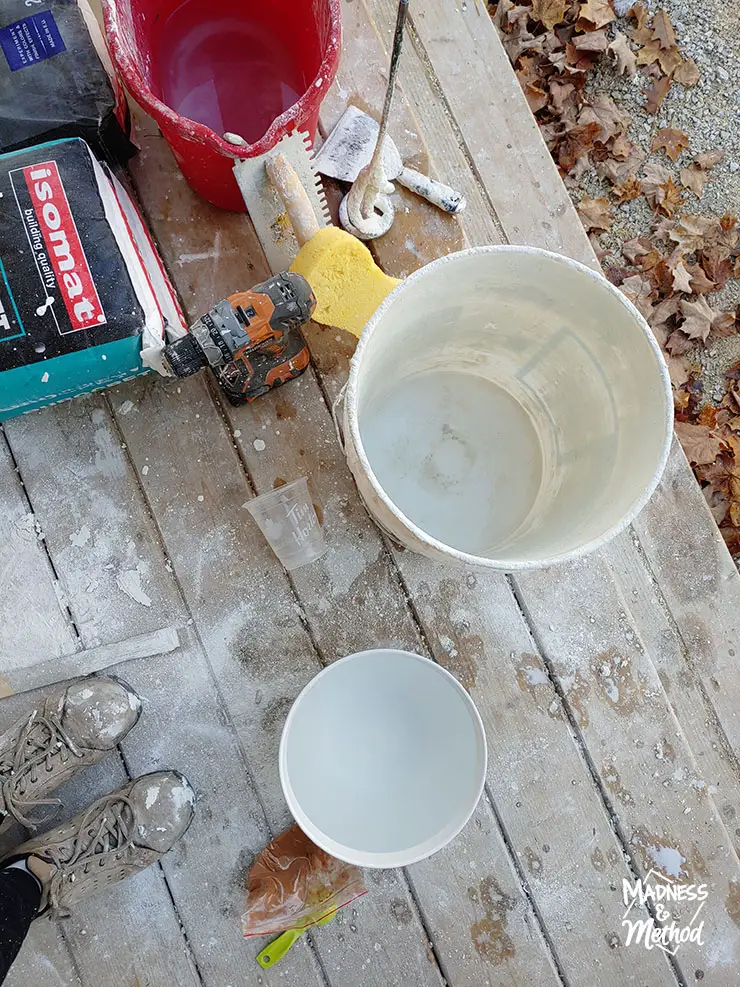
I was going for a light beige to go with our cottage colour scheme. The colour packs need to be mixed in the water ahead of time and then mixed into the dry cement.
Each 50g pack of colour should be mixed into one 25kg bag of microcement. I didn’t have a bucket that big (and couldn’t work that quickly) so I did 1 tbsp (approx 15g) of mix per half bag. I used a bowl as my water measurement so that I would always use the same amount (and added the mix until I got the consistency I wanted). In the end, it was about half the recommended colour, but again, I wanted a light beige.
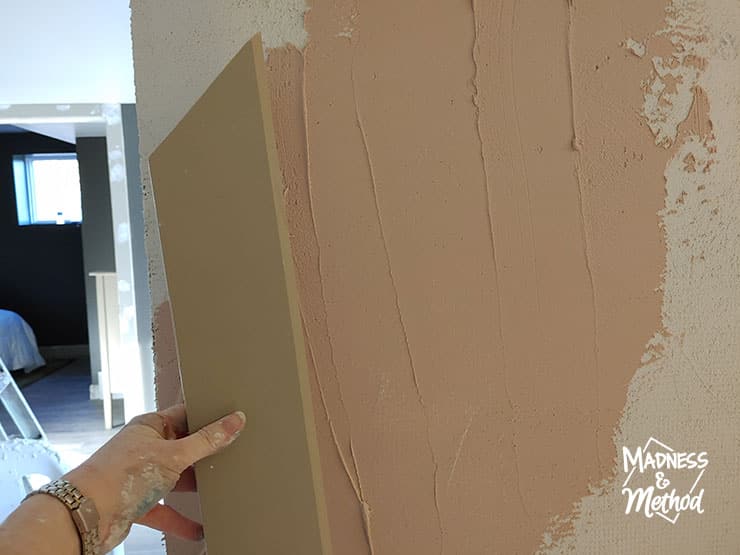
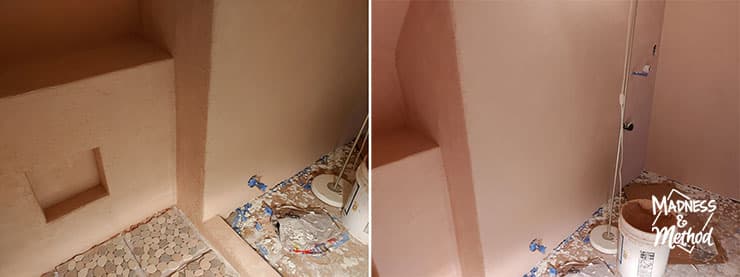
Unfortunately, “light brown” had a strong pink undertone. The colour of the wet-tinted microcement reminded me of a light hot dog. It did not go with our baseboards, but I had a bucket mixed so I spread it on the first wall.
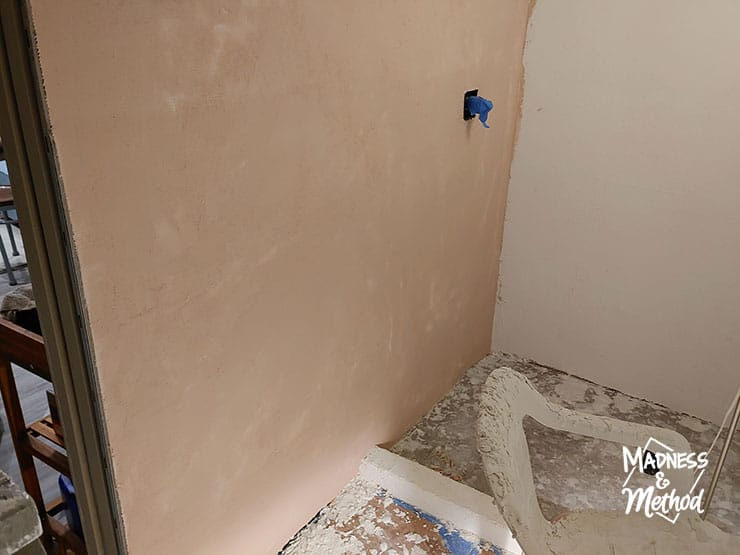
Still not liking it, I quit for the night (this was Saturday) and dumped the rest. I HATE wasting material, especially since I had already run out of this stuff before. Knowing that it would dry lighter, I left it until the next morning.
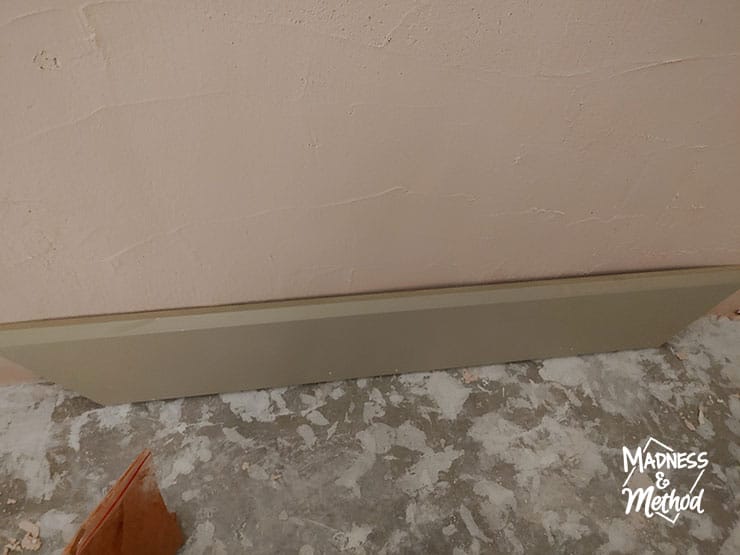
Better, but still pink/peach. I should mention that the Husband loved this colour, and thought we should go darker. I mean, the colour was fine – felt very South Florida – but it just didn’t match what I had in mind for this space.
So, I guess I’ll just do everything white (aka non-tinted) and leave it at that…

Or was it? Looking at the peach wall, I really like the dimensionality that the colour brought. I didn’t like the undertones, and I did not have time to order a different colour, so I tested a small patch with a thin coat of white on top. You could sort of see the white underneath my layer of peach, so I thought that I could do the reverse, white with little hints of peach peaking through.
And then I did what anyone else would do, put it to an Instagram poll.
Did I mention that the Husband LOVES the peach? He was team peach for a while, but most people voted for all-white, or peach with white on top.
Microcement Shower Curb
While I was ruminating about the choices (I had an hour to wait until my walls were dry and ready to coat again) – I turned my attention to our shower curb.
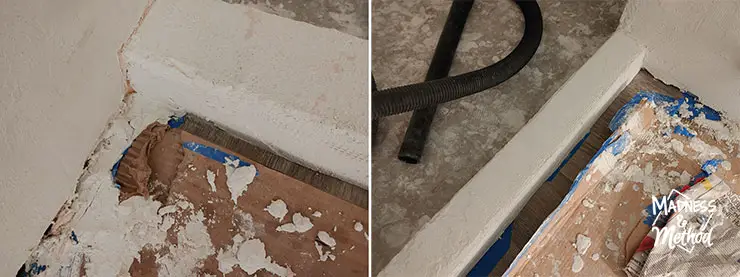
It’s two pressure-treated 2x4s that I stacked and wrapped in a Kerdi band to waterproof. I had taped the bottom edge on our vinyl plank and put cardboard down in the rest of the bathroom. Obviously, I had been dripping cement, so I decided to peel up the cardboard and tape to access the curb better.

There was some chiselling to do to remove a few big clumps. Thank goodness I checked my curb now (before I did my microcement finish coats) because it would have looked really bad at the end with a big piece missing.
I did re-tape the floor directly in front but kept the cardboard loose so I had better access. Because we are meeting the microcement walls to vinyl plank floors (that are already installed), I haven’t gone all the way to the ground here. The plan is to glue some sort of baseboards on afterwards. TBD.
(Oh, in the shower area, I am trying to get the microcement as close to the concrete ground as possible. We will be adding a shower pan in here that I will tile, so I want it as watertight as possible.)
Finishing Microcement
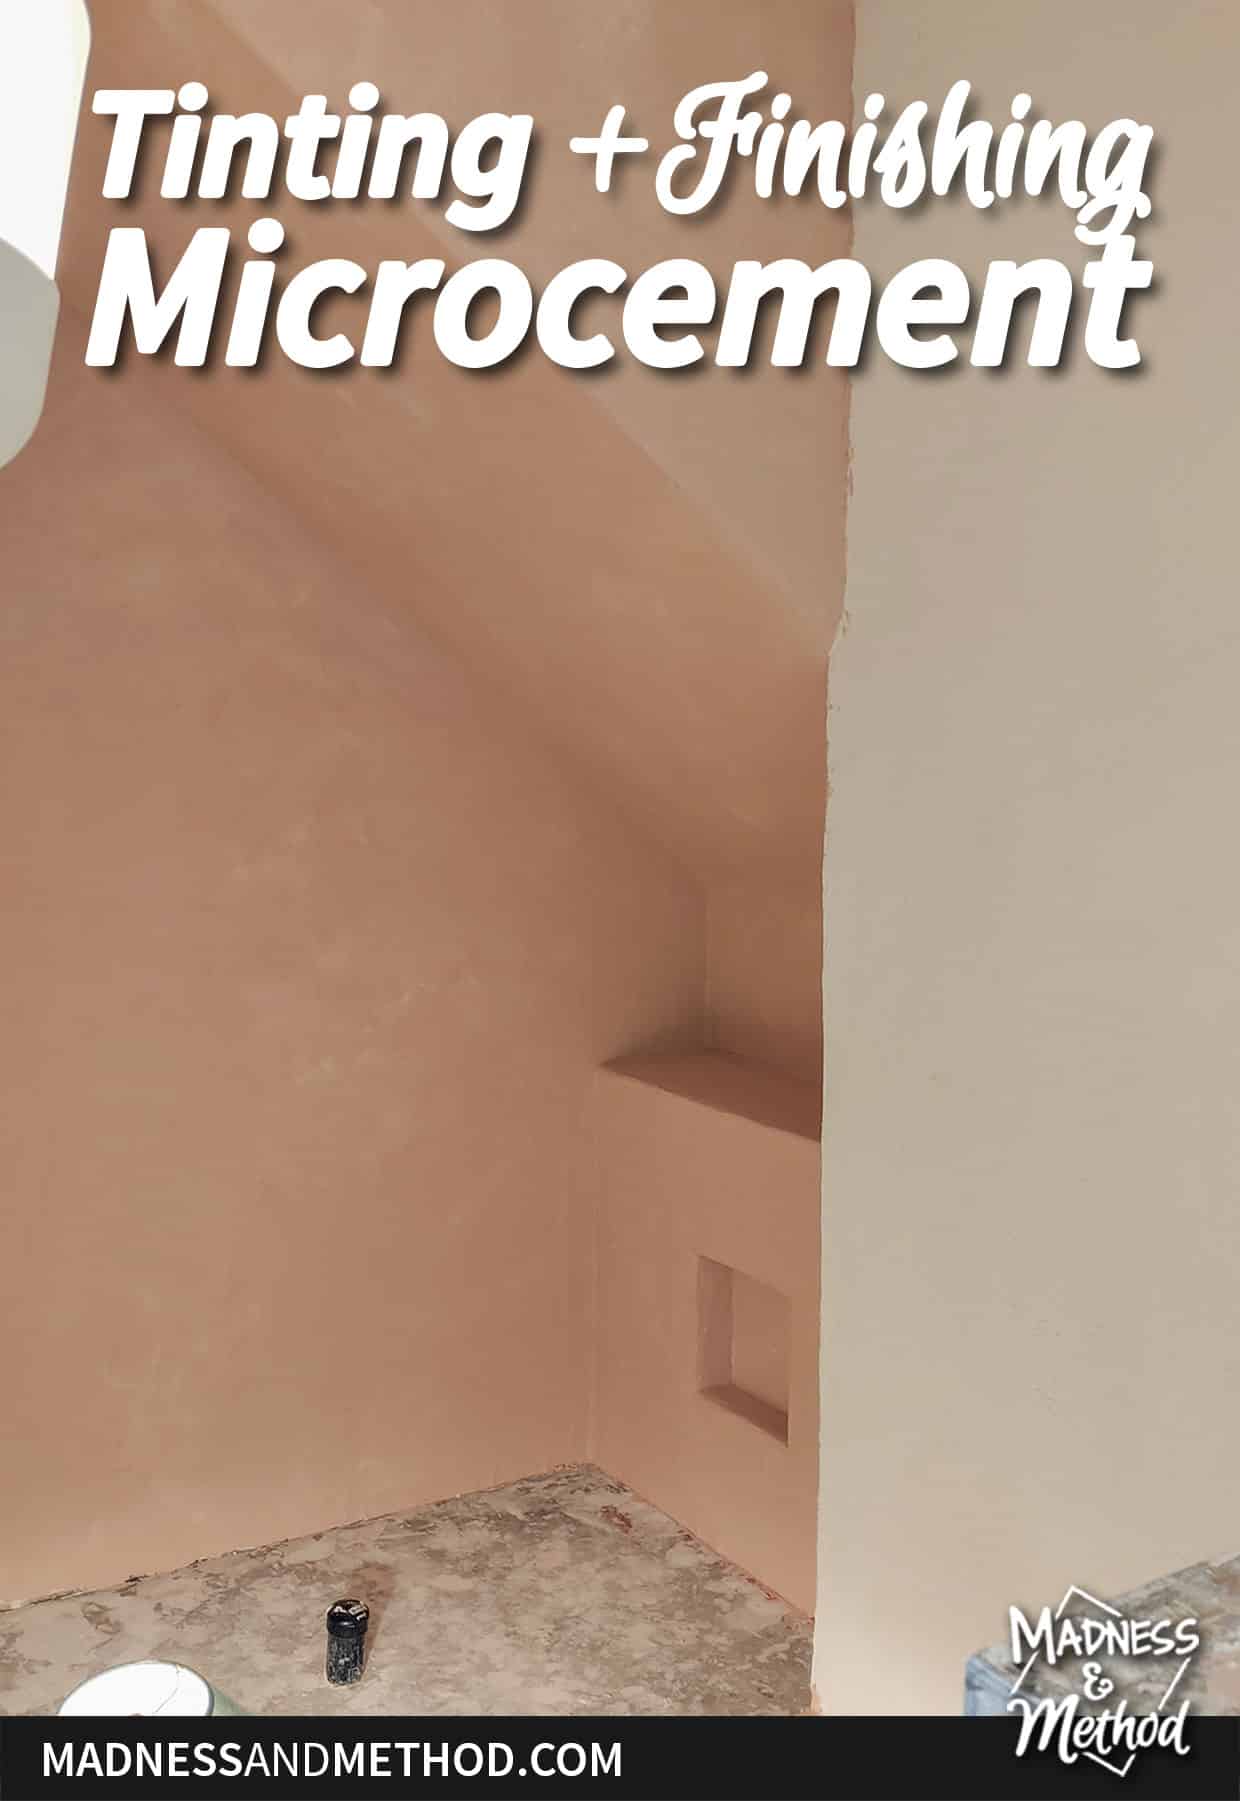
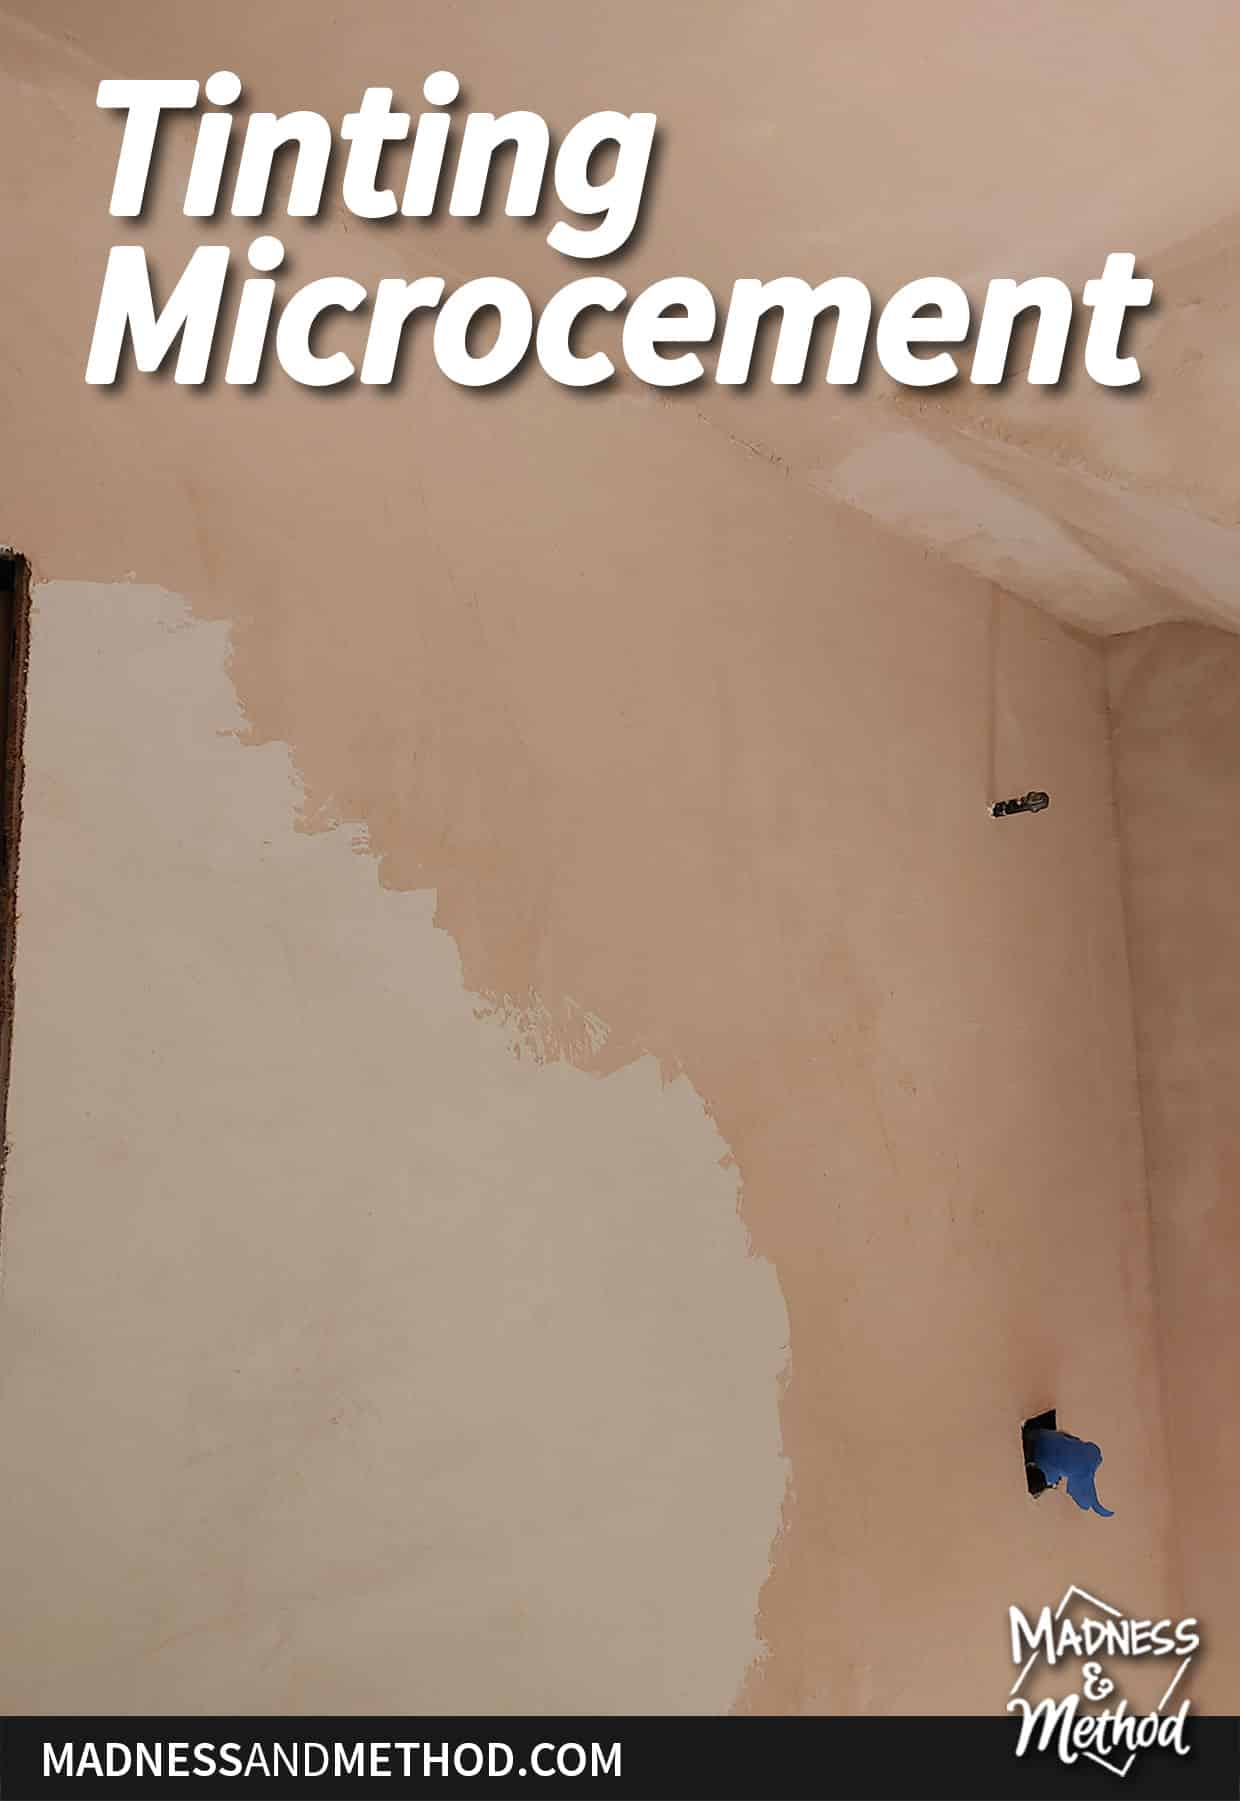
If you were following this project on Instagram on Sunday, then you don’t know which option I went with! We’re doing peach! JK, it will be peach WITH a white microcement layer overtop.
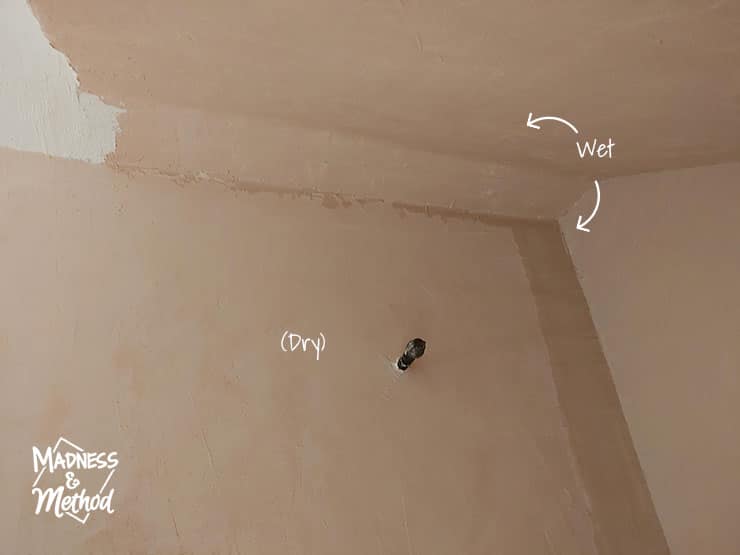
For these next few photos, I want to emphasize that the colours appear very different in each one. For example, in the photo above, the first wall is dry and lighter, whereas all the wet walls (looking up at the ceiling and the back shower wall) are wet and darker. It’s definitely an optical illusion, not just one band of darkness along that edge. But yes, that is the difference between wet and dry tinted microcement.
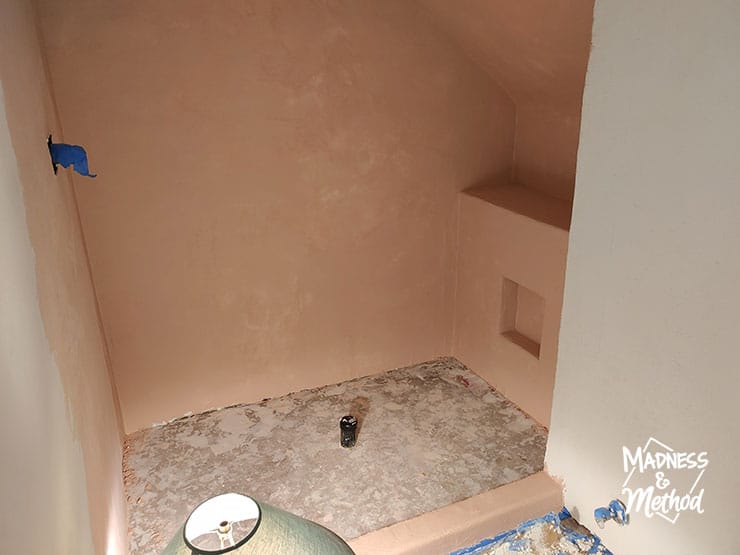
Rather than wait 24 hours for all the walls to dry together, I started working in the shower area because that space had been finished earlier. Then, I moved into the rest of the room (since a few hours had passed) once those spaces were dry too.
Let me remind you that the Husband loves this colour, ha. I definitely like the variation (some spots have dried while others are still wet) so we’ll see how it goes.
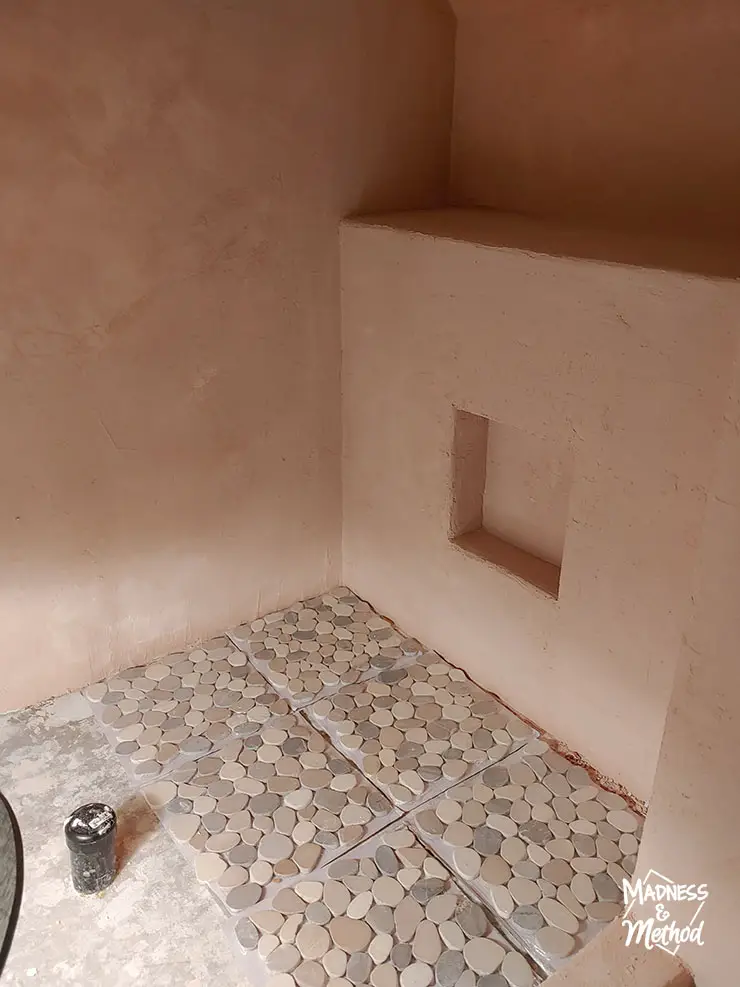
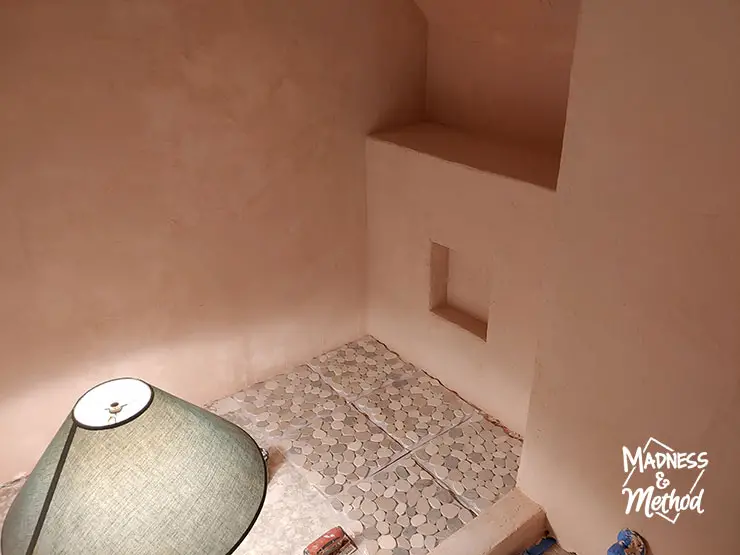
At the end of the day, I brought some of my shower tiles in to see how they would look. Again, the tones do not match – but the walls are throwing off a peachy glow that makes the rocks look better in photos, ha.
But also, would a two-tone bathroom be okay!?
The two photos above are almost the same areas – just my phone’s colours adjusting differently. See how the photo on the left looks more peach, while the right looks pinker?
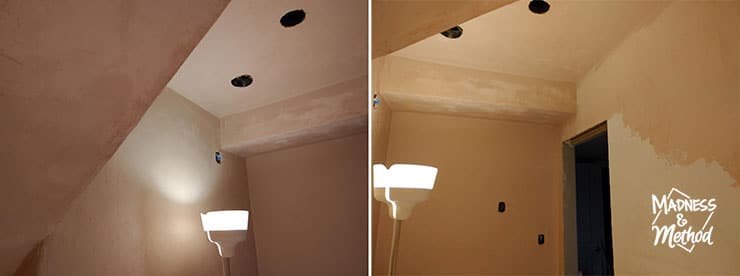
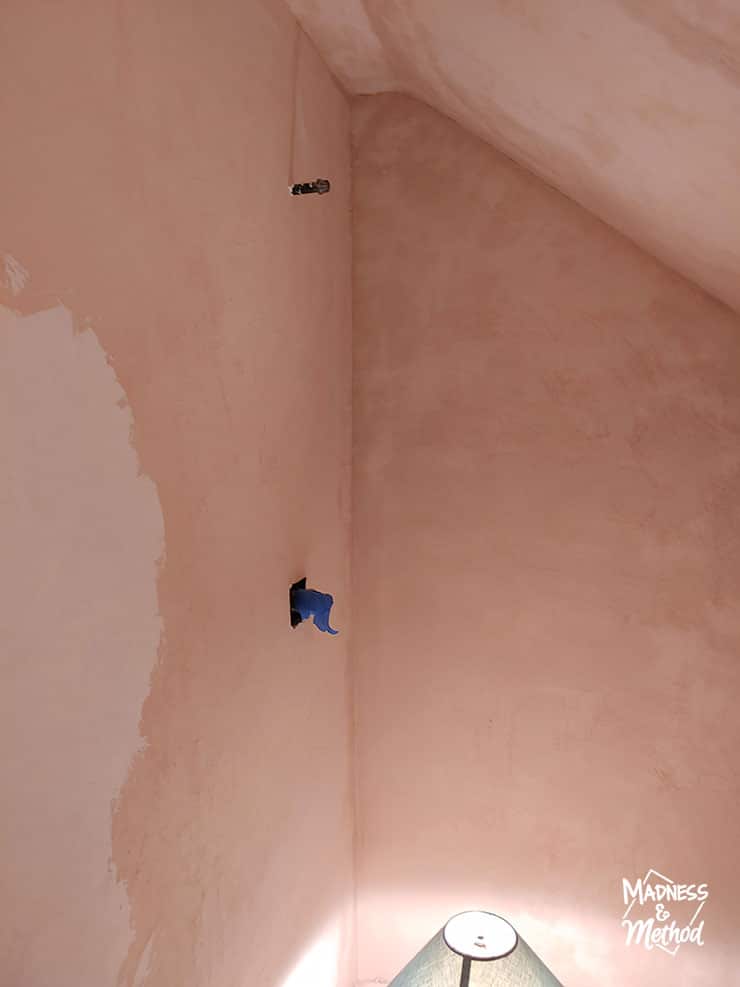
Same thing for these ceiling angles. I’d say that the colour is probably in between both, but I’ll make sure the reveal photos are taken on the camera that is white-balanced the same :)
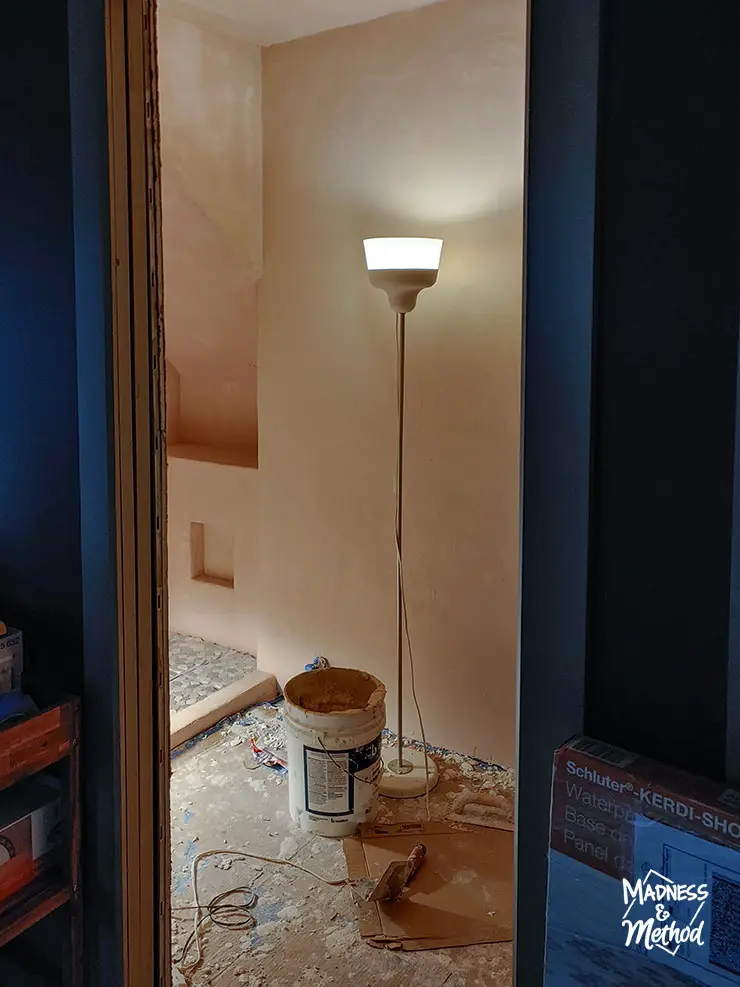
And finally, here’s a look at the peach microcement bathroom from the living room. Plus, how dark it is by the time I finished working on Sunday night. All in all, it took about 8 hours to do just the finish coat of peach, aka “light brown”.
About the One Room Challenge
Follow me on Instagram to see progress as it happens. Want to see more room makeovers? Visit the One Room Challenge blog to see all the projects this round!

Follow My Bathroom Project
- Cottage basement bath plans
- Bathroom timeline and original design idea
- Building a custom shower ledge
- Prepping the bathroom for microcement
- Kitchen cart vanity hack
- Tinting & finishing microcement (this post)
Upcoming (High-Level Tasks):
Finish coat of microcement, then sealer
Put in the shower pan/floor
Install the shower rock tiles
Clean up and finish building the vanity
Toilet/accessories installation
Get plumbing/electrical hooked up
Did I mention that there are two weeks to go until the One Room Challenge final reveal!? Because this project is at our cottage, we have an hour’s drive to get there – so work happens in spurts. Thankfully we’ve had most weekends to dedicate to this bathroom (among other cottage tasks!). But this week I have a few other commitments so my time is being stretched everywhere.
Fingers crossed I can stay on schedule and get this project finished in time!

2 Comments
Esteemed Designer
November 1, 2022 at 8:50 pmWow peach does look amazing! 😍
Nicole
November 7, 2022 at 8:54 pmYes, thank you Husband…