
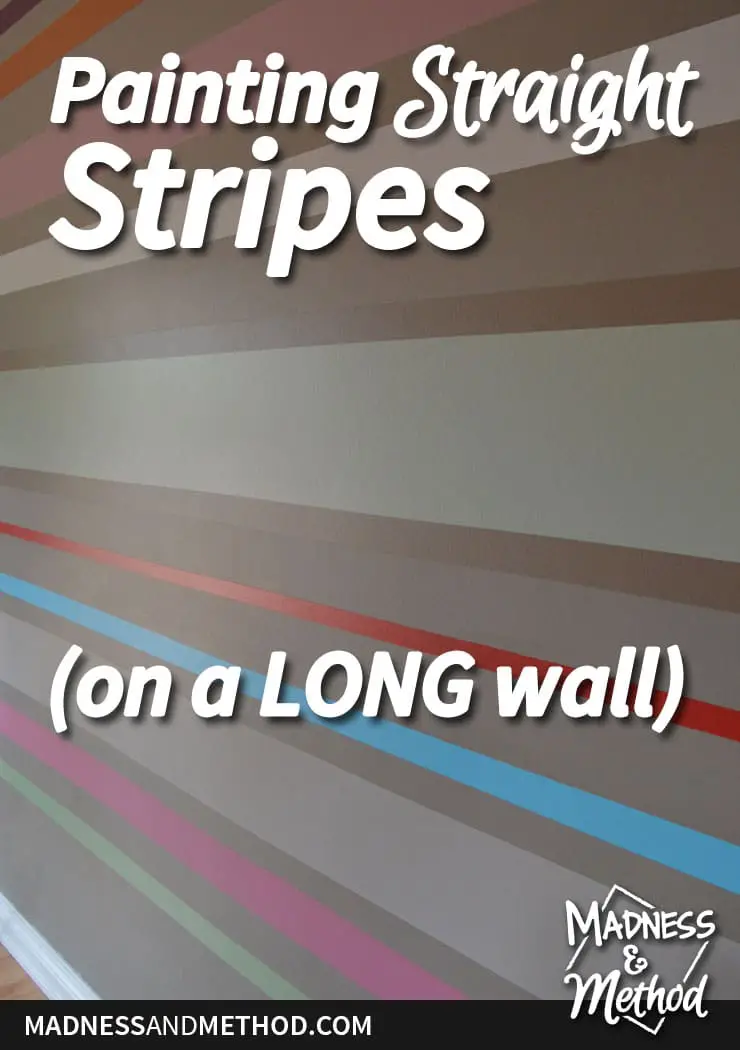
In our living room we have a large striped accent wall wherein each coloured stripe showcases a different colour we’ve used in our house. Within the last week or so, I finally got around to adding a couple more stripes since we’ve painted (the nursery, master bedroom, basement… etc!). I thought it would be a good opportunity to explain some techniques for painting straight stripes, especially if you have a really long wall (like ours!).
– Note: This post contains affiliate links. See more information about affiliates here. –
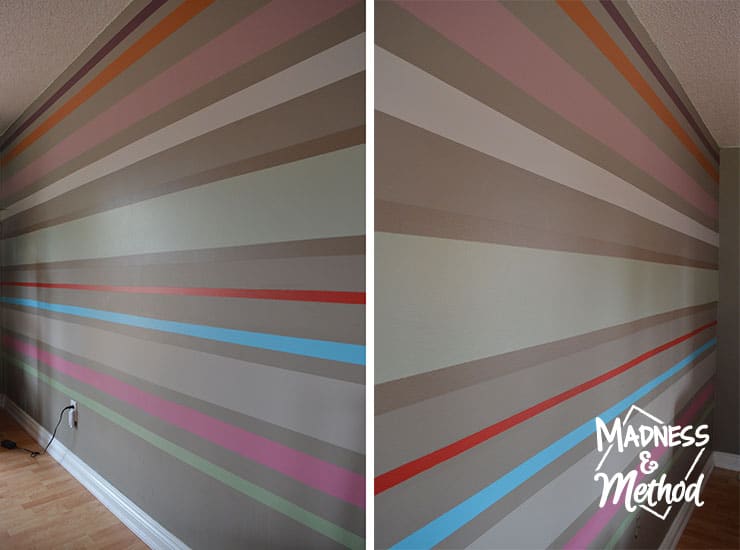
I think our wall is over 20 feet long, and if you want to get a nice straight line across a distance that long, you might need a few extra tools. Way back when we first moved in, I simply used a measuring tape and went along adding painters tape as I measured every few feet. You know what I ended up with? A wavy line!
Ideally, you’d want to have a nice laser level so you could easily tape the MOST perfect line ever.
We don’t have a laser level, so here is what we did:
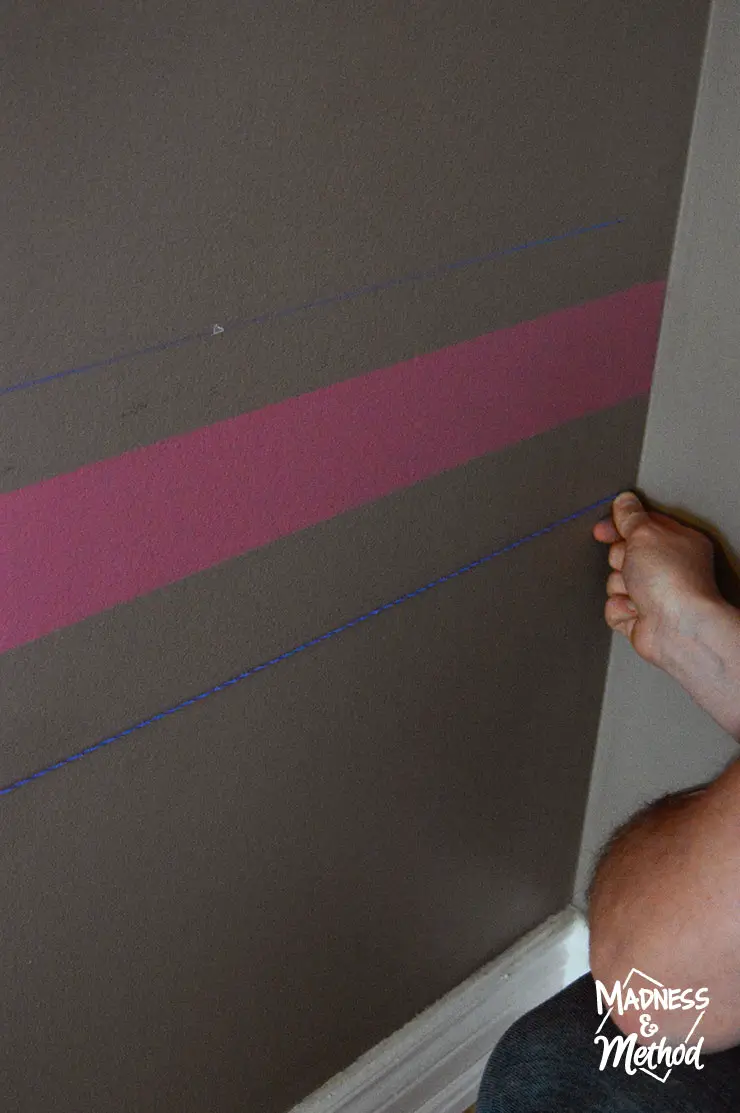
Thankfully we do have a chalk line and I was able to use that as my guide for painting straight stripes. Mark your point at the ends of the wall, hold the line taut and snap it once. Don’t worry if you screw up, you can just erase the line and start over!
Tip 1: It’s nice to have a helper or two for this step
Then, you’ll want to tape with the chalk line just inside of the stripe; that way you can erase the chalk line before you paint.
Tip 2: It’s best to use the longest piece of tape possible. If you can go across the whole room in one piece, that’s much better than a bunch of small sections.
Trust me. It’s easier to remove that way, and you’re more likely to get a straight line (you’ll see why later). Heck, if you don’t have a chalk line, you can always stretch a piece of painter’s tape across the room and stick it on once it’s pulled straight (just be careful of any sags).
Tip 3: Make sure your helpers are detail-oriented.
Remember when I said that it’s nice to have helpers, but also to keep the chalk on the inside? Well my “helpers” kind of ad-libbed on a few spots, but don’t worry – I fixed it :)
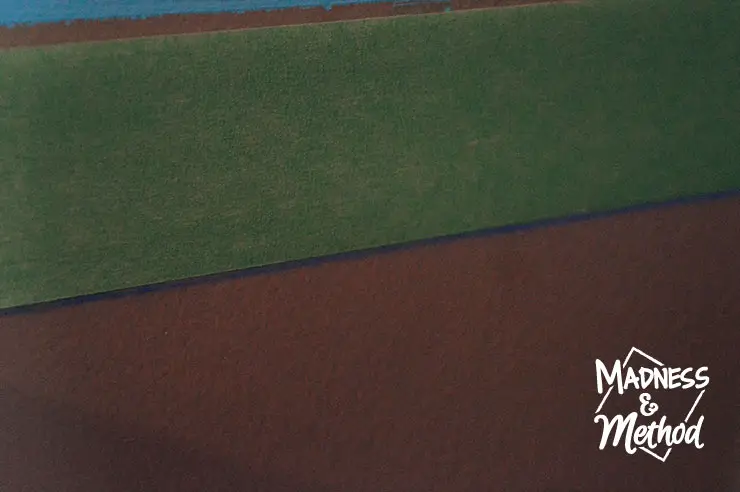
Tip 4: Pre-paint the stripes with the background wall colour.
I had actually read/seen this tip on plenty of other blogs online, and the theory is that if there is any bleed-through from the tape, that it will be in the wall colour and will thus blend in. It did help, but there were a couple of spots that still seeped. You can also blame the stickiness of the tape, amount of paint, non-detail-oriented helpers, whatever!
Fixing Errors
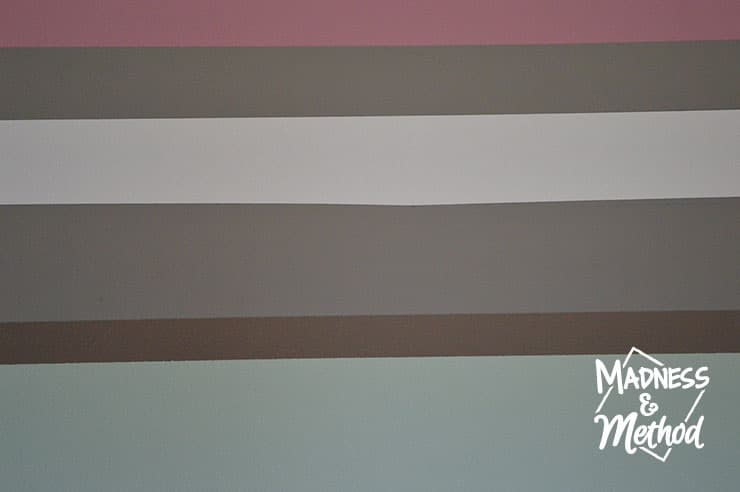
Remember when I said to use the longest pieces of tape possible, and to follow the chalk line? Notice how the light gray stripe in the center dips down? You’ll get that when you don’t pull the tape across straight, and that was my original error (with the first lines) when I thought I could just measure the distance from the ground every couple of feet and it would be a perfect line.
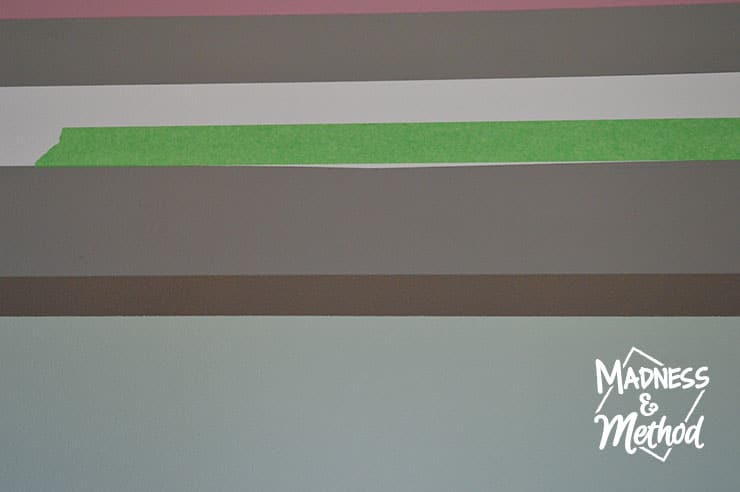
Whether you have some areas that bump out, or that dip in, you can easily go back and fix the painting errors. This is when pulling the piece of painters tape straight comes in handy; because you’ll have a better idea how much needs to be corrected this way.
I had just a couple of spots to fill in (or “take away”), and I even went back and fixed my original wavy stripes (the blue one). Actually, the burgundy one at the top needed to be fixed because I actually couldn’t reach it all when I was painting and missed a bunch of areas (oops!).
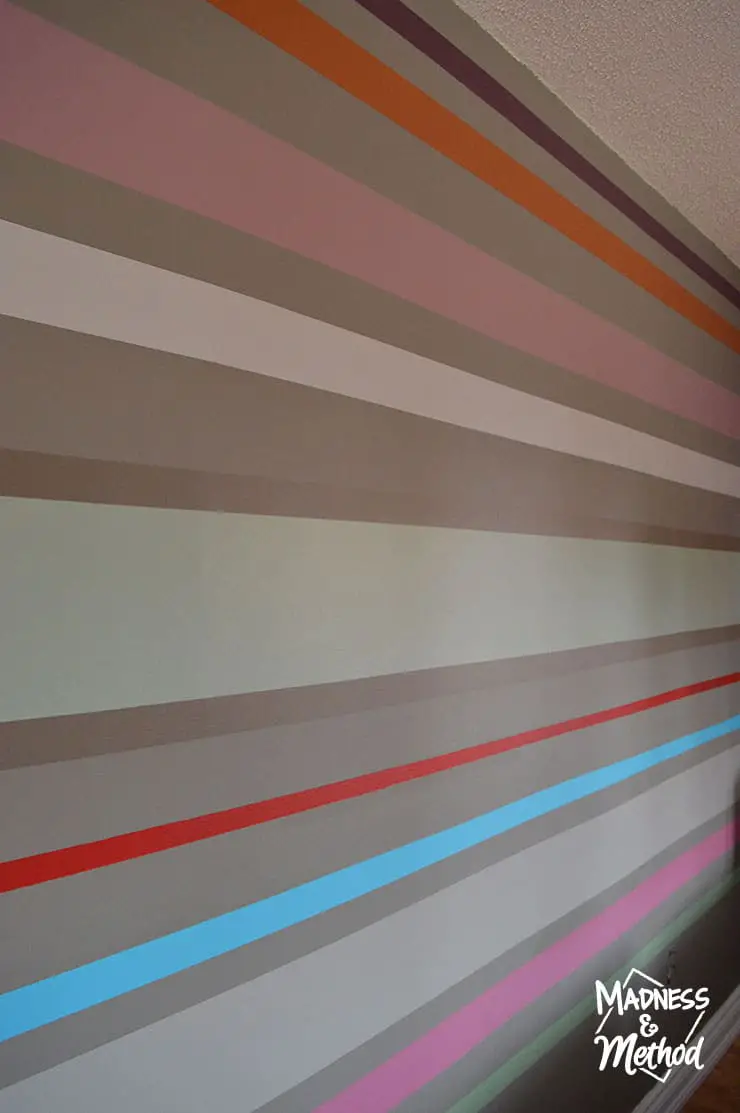
I even went in and recut (with a small artist’s brush) the red line, because there was CRAZY bleed-through. I think I originally used masking tape on that line, and it was bad. Which brings me to the last tip.
Tip 5: Use painters tape, and get twice as many rolls as you think you’ll need.
We had 3 random half-empty rolls that I thought were enough to do these four extra stripes, but ran out. Thankfully I found another one in the basement and I didn’t have to buy more :)
Or you know, re-use the old ones haha!
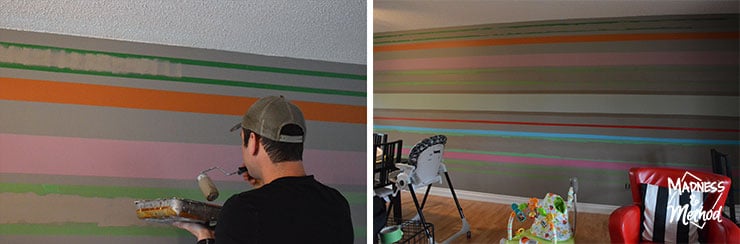
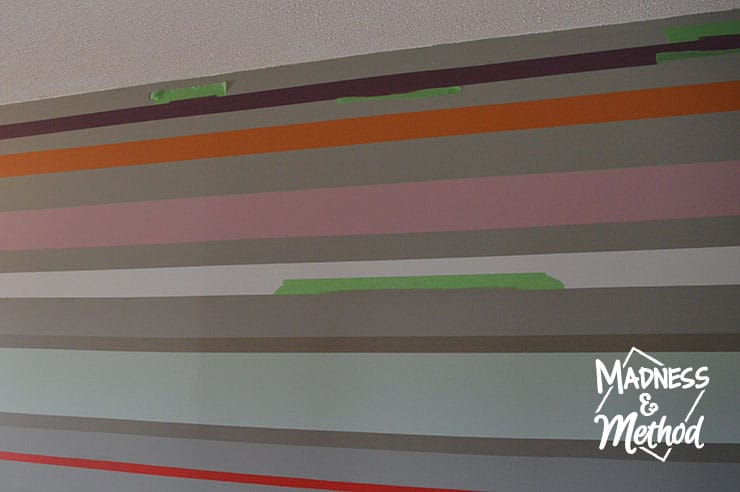
And now the stripes are up-to-date with all the colours we’ve used in the house so far! (Check out the original striped accent wall post for more details). I don’t have any plans to change anything out, and we probably won’t be finishing our laundry room for a while; but I still left a bit of space just in case :)
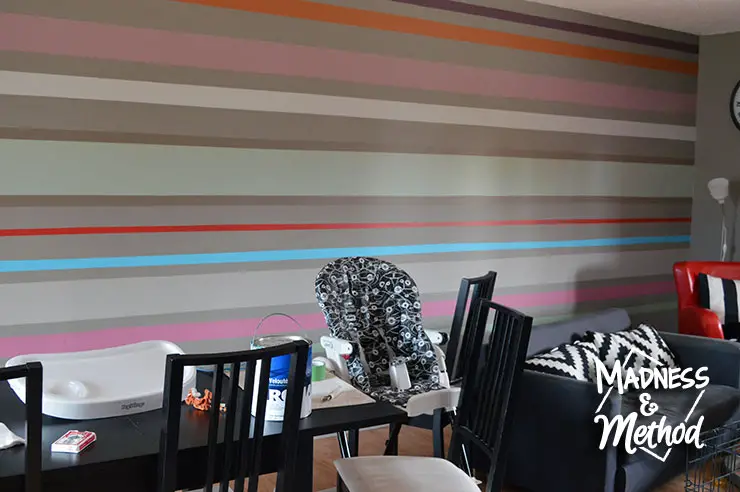
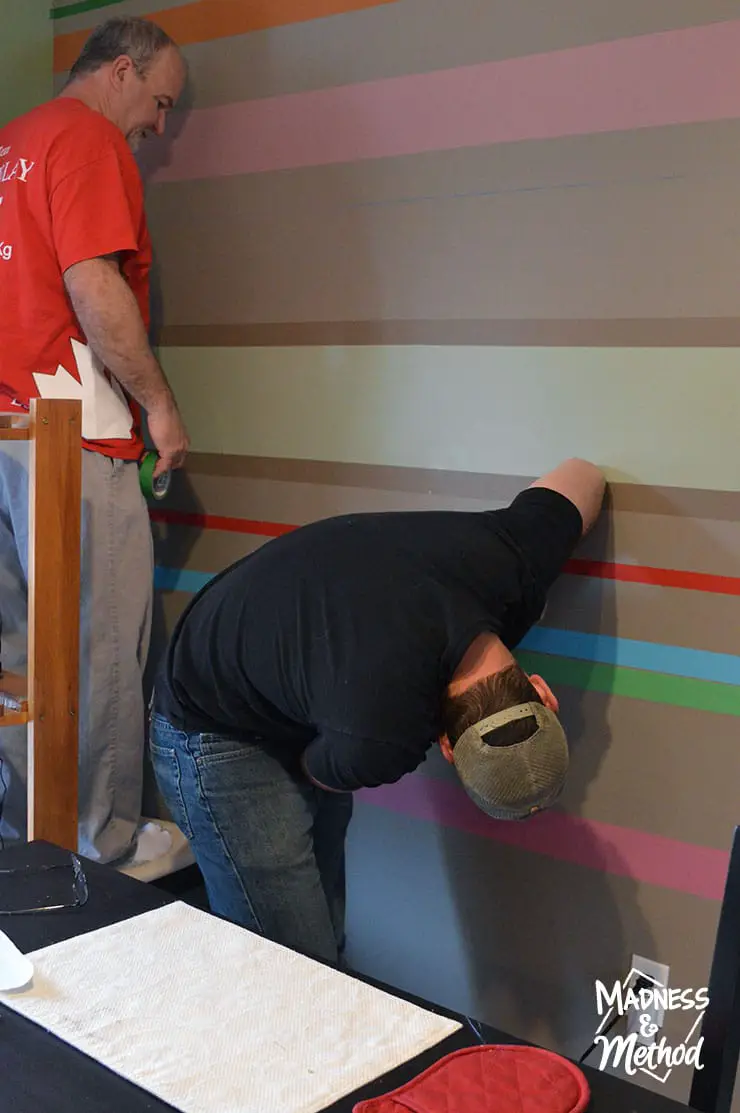
And here’s what everything looks like when I was doing the last little touch-ups. I conveniently decided to add the extra stripes when we had the sofa moved downstairs for our Easter brunch (and when my helper parents were visiting too!).
Painting straight stripes on a long wall may take an extra step or two, but it’s much easier to be setup correctly the first time. I’m still thinking the laser level would be the way to go, but using a chalk line is definitely the next best thing.
Just make sure your painter’s tape (or helpers) aren’t slacking :)


No Comments