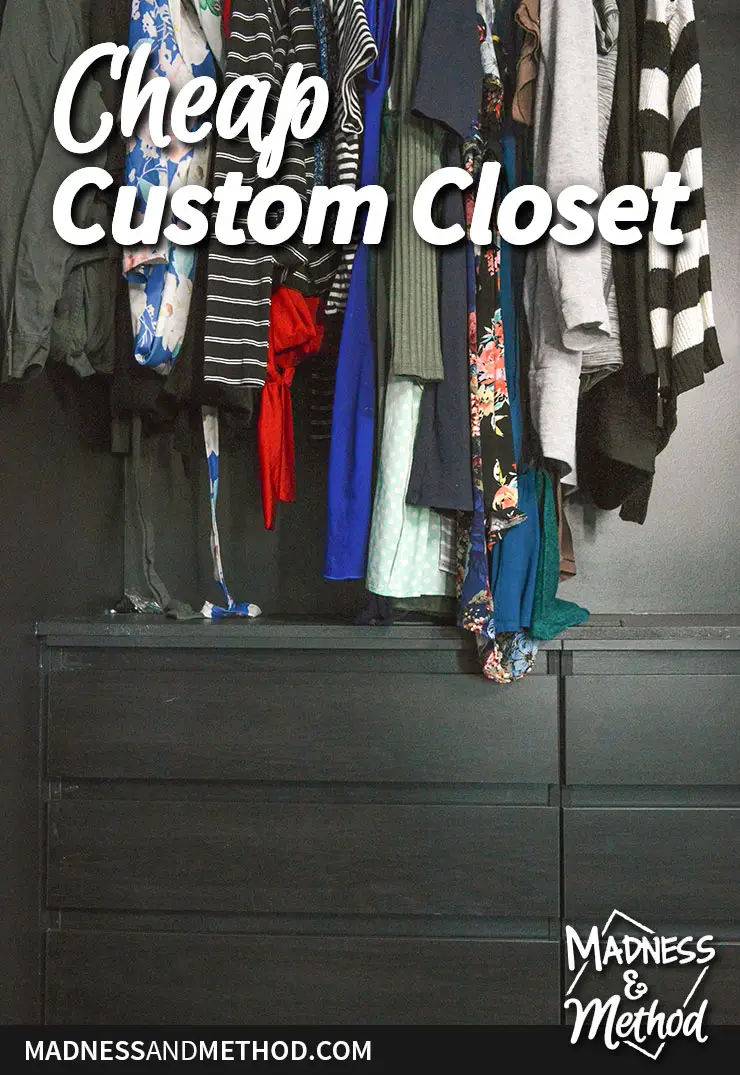
One of the things I wanted in our new house, was perfectly organized closet solutions. (Well, organized storage in general – but especially in our master bedroom). Unfortunately, our new closet was smaller than our old one, and just a few inches too small for normal storage options. However, I was able to come up with a cheap custom closet solution that works a lot better than what we had!
– Note: This post contains affiliate links. See more information about affiliates here. –
We’re super close to getting our bedroom completed, but I still need to build our closet doors and do the last minute details. In the meantime, check out what I came up with for our closet storage!
I’m making over our new master bedroom as a linking participant in the One Room Challenge. Normally, it’s a six-week challenge to complete a space (but this round we get an extra 2). Follow all the One Room Challenge bloggers and posts here.
Our Progress This Round
Week 1: Master Bedroom Design Plan
Week 2: How to Plan Wall Treatments Video
Week 3: Bedroom Progress + To-Do List
Week 4: Purple and Modern Floral Wallpaper
Week 5: you’re here!
What we Completed Since Last Week:
Wednesday:
Installed the wallpaper
Thursday:
Cleaned the floors and brought in the rug
Installed the closet brackets and bar (shown on the video!)
Installed the curtain rod and curtains
Assembled the bed
Sunday:
Reinforced the bed base
Patched the holes from the closet brackets/wall anchors
Monday:
Sanded and painted the patches
Primed the closet door wood pieces
Brought all my clothes into the closet
Built the mirror
Creating a Custom Closet Solution
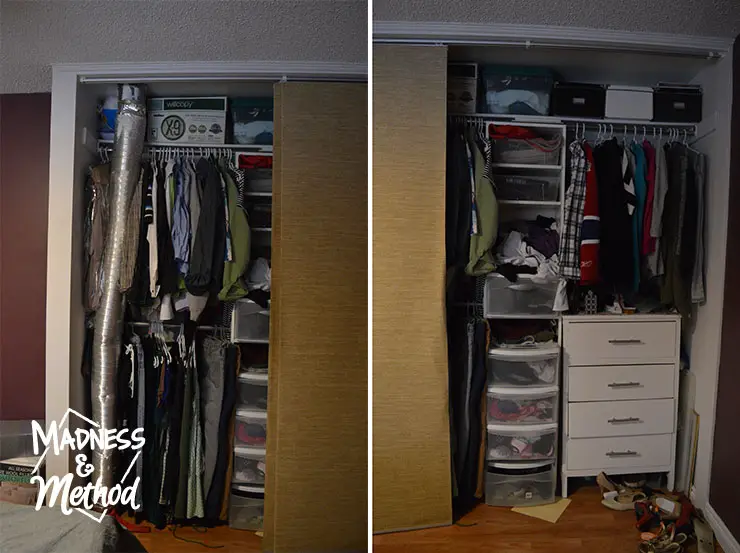
In our old house, our closet was just about 7′ wide (if I remember correctly!). We had ripped out those side/header walls to open it up, and we slowly changed how we used the space as the years went on. Eventually, almost all of our clothes fit in (more of mine than the Husband’s)… but it wasn’t perfect.
Even before we started looking at new houses, I knew I wanted to have an organized closet right away. Jen from Rambling Renovators (one of this round’s featured designers) added an Ikea Pax wardrobe to a normal closet, and I was determined to do the same.
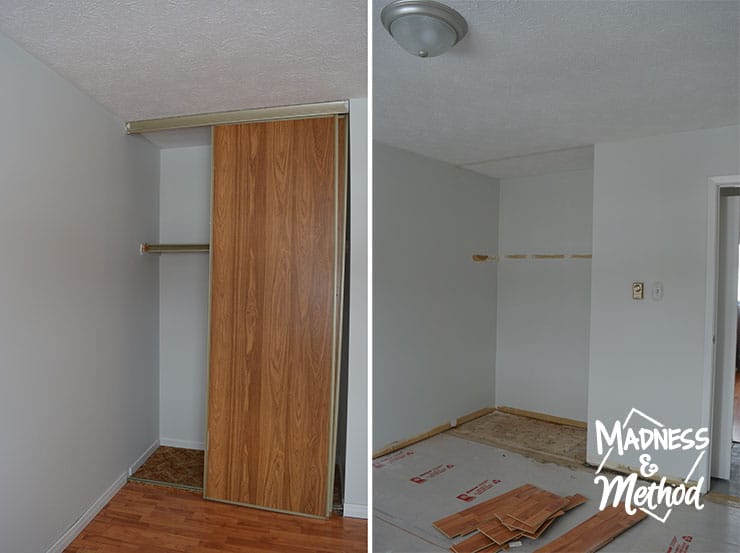
Unfortunately, the Pax is ideal for closets that start at 60″ wide, and ours was only 56 :( I thought about so many different layouts, and even considered cutting the boxes to fit. I then started exploring different closet systems (mostly from Ikea, but also on sites like Wayfair, Home Depot or even closet-specific providers).
(Watch the video for more details)
In the end, I realized it would be ideal if I could just find a dresser (or two) that fit the width of our closet. Websites like Wayfair allow you to browse by very specific dimensions, but winner winner it was Ikea that ended up coming through.
(This wasn’t my first rodeo finding a dresser for a closet before. You can scroll up and see that I had a little dresser in our old closet, and I had added some at our rental home too).
Materials to build a Cheap Custom Closet
- A dresser or two to fit the width (we used the Ikea Kullen)
- Some hanging rod and shelf brackets
- An adjustable closet rod
- A closet shelf (we haven’t installed this yet)
- Storage bins or baskets for the top shelf (we’ll use these)
- Miscellaneous items like patching compound, caulk, screws, paint, etc.
- Tools: drill, level, measuring tape, paint brush, etc.
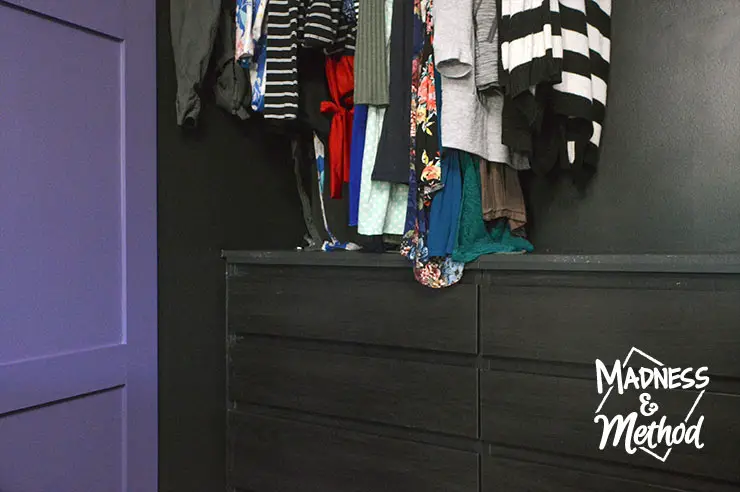
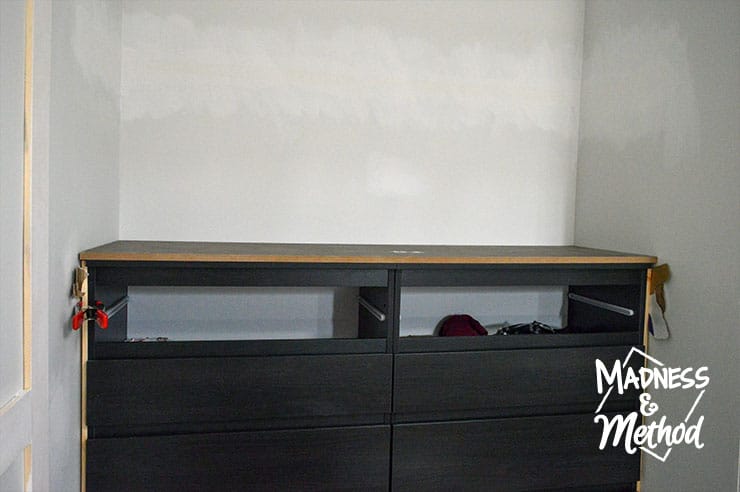
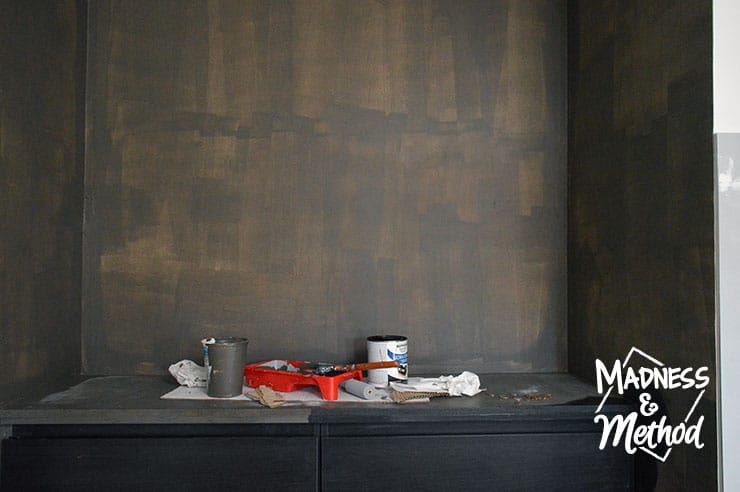
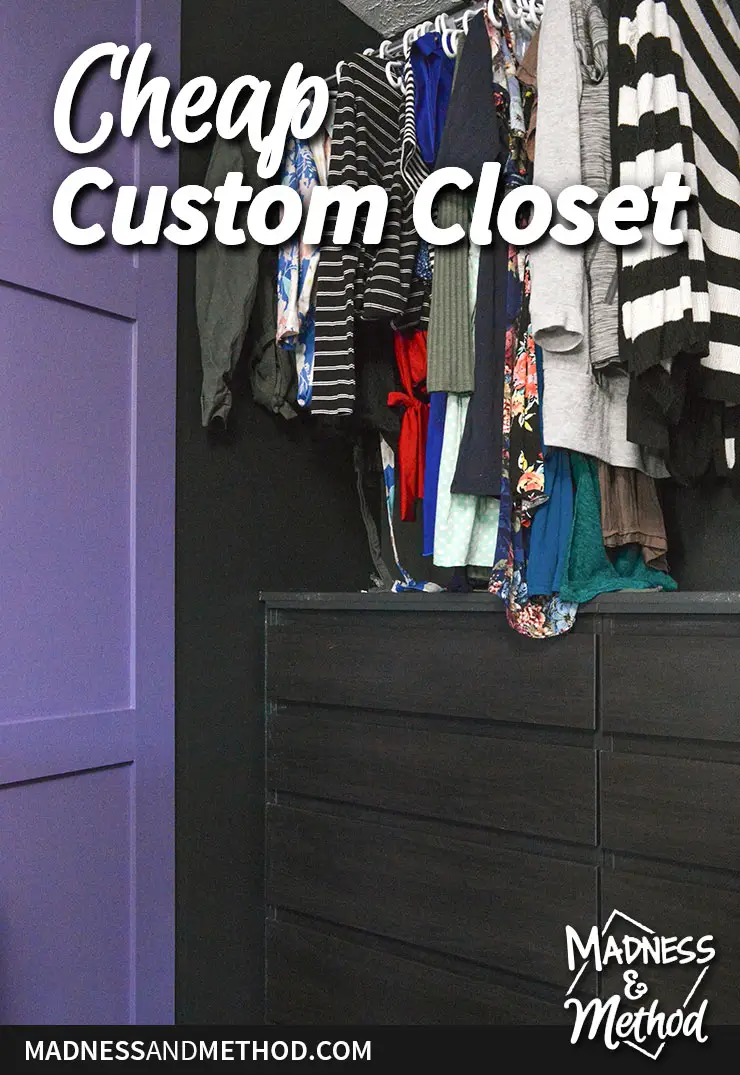
I was able to fit in two Kullen dressers next to each other, with just barely an inch left at the top (and less than that at the bottom). Using some leftover wood and some caulking, I filled in the sides and painted everything to match. I thought about doing white walls (my go-to for closets), but figured the very dark brown would be more dramatic.
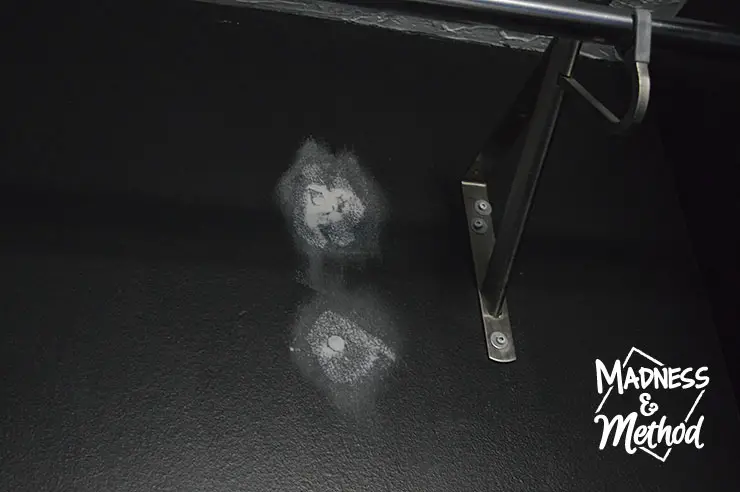
In the video, I mentioned that I wanted the brackets to be evenly spaced. I just found some random wall anchors, and they did not work at all. The first one fell into the wall, then I couldn’t get the next one to tighten at all. I asked the Husband to help, but he said it wasn’t secure at all and just ripped it out.
Lesson Learned: screw into the studs the first time!
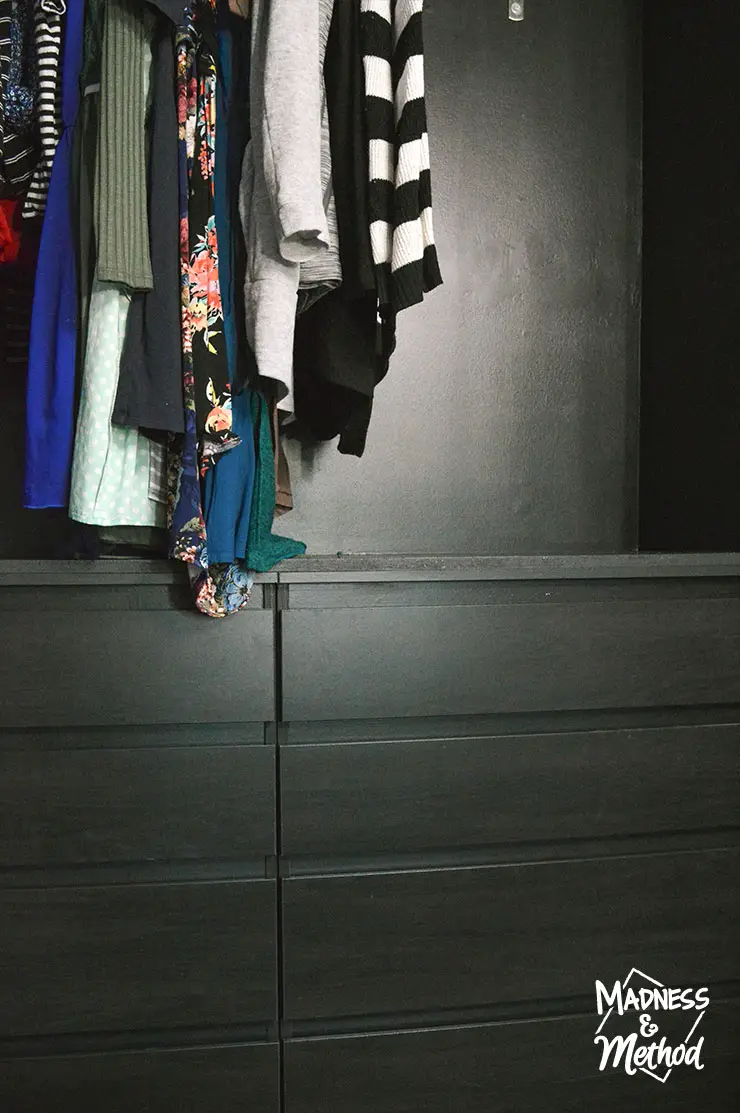
I finished all the patching/painting and was able to get my clothes hung yesterday for these photos. The Husband still has to put up all his stuff (he hasn’t gone through anything yet since our move and literally just threw it all in a bag).
We also have to add the top shelf, and I will either buy a new one or try and find something from our stash that might work. (There was a piece of MDF that we used to cover the top of the dressers, and that could have worked for the shelf too). And I’m waiting for my Ikea delivery for the last few storage boxes (among other things), but that won’t be for another couple of weeks.
Cheap Custom Closet Video
Check out the video to see more details about our closet and the mockups of the different options I considered. And I talk about how I decided on the height for the rod/brackets.
Our bedroom is almost done (and it’s pretty functional now), but I still have the last major project left: building the doors. I’m hoping I can get to them in the next few days because we have just one more weekend at our old house before it’s no longer ours!
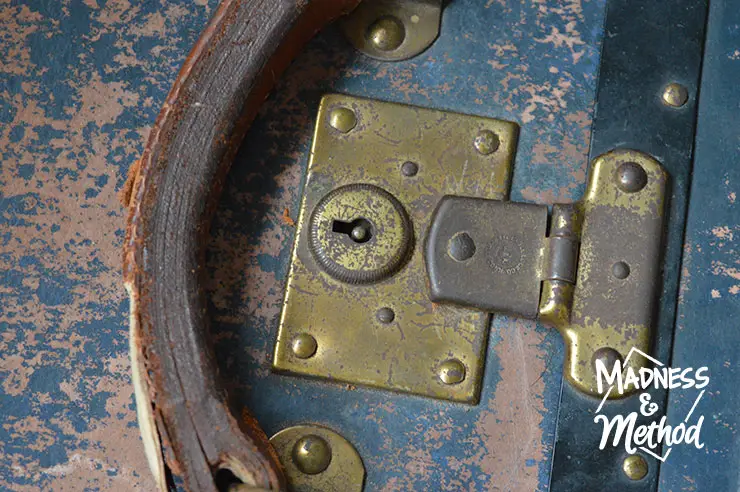
Oh, and in unrelated/related news, we used to store our sheets in an antique suitcase (you can see in the photos here). BUT somehow our little Zachary locked the suitcase and we can’t open it. I called our local locksmith, and we’ll probably have to bring it in to be cut open…
Hopefully, your projects are going well! And remember to browse the other One Room Challenge projects too.



No Comments