We’re in the middle of a makeover here and today I have some garage progress and paint choices to share! Are we on schedule? Sort of, not really – but I’m going to keep working along so that we have something awesome to show you when we’re done. See what’s changed since last time, and help me decide on the ceiling okay!?
– Note: This post contains affiliate links. See more information about affiliates here.–
We’re completing this garage makeover as part of the One Room Challenge – a big online event where bloggers have 6 weeks to transform a space they choose. See our past weeks’ progress here:
Week 1: Garage Photos and Intro | Week 2: Garage Design Plans | Week 3: Empty Garage + To-Do List
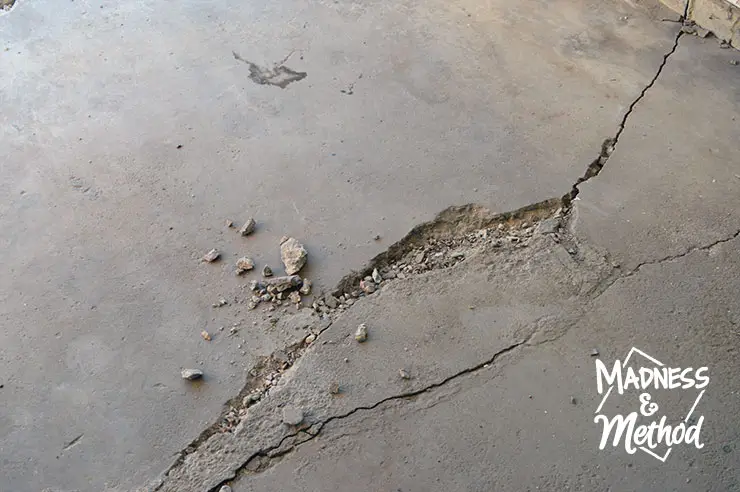
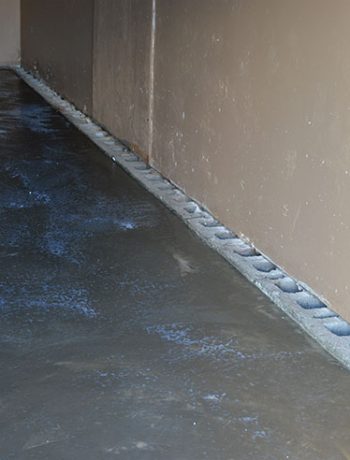
You may remember that last week I mentioned our concrete was getting poured the next day. Ya, not so much. I shared on Instagram that we hit a snag because our old slab hadn’t been properly set (which most likely caused the crack and sinking in the first place). After getting a new quote to rip it up and re-start from scratch, we decided to just go with the original plan and get the new concrete poured on top anyways.
The Husband figures that the slab has probably fallen as much as it can in the past 40 or so years and it shouldn’t really move too much anymore. That and the added unexpected cost, he says that if there is a crack he’ll still be happy that he didn’t have to spend the extra money…
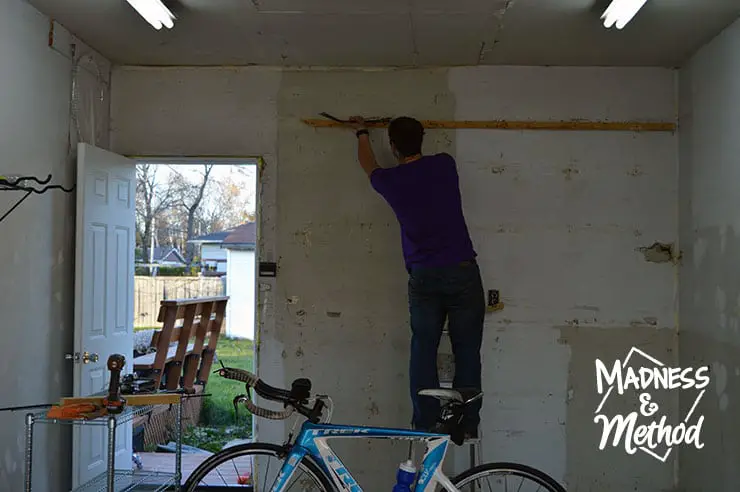
Either way, it gave us a bit of time the finish some of the demo work and get ahead of other tasks. Oh, and here’s a photo I snapped of the Husband with his whole bike setup working out in the garage. He’s super excited to have this space all to himself (to himself when I’m not working in there) and was just telling me that he bought a bunch of new biking equipment in anticipation.
Has he bought the heater he was supposed to get yet? Nope, of course not!
Oh and now he wants a TV in there that he can hook-up to his computer so he can see everything on a bigger screen… ha!
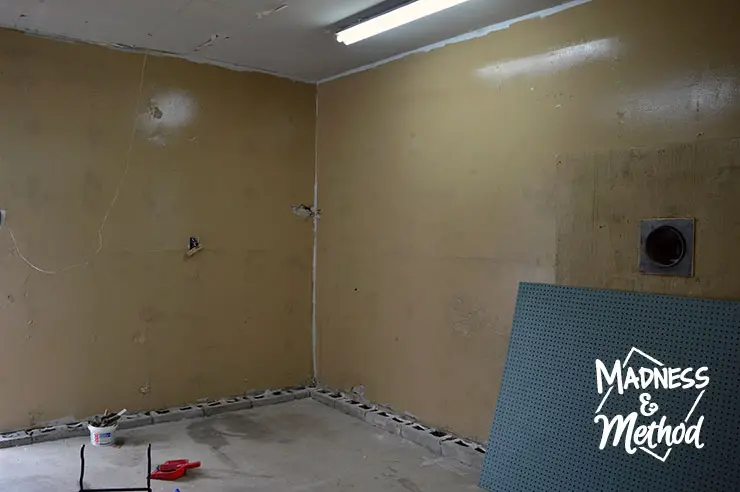
Anyways, we got around to removing the old cabinets, pegboard and heater. Unfortunately, we had been using the cabinets to store some stuff, so now our living/dining room looks like a bigger disaster zone than before. I’ll spare you the pictures, just imagine a bunch of tools on the ground (clearly not a safe baby zone)!
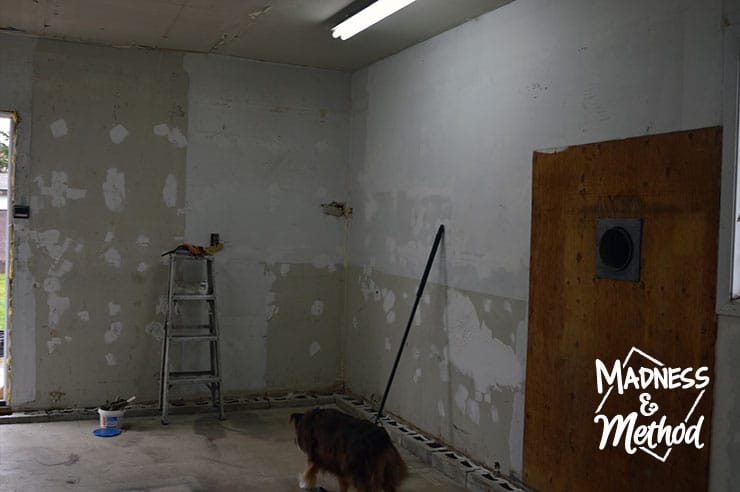
I patched as many holes as I could with the leftover drywall compound I had, and even went in and sanded some areas! I decided to skip the whole priming thing to save time, but it didn’t turn out well after I painted…
For the paint, I decided to use a bunch of leftover beige-ish hues that I had. Some were left from the previous owners, some I brought with me from the old house – and basically, I wasn’t anticipating needing this much beige paint anytime soon.
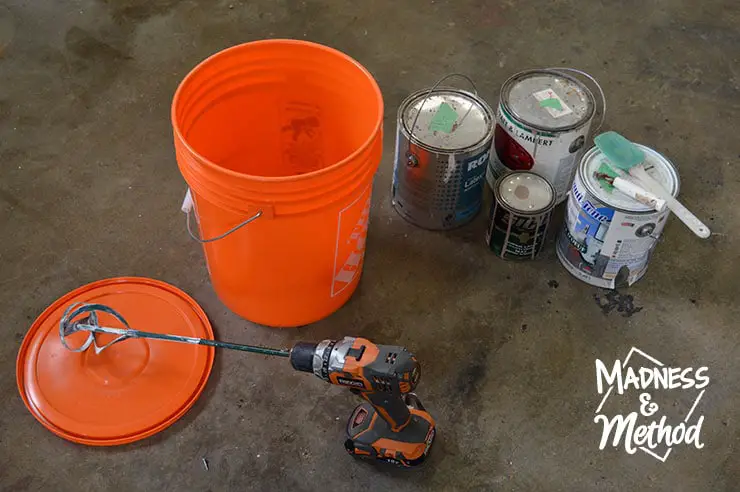
I actually love mixing my own paint and shared some tips here before. Armed with a brand new bucket, our mixing paddle, drill and construction spatula, I was going to use whatever colour I came up with!
I mixed each bucket of paint individually, then added them to our big bucket and mixed them together until everything was well blended. I cleaned out one of the empty gallons (for my leftovers), and have the other ones drying and waiting to be recycled.
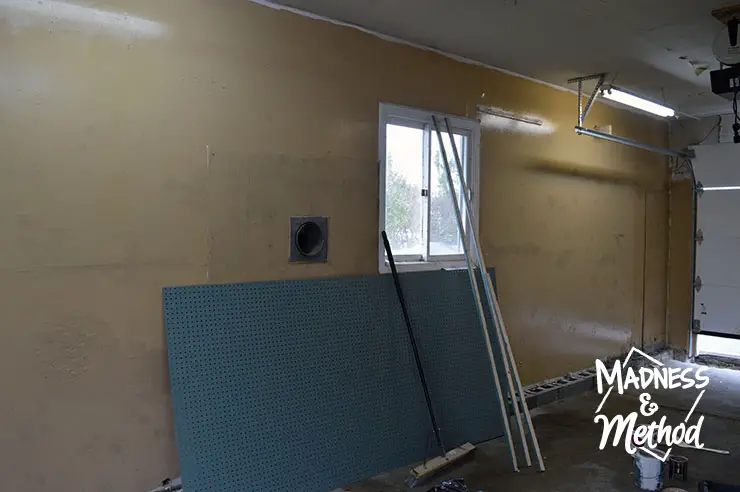
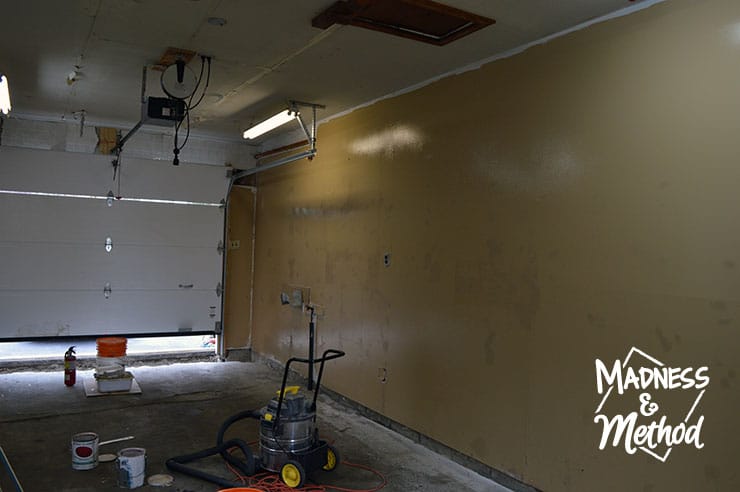
The colour ended up being super close to what I came up with in my garage design plans, and I rolled a coat all over the walls. (I then went in and finished most of the edging). For now, we’re leaving the old heater exhaust hole there, and the Husband is hoping we can put the new heater somewhat in that same area…
We also picked up a new 4×8 pegboard and I gave it two coats of Para’s Designer Indulgence (which is now called Emerson 316 E). I also painted the edges of our strapping, and that way it will all be painted when we go to install it!
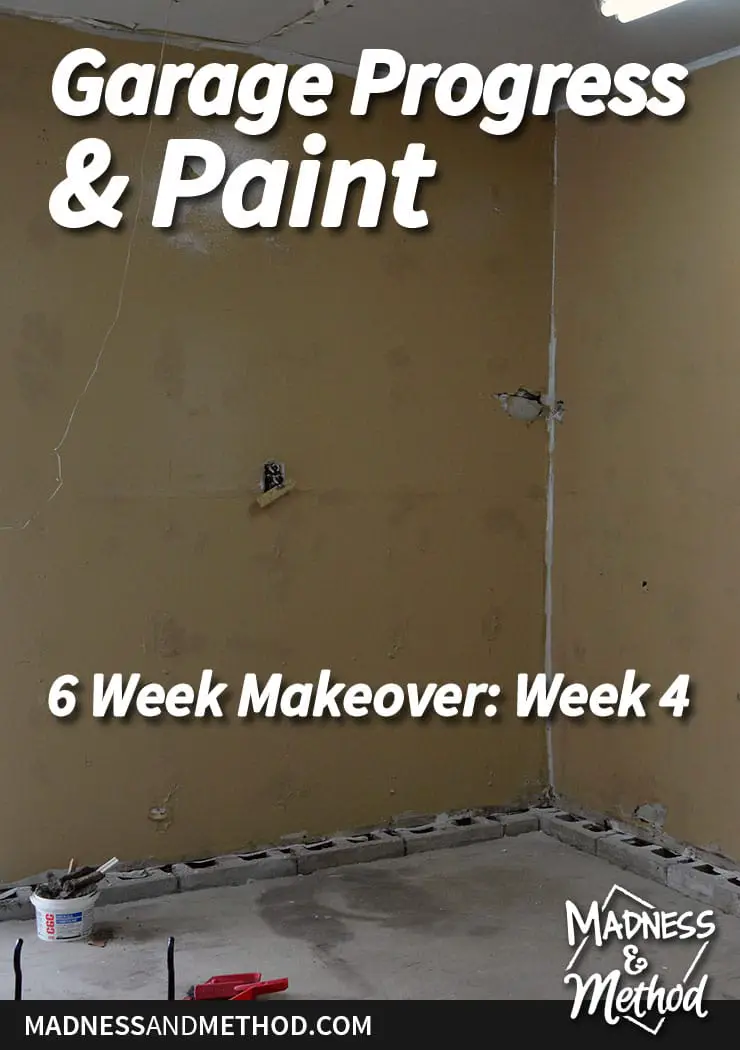
Remember when I said I skipped the whole priming the drywall compound part? Well, it definitely absorbed the colour differently than the rest of the walls, but maybe another coat will fix it? It was actually raining outside when I painted, so the walls stayed wet for a supppppper long time and I’m hoping that once it fully dries, it will be a bit closer to matching.
Garage Progress
I’ve just found out that there will be one EXTRA week for this season’s One Room Challenge. I’m still going to try and get everything done based on the original 6-week timeline, so as long as the concrete actually gets poured this week, we should be okay!
Last week I shared our to-do list, and I was aiming to get at least 4 things scratched off in each of the remaining 3 weeks. We did a bit more than 4, and are literally just waiting for the concrete to be poured and set at this point before we can continue with the rest…
Updated to-do list:
- Concrete floors resurfaced (happening this week)
Remove old heaterRemove cabinets/old pegboardRemove all random hooks + pieces on wallsPatch walls(and ceiling!?!?!?)???Mix colour + paint walls- Added: paint ceiling!?!?!??!
- Added: edge around ceiling
- Added: second coat of paint
Purchase, paint+ install new pegboard- Install casing around door
- Install new shelving unit
- Purchase + install new heater
- Build + install overhead wood storage
- Figure out (and install) tool storage hooks
- Organize all our stuff
I’m still undecided on the whole ceiling thing. I have to edge the walls along the top but don’t know if I’ll paint the ceiling the same colour, paint it white, or just leave it as-is. I may use the extra week for that alone – since it will be a big task and I’m still wondering what to do!
(Oh and I couldn’t reach some of the parts of the wall at the garage door since we have to keep it open until the concrete is done!)
We’ve managed to progress a bit for this garage makeover, but I’m definitely feeling like we’re behind and am really crossing my fingers that the floors go in this week (they said it’s set-up for tomorrow!). The Husband still needs to source a heater and I have the whole ceiling debacle still to decide.
What are your thoughts? Leave it as-is? Paint it beige to match the walls? Paint it white? Or go with my super-secret 4th option and hope it works out!?
Ha! Let me know in the comments, and don’t forget to check out the One Room Challenge featured bloggers and all the linking participants too!






4 Comments
Mommy aka Louise
October 24, 2017 at 8:42 pmsuper secret 4th option of course!
Nicole
October 26, 2017 at 3:23 pmWell, obviously that one sounds better!
Emy
October 26, 2017 at 9:11 amDrywall compound absorbs paint differently. If your paint has primer in it at all, another coat might even it out. Good luck with the concrete resurfacing. I’m so curious what kind of heater you guys will get.
Nicole
October 26, 2017 at 3:28 pmIn the house, I never patch without priming – I just figured I could cheat out here… ha! I’m curious about the heater too :)