We’re at the final post for our One Room Challenge master bedroom makeover! For the past 8 weeks, I’ve been completely updating this space (among other things). I hope you’re ready for a lot of photos from our new master bedroom reveal!
– Note: This post contains affiliate links. See more information about affiliates here. –
Before I get into all the project details, let me re-introduce myself and my home/family. My name is Nicole, and I live in Northern Ontario, Canada with the Husband, dog and 3 little kiddos (4, 2 and 6 months). We bought our newest house at the end of March, and I wasted no time starting this makeover.
If doing a One Room Challenge makeover wasn’t enough, we also sold our house and moved all our stuff here at the same time. (Literally, our house went up for sale April 20th, we received an offer a couple of weeks later, and we closed June 12th).
Oh, and I think there’s a pandemic happening too?
In all seriousness, I’m glad we no longer have 3 mortgages and don’t have to travel back and forth between 2 houses/towns.
But – I know you’re here to check out the One Room Challenge reveal, so let’s get to it!
About the One Room Challenge
Once again, I was a linking participant in the One Room Challenge. The One Room Challenge is a twice-yearly event where 20 featured designers (and a bunch of linking participants) makeover a space in six weeks. Of course, this season the ORC was extended an extra 2 weeks and was pushed back because of COVID.
This wasn’t my first One Room Challenge (and it certainly won’t be my last). Check out my previous makeovers here:
- Spring 2016: Basement Half-Bathroom Addition
- Spring 2017: Bro’s Budget Bathroom
- Fall 2017: Garage Makeover
- Fall 2018: Basement Kitchen Renovation (which we didn’t complete until much later, you can check it out here)
- Spring 2019: Master Bedroom 1 AND Master Bedroom 2
- Fall 2019: Not-so-Neutral Nursery
And, follow this round’s bedroom progress:
W1: Master Bedroom Design Plan
W2: How to Plan Wall Treatments Video
W3: Bedroom Progress + To-Do List
W4: Purple and Modern Floral Wallpaper
W5: Cheap Custom Closet
W6: Bedroom Budget Breakdown
W7: DIY Closet Doors
W8: Reveal time!
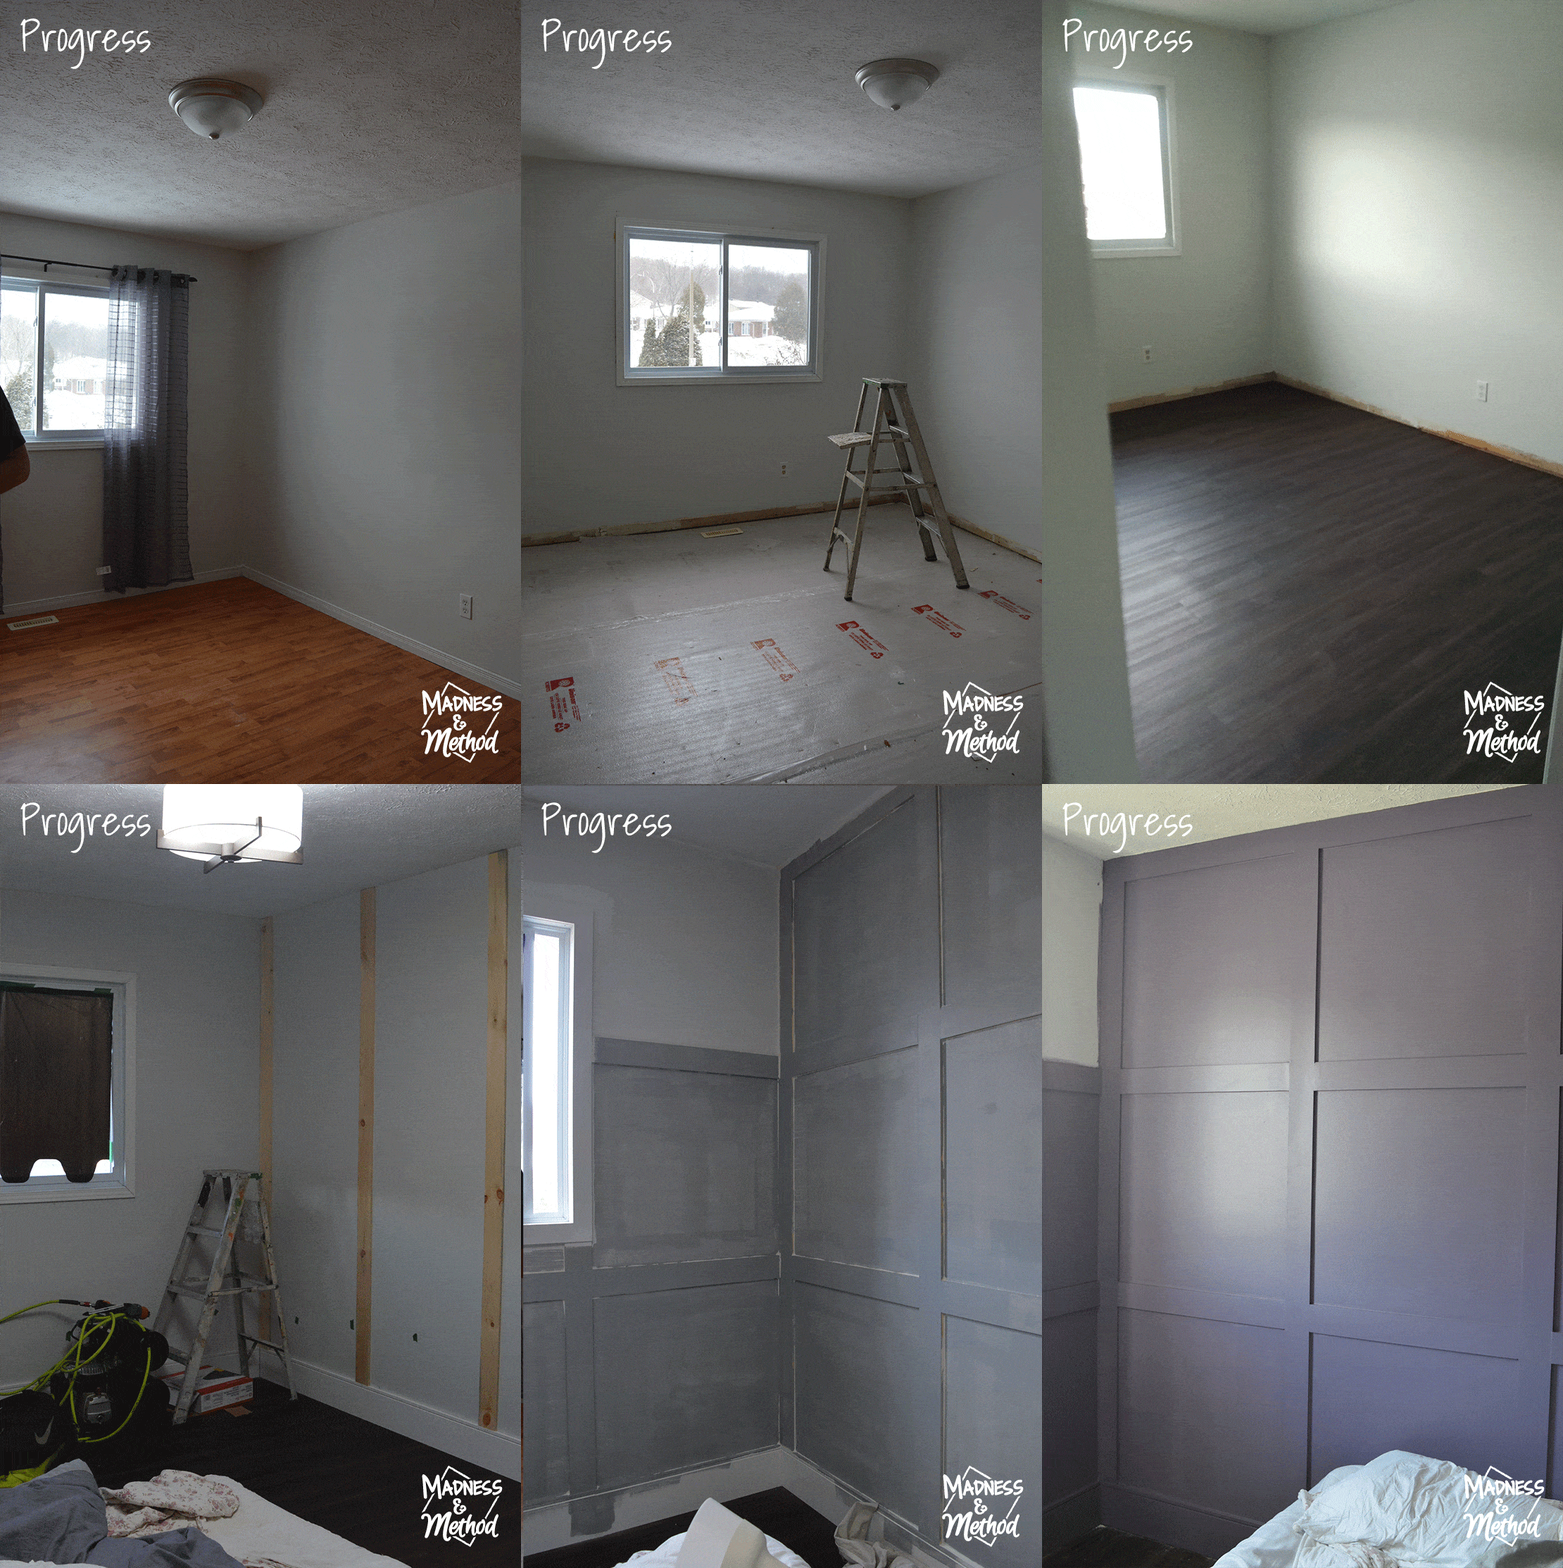
Okay, so I’m going to guess that you checked out the before photos? Did you? Go go…
And, if you didn’t – just picture a 10×12 white room with honey laminate floors, sliding closet doors, a boob light, and one window.
(Don’t worry, there’s a video and the before and after photos at the end of these photos if you’re feeling lazy).
New Master Bedroom Reveal
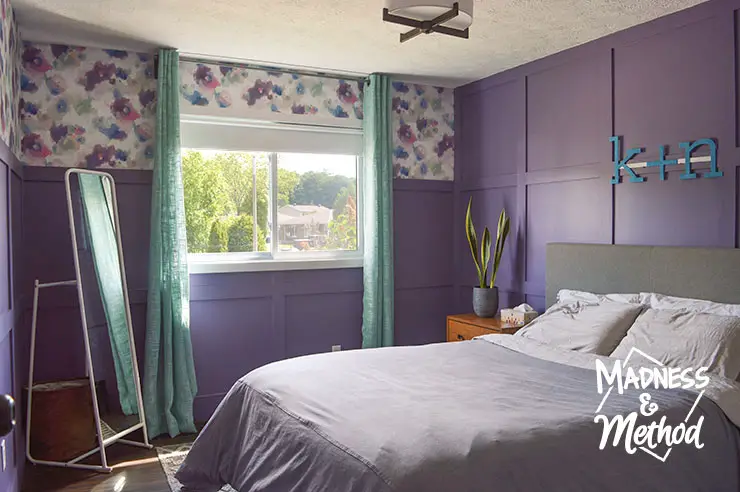
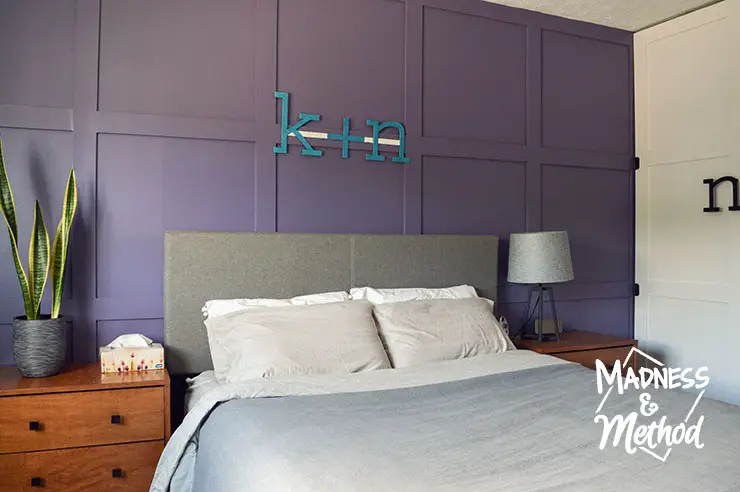
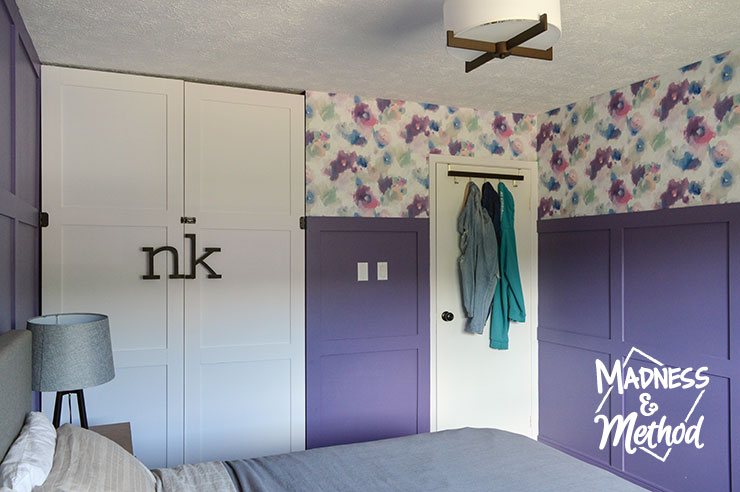
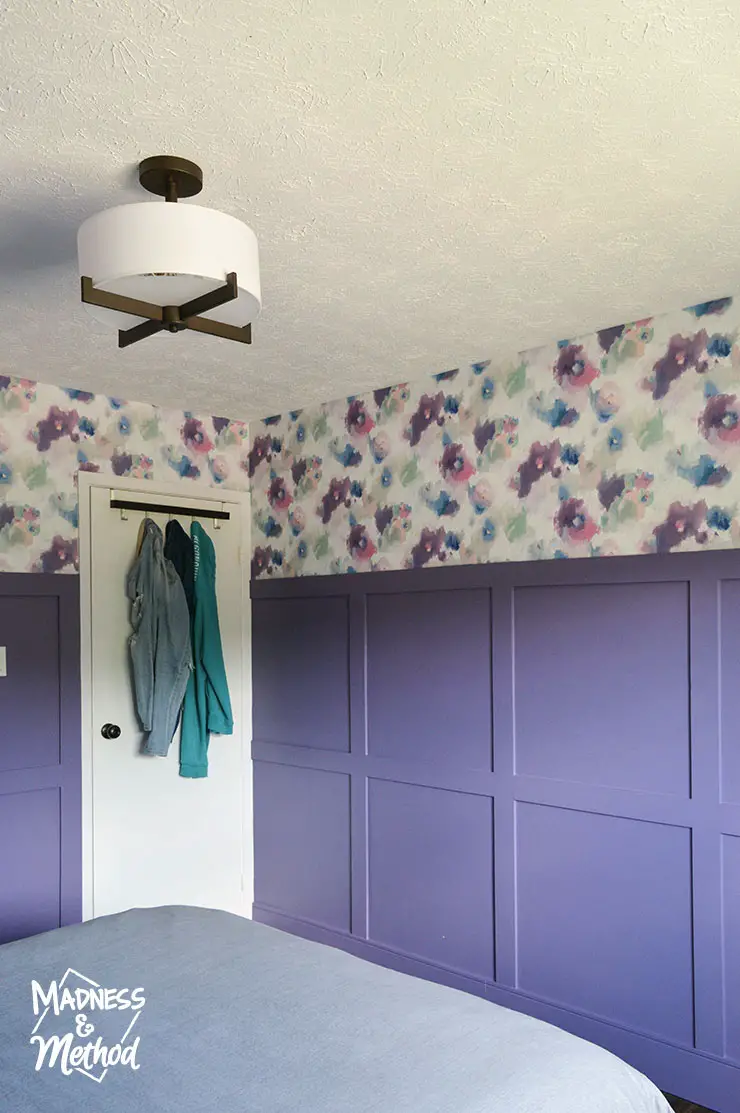
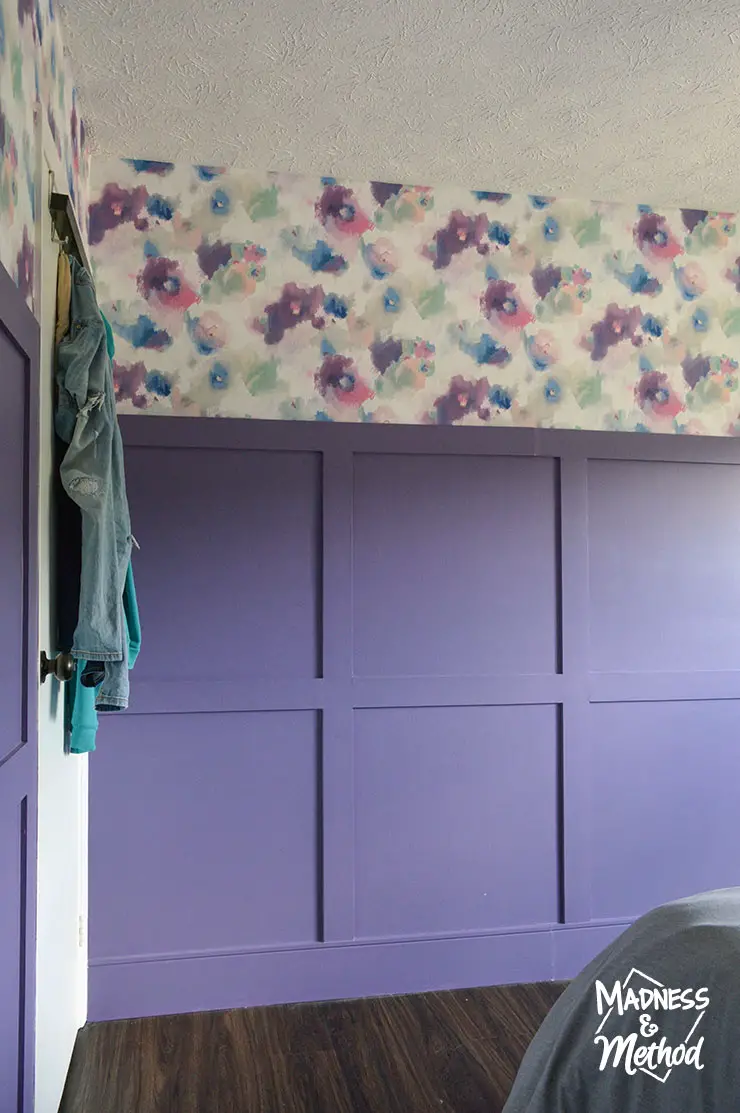
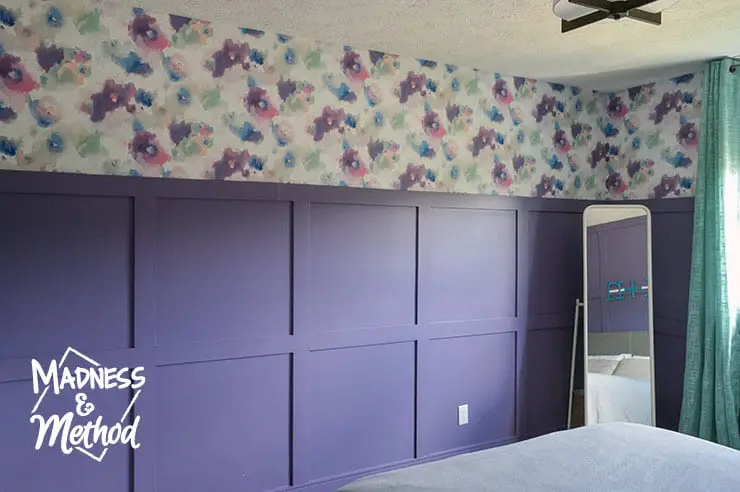
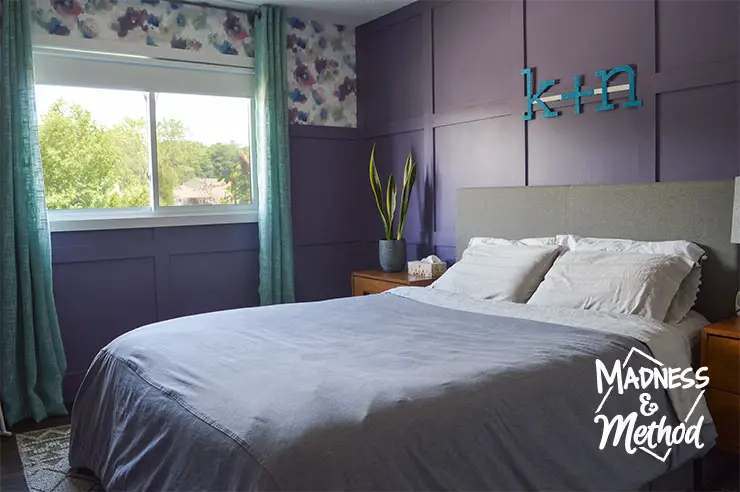
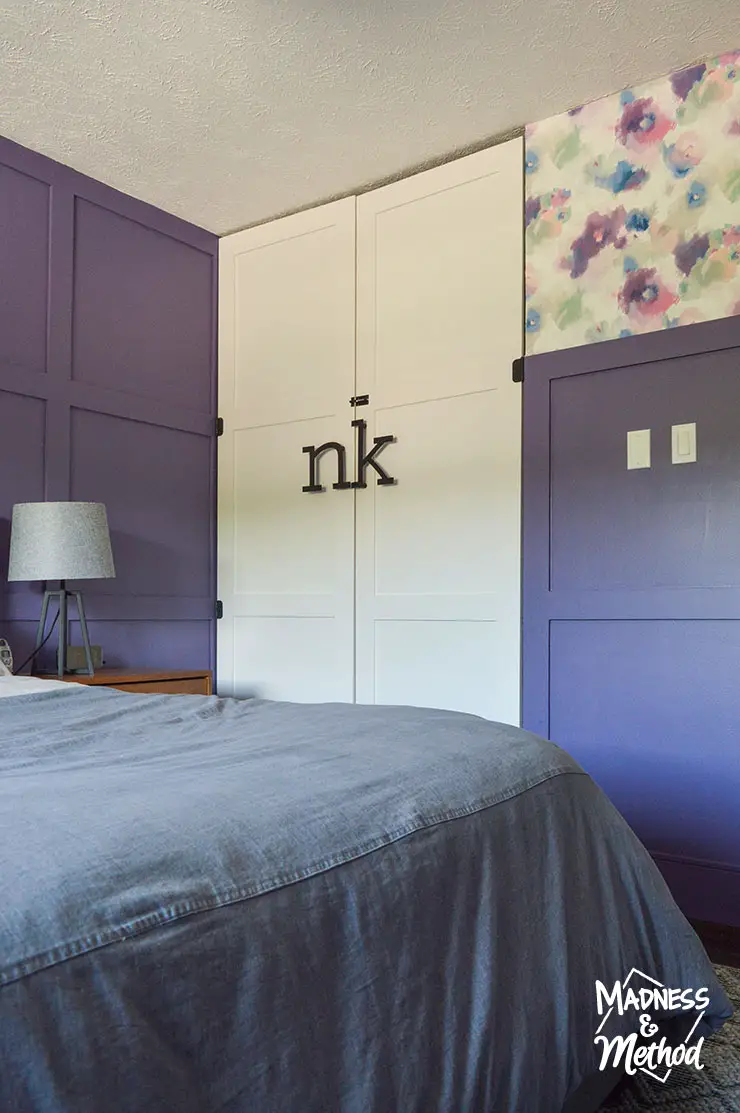
Bam! This room can’tbe described as white anymore :)
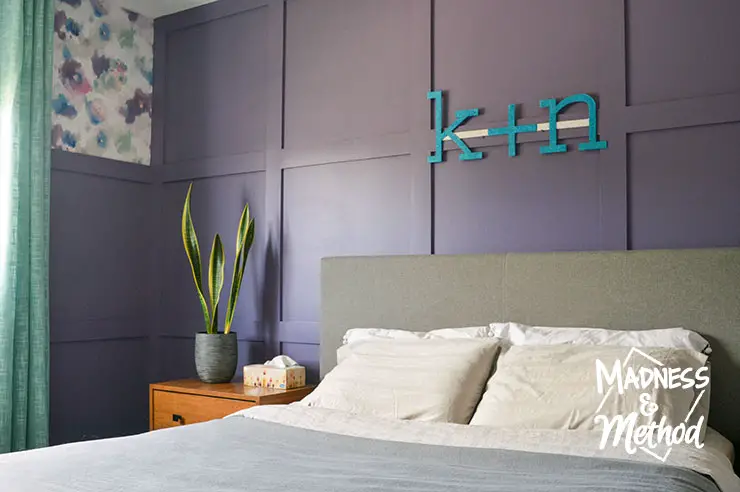
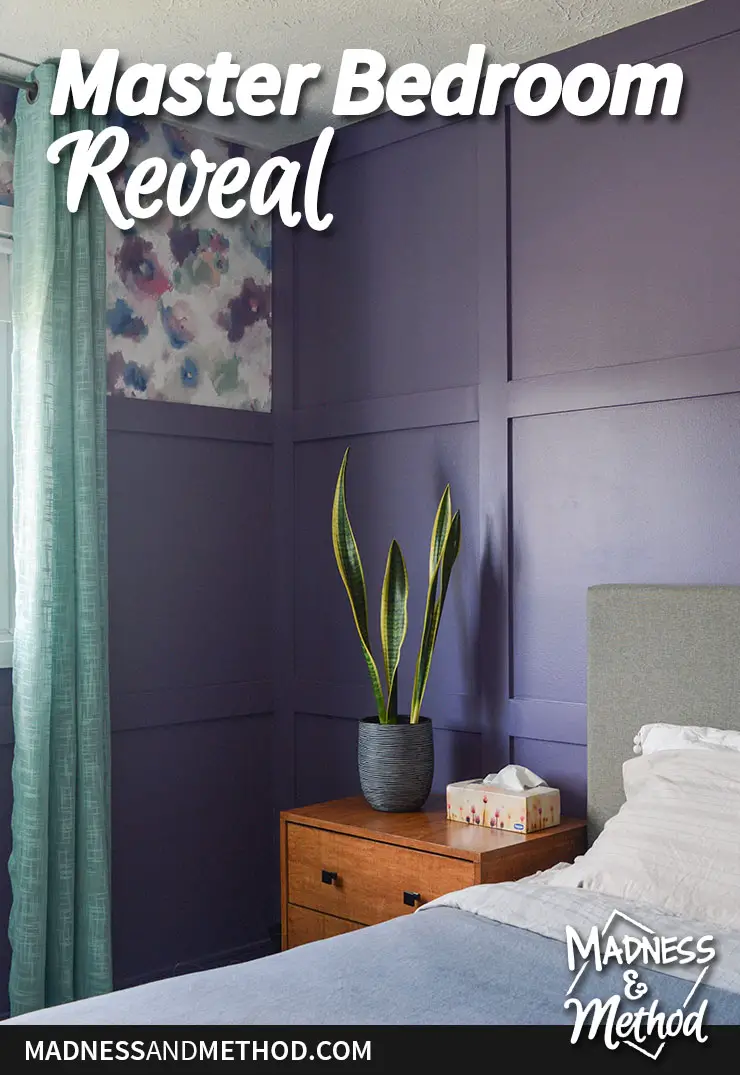
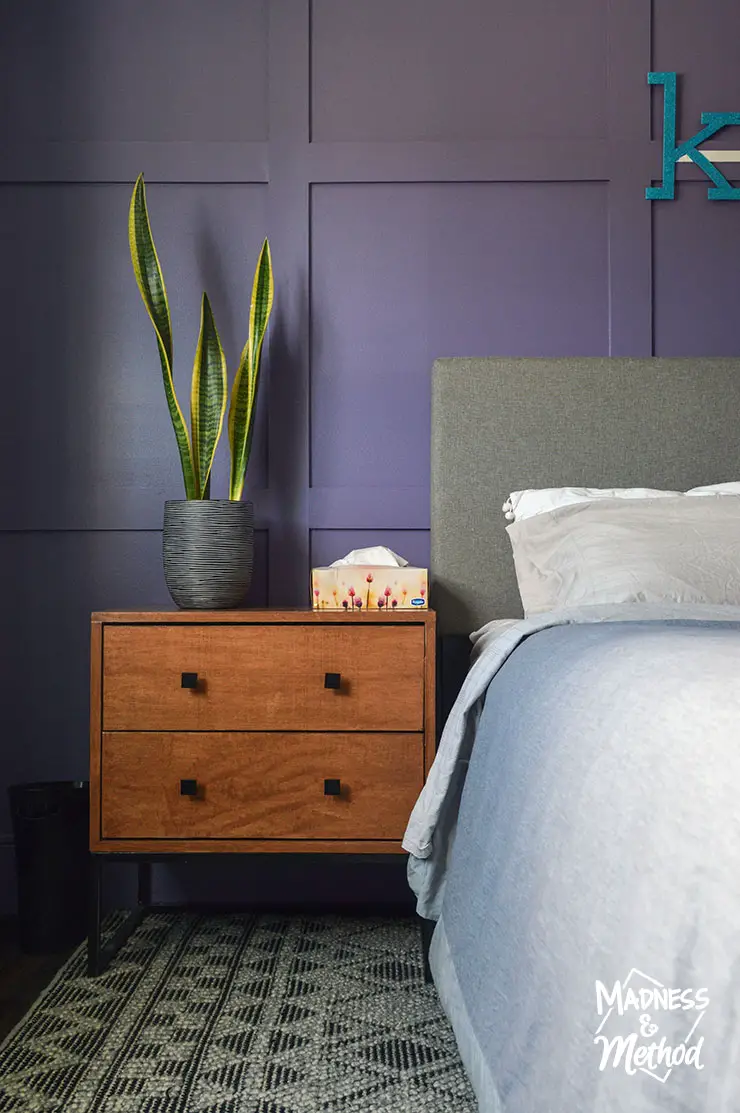
Purple is my favourite colour (can you tell?) and I just had to have a purple bedroom.
Technically, our last bedroom was purple too – but this one is bluer/bolder I think.
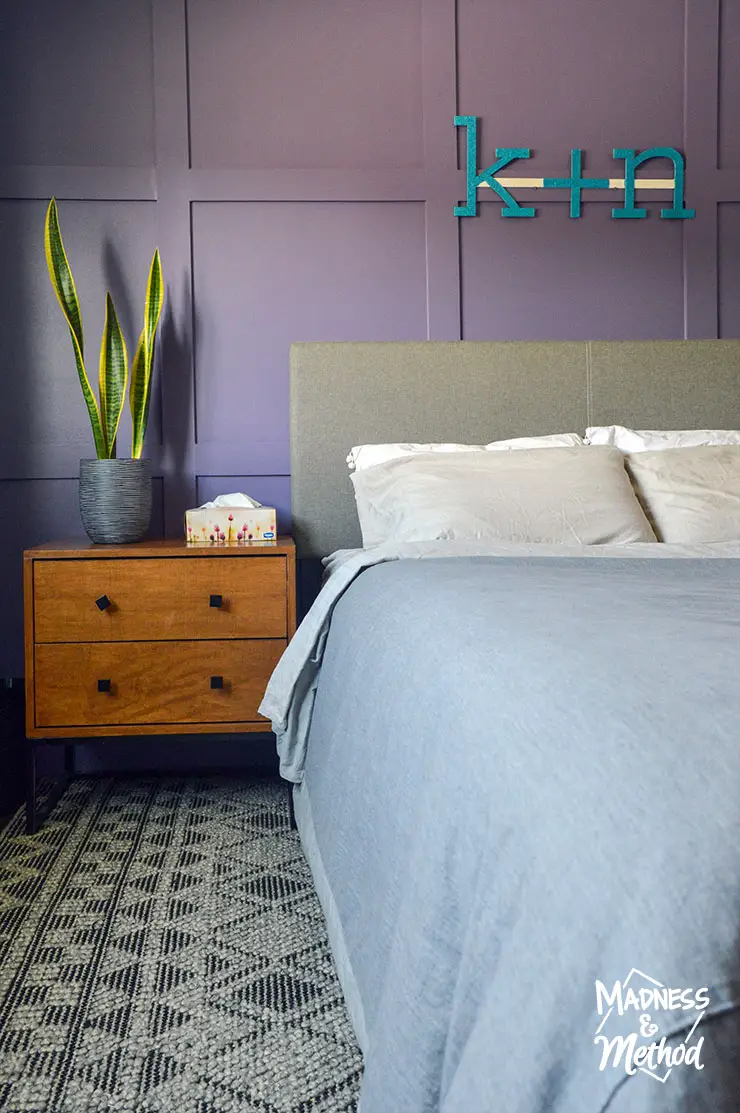
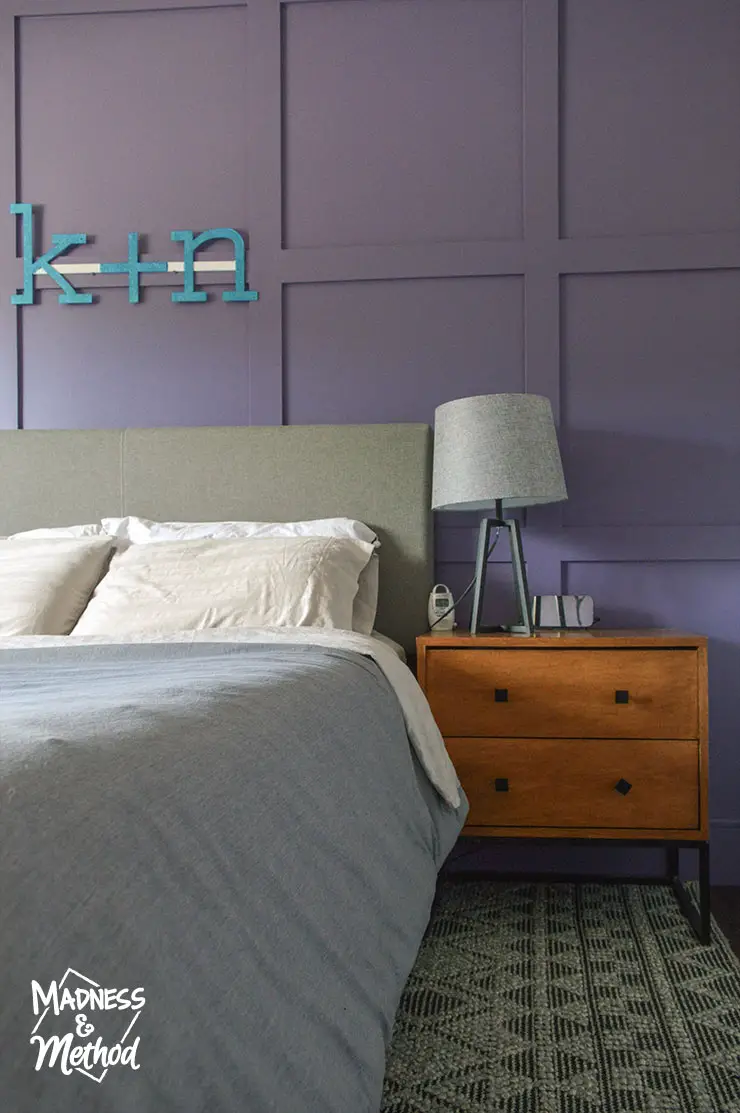
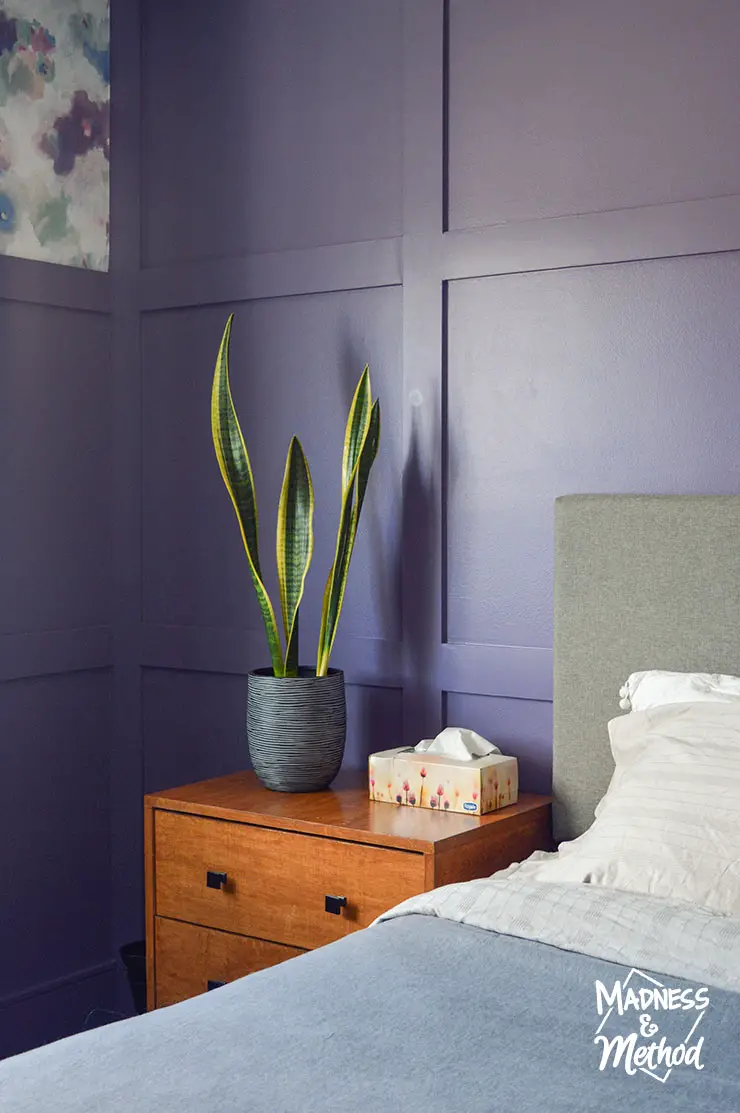
I’m not a photo “styler” and prefer to photograph how we typically live. The Husband’s side of the bed has a plant I just separated, and mine has a lamp, alarm clock and baby monitor.
(His side did have clothes on the floor, but he finally just put his stuff away properly in his drawers).
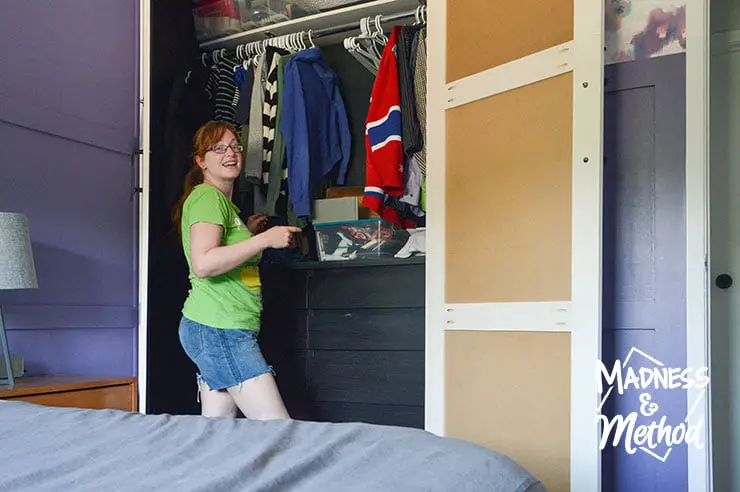
This house had a smaller bedroom and closet than our last one, but I was determined to get as much storage as possible.
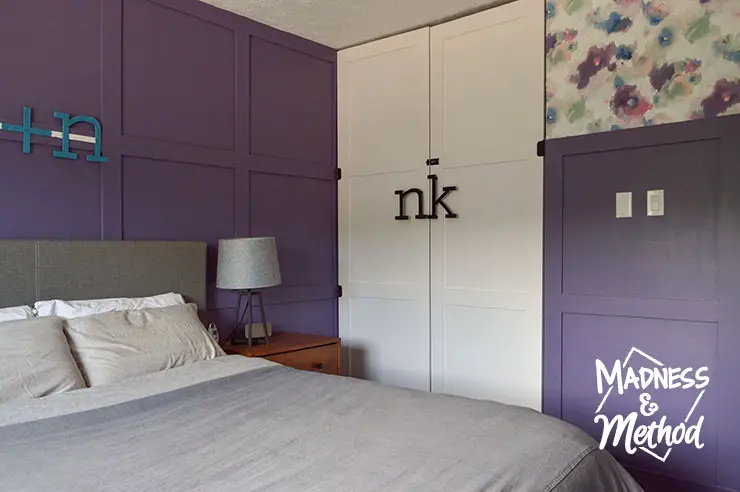
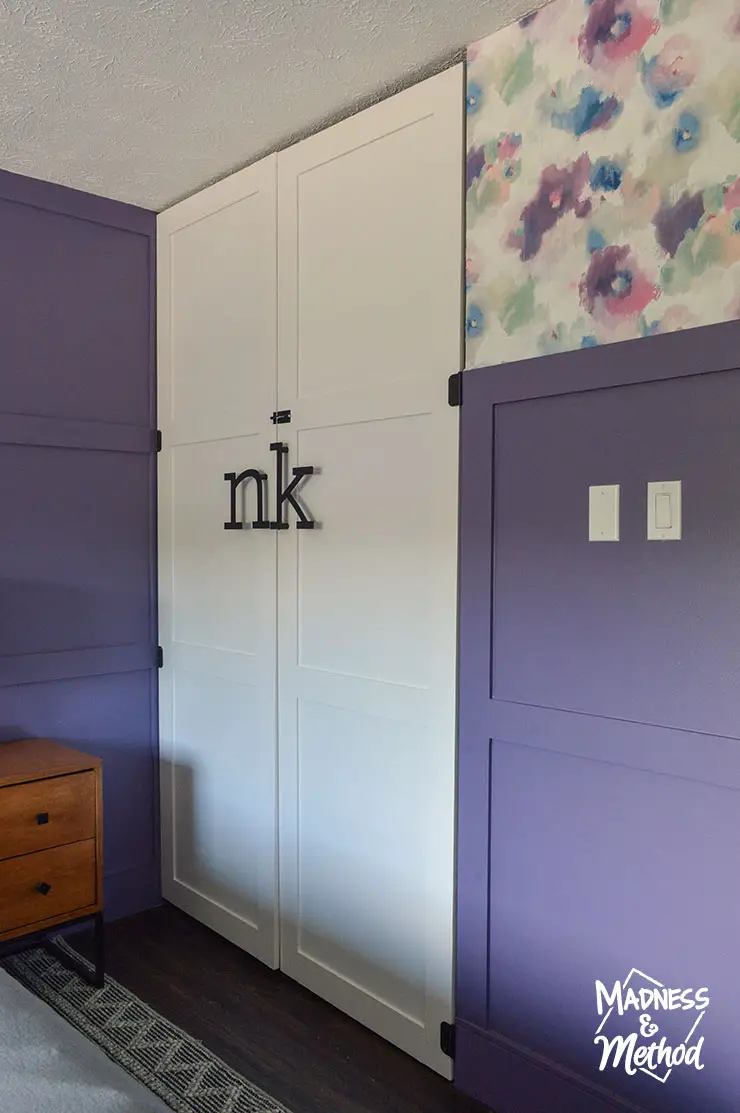
I completely re-imagined this closet and came up with a pretty custom solution (that’s so simple to recreate!).
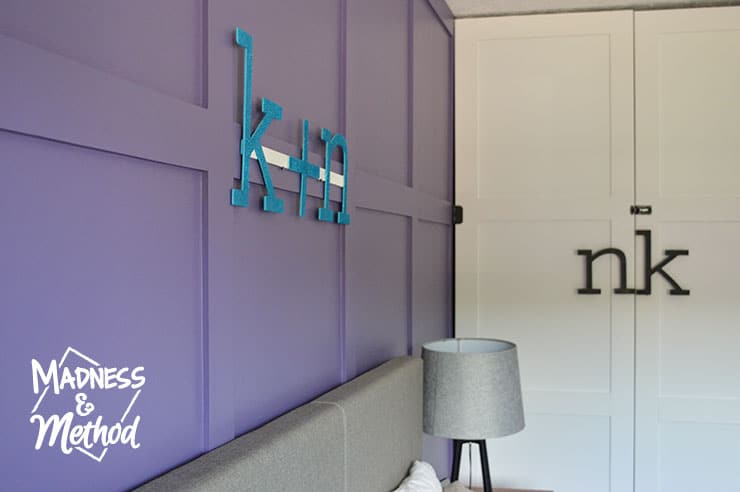
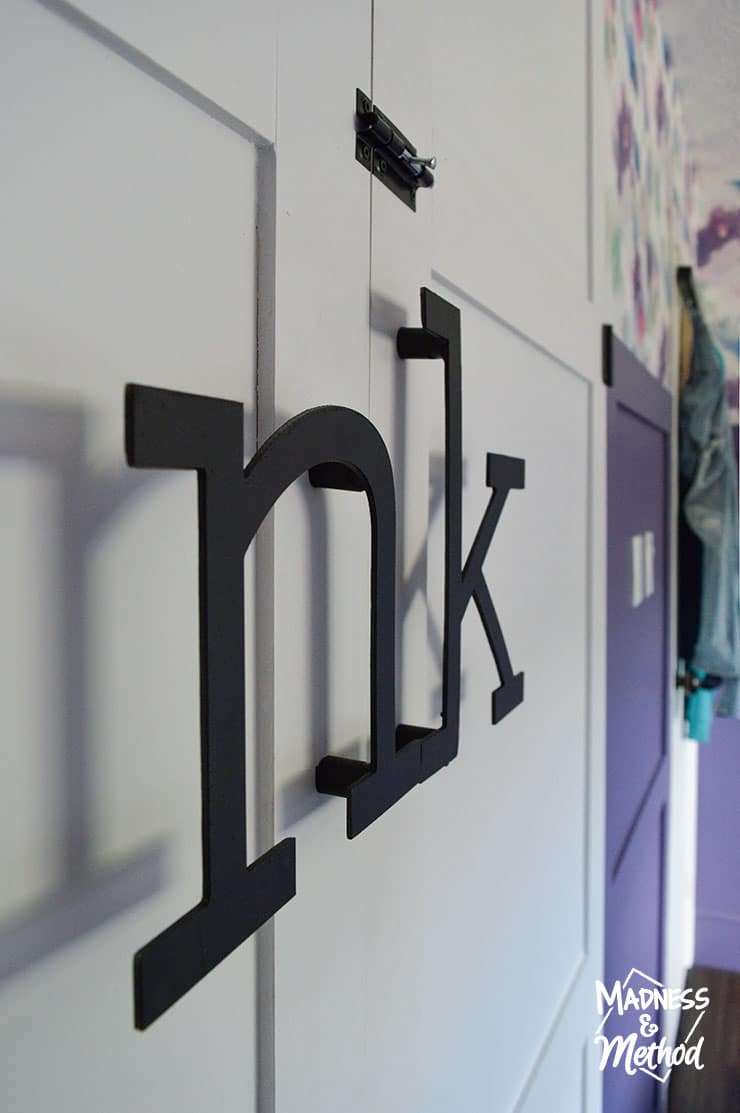
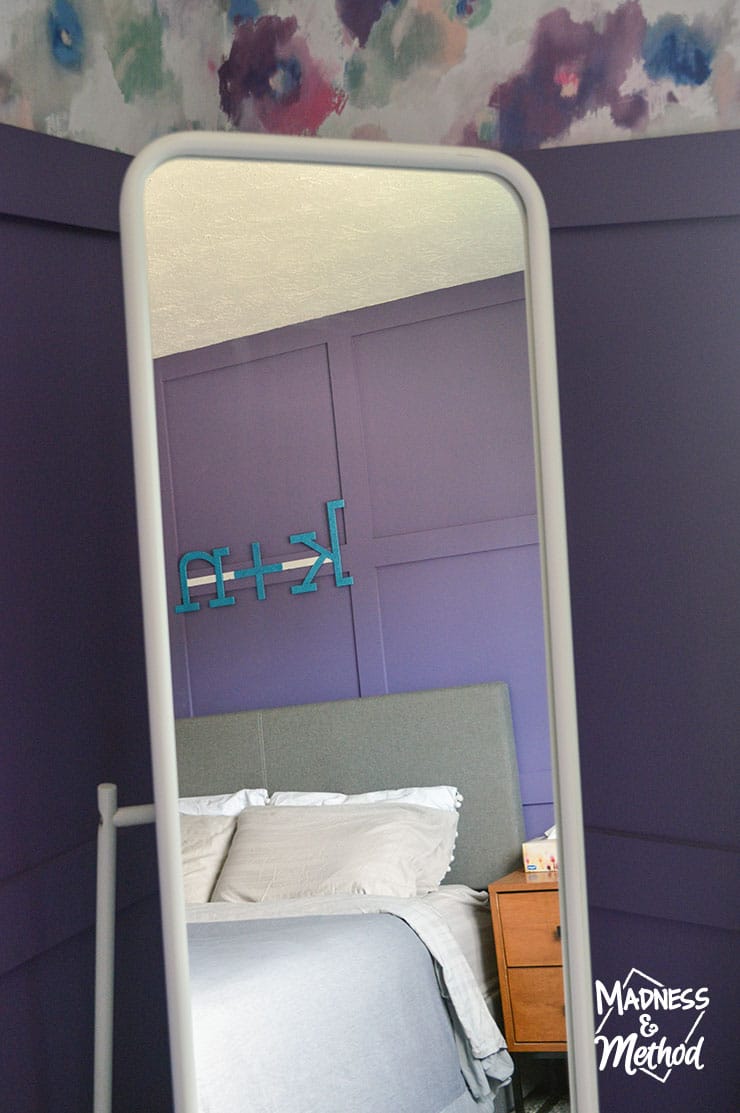
We built the doors from scratch, and thought it would be cool to have custom handles. They match our wedding monogram that’s now hanging above our bed.
Ha, they remind me of Richie Rich (they had custom handles, right?). But also, they hint at who’s side is who’s.
You can contact us if you want something similar/custom too!
I also added hooks behind the door to store clothes that I’ve worn, but that aren’t dirty yet. Although, I think this door is slightly off-white, so I may have to paint it to match…
Other than painting touch-ups along the ceiling, we didn’t change too much up there. The texture doesn’t bother me enough to go through the hassle of removing it.
Otherwise, we altered almost every surface in this room! (Including having new vinyl plank floors installed – but that had to be done throughout the first level).
Shop This Room
- Wool Rug
- Upholstered Bed with Storage
- Light Fixture (see week 6 for more options!)
- Duvet cover and duvet
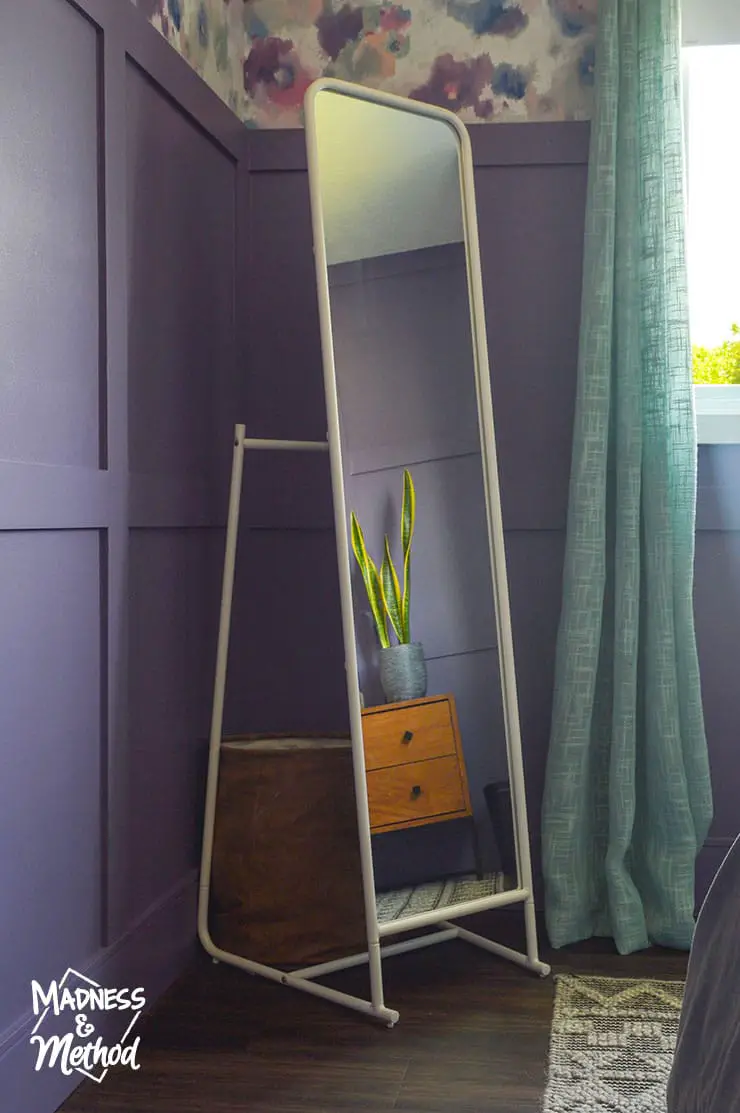
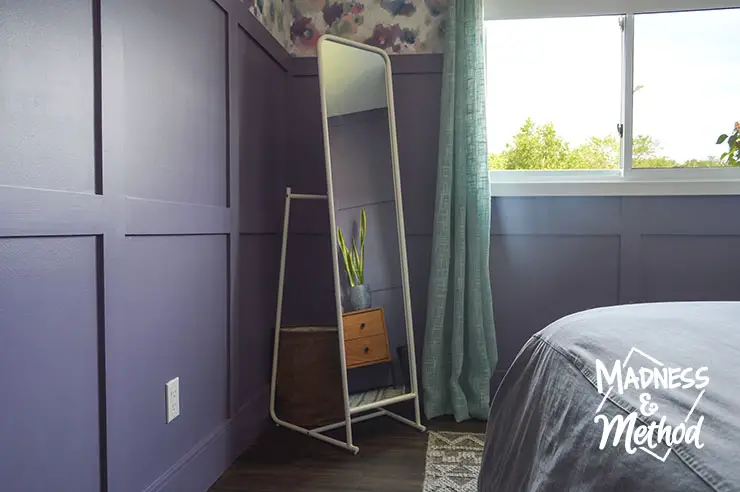
- Standing Mirror and door hooks
- Dressers, storage bins, closet rod, shelf brackets (closet details week 5)
- Curtain rod, teal curtains and blackout blinds
- Plant pot, alarm clock
- Doorknob
- DIY Nightstands (based on these)
- Floral Wallpaper (see week 4 for more options!)
- Paint colour: Behr’s New Orleans
- Closet door details in week 7
- Wall treatment details in week 2
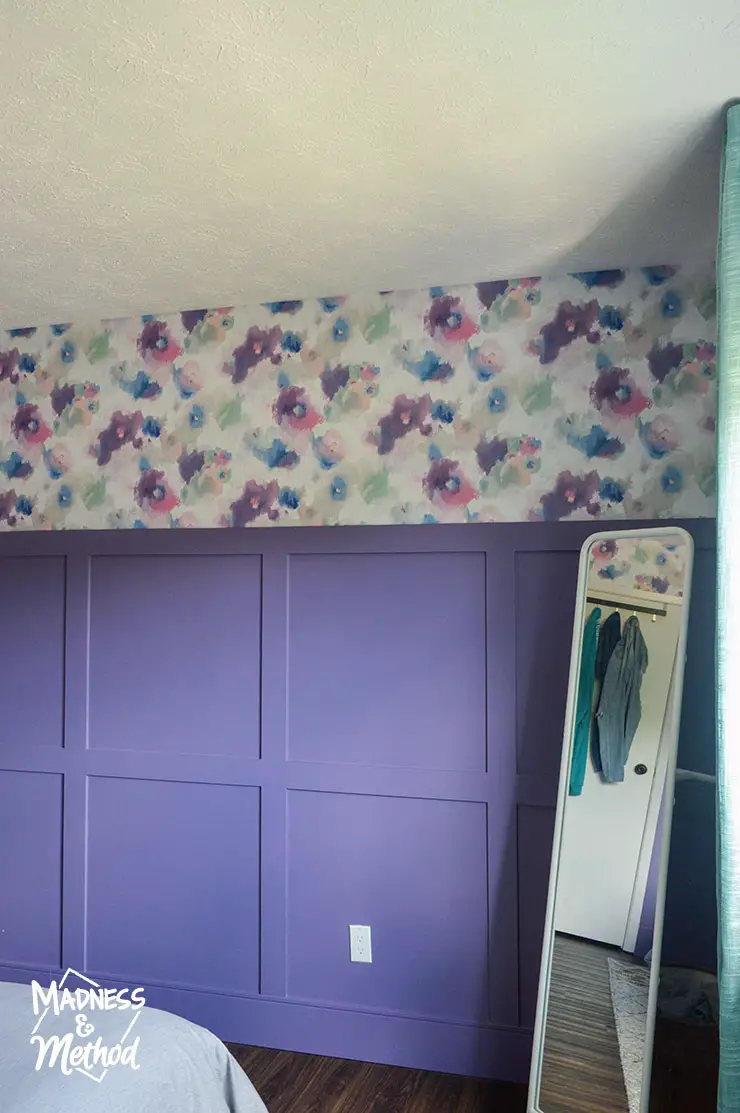
The floral wallpaper is just a peel and stick, so it should be easy to remove if we ever get tired of it. But considering it’s a pattern I found and fell in love with over 2 years ago, I don’t think that’s going to happen anytime soon.
The Husband even said that it wasn’t that bad (at just the top 1/3 of the room). If that’s not a seal of approval, I don’t know what is!
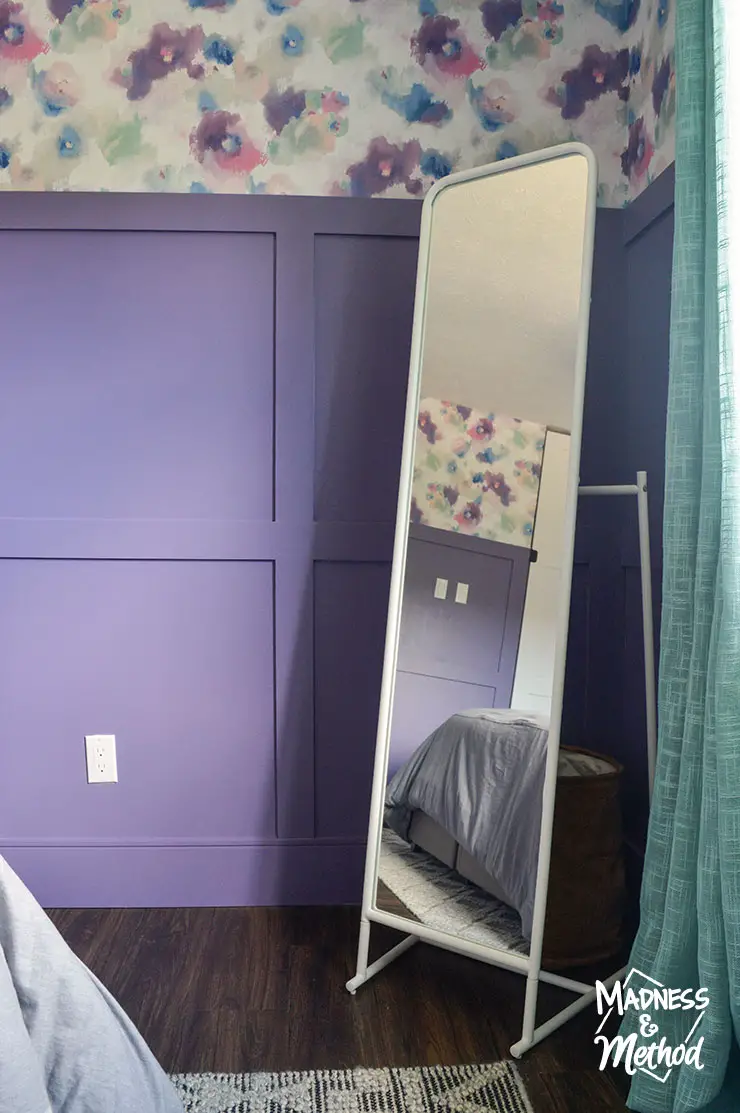
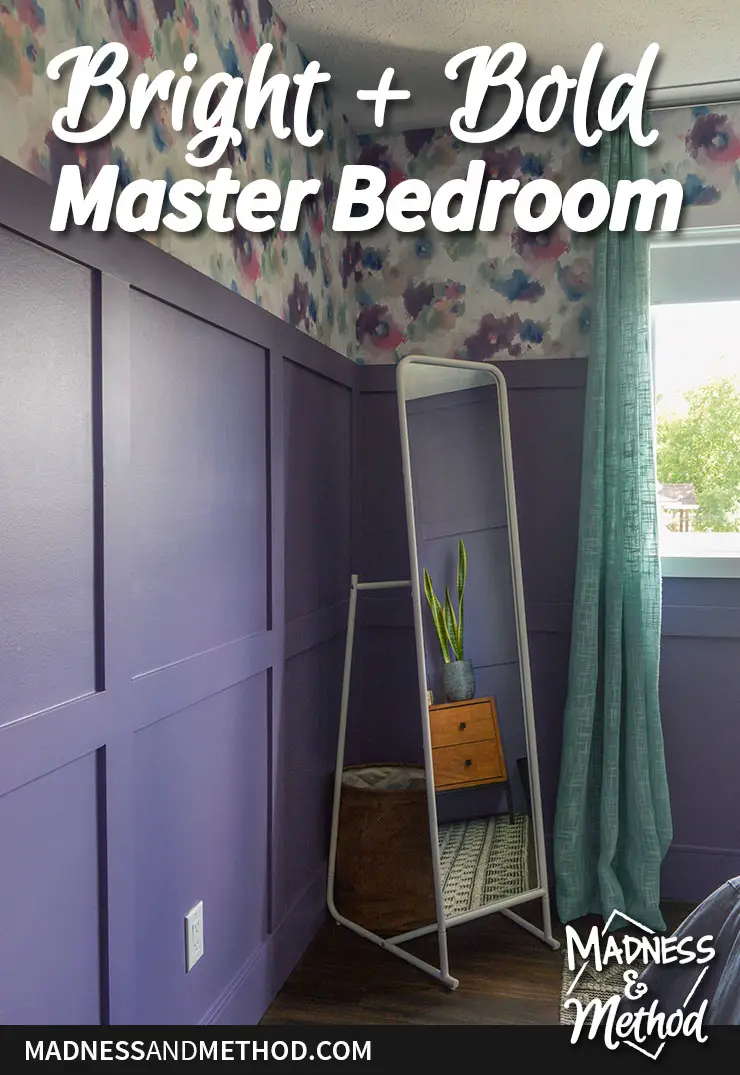
Remember when I mentioned that I don’t style my rooms before taking photos? Behold… our dirty laundry hamper!
It’s hidden behind the standing mirror, and sometimes the Husband even uses it! Although, I did warn him that the room has to stay looking like this forever and that I’ll send him these photos if he needs a reminder.
Speaking of the Husband, he’s the one that loves a mirror. This house didn’t have any full-length mirrors, so I thought it was necessary to add one in here.
I did have to clean some little children’s handprints off of it, but that’s life I guess…
That about wraps it up for the photos!
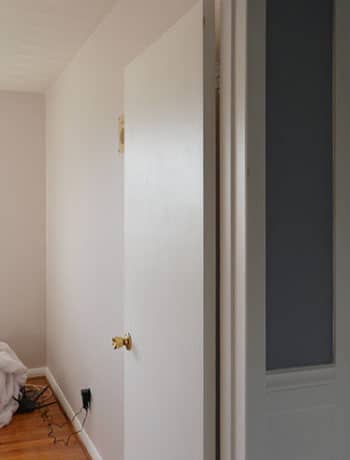
Ready to see some good before and afters:
And after:
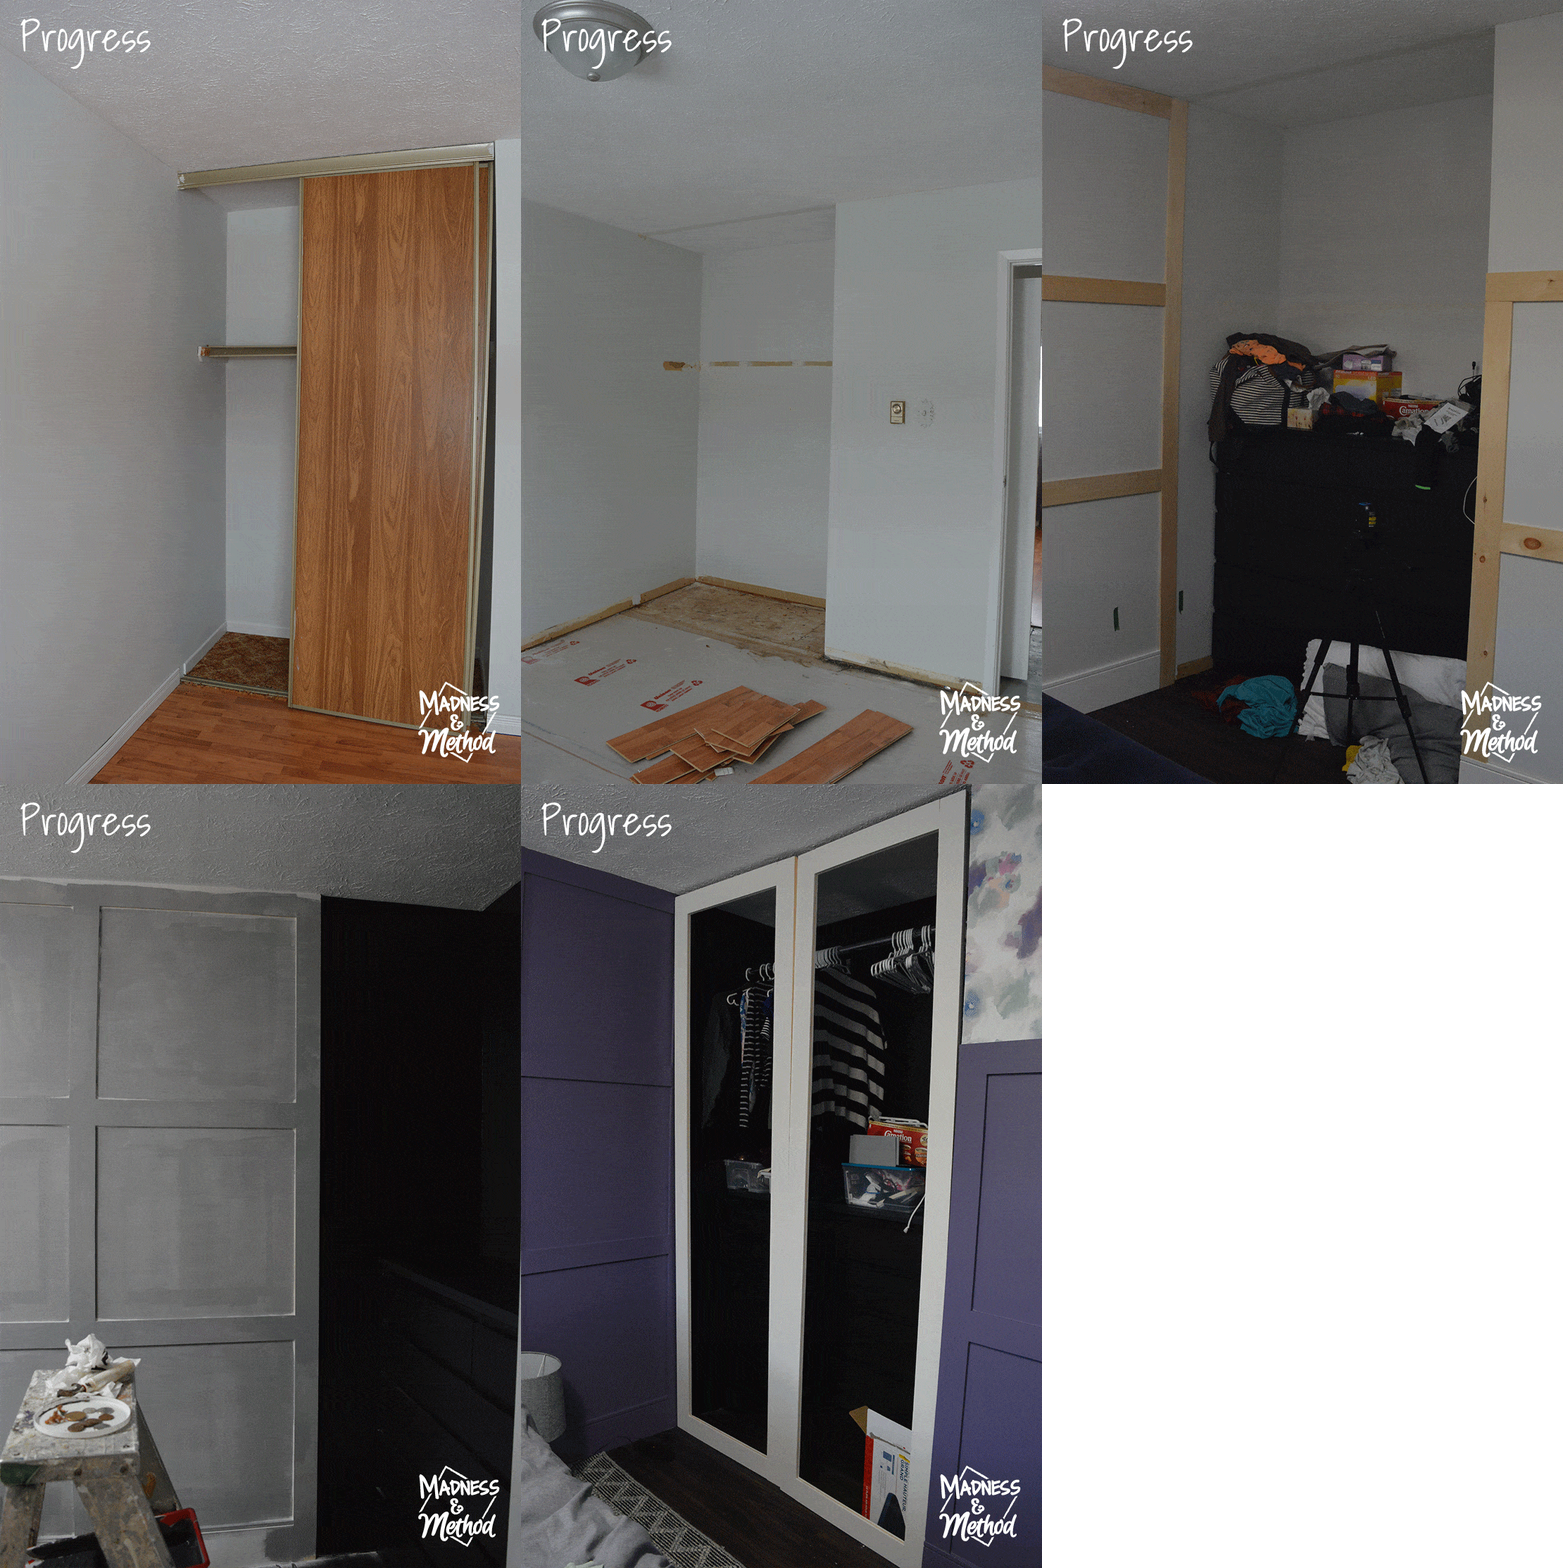
Before/progress of the closet area:
And after:
I’m pretty sure the 4-year-old took the photo above (he took over the camera at one point). You can check out the little artist working in my Instagram story highlights of the bedroom here.
He 100% took this photo though! I wanted to show off the closet a bit more (especially the scale). It’s the last area that isn’t complete. We’re waiting on our delayed Ikea delivery for the final bins that go along the top.
But other than that, this room is done!
Master Bedroom Reveal Video
The video shows a quick review of the bedroom makeover, so check it out if you wanted to see more.
Okay, let me know if this is how you pictured our bright and bold bedroom turning out! I don’t know about you, but I love our new master bedroom reveal :)
And I’m excited to work on the other spaces in our house too. I have a few more One Room Challenges planned for sure! (Of course, some rooms will slowly evolve too).
But for now, momma needs a break! If you need me, I’ll be checking out all the other ORC makeovers.
Congrats all :)



4 Comments
Lindsey
July 2, 2020 at 10:40 amThe initial door handles on the closet are too adorable!
Nicole
July 7, 2020 at 3:14 pmThanks! Now I’m trying to find other uses for something similar, ha :)
Giselle
July 8, 2020 at 4:48 amI love the purple! Until recently I had a purple kitchen that was just a bit lighter than your room. I love colour and look forward to seeing your other designs! From a fellow Canuck!
Nicole
July 14, 2020 at 9:48 amThanks! I actually want a purple kitchen too – I think I may be a bit obsessed :)