
Since nothing is happening in the actual kitchen yet, I figured I might as well share some information about how I’m planning on customizing our Ikea kitchen cabinets. In my design plan during week 2, I mentioned that I was going to be painting the new Ikea kitchen cabinets so that they would be a custom colour. Today I’m going to share some painting tips (including how to remove dried streaks) and some info on priming Ikea kitchen cabinets.
– Note: This post contains affiliate links. See more information about affiliates here. –
It’s already the 5th week of the Fall 2018 One Room Challenge, but I threw the schedule out the window when I realized that we would never get this project done on time! In the first week I shared the future kitchen layout, week 2 was all about the design plan, week 3 had info on our progress and last week I shared some handy behind-the-scenes renovation tips.
You see, in addition to this kitchen, we’re also renovating an entire basement and turning it into an apartment and there have been a lot of unexpected delays… So while I won’t have a nice kitchen to show off next week, I do still hope you’ll come back and visit when it does get installed!
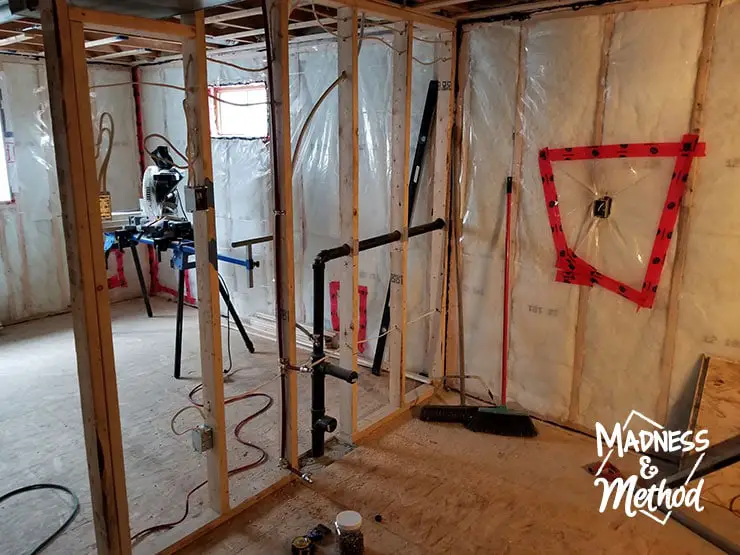
The Husband put in most of the water lines (but hasn’t connected them yet). He had to run new lines for the whole basement (including going from the watermain, the kitchen and to the bathroom then connecting to the lines upstairs). He’ll probably finish them and get them inspected at the same time as the HVAC (which is still up in the air at this point!).
Anyways, let me chat about priming the cabinets, and you can even watch a video with more info about the process!
Supplies You’ll Need to Prime Cabinets
- Paint tray / foam roller
- Good primer (I used Zinsser Bullseye 123 in Grey)
- Sanding sponge (around 120 grit)
- Scrap pieces of wood (to elevate the doors)
- Painting tarp
- Optional: paint brush
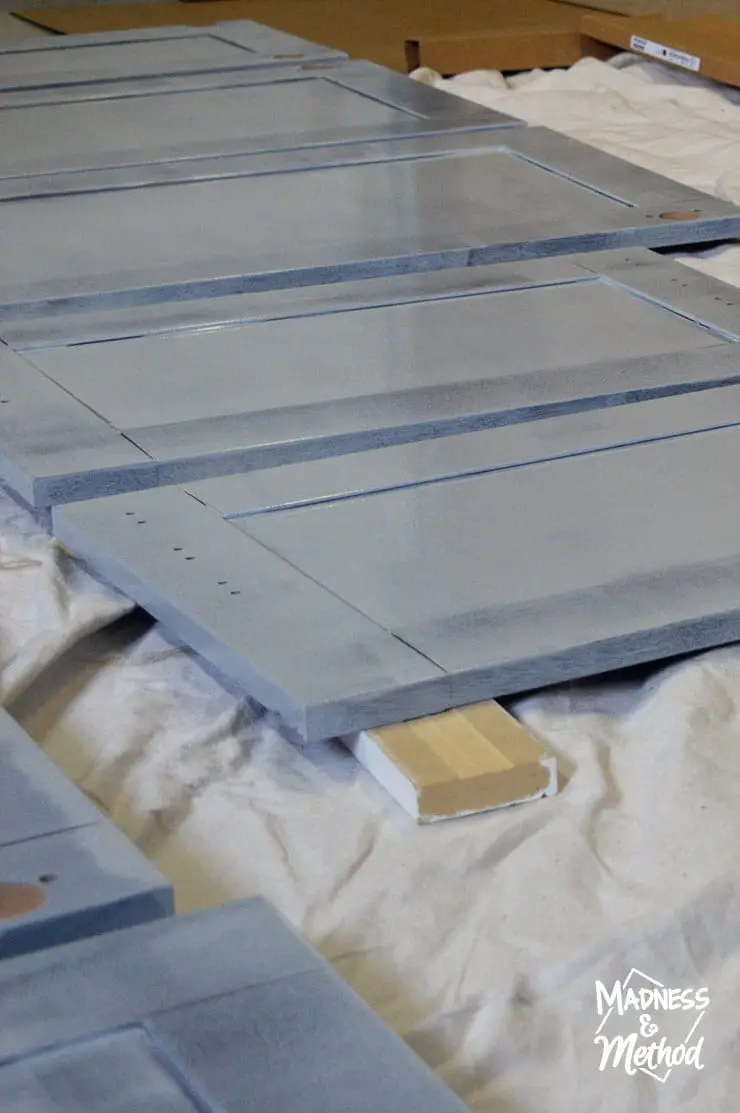
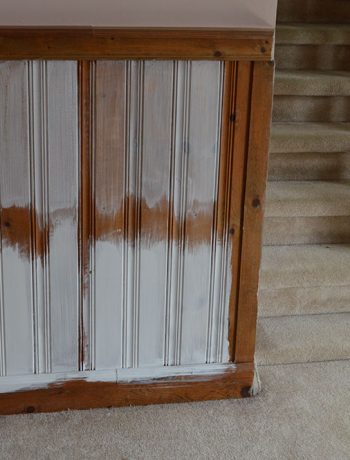
I did the first coat of prime on the kitchen doors last Saturday, then I flipped them over the next day and did the other side. I only sanded the front and edges of the doors, and I’ll be comparing how they hold up over time in a few months.
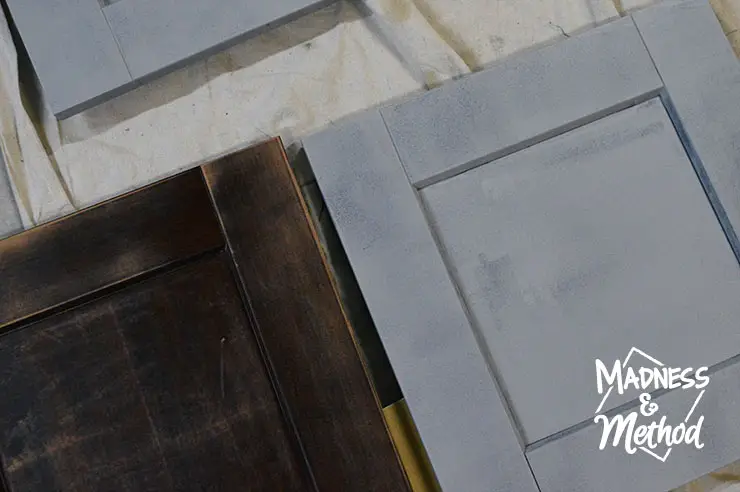
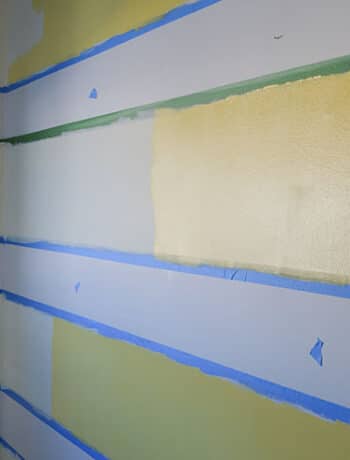
Here’s a small piece of paint showing the colour the doors are going to be. We painted the upstairs living room in our rental house that colour (you can see a sneak peek behind our family Halloween costumes) and it’s part of the whole house colour scheme I came up with.
I left a couple of doors un-primed (again, so I could compare the wear over time), and it’s pretty similar to the Ikea Edserum door finish.
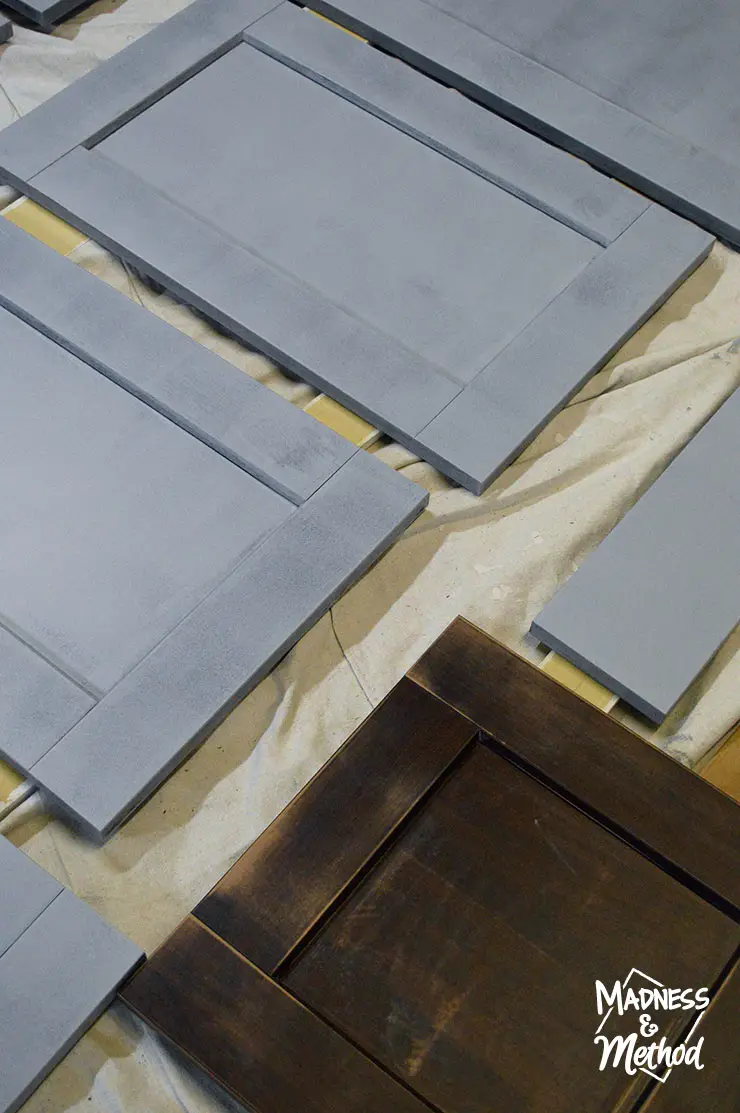
The primer we used was grey, but you could use a regular/white primer as well. I only did one coat of primer, then I’ll be doing a few coats of paint (whatever it takes to cover nicely). On some doors I’ll be doing a clear topcoat as well.
I did notice a few scratches in the prime when I flipped them over (I didn’t handle them nicely at all, and considering it was on the un-sanded side, it made sense). I will be paying more attention when I paint the doors, because I do want a good finish in the end.
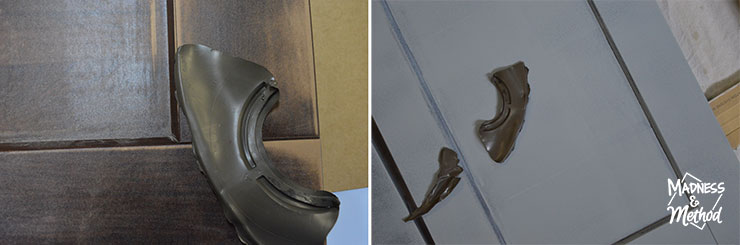
Removing Paint Streaks/Gloops
In the video I also show how I easily got rid of some streaks in my paint. You’ll want to make sure you don’t roll (or brush) the paint on too thick, but in case you do have some run-offs (most likely around the edges/corners) you can sand them away with some light grit sandpaper or a sanding block.
For really thick spots, sometimes I would scrape the gloop off completely and still sand around the edge (it made a hole/indentation) which was a lot quicker.
Video on How to Prime Cabinets
(And a quick recap of our progress at the start too)
This is a handy post about painting Ikea furniture if you want more info. She recommends to use a solvent-based primer (although I didn’t!), and even though I know that solvent-based primers are best for covering wood stains, I wanted to see how the cabinets will hold up with the Zinsser (which does say good for glossy surfaces).
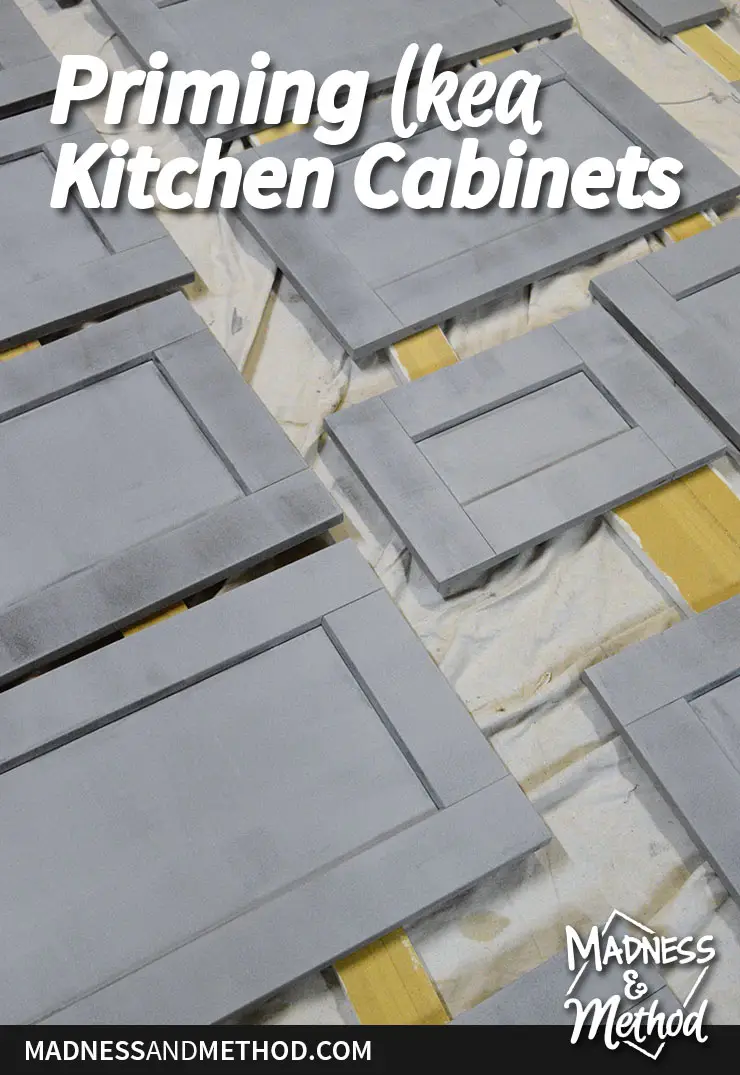
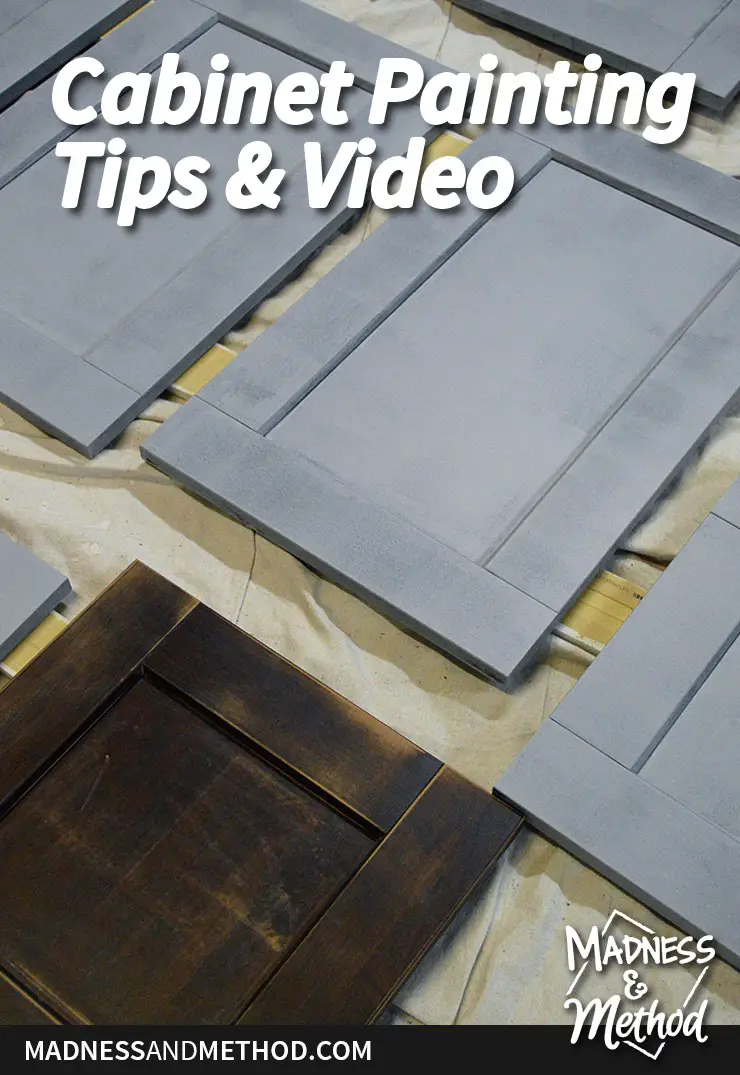
I made two different Pinterest graphics to help you easily remember to share this post :)
Remember to come back and visit when this kitchen finally gets completed AND after a few months of use when I share the full details on how the painted cabinets have held up (and not just about priming Ikea cabinets).
Oh, and definitely check out the rest of the One Room Challenge designers and bloggers as they actually complete their rooms! Next time will be a much smaller project…
 |
Basement Kitchen Posts Week 1: Layout Week 2: Design Week 3: Progress Week 4: Behind-the-Scenes Week 5: Priming Ikea Cabinets (this post!) Week 6: ? Definitely not the reveal :) |
Have you ever wanted to paint your kitchen cabinets, or wondered if you could paint Ikea cabinet doors for a custom look? I’d say I’m about 1/4 of the way done (I still have all the painting and topcoat-ing to do) and I think it’s going to turn out great! I haven’t gone crazy yet, but check back when everything is done, ha!
Actually, I have two littles and it’s nice to escape and get some work done quietly for a bit :)


2 Comments
Susan Palmer
July 18, 2020 at 5:35 pmThat cabinet painting tips and video isn’t playing when I click on it. How did the hold up after a few weeks of wear? What paint did you use and did you use a clear top coat to protect them. Not sure how many different techniques you used. Couldn’t find your follow up at all.
Nicole
July 20, 2020 at 9:33 amHey! Not sure why the video didn’t work for you, here’s a direct link to Youtube: https://www.youtube.com/watch?v=CvBbO8K_Hsc&t=1s
I tested three different paints/methods for the final coat. (A regular wall paint in an eggshell finish, one coated with Polycrylic, and a cabinet specific paint). I haven’t yet filmed an update, but here is the post with the final kitchen.