Since moving into our house, we’ve planted two very little trees; one in the backyard (some sort of pine tree) and one in the front (a lilac). Last year we made a big to-do list for our yard, and one of the small tasks that I wanted to get done this summer, was making our tree holes bigger. (I called them tree holes since I didn’t know the technical term). Turns out, it’s just a simple tree surround, and let me show you how I accomplished this task :)
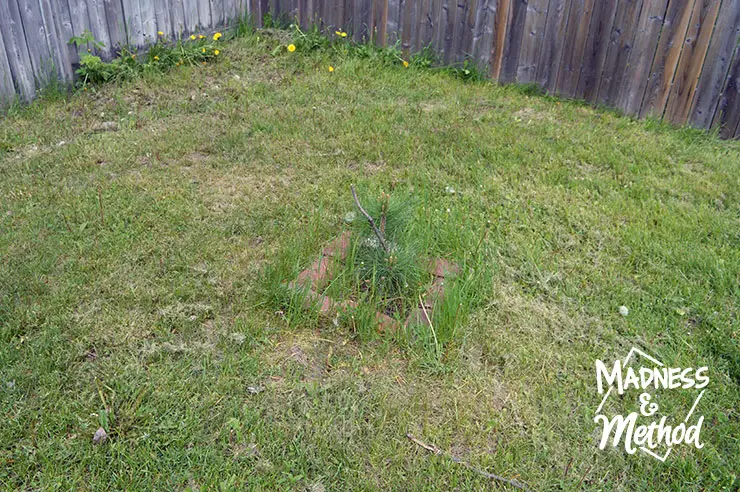
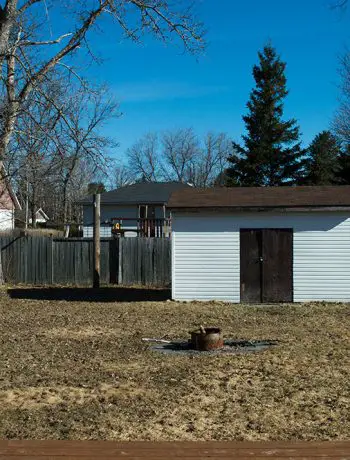
In our backyard, the pine tree was planted in the North-East corner (you can see a layout of our backyard here).
I took this photo when I did my annual spring walkthrough, and let’s just say some of the grass was getting taller than the tree!
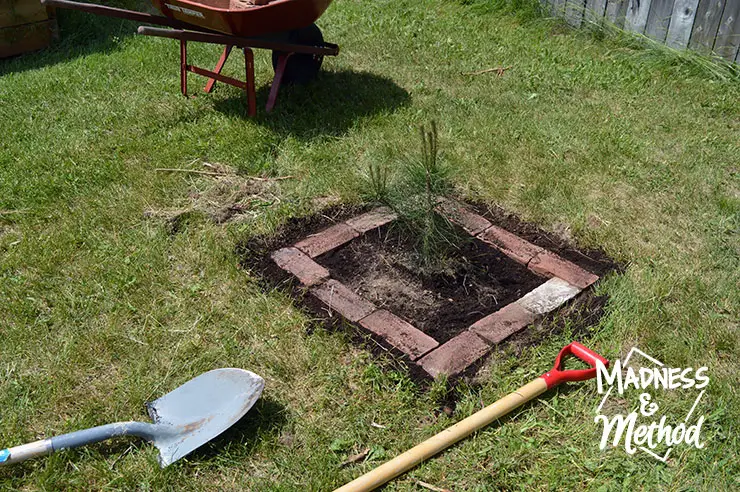
We originally had a 2 brick x 2 brick border around the tree, but I was worried that it was a bit small. Since we had some extra bricks around, I moved these, pulled all the weeds, and then dug up some more grass around the original area.
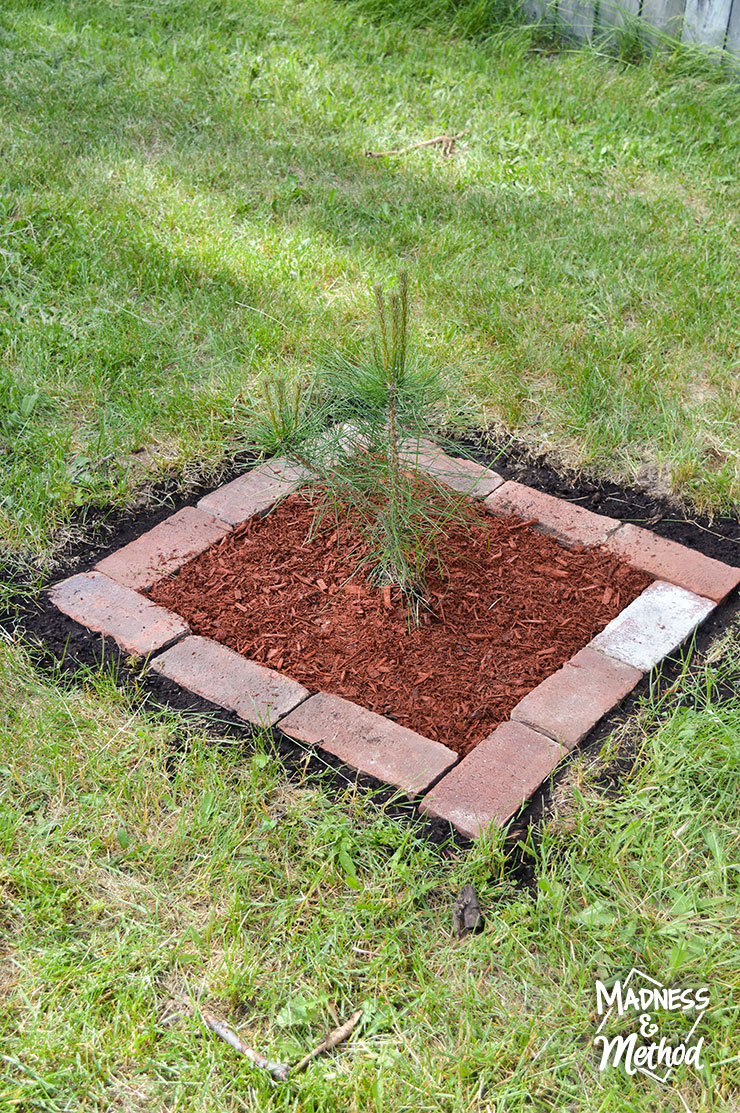
I ended up getting a nice 3 brick x 3 brick square, and it really did make the “tree hole” bigger (aka tree surround). Now I wasn’t worried that it could accidently get chopped by the weed whacker! I added some extra dirt to fill in the cracks and low spots, and I’m sure eventually the outside will get filled with grass weeds.
This year I added some red mulch to the inside section (the actual tree surround) and hopefully that will stop the weeds from growing around the tree.
Here’s a super handy video I found about adding mulch around trees. I actually watched it after I did our tree surrounds, but I’m happy to say that I did it properly haha!
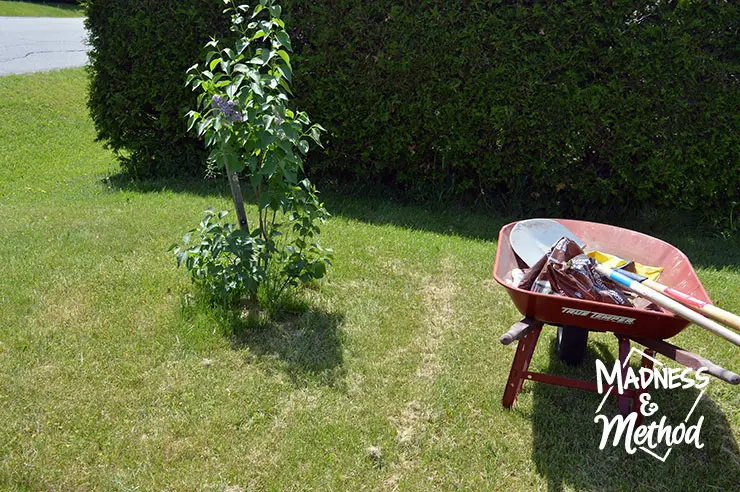
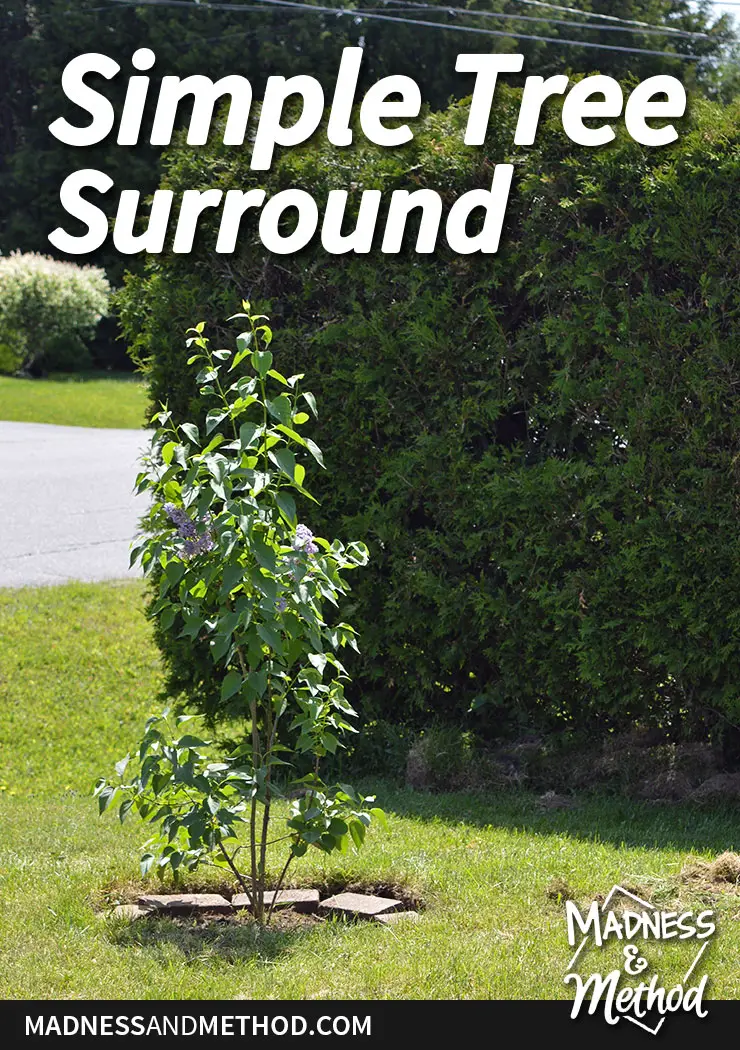
Anyways, our front lilac tree started off looking pretty similar:
I mean, can you even tell that there were bricks around it? This tree actually started off as an off-shoot that I transplanted (someone gave me a couple of twigs to plant a few years ago).
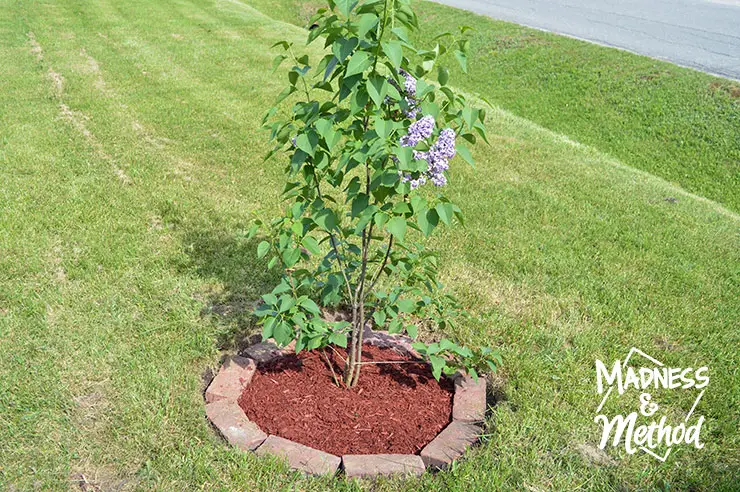
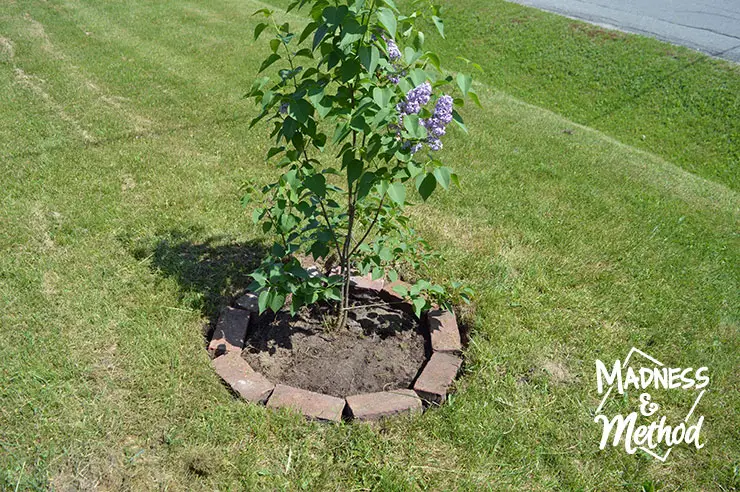
Surprisingly there were 8 bricks around this little lilac bush/tree; and again I removed them (plus the weeds/grass) and enlarged the hole. I also removed the stake – which I had used to both help keep it up and to mark where I planted it so we could avoid it with the lawnmower…
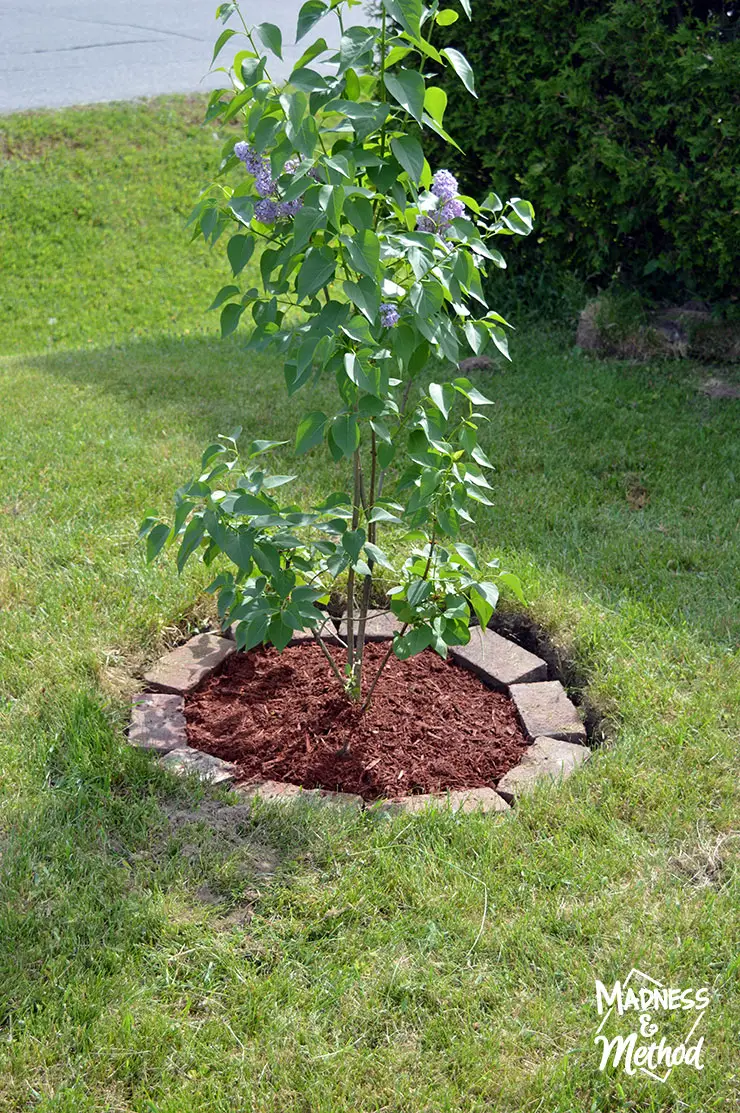
I normally prefer squares, but I wanted to do something different for this simple tree surround and went with a circle shape instead. (Actually, this is probably more normal to what people would expect!).
I didn’t have any more topsoil, so just filled the top layer with the red mulch (and left the edges open). Now the surround is larger than the spread of the branches, and there shouldn’t be any issues when we cut the grass!
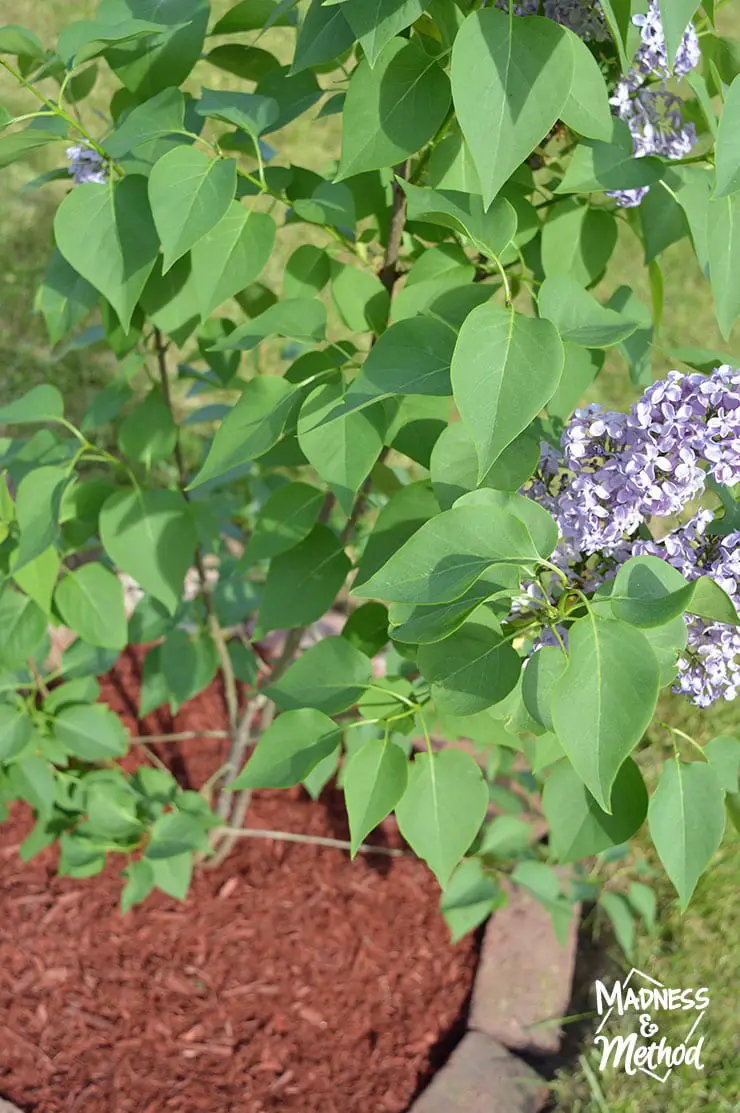
I really like this lilac tree, and it will be interesting to see how it grows in the future (you can see a really old image of it here). We might have to extend the tree holes in the future, but I’m hoping they’ll be good for another couple of years at least! (You could always make them extra-large to begin with, but then there’s more area for weeds to get in haha!)
If you have large, established trees, it could be fun to add plants around the base and landscape around them. However, when you’re just starting your little saplings, it might be a better idea to start with a simple tree surround and change it up in a couple of years. If anything, at least it was a quick little project that helped eliminate some weeds and made our trees look a little bit nicer :)




No Comments