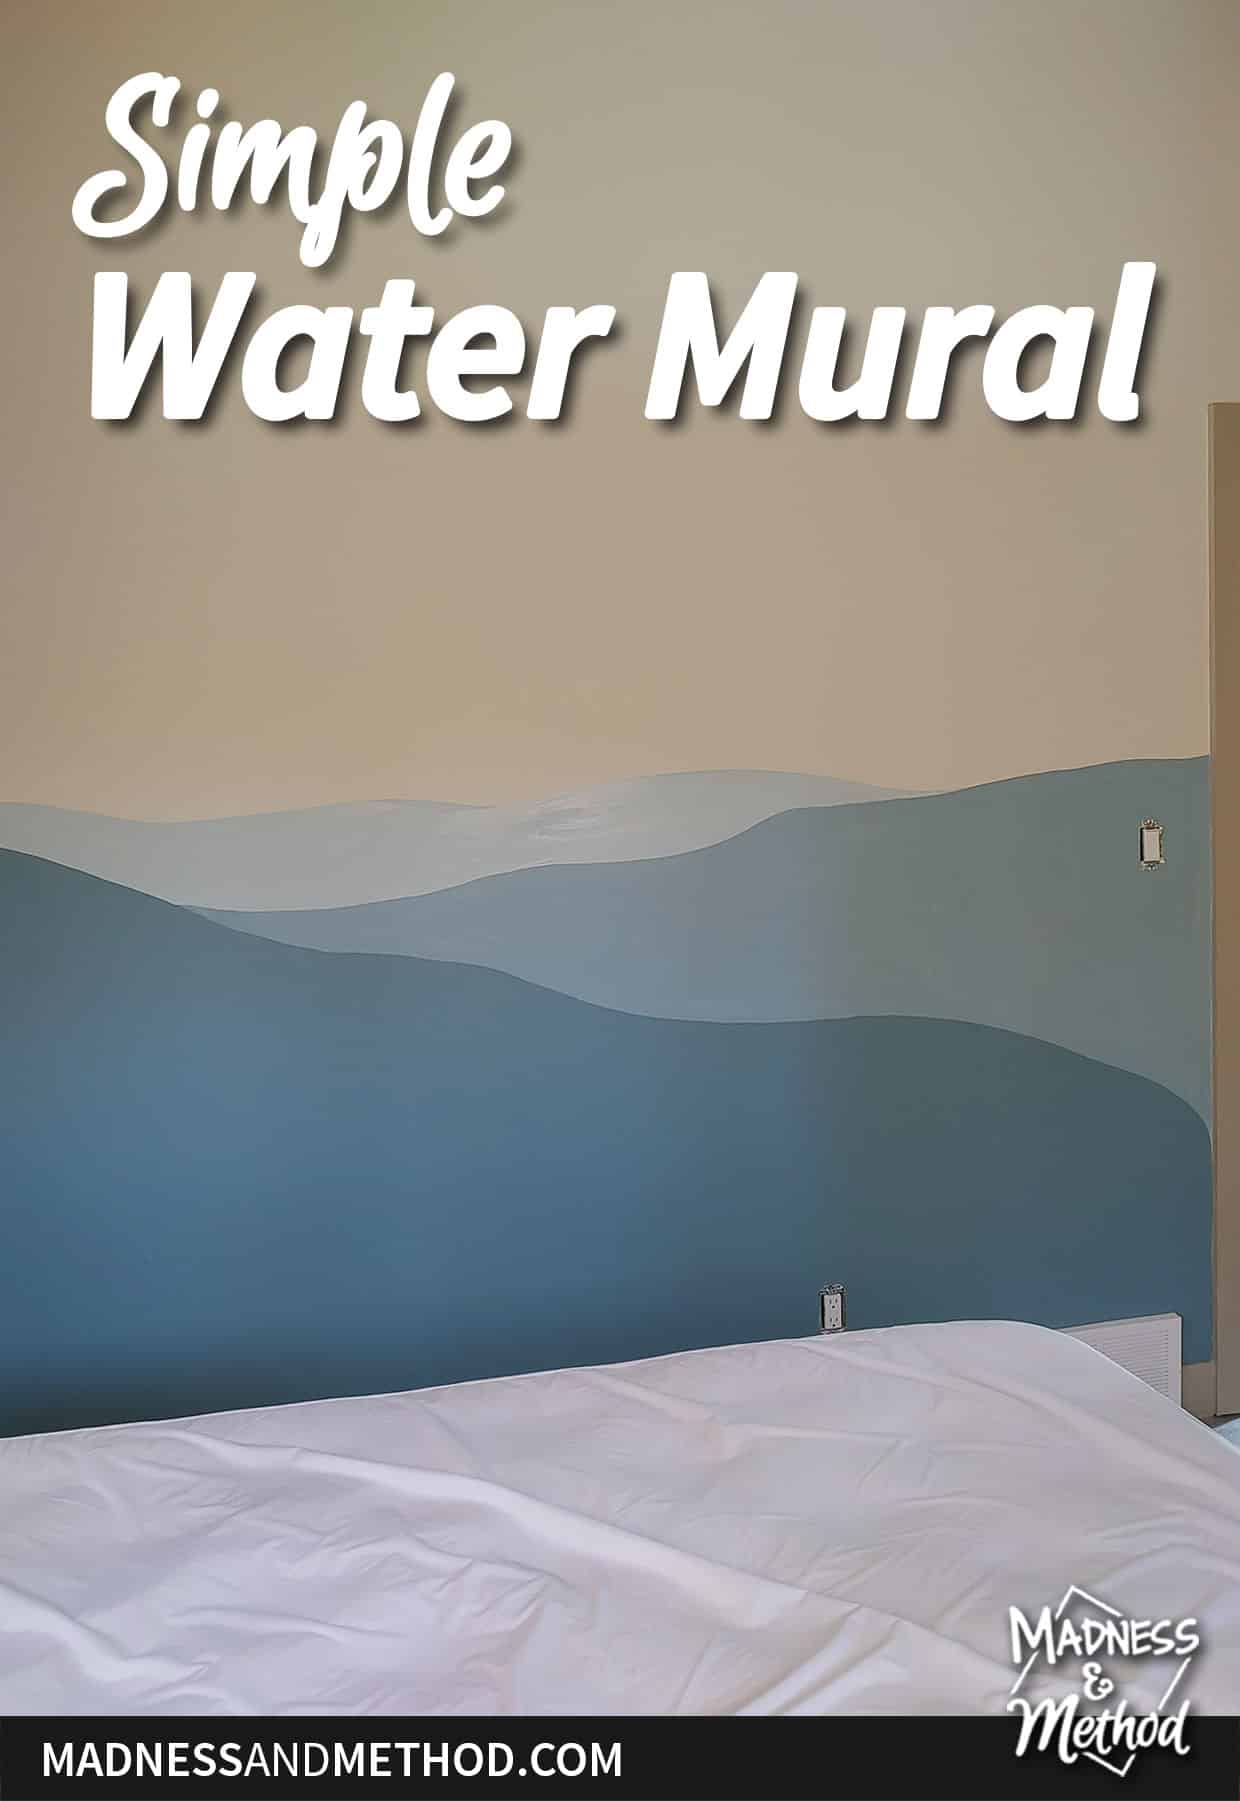
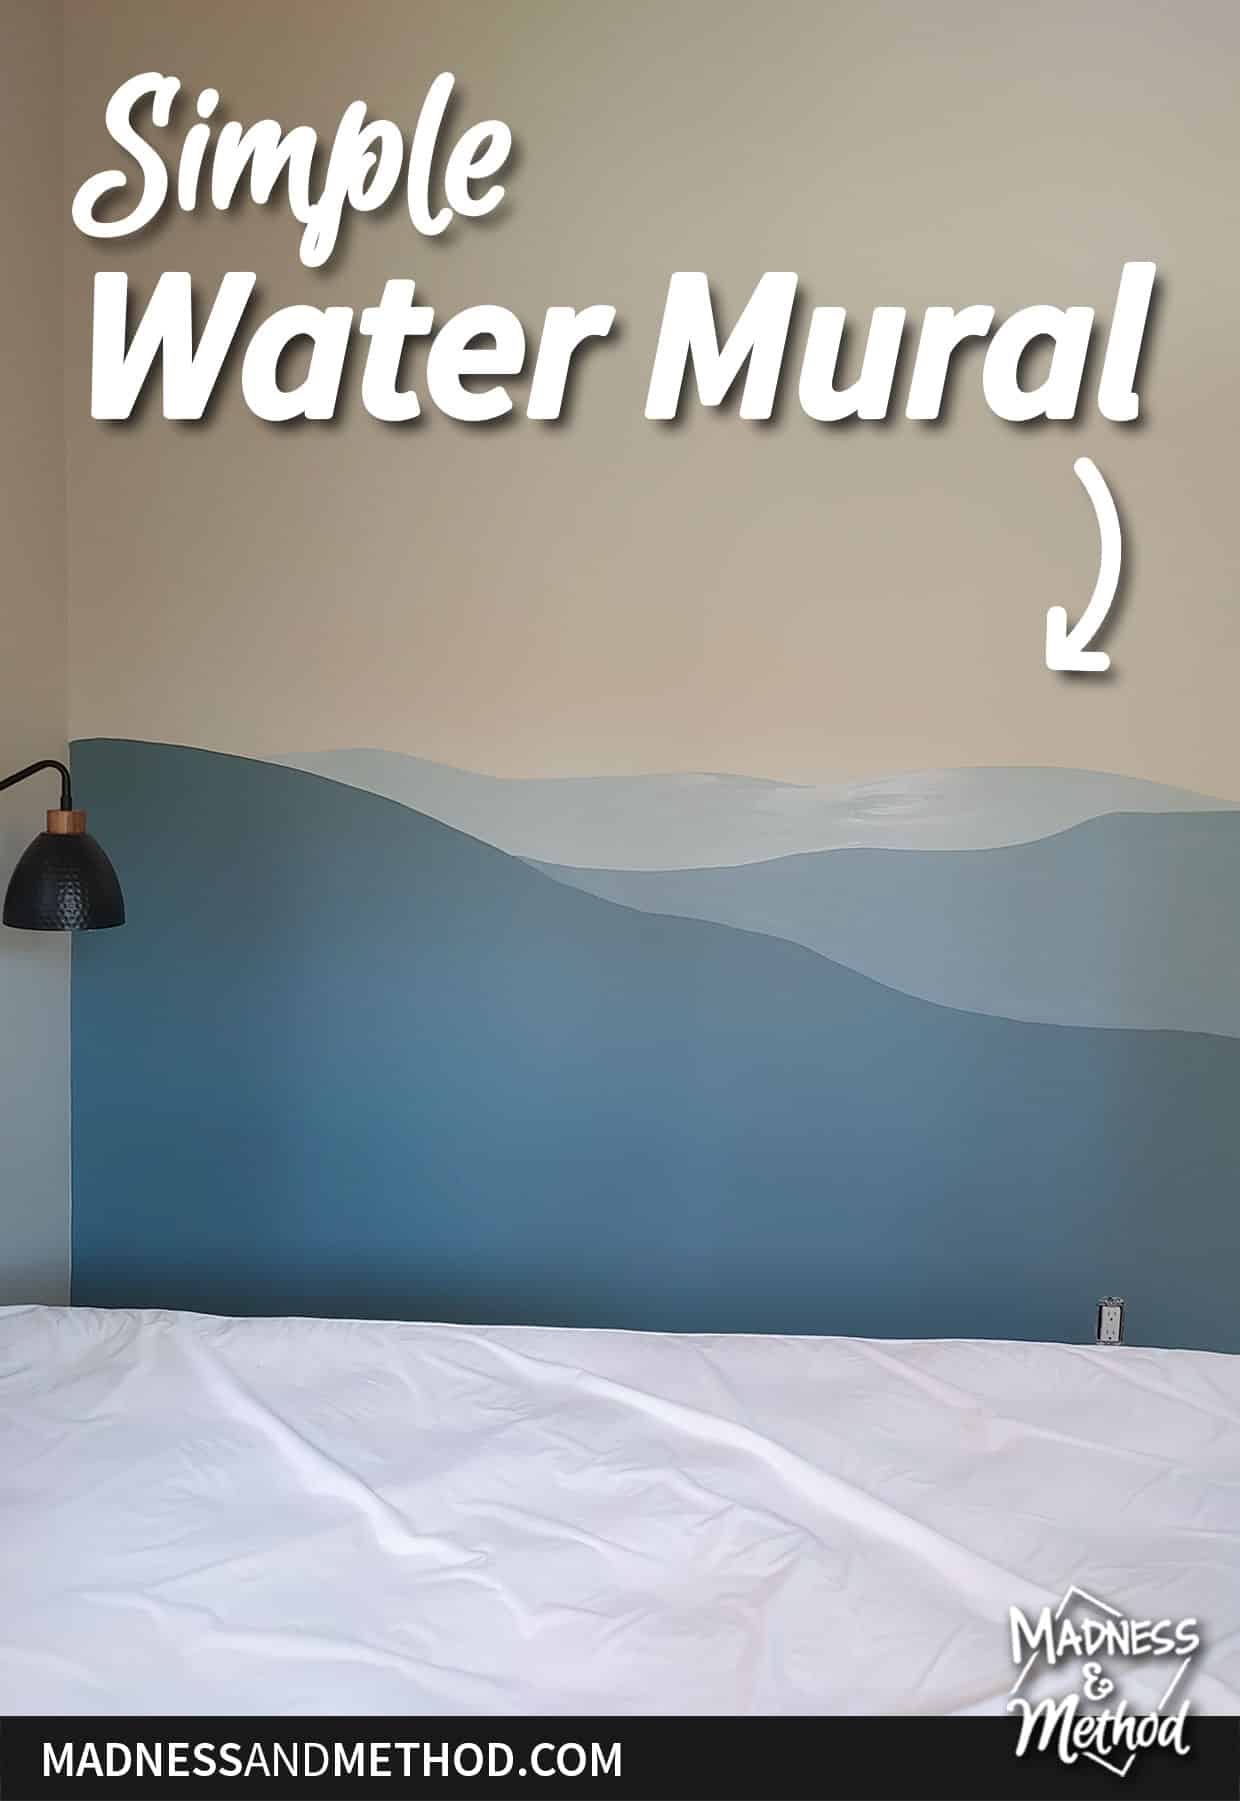
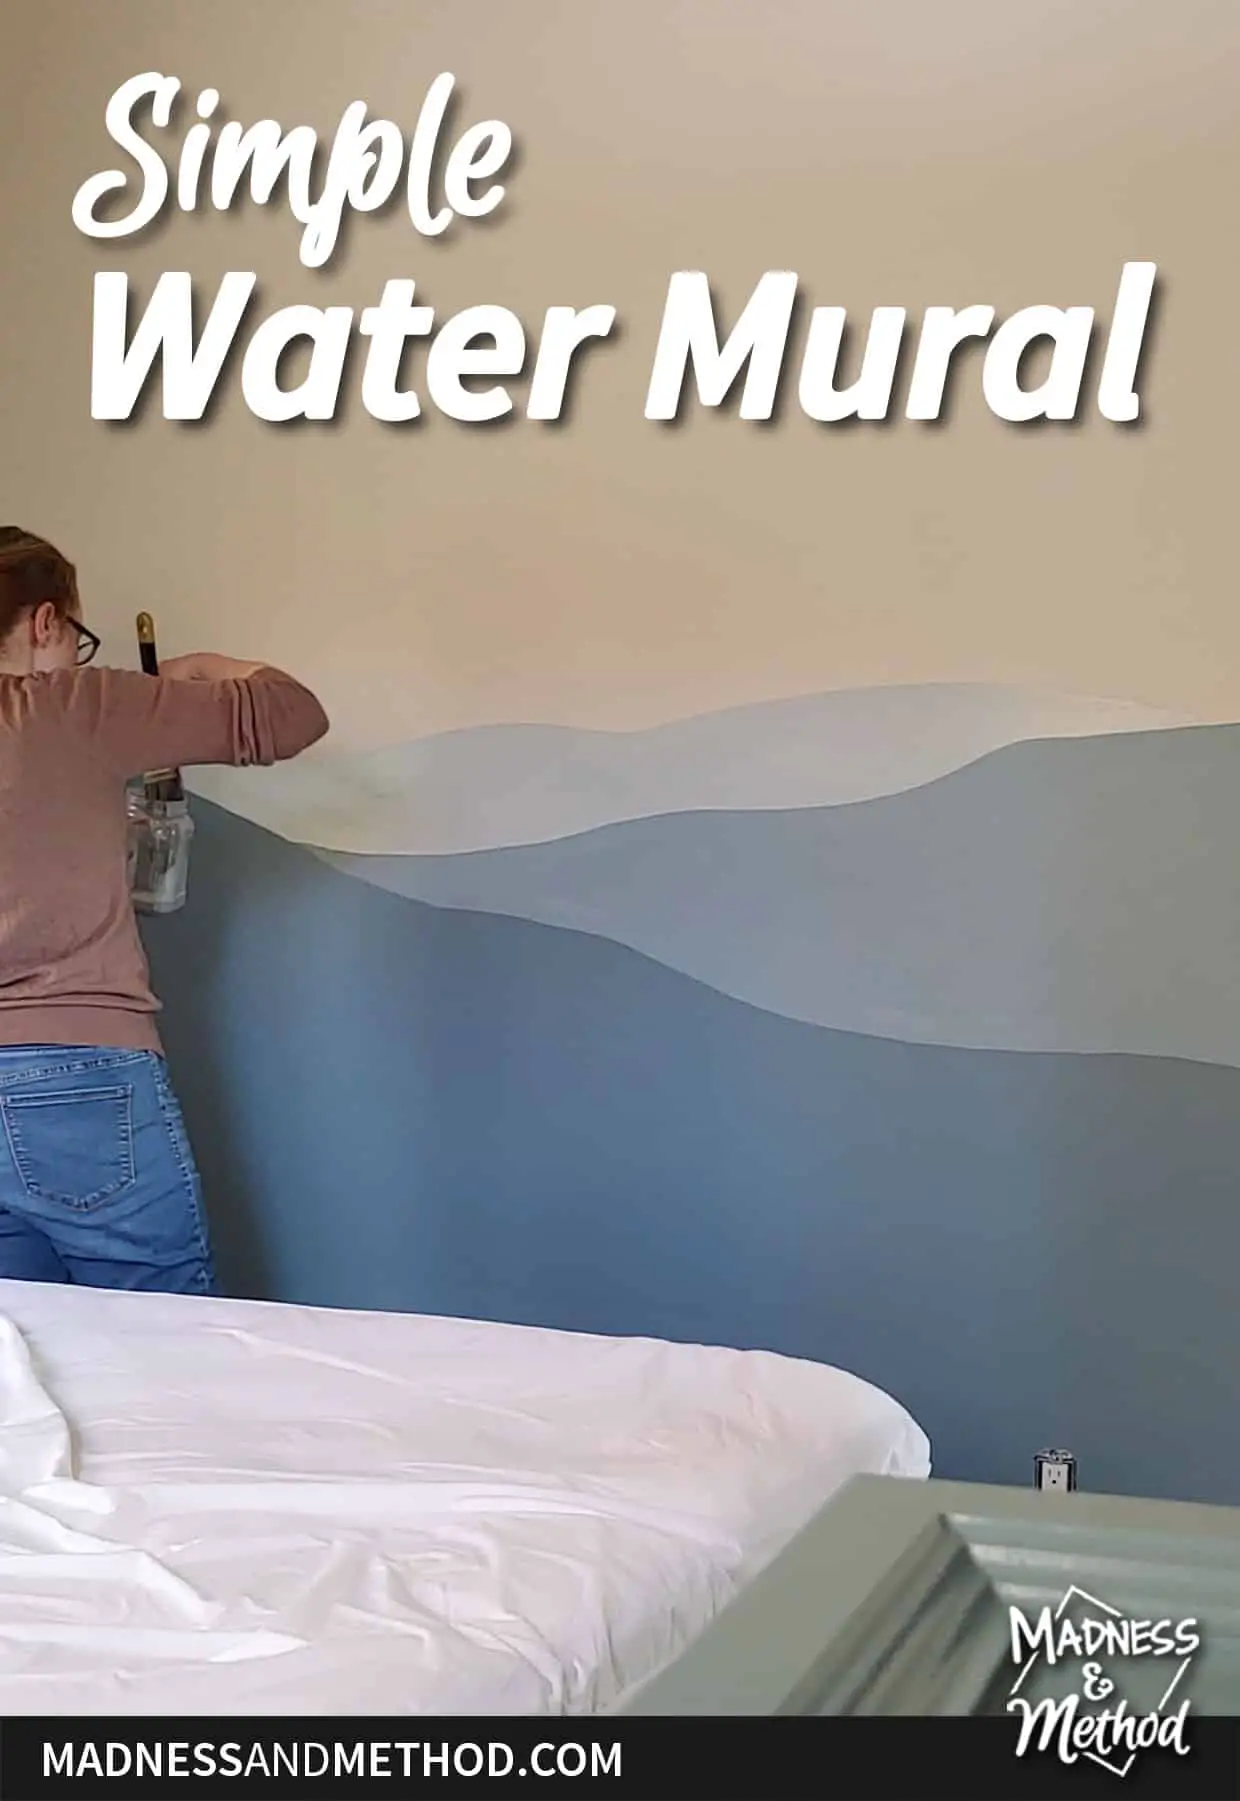
Back in October, I painted this simple water mural in the upstairs bedroom at our cottage. I’m finally sharing this project on the blog after uploading a timelapse video a week or so ago (check it out on Instagram). Hopefully, it will give me the motivation to paint the final mural at the cottage :)
Alrighty, before we get started, I’ll remind you that I planned to do nature-themed bedrooms at our cottage.
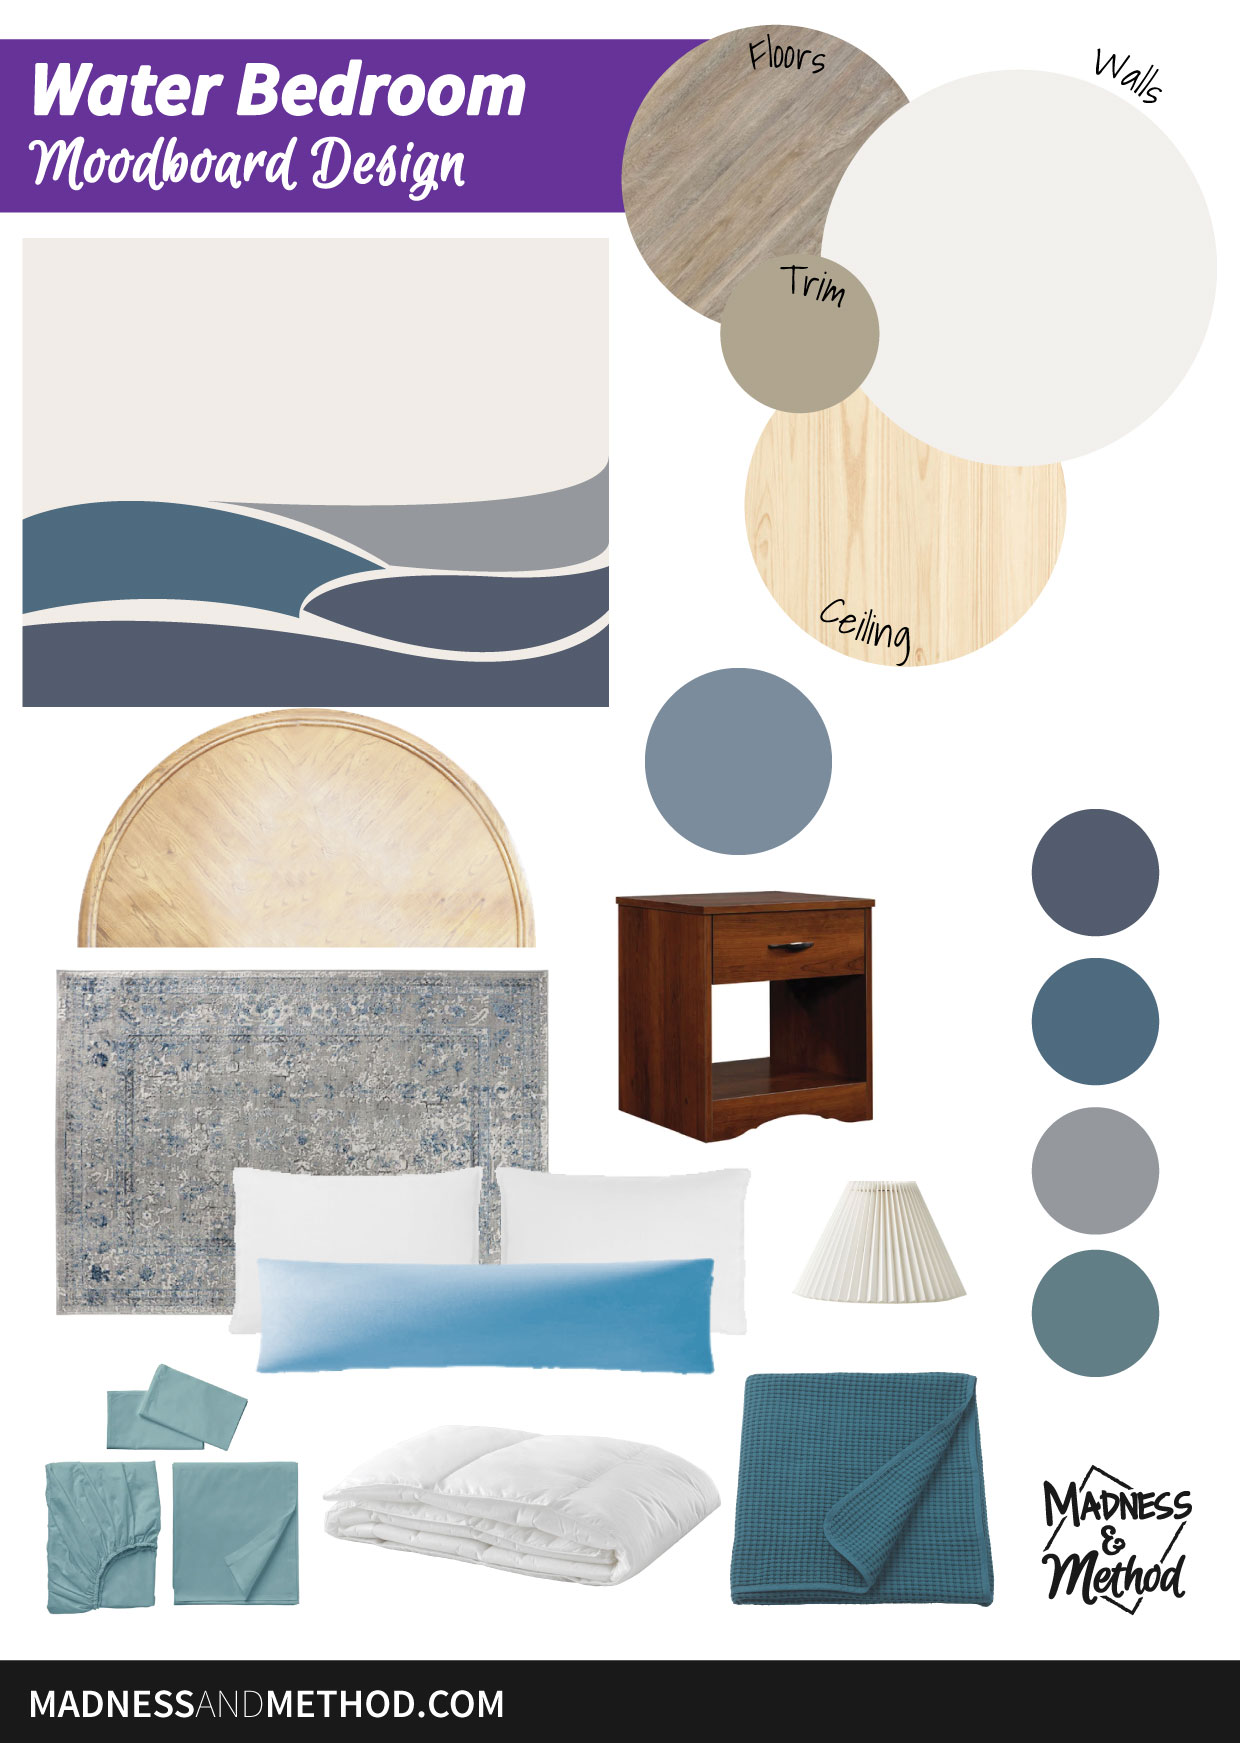
Here’s a reminder of the moodboard for the upstairs, ‘water’ bedroom:
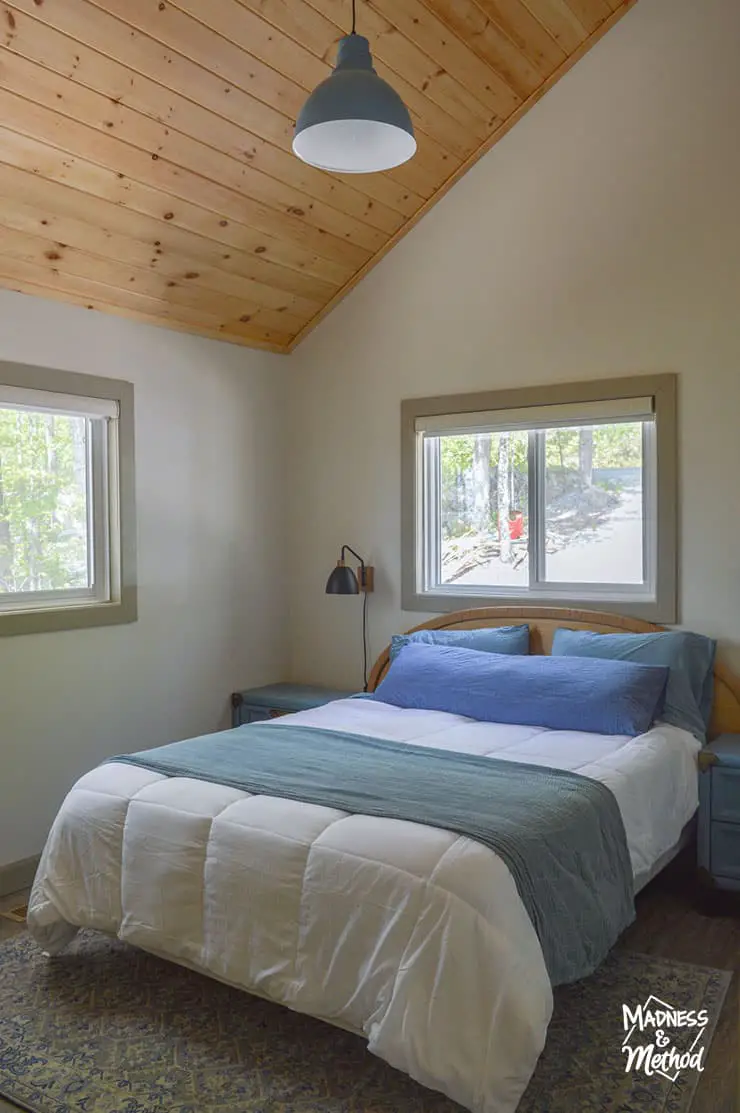
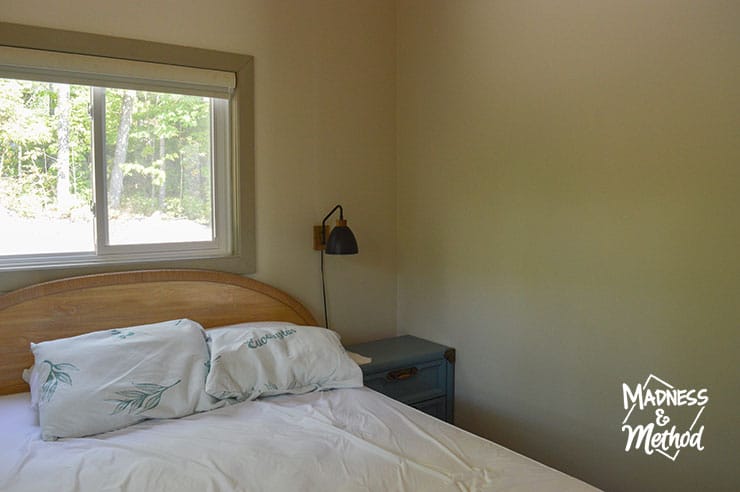
At the time (and before then), I had been gathering secondhand furniture (headboard/nightstands/rugs/lights) and guesstimated where everything would go. This bedroom is slightly wider than the others, so I put our largest nightstands in here.
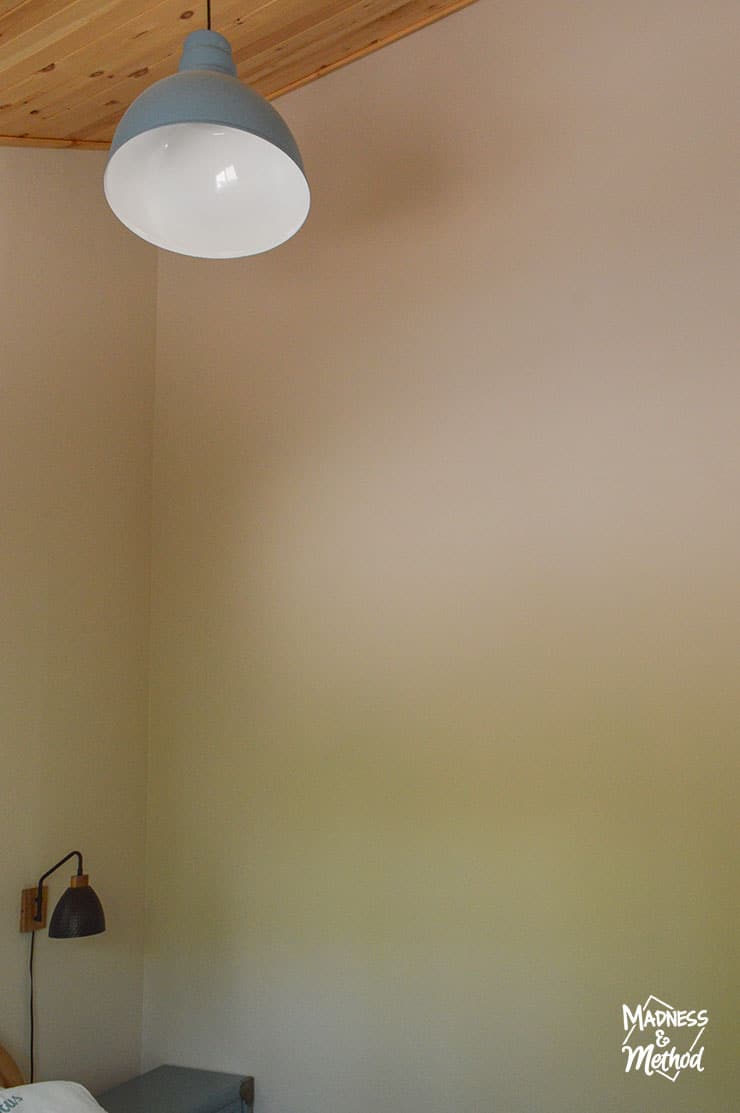
I also painted them blue to match the theme (the ceiling light too).
But it was finally time to paint the water mural. As originally planned, I wanted all the murals to be behind the headboard. In this room, the window takes up a lot of that space – so I started looking at other walls.
The only wall that didn’t have a window or closet was the one to the left of the bed (when you are laying down). It has the highest ceiling and the biggest open space.
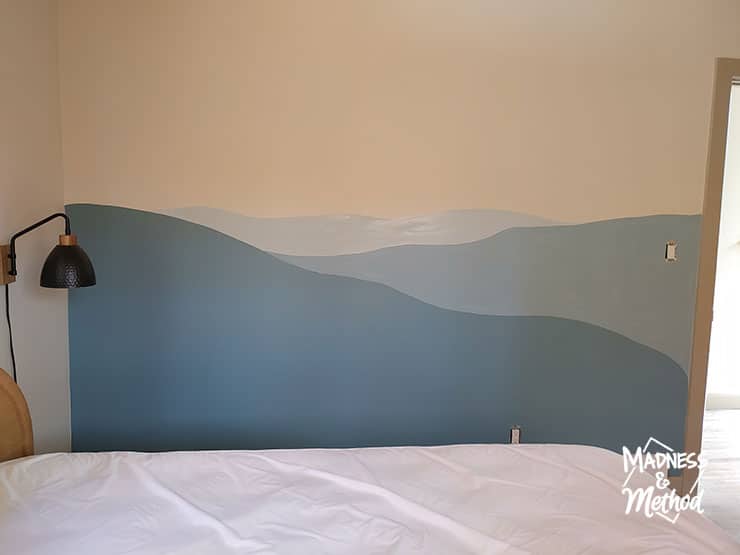
The plan was to keep the mural to the left of the door and have it higher than the nightstand/bed – but not too high so it doesn’t seem like you’re drowning :)
Want to see a timelapse video of me painting the mural? Check out my Instagram Reel, or the YouTube Short (it’s the same video).
Painting a Simple Mural
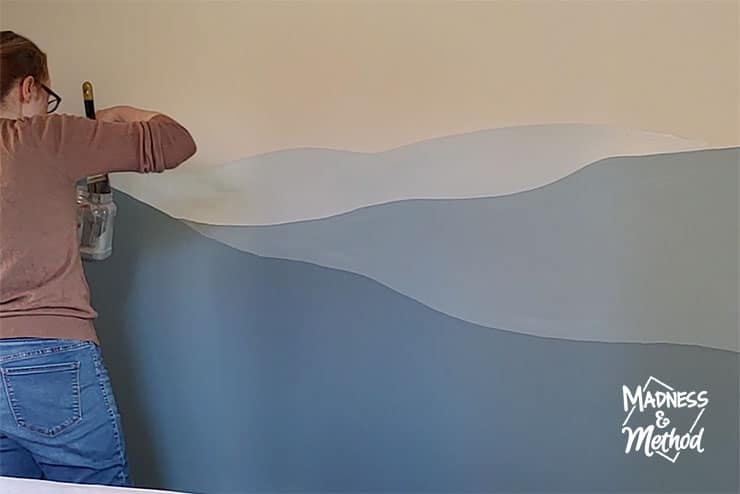
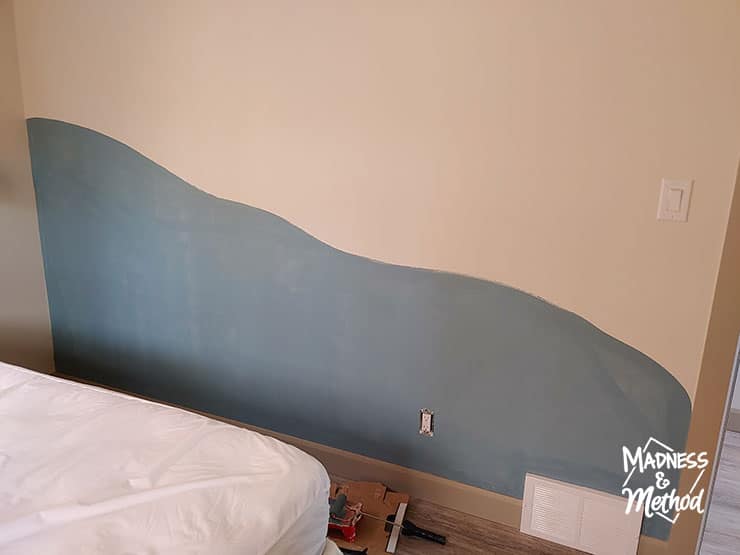
I started by gathering all the blue paints that I had. There were a few sample pots, the blue I matched to the roof (for the front door, nightstands and ceiling light) and other assortments.
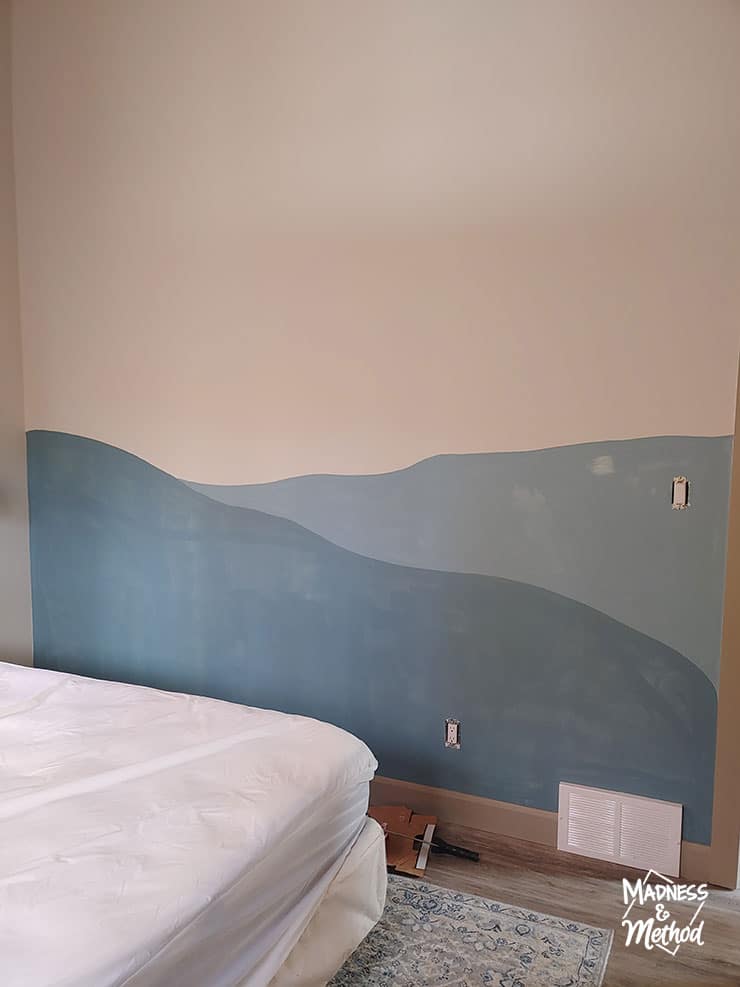
I custom mixed the darkest blue and painted the bottom section in a random wave pattern. Then, the second lightest colour was a wave coming from the right side.
Finally, I added the lightest colour on the top. Obviously, if you are painting your own water mural you can choose to do it however complicated or detailed as you want. I went with something easy :)
Oh! And I also debated if the dark water should extend to the left side and go behind the nightstand/headboard. In the end, it was easiest to contain it all in one area.
Honestly, when I first started thinking about this mural, I kept envisioning something more detailed like the Great Wave. But I knew I wanted a ‘calmer’ lake effect, especially since it’s a bedroom, ha.
I really need to take an updated photo of this room that shows how everything looks now that the mural is in. There are literally no photos of the closet side, ha.
Maybe I’ll do a proper cottage tour post in a while. In the meantime, I’ve updated the Rocky Retreat page so you can see all the cottage posts together!



No Comments