
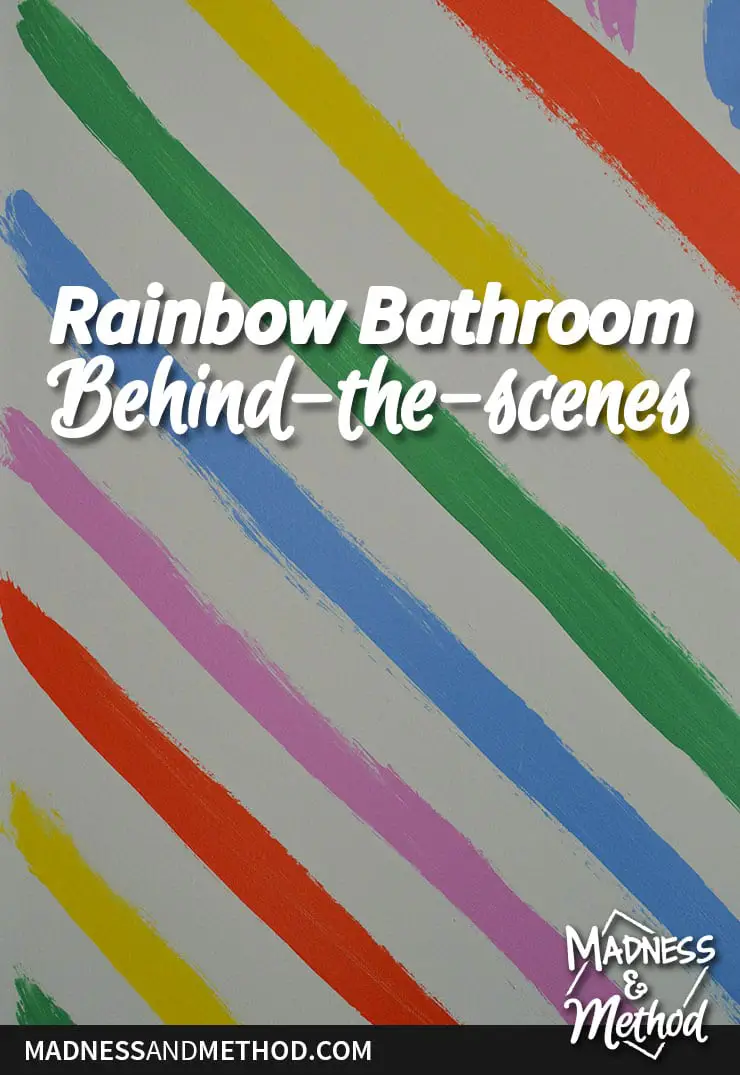
Following up from last week’s rainbow bathroom makeover reveal, I have more photos! And wall mural details! Plus a video! And, and and! Just kidding, I don’t think there’s that much excitement :) But I do have some bathroom behind-the-scenes stuff that I couldn’t fit in elsewhere. So if you wanted to see more, here ya go!
– Note: This post contains affiliate links. See more information about affiliates here. –
Once again, the full reveal photos (and sources) are in last week’s post. I did have a few photos that I didn’t include, so I figured I could share them today :)
There’s also some video footage that I shot throughout the makeover. In addition to the videos filmed for my Instagram Stories, some more work and miscellaneous stuff. You can scroll down to see it embedded, or follow this link to see it on YouTube.
But before we get to that, let me remind you about the white and rainbow bathroom:

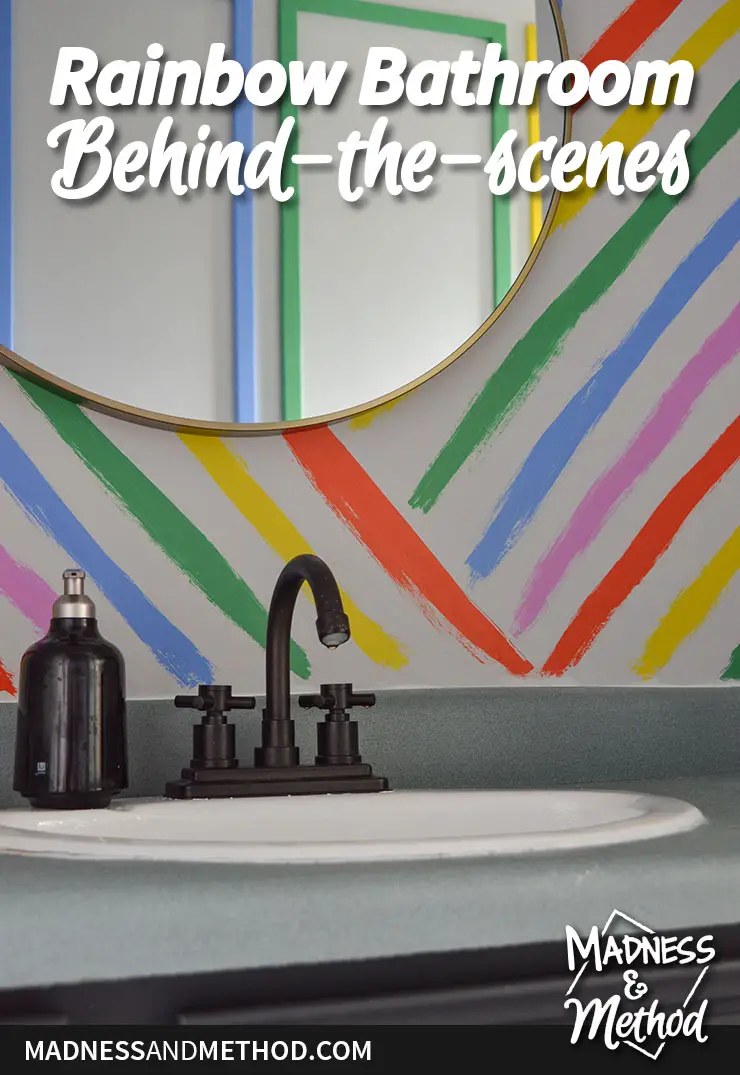
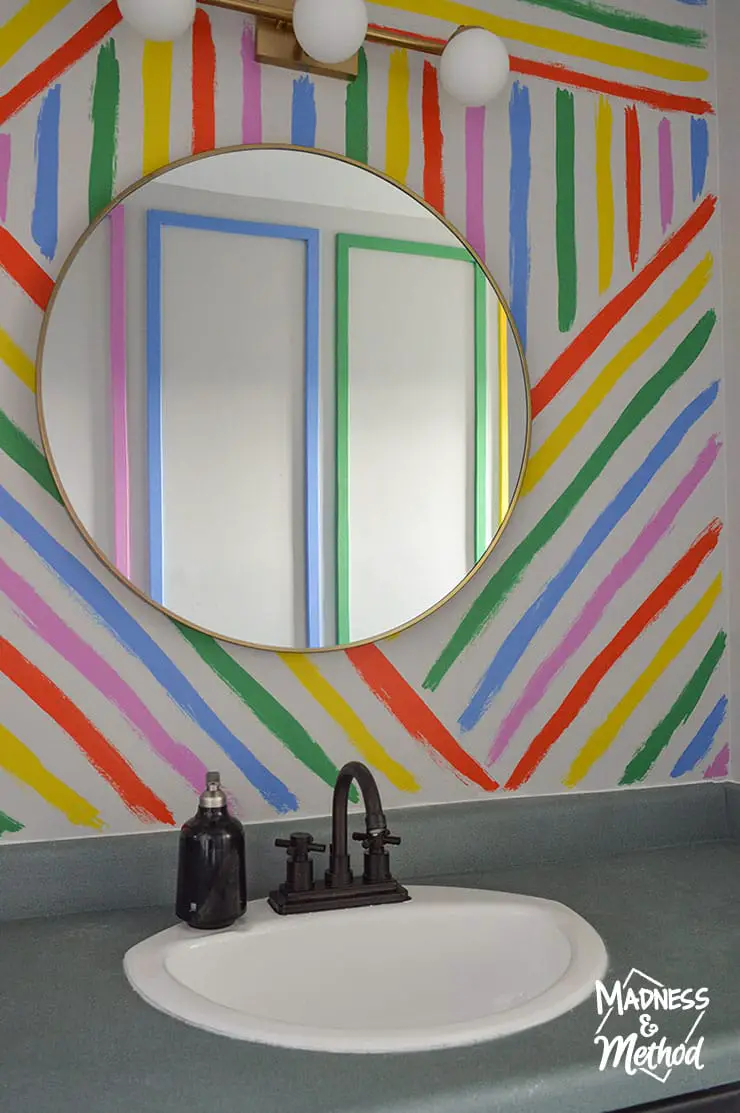
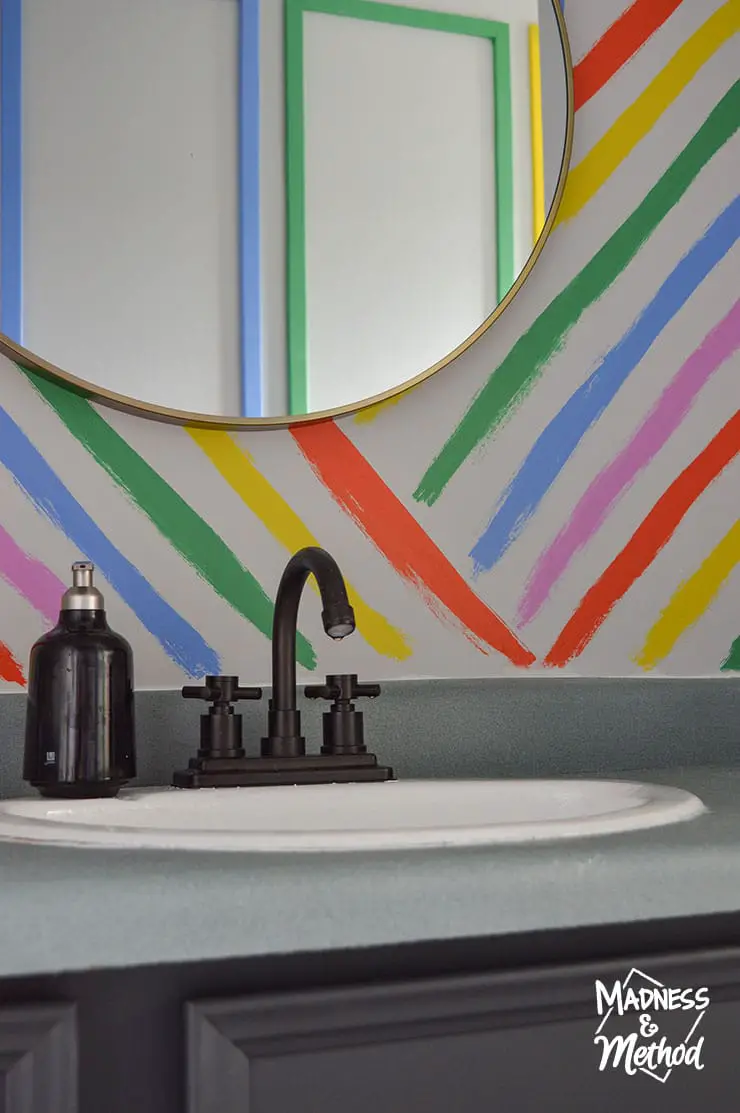
With the first thing that jumps out: the hand-painted rainbow stripes.
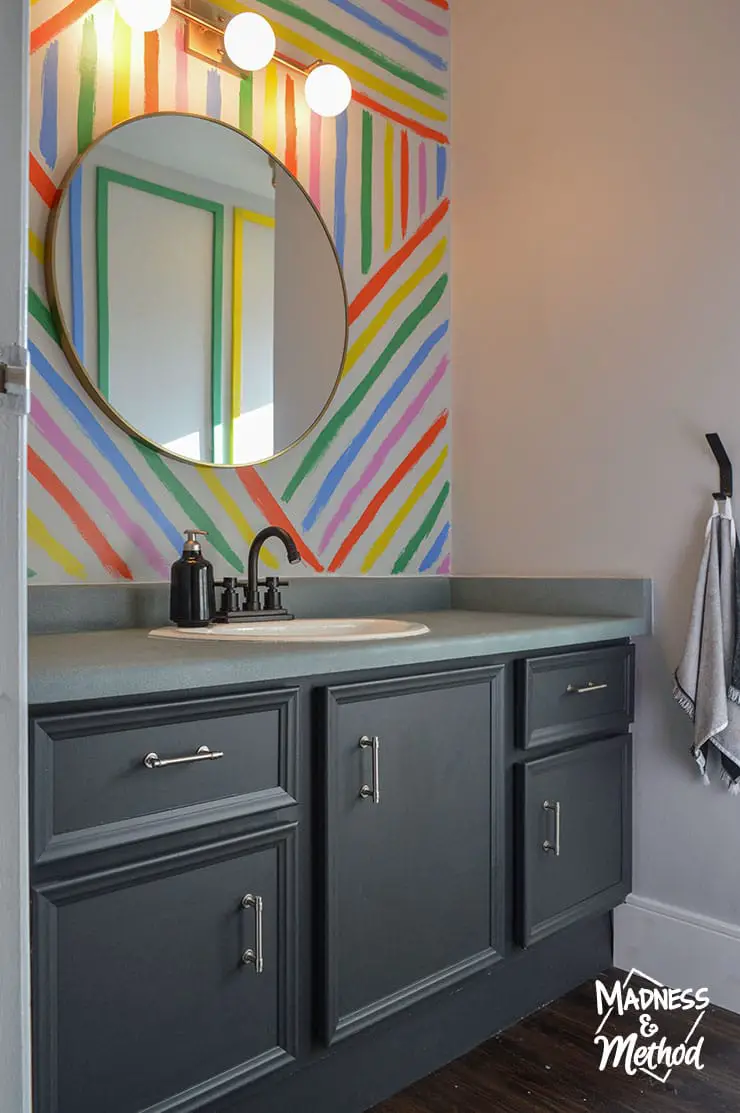
I mean, the updated vanity is a game-changer too :)
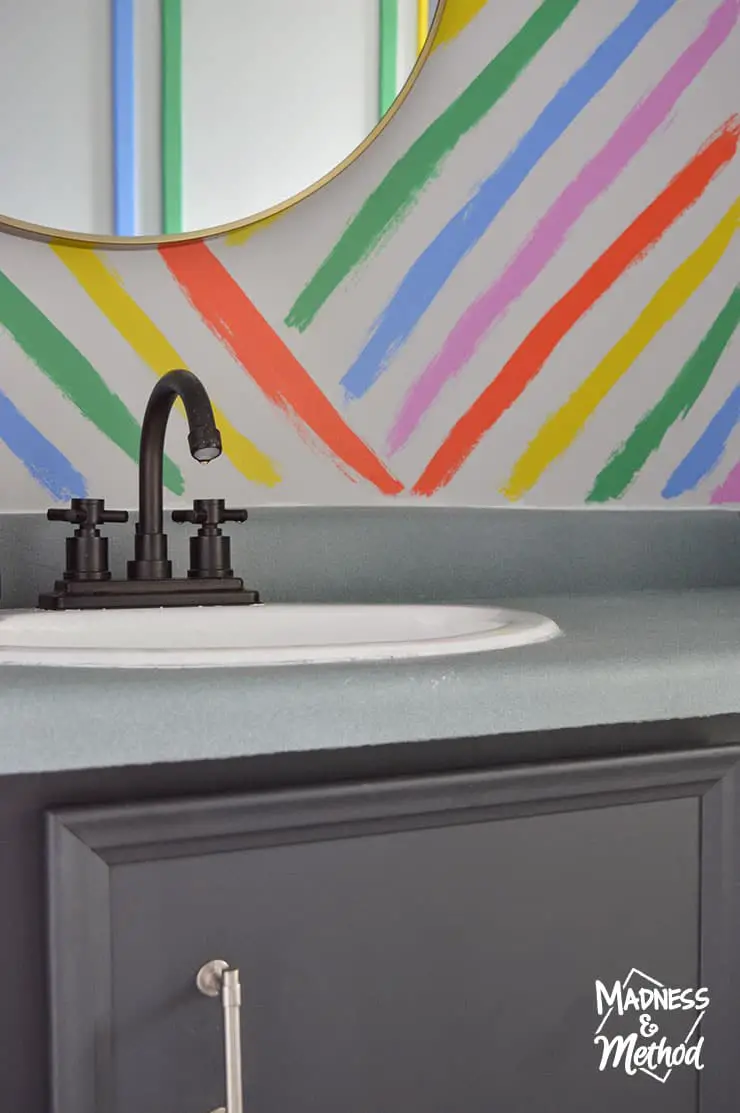
So far, everything has held up well! And that’s with scraping dried paint off the counters, and countless soap messes.
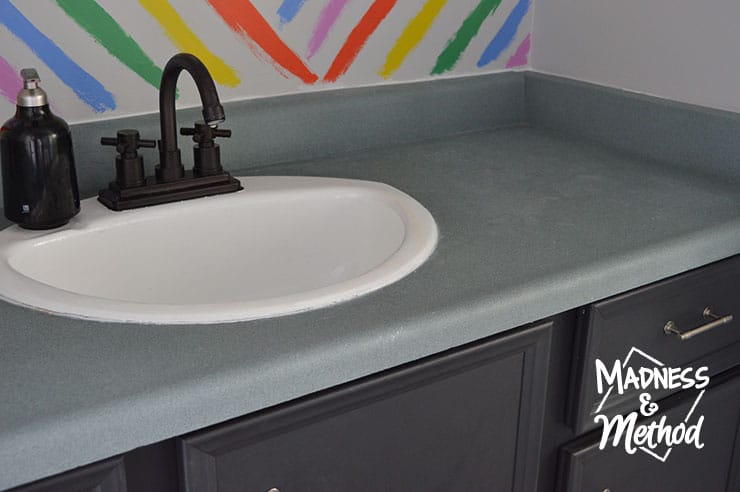
I don’t think I mentioned this last week, but I also have the sink a couple of coats of the tub and tile paint (while I was finishing the shower tiles). There were a few chips, and I couldn’t find the chip filler product nearby.
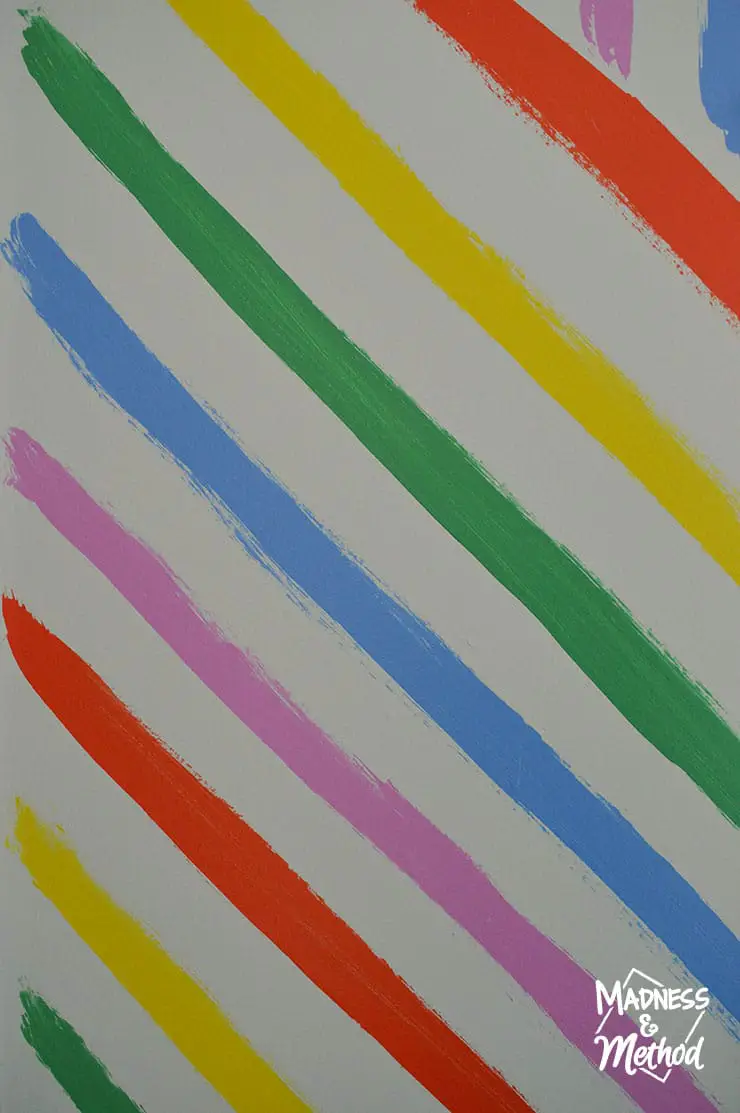
Hand-Painted Rainbow Stripes
In the first week of the One Room Challenge, I had no idea what kind of rainbow mural I wanted to do. There were a few answers in the survey I posted (mostly voting for something geometric).

A few weeks back, inspiration struck and I decided on doing hand-painted rainbow stripes! I had the vanity wall drawn up on the computer (to help me decide the mirror size), so I mocked up my design:
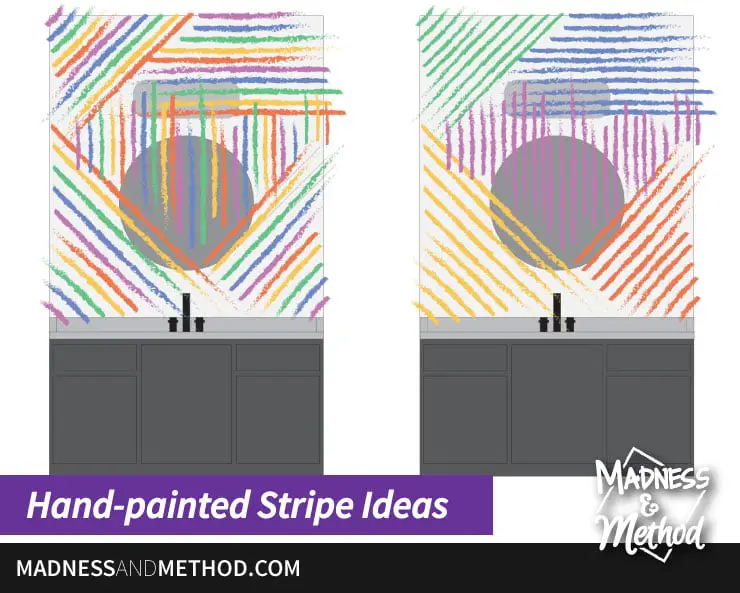
Doing striped areas would be relatively easy, and hand-painting them meant that I didn’t have to spend hours taping and painting. (The diamond mural I painted didn’t take that long to tape, but something more “random” would take longer).
I also figured out that I liked the idea of mixing the rainbows together, rather than doing separate rainbow blocks of colour.
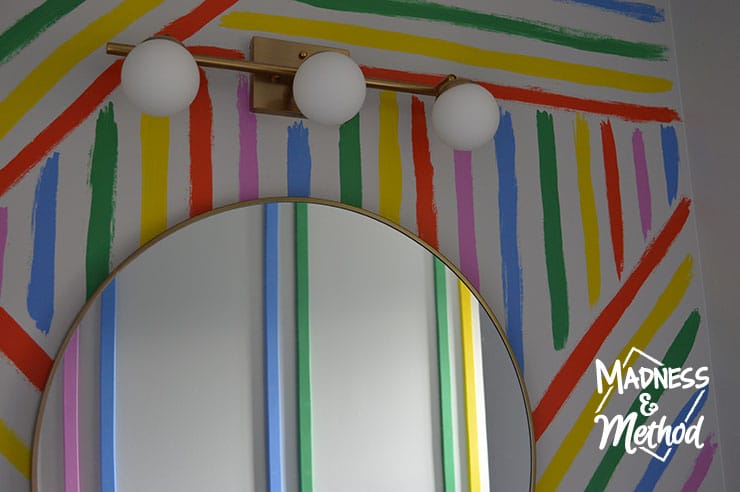
The image above shows a quick timelapse of each colour as it was added. I actually have (almost) the whole thing on video (just go to 1:47 to see where it starts). The camera battery died in the middle of the purple stripes, but you get the idea!
Oh, and I also thought that the red lines alone sort of looked like an abstract rose drawing – fun!
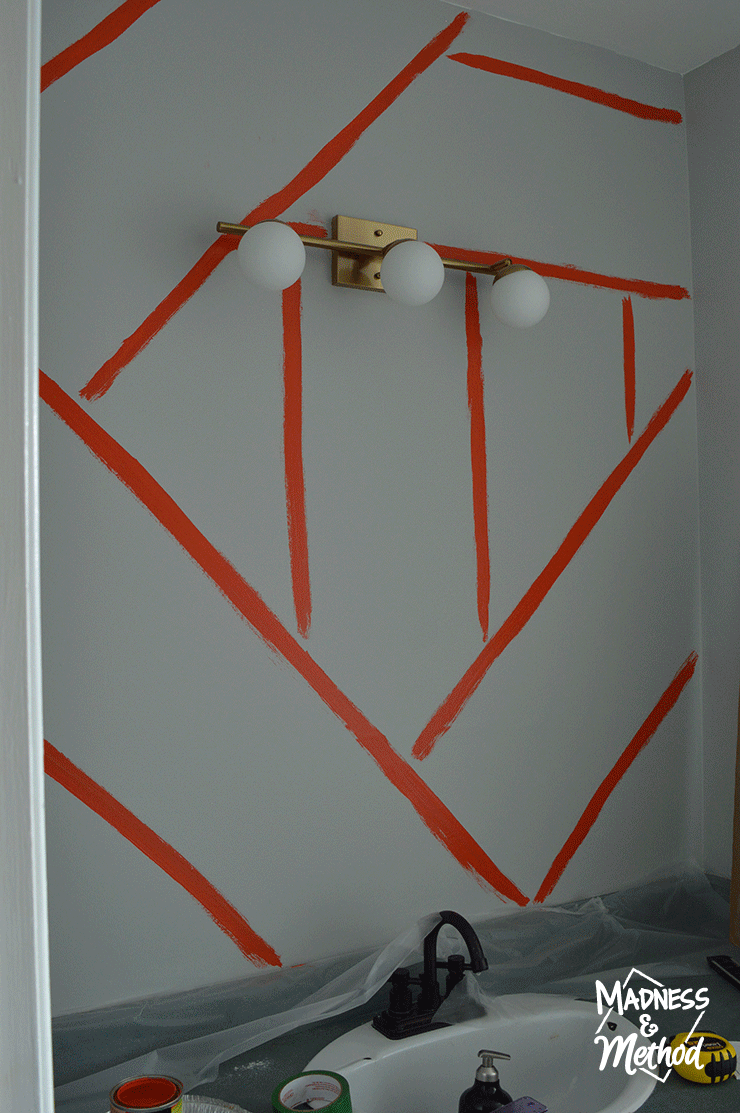
To start: I just measured out the first two points for the red line (diagonal, left bottom). I would have liked to use a 4′ level, but apparently, the ones we had didn’t have the diagonal marker. Then I used one piece of tape as a guide, painted my line, then measured out about 12″ from there and did the next line.
You might have also noticed that I forgot one of the purple stripes… but I realized and added it after :)
Behind-the-Scenes Video
Check out the video on YouTube if the one below doesn’t load for some reason.
Again, the hand-painted wall mural section starts at 1:47, and the before and afters start at 3:07.
Up close, most of the lines only needed one coat. But, like the rainbow trim, some of the colours needed a little touching up. Doing the first pass, I just tried to make sure that there weren’t any big glops of paint along the edges. If/When I paint over it, I want the lines to not be visible underneath. I went back over some of the colours a second time with a smaller brush to cover the brush strokes.
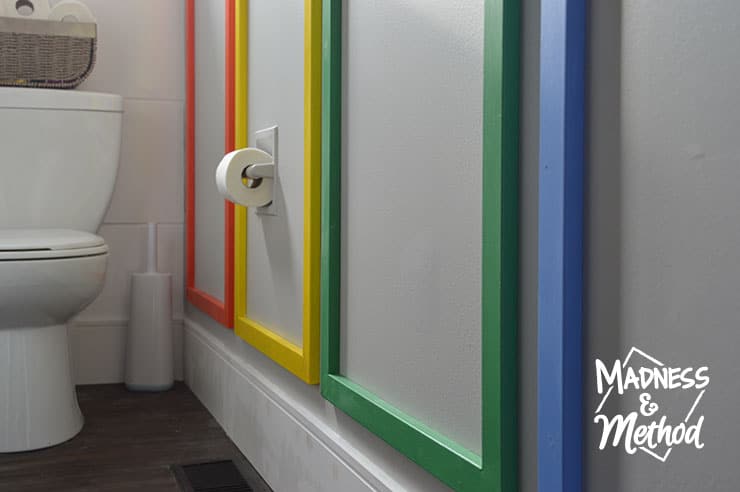
Installing the Rainbow Trim
I didn’t chat too much about the rainbow trim, but the video shows the first step if you wanted to see it in action.

I set my laser level (similar) for the bottom height, then measured the distance in between each piece (2.5″) and nailed them in. From there, I found it best to install the bottom section of the vertical pieces (using the level). Then, I would take the top piece, and make sure everything lined up and nailed it in. It’s pretty much the same process I used when I installed the box moulding on our old interior doors.
I had to put the laser leveller on the tripod, so that’s why I didn’t video the rest, ha!
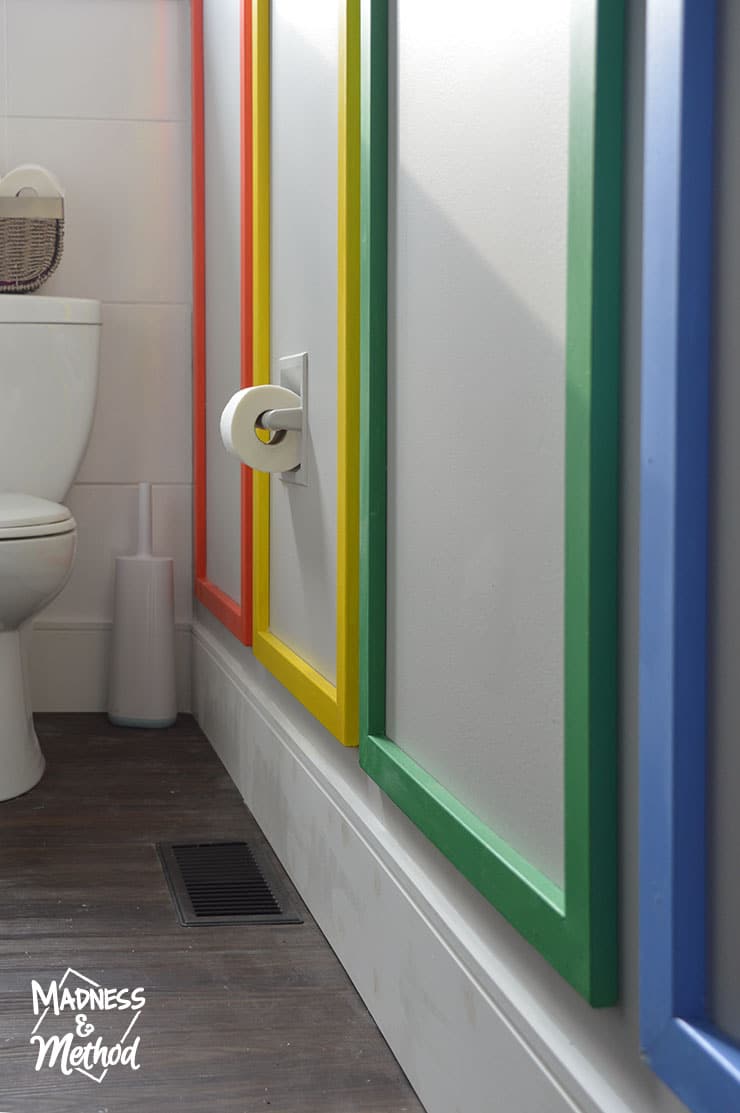
Essentially, everything below 5′ is perfectly level, and if there is any discrepancy above, you don’t notice it. Obviously, all my pieces were cut to the same length – so it should be perfect… but you never know!
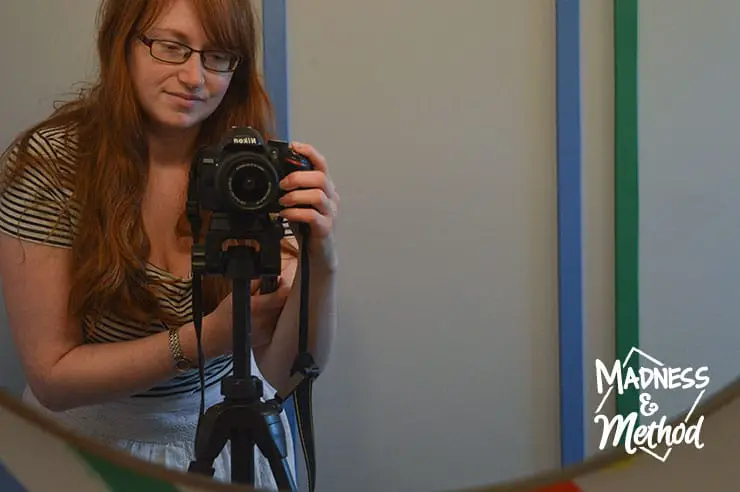
And here’s another selfie from the second day I took photos last week. I also planned that each section on the wall mural would start with red – because red was the farthest trim section and you wouldn’t see it in the mirror.
(As opposed to starting each diagonal section with its own colour, which I also considered).
Looks cute!
Bathroom Budget
I almost finished this post before I remembered that I promised a budget breakdown. I don’t have everything 100%, but here is what I can remember:
- New toilet: 300$
- Painted shower tiles: $245
- Vanity and counters: 70$ (includes hardware)
- Lighting: 200$
- Mirror: 60$ (similar mirror here)
- Shower Rod/Curtain: 70$
- Trim and rainbow paint: 150$
- Miscellaneous Other: 50$
This doesn’t count the new floors that we installed (and purchased months ago for our whole first level). I think it took us 2-3 boxes though? It also doesn’t have the price for the things we already had, like our faucet, tools, baseboards, paint, labour, etc.
Oh, and it doesn’t count the price of the other toilet we originally bought. That one is now installed in our basement, and I guess it saves us from that cost when we do that room, ha!
So, just under 1300$ if you add the tax – not super cheap, but infinitely better than ripping everything out and starting from scratch. Heck, a new vanity could cost that amount!
I hope you enjoyed these bathroom behind-the-scenes details and had a chance to watch the video. This year, I scheduled a video in my calendar once every 3 weeks. I’m happy that I was able to accomplish that – but now that I’m looking to next year’s calendar, I’m wondering if I should change it up?
If you’re a regular reader, do you also watch all the videos? Do you think there should be more, the same amount, or less? What type of video format did you prefer? All the questions!
AND if you’re wondering what we’ll be chatting about next week, nope, it’s not another bathroom post :) We’re jumping into the holidays – so make sure to stop back in!

No Comments