I think I am obsessed with painting floors! This was my third or fourth floor painting project (and it probably won’t be my last!). Unfortunately, I made a mistake on my first attempt at these painted concrete cloud floors and had to redo them. But don’t worry, they look great now!
As a reminder, our raised ranch basement started out like this! In the second week of this makeover challenge, I removed old vinyl flooring, the third week I painted the entry and in the fourth week I removed the carpet in the bedroom. Last week, I shared the wall-mounted headboard and some painted floors.
This post was originally titled “Cloud Floors & Stained Nightstands (ORC Week 6)”. It has been split into two posts, read about the Ikea Rast Hack Stained Nightstands here!
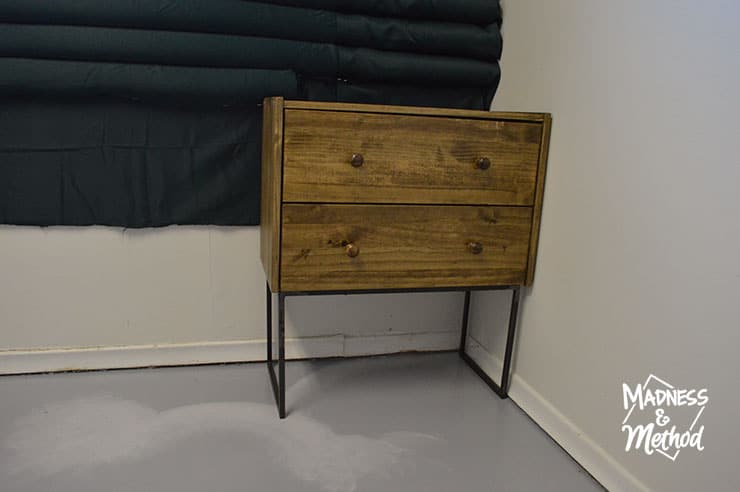
Check out the Ikea Rast nightstands here!
Ready to learn about the cloud-painted floors!?
First, I removed the very old carpet from this room. At that point, I painted the cleaned concrete floors. Unfortunately, my first attempt at painting clouds didn’t turn out…
Bedroom Floor Paint (Failed Round 1)
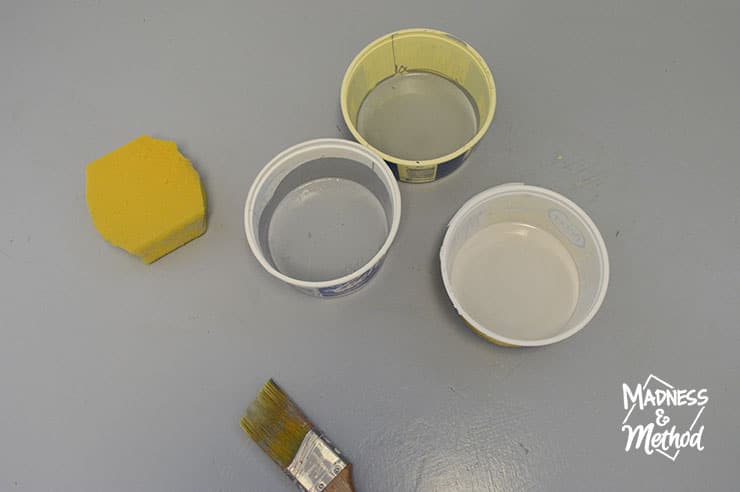
I knew I wanted to do some sort of spongy/cloudy pattern on the bedroom floors. I prepped three containers of colour, a light one, a grey one, and a mixed blue one (that I hoped would match the floors).
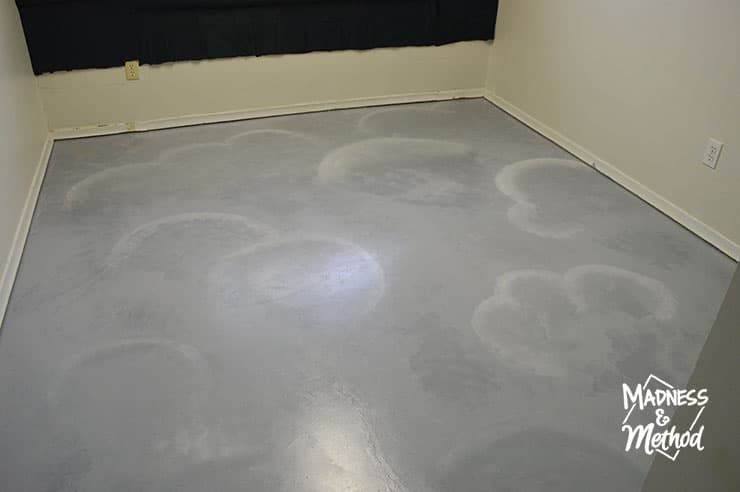
While it looked okay as I was doing them, I didn’t notice until after we had gotten back (and they dried) that the mixed paint was not the same as before.
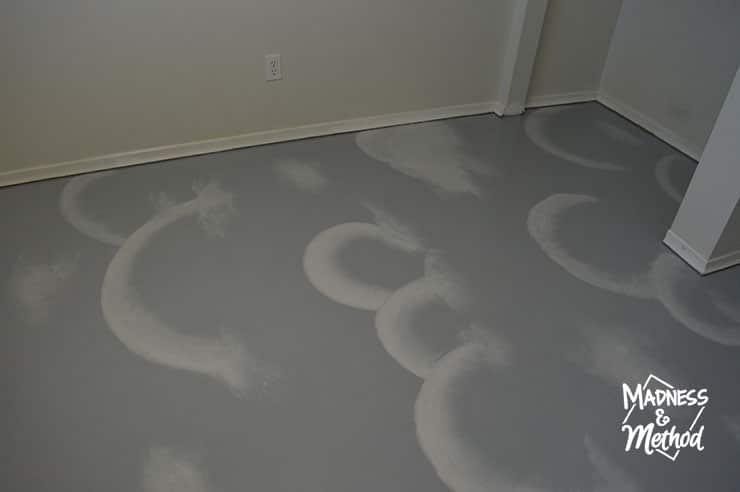
It was a bit darker, and the cute little clouds now had weird dark sponge splotches.
I thought I was blending it more, and only realized at the end of the room that I could have just used the lightest colour to achieve the same look. Some areas were VERY obvious sponge marks, and I was not okay with that.
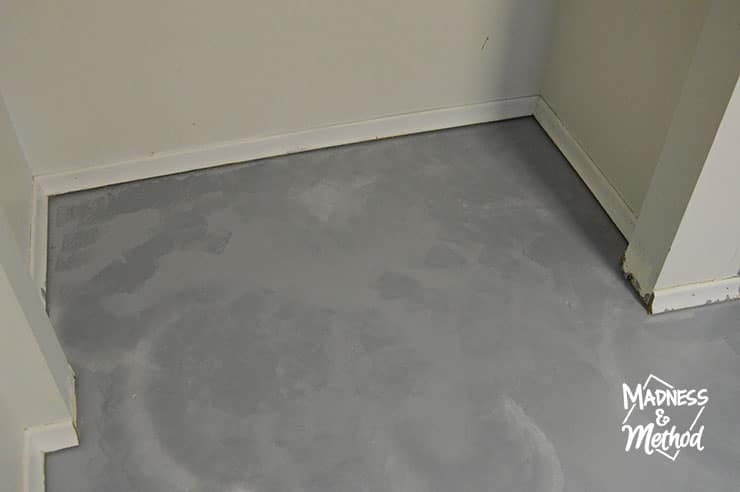
The closet area shows it a bit more – not good! I took a poll on my Instagram stories, and most people voted to paint over everything and start from scratch.
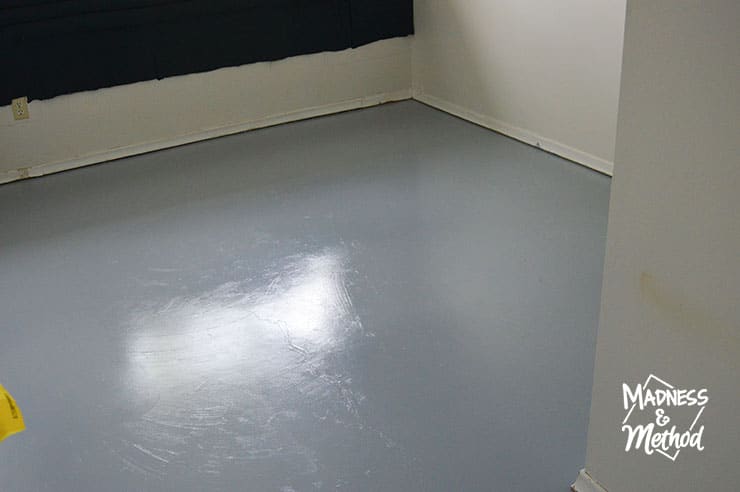
So, I remixed another batch of custom colour, then rolled over everything again. There are three good points now though. 1) I have a bit of extra mixed paint in case I need to do touch-ups. 2) I practised my cloud technique and figured out the best approach. And 3) there was a small crack in the concrete, but after 4 coats of paint, it’s pretty much gone, ha!
Painted Concrete Cloud Floors
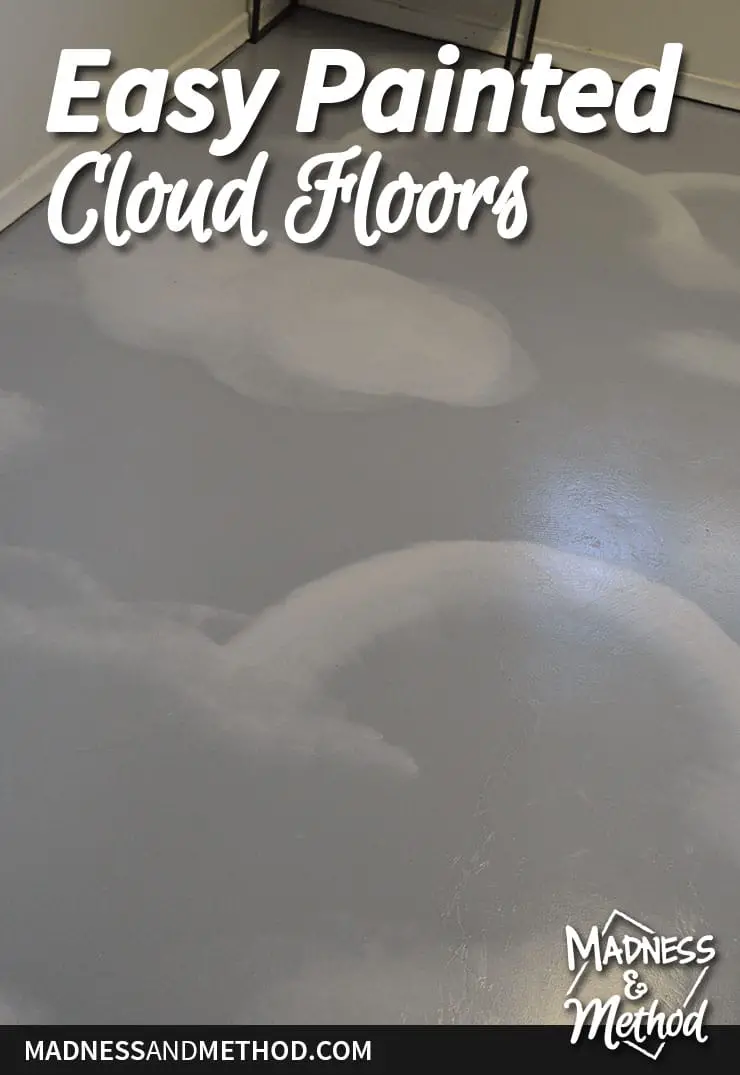
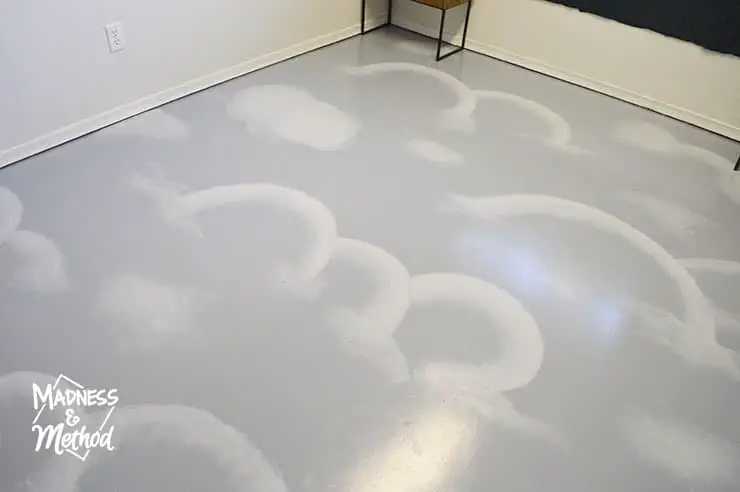
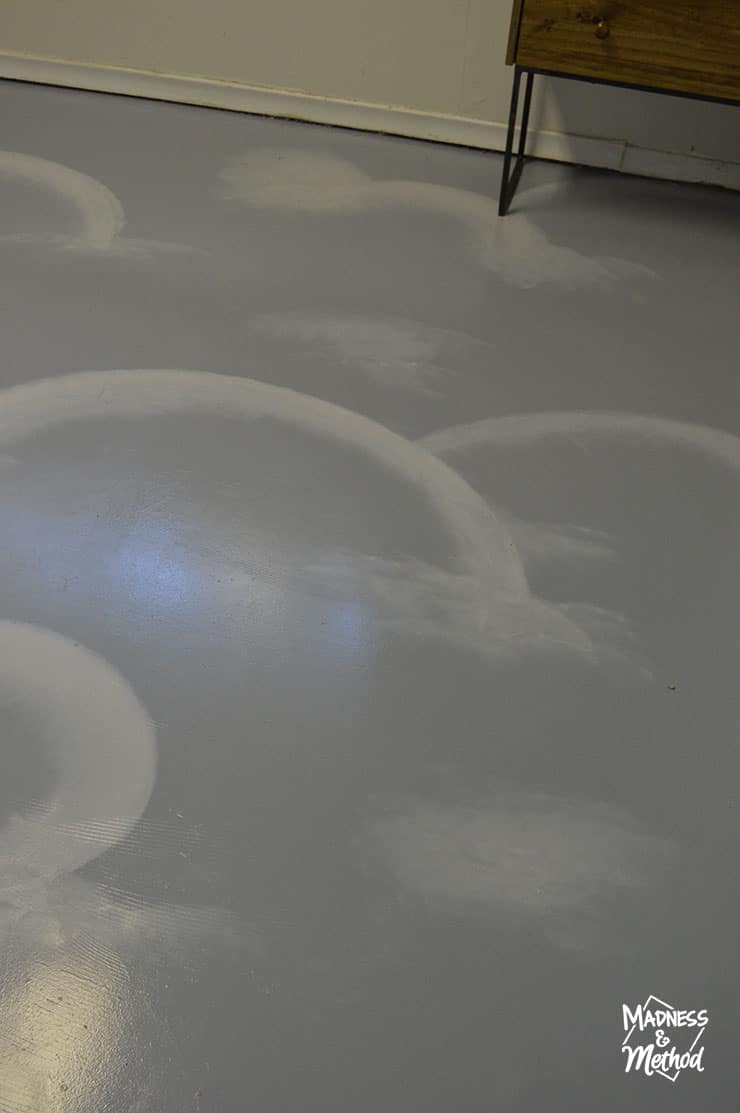
Essentially, I just did the cloud sponging with the lighter colour. I did not have to blend two/three colours together, and it dried pretty much exactly how it looked :)
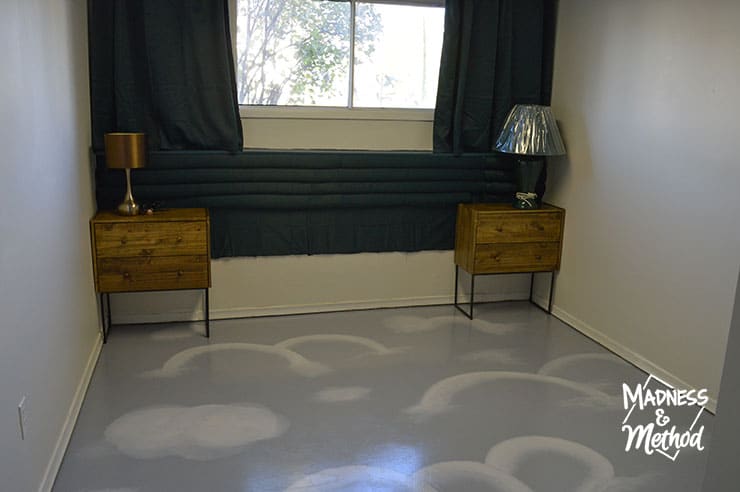
This is the second version!
I’m much happier with these, and it should add just enough interest.
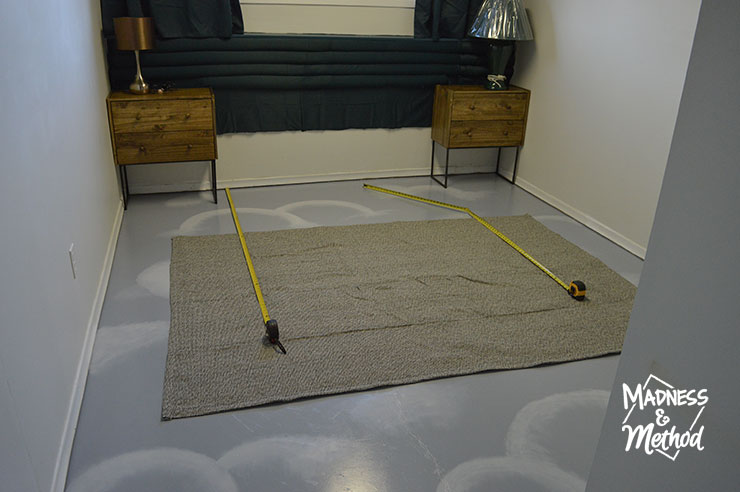
I did a combo of the cute arches and spongy clouds. It almost looks like white rainbows in some spots :)
But don’t forget, the bed will pretty much block most of it. I put my rug down and the tapes show the approximate bed location.
About the One Room Challenge
Check out all 20 One Room Challenge featured designers and hundreds of linking participants!
Follow my basement project:
Basement Reset BEFORE (ORC Week 1)
Removing Old Vinyl Flooring (ORC Week 2)
Painted Basement Entry (ORC Week 3)
Removing Carpets & Painting Concrete (ORC Week 4)
Wall Mounted Headboard & Hex Floors (ORC Week 5)
Cloud Floors & Stained Nightstands (ORC Week 6 – now!)
And my budget breakdown:
2nd Week: – 2.95$
3rd Week: – 7.20$
4th Week: + 29$
5th Week: – 49.48$
This week I purchased wood for the nightstands at 40.67 and a pot for 7.90 (I didn’t include the Rast price since I bought it months ago and will use at the cottage too).
Total: 79.20$ spent so far
As a reminder, I originally had all the same information written with the Rast nightstand post. Hopefully, everything is easier to find this way – and you learned more about painted concrete cloud floors :)
Or you know, have a better idea of how to do something similar!





No Comments