
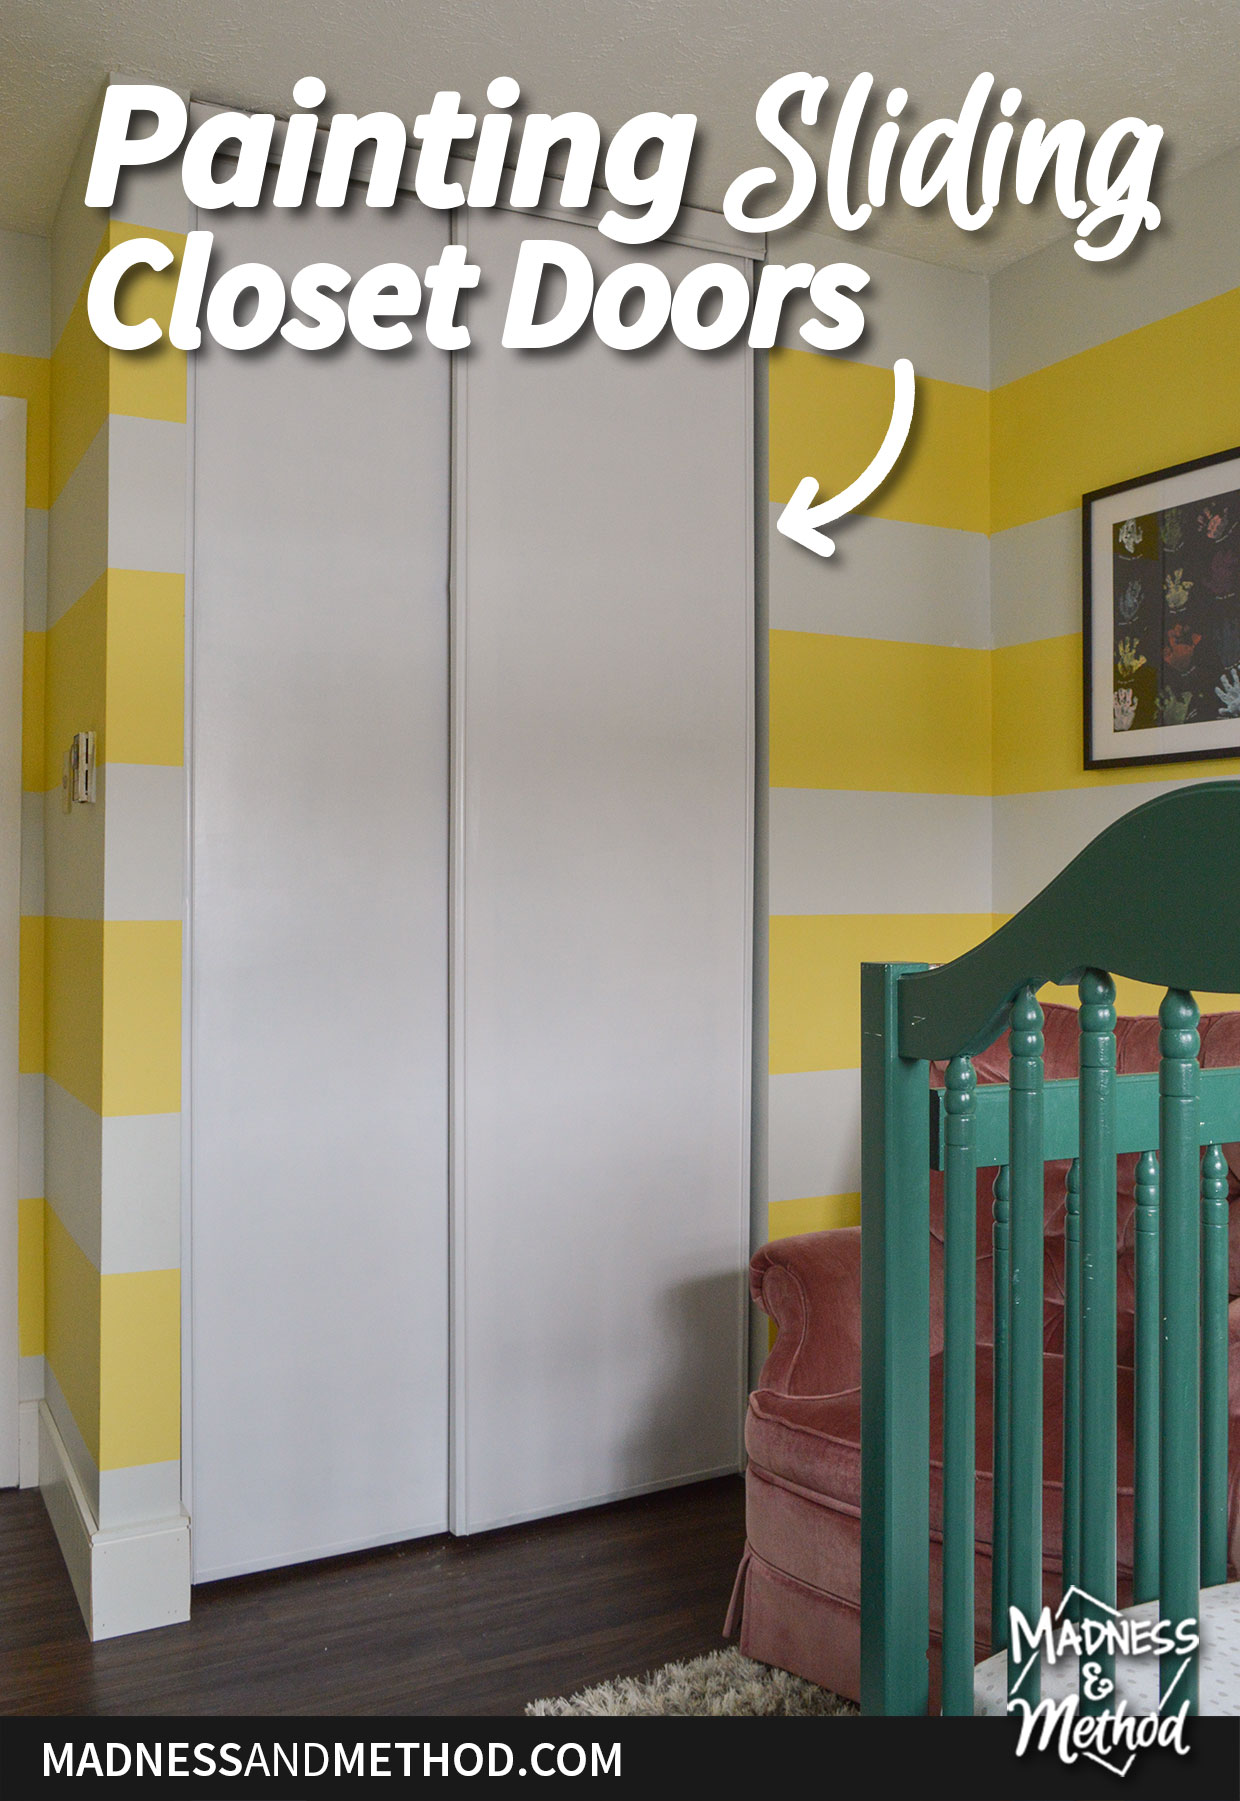
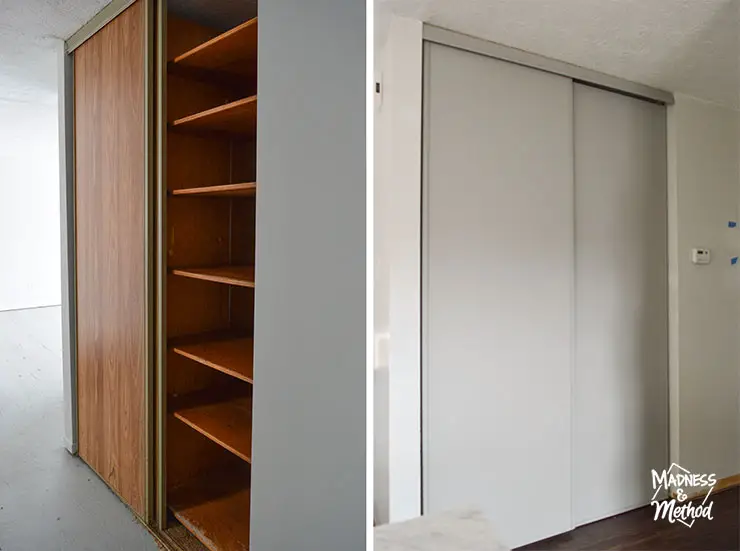
Do you have sliding closet doors in your house? Are they outdated, or a faux-wood pattern like ours!? Yes, you can paint closet doors! Today I’m sharing how I transformed our wood-look closets, and even how the paint holds up. Plus, a few more tips about painting sliding closet doors… so check them out!
– Note: This post contains affiliate links. See more information about affiliates here. –
I’m slowly working on our hallway for the Spring One Room Challenge, and we’re in the third week. You may realize that most of the photos are technically not in the hallway… but this project is relevant! Either way, for more hallway posts, check out the before photos and plans here and read about repairing a textured ceiling here.
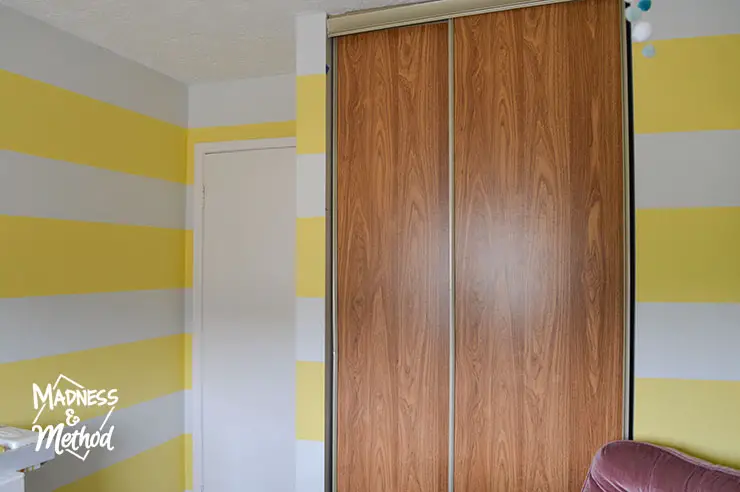
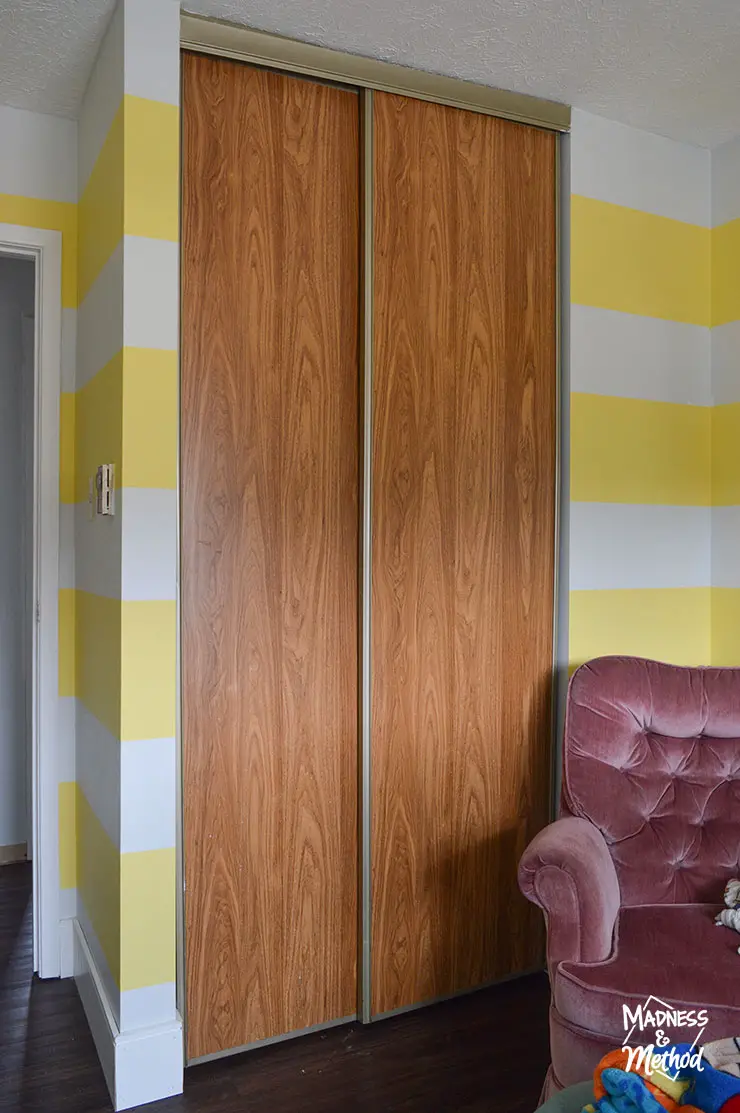
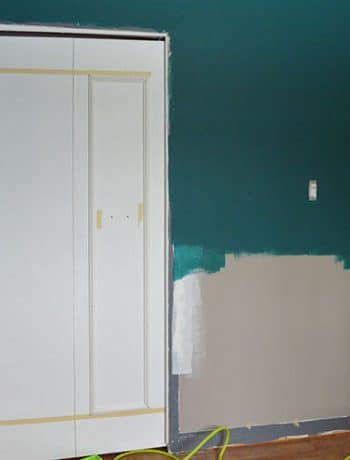
All the wide closets had faux-wood sliding doors. You can see the before photos of our house here, but yes, four sets of these doors. I LOVE that they go to the ceiling and are the full width of the closet. For our bedroom, we took them off and replaced them with DIY hinge doors. For the kids’ shared room, we took them off completely in favour of a little bed nook.
Sliding Closet Door Construction
Before I go over how to paint closet doors, let me explain the different components. There are a few different parts to these sliding closet doors: the doors themselves, a bottom track, a top track and a top track cover.
We actually removed the bottom tracks from our doors when we put the new floors in. I didn’t want to drill holes in the new floors, the bottom tracks always get dirty/gross, and our tracks weren’t in the best condition. Guess what though? Sliding closet doors still work fine without the bottom track! In fact, they’re easier to remove if you want to paint them, ha.
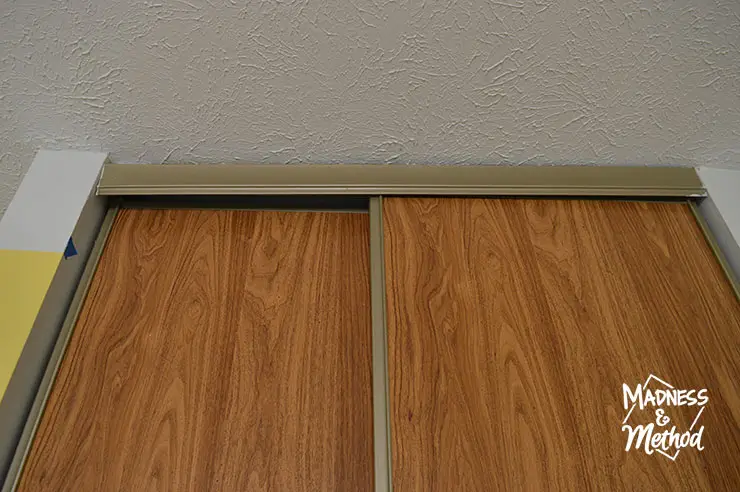
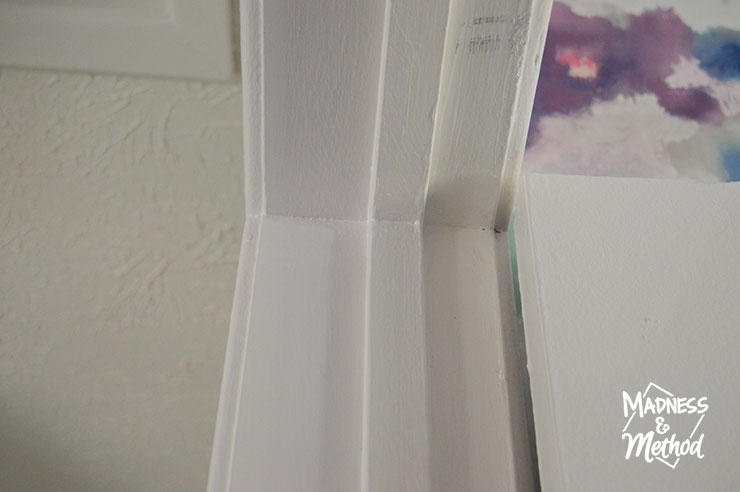
The top track cover is just a little piece that sits in front of the doors and hides the gap. It’s purely for aesthetics, but we kept them on our two remaining sliding doors.
But yes, let me tell you about painting the sliding closet doors – and how it really updated our hallway:
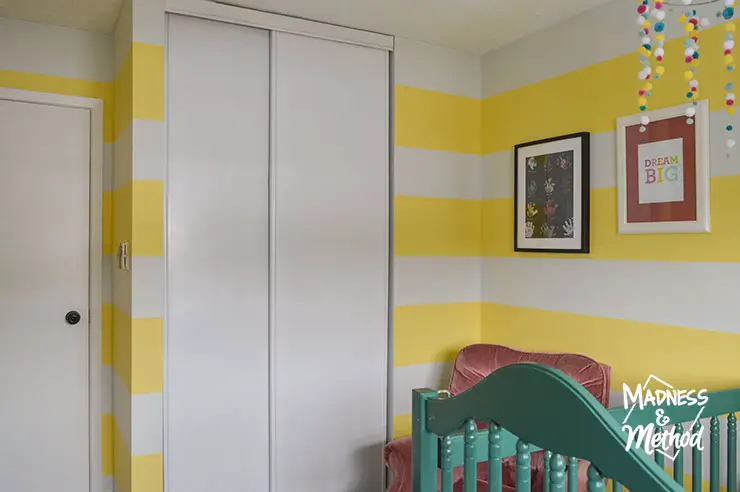
Our hallway has two closets, one at the end that we use for linens and overflow toilet paper (etc), and this one near the kitchen. Last year, I painted it to match our kitchen cabinets – and it’s held up great since then!
Let me share how :)
Painting Sliding Closet Doors
You can either paint the doors in place or remove them and paint them on a horizontal surface (like a table or open floor area). I’ve done both, and they each have their own pros and cons. You have the most control if you take them down because they don’t slide and move everywhere. However, it takes up a lot of space – so keeping them upright may be better if you don’t have a lot of open areas to work in.
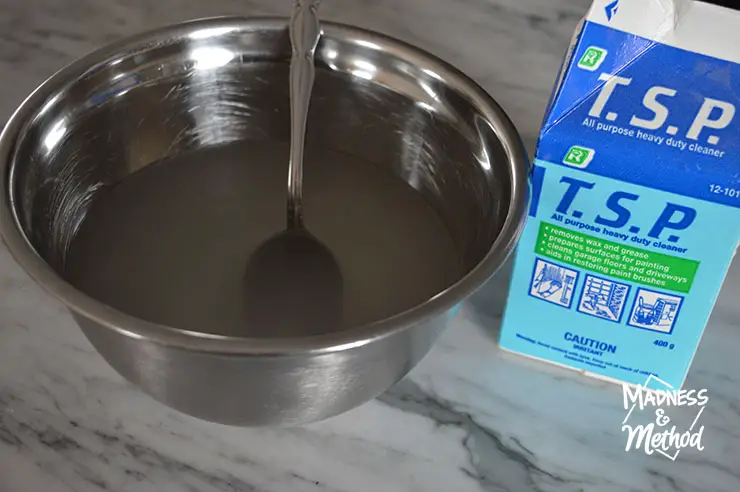
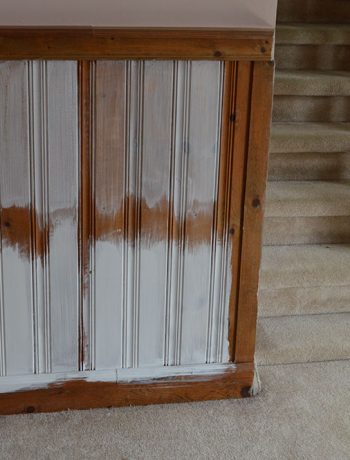
Either way, the first thing you’re going to do is CLEAN the doors thoroughly! I went over the doors (face and sides) with a damp homemade rag to take up any dust and messes. Then, mix up some TSP (following the instructions) and scrub the doors really well. This will remove any stuck-on gunk, and prepare your surface for paint. From there, rinse the doors a couple more times and make sure they are dry.
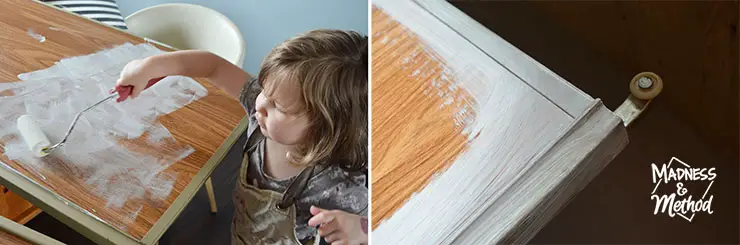
From there, you want to coat the edges and surface of the doors with a good primer. I used Zinsser BullsEye 1-2-3 and brushed the edges. Using a foam roller, apply a thin layer of paint to the main surface of the sliding door.
Élise helped me with the roller, and as you can see I did go back and smooth any gloops she may have made. Essentially, you want a nice flat finish without bumps!
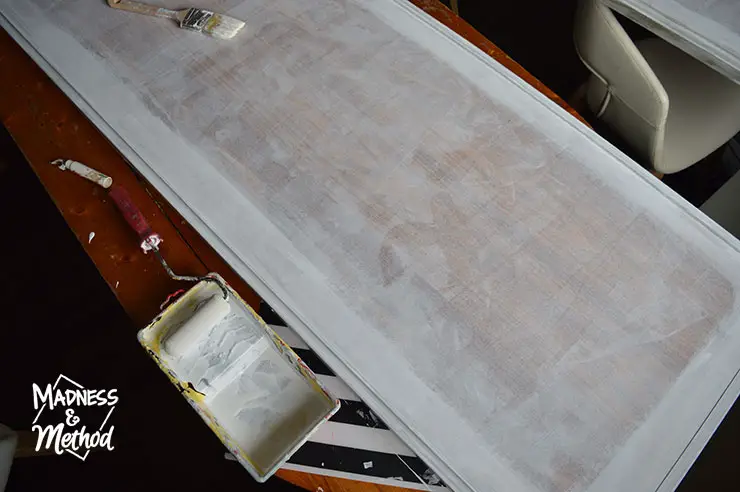
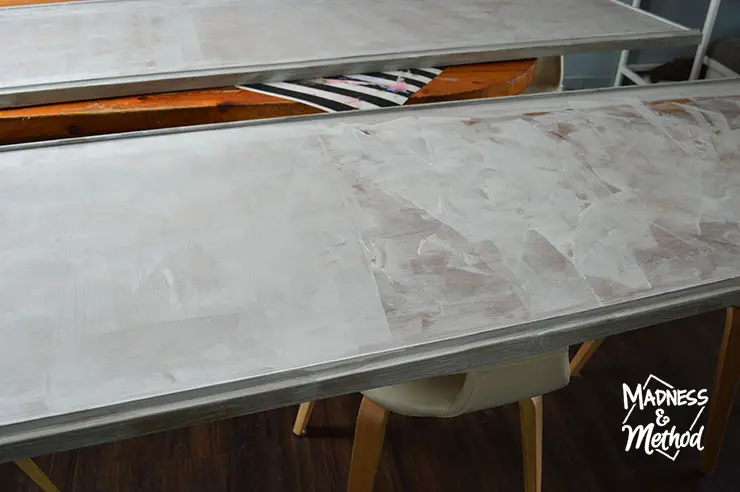
If you’re painting your doors a darker/bolder colour, all you need is one layer of primer! You do not need to fully cover the door with an opaque layer of primer. For the closet doors in our hallway, all I needed was one coat of the Bulls Eye 1-2-3 in grey, then 2 coats of paint to cover it perfectly.
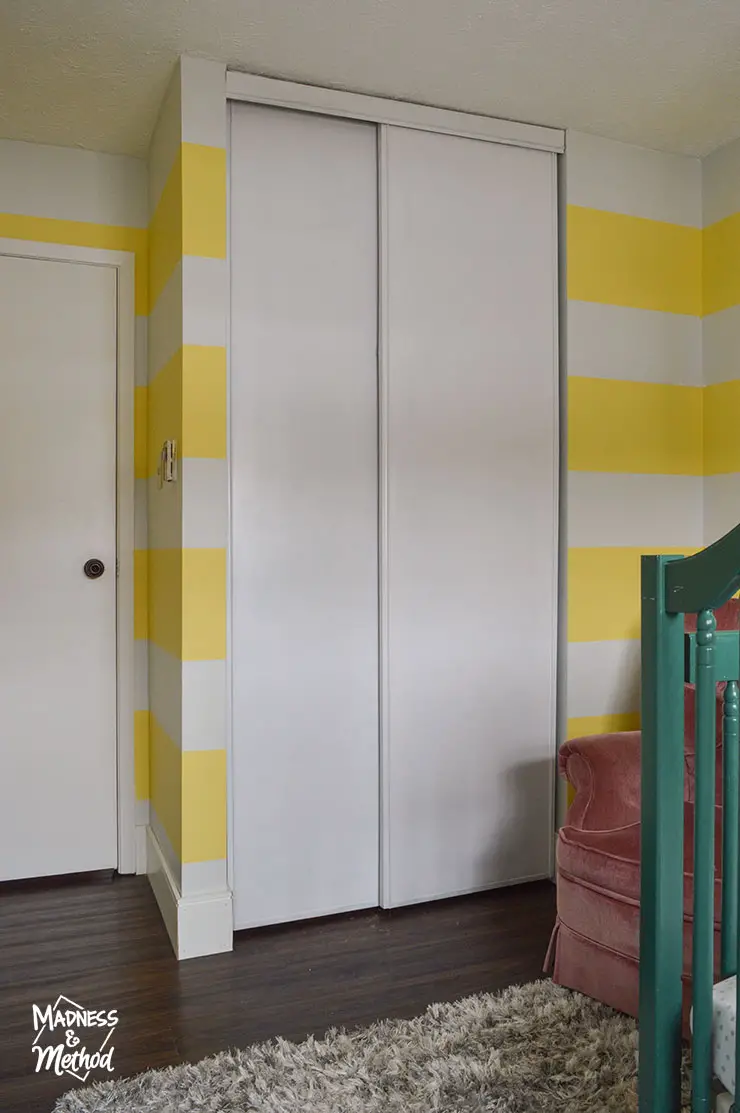
However, for Félix’s doors, I knew I wanted to paint them white. SO I did two coats of primer (see the second coat on the edges).
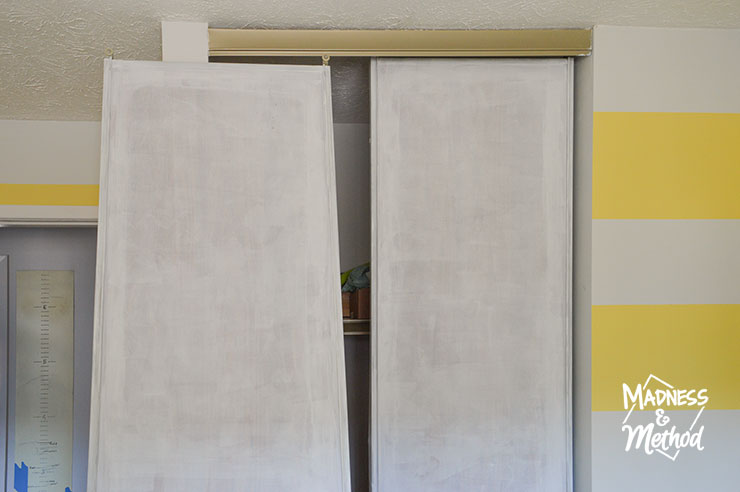
Then, I followed up with two more coats of semi-gloss white paint. I painted these in place, leaving the one door on the track, taking off the front door and painting it nearby. (Here’s a quick video I made showing the process).
PRO TIP: Alternate the angle you paint! For the first coat, I painted the doors left-to-right (ie: the short way across the door). For the second coat, I did up and down. (Then left-right, then up-down). That will ensure you get a nice smooth surface and will minimize any potential streaks/lines in your paint.
In the end, I ran out of paint but did have the doors mostly covered. Again, it’s only because I used white, had I painted them a different colour (like our grey doors), it would have been fewer coats of paint.
Painting Other Doors (and Trim)
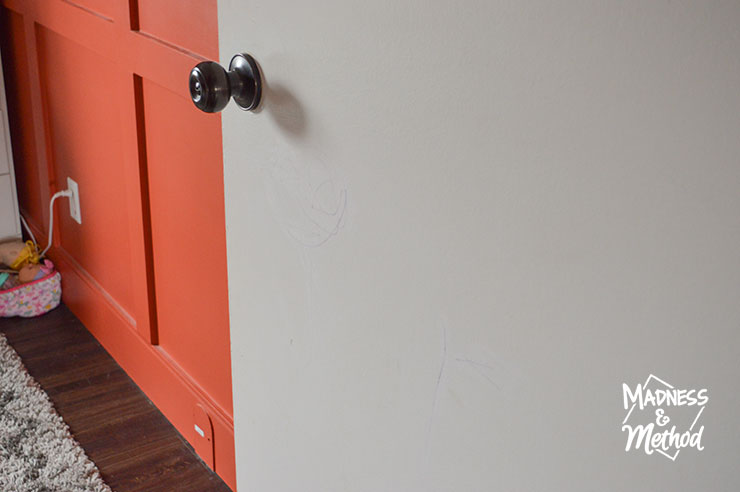
While I was waiting for the paint to dry on the sliding closet doors, I also gave a fresh coat of paint to ALL the doors in the hallway. The kids’ door had some marker messes too (you can spot that in our home tour here). So now they are completely gone :)
Although, spoiler, I only did the trim and door fronts on the hallway side. You can see in the photo above that the trim was more of a yellow tone), but everything is bright white now. I’m sure I’ll get to the backs and insides of the doors eventually, but that seems more like a getting-the-house-ready-to-sell type of thing. (Plus, as I mentioned, I did run out of paint… ha).
Either way, I hope you enjoyed these closet door painting tips! As I said, the closet doors in the hallway have been painted for a few months now, and there aren’t any dings or scratches that I have seen. And we are not gentle, ha. Actually, I do see some dirty fingerprints… but I’m sure I could wipe those off…
About the One Room Challenge
Once again, I’m completing a hallway makeover as a participant in the One Room Challenge. There are HUNDREDS of people participating in this round (it’s held twice a year), so plenty of projects to see and follow!

Follow my hallway makeover:
Hallway Makeover Plans (Week 1)
Textured Ceiling Repair (Week 2)
Painting Sliding Closet Doors (this post!)
Let’s check out the before photos of our sliding closet doors again:
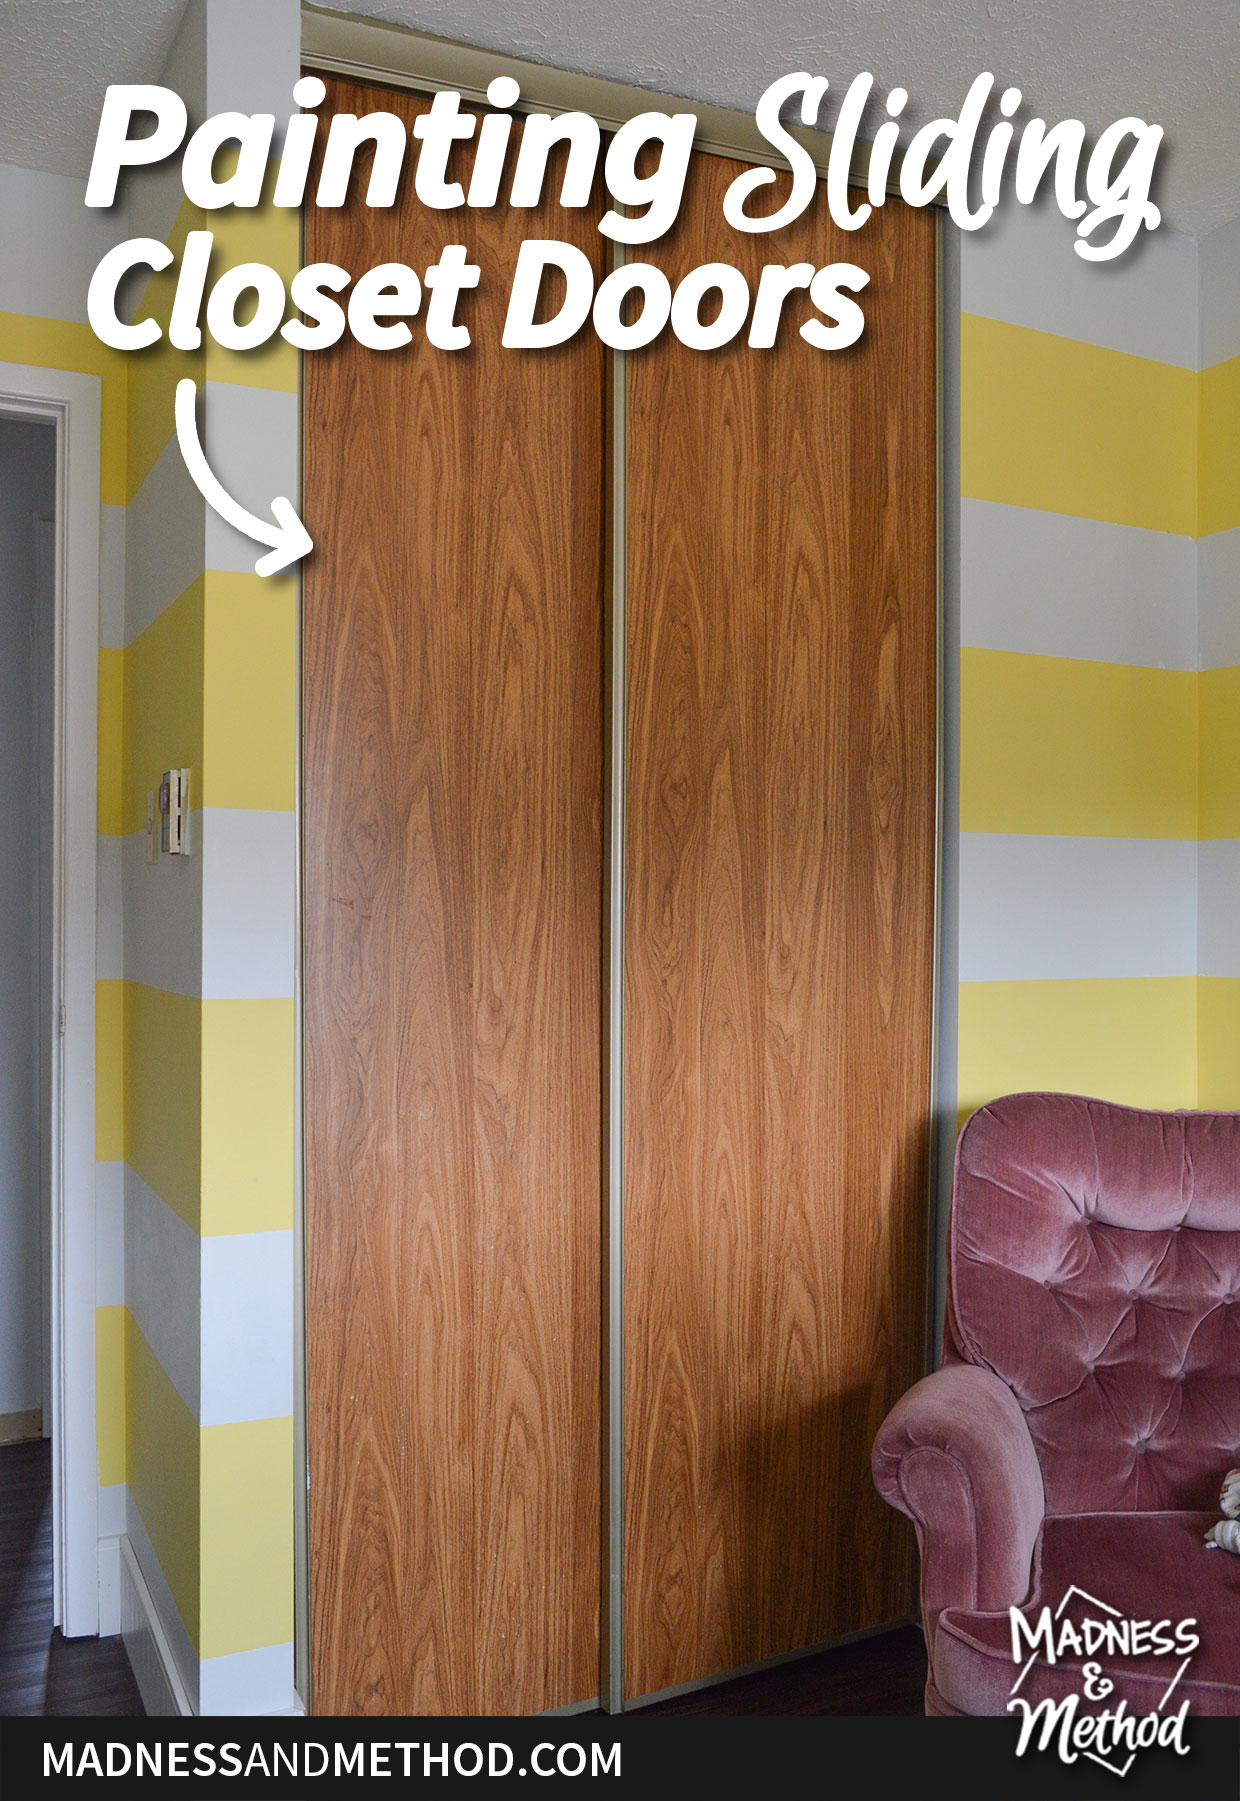
I mean, what an easy transformation right!? Fun fact, I painted the old sliding closet doors in our university house (like 10+ years ago)! They were the exact same, only a 3 door track. I do remember painting them in place (without taking them off the track), and I think it was a bit trickier. I also added a fun green border to match the walls and kept the centre parts white.
For Félix’s room (see more photos here), I’m not sure what we’ll do with the doors in the future. Hence why I thought the white would be a good idea now. (Although, after I did so many coats, I may be hesitant to change it up later, ha!).
But yes, I promise that next week we will be back in the hallway proper :)

4 Comments
Annette Leroux
April 22, 2022 at 10:59 amgreat job Nicole. I painted most of the doors (wood) to a white colour in my house. What a difference that makes. I still have to tackle the utility room which also includes the ‘man’ door from the garage. I keep putting that project but now that I’ve reviewed your post I’m feeling a bit more enthused about tackling this project before summer is over.
I love Felix’ room, great colour choice and so bright. I have that same pink chair in the basement rec room btw.
tante Annette
Nicole
April 24, 2022 at 12:34 pmThanks :) That pink chair is so comfy! I’m sure the white doors really brighten everything up
Matthew April
January 24, 2025 at 8:40 amThanks for this. I am painting these same type of doors in my house right now and this put me on the right track. The only step I added was a light sanding after the initial cleaning.
Nicole
January 30, 2025 at 10:43 amGood idea!