
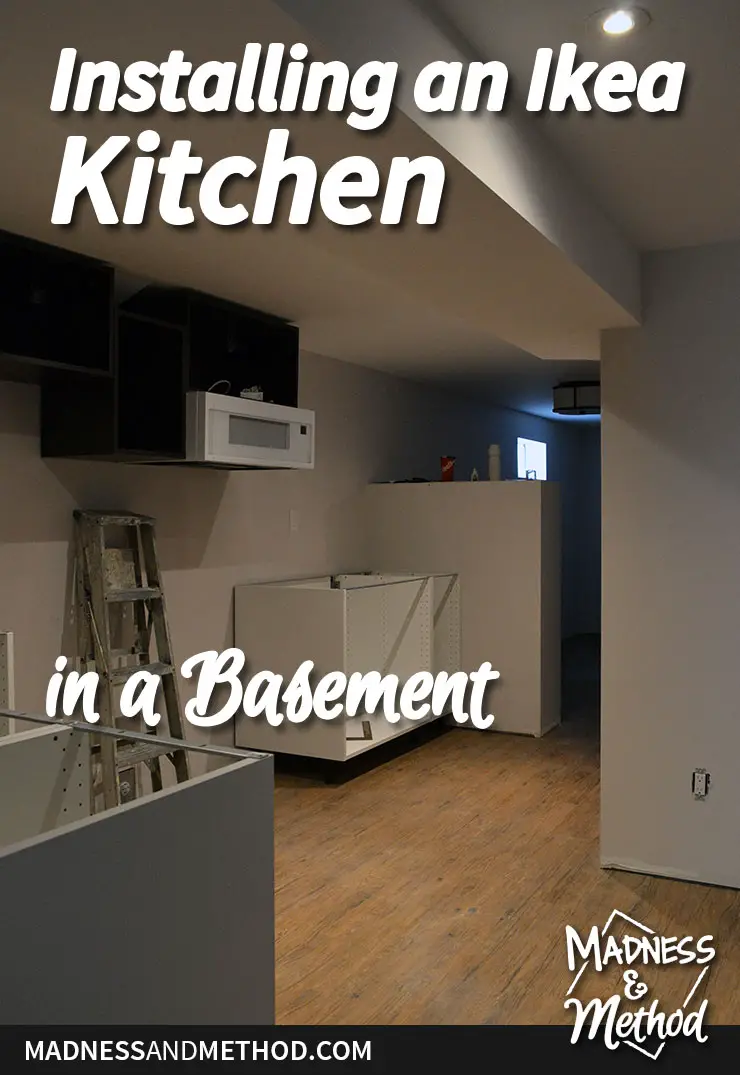
After getting delayed for months, we’ve finally started the basement kitchen at the rental renovation :) And, while the majority of the design decisions and install is pretty straightforward, installing an Ikea kitchen in a basement does have a few challenges – especially if you’re dealing with low ceilings! Let me show you what we’ve completed, what presented some extra setbacks, and what the next steps will be.
– Note: This post contains affiliate links. See more information about affiliates here. –
Okay, so first things first, you should check out the basement kitchen layout and kitchen design plans if you want to catch up on what this is going to look like.
And last week I shared a photo tour of how the rest of the basement was starting the shape up, but here’s where we were with the kitchen specifically:

During demolition of the basement, we uncovered a wing wall (the half wall thing in the photo to the right) and it’s basically a big concrete structure that can’t be moved.
Our kitchen cabinets will essentially start from that wall, then they go all the way towards the bedrooms and snake around, like a big L-shape.
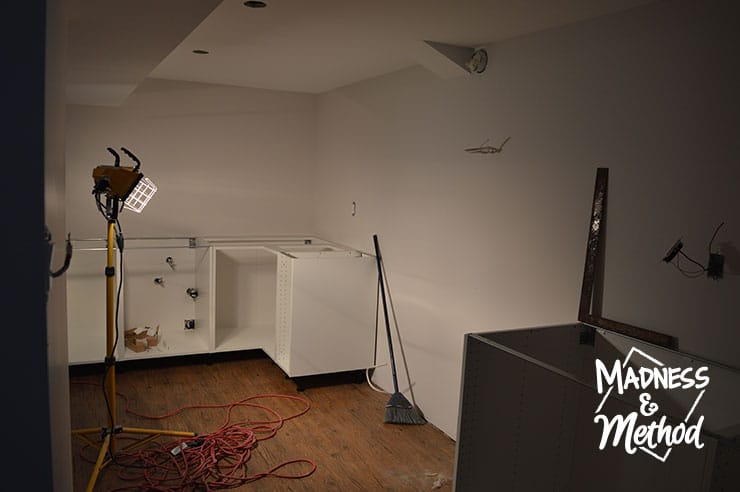
Normally, you want to install the upper cabinets first, because it’s much easier to reach them without base cabinets in your way. However, we couldn’t do this because I knew that my spacing would be tight along the base cabinets. I wanted to make sure they would fit with the cover panels I had planned to use, and I needed to see where the oven would end up so that I could place the microhood in the correct location.
There’s just one more base cabinet to install, but it’s going to be a tight fit between the dishwasher and the oven, so we’re waiting to get those in (with the cover panels on either side of the oven) before I locked it in place.
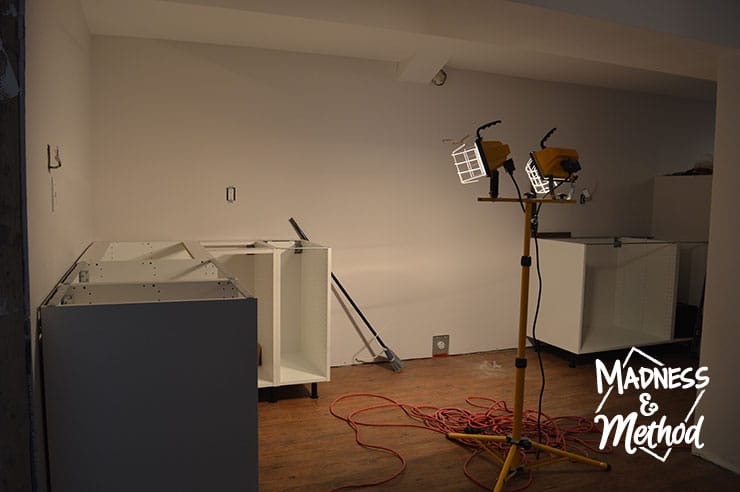
You can also see in the photos above (before we installed the wall cabinets) that there’s a little drywall section that comes out, next to the hole for the exhaust duct. This was not something that I had planned for, so we had to return a couple of cabinets and get a smaller size.

Considerations for a Basement Kitchen
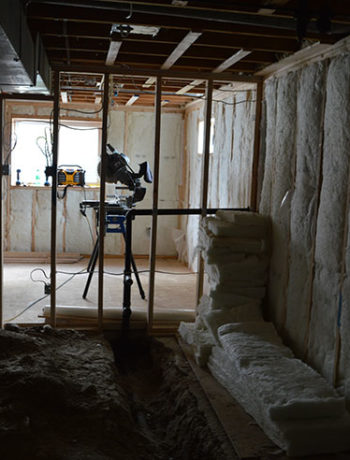
Our main concern with this basement renovation (and this Ikea kitchen installation) was that the ceilings in the basement were shorter than normal. Average ceiling heights are 8′, but down here we barely reach 7!
While I did consider installing the Ikea base cabinets without the legs to gain a few inches, I quickly realized that it would be nearly impossible to find appliances that were short enough to fit.
For clarification, the Ikea base cabinets are 30″ tall, the legs add another 4.5″, and the countertops are usually about 1-2 inches, so around 36″ total. I found a few dishwashers that were marked shorter and might have worked, but ovens all came in around the 36″ surface height.
Either way, it would have been too much of a hassle to build boxes for all the base cabinets in order to save us an inch or two – when it was much easier to just get shorter upper cabinets!
We also installed the cabinets as high as we could go but made sure to leave about an inch or so along the top. That way we could easily place the cabinet on the rail, and if there were uneven ceiling heights, it wouldn’t be as noticeable (they’ll be covered up anyways).
One thing that did help us a lot, was finding a microhood that was shorter than average. This enabled us to install the traditional 15″ cabinet from Ikea rather than hack something together, like turning a 12″ x 30″ cabinet on its side (which I did consider!).
Plus, installing the microhood was a beast, so I’m glad we have the proper cabinet above it to take some of the weight.
But, that brings me to my next point!
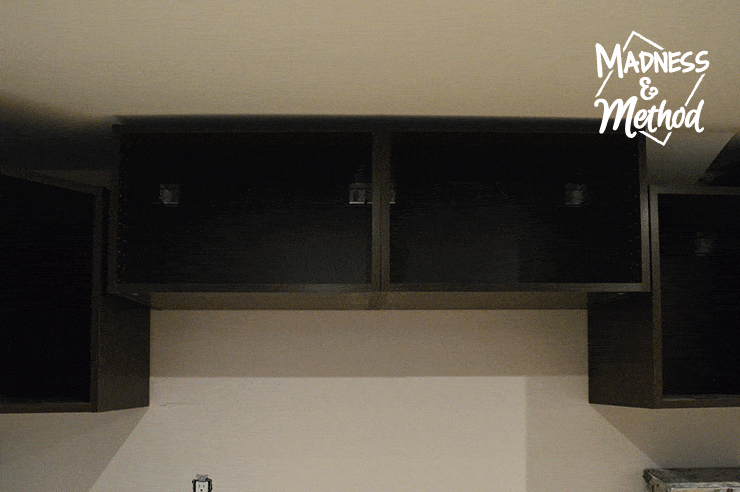
I had planned on having the two “taller” wall cabinets be the traditional 30″ height, but once all the drywall was in, I realized that there would be no way that they would fit (and there was the extra drywall cutout above the one cabinet – which oddly worked out perfectly).
I ended up having to return those two for 20″ height cabinets (and yes, I had already painted the doors, so I lost a bit of money there), but it ended up working nicely.
We also installed the upper cabinets in a bit of a weird order (you should start from the corner and work your way out). BUT again, I wanted to install the microhood first so that I could perfectly line up the “taller” cabinets with the base of that, so it would create a nice line.
(In order to do that, I just click-clocked the plastic locking pieces onto the Sektion rail system that was cut to the correct length for my cabinet. I then held it up where I wanted it, then marked the height for the rail from there. I unlocked the rail, then secured it to the wall where I marked the height, and the cabinet was lined up!).
We’ll be adding an open shelf across the bottom of the open area (as is shown in the graphic above) and I still have to add some thin cover panels along the sides to fill in the gaps.
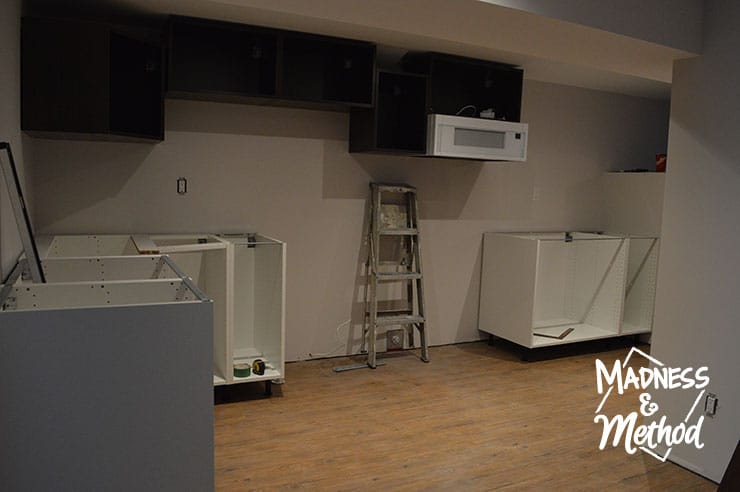
The photo above shows how everything works together (remember that there will be another base cabinet where the ladder is), and I think we were able to get a lot of storage even if we had to use smaller cabinets.
I also chose to do dark upper cabinets along the tops so that it would blend more with the painted colour of the outside because I didn’t want to have to put panels on the bottoms (don’t worry, once all the doors are installed, it will all look the same!). You should only see the colour of the inner cabinets when you bend over and look up.

They’ll also be a couple more cabinets to the right of the fridge (next to the bathroom door – where those doors are leaning in the photo above) but I want to use these more like a “linen closet” than for kitchen stuff. I’m planning on doing some nice built-ins around everything to add storage, so you’ll have to come back and check it out when it’s done!
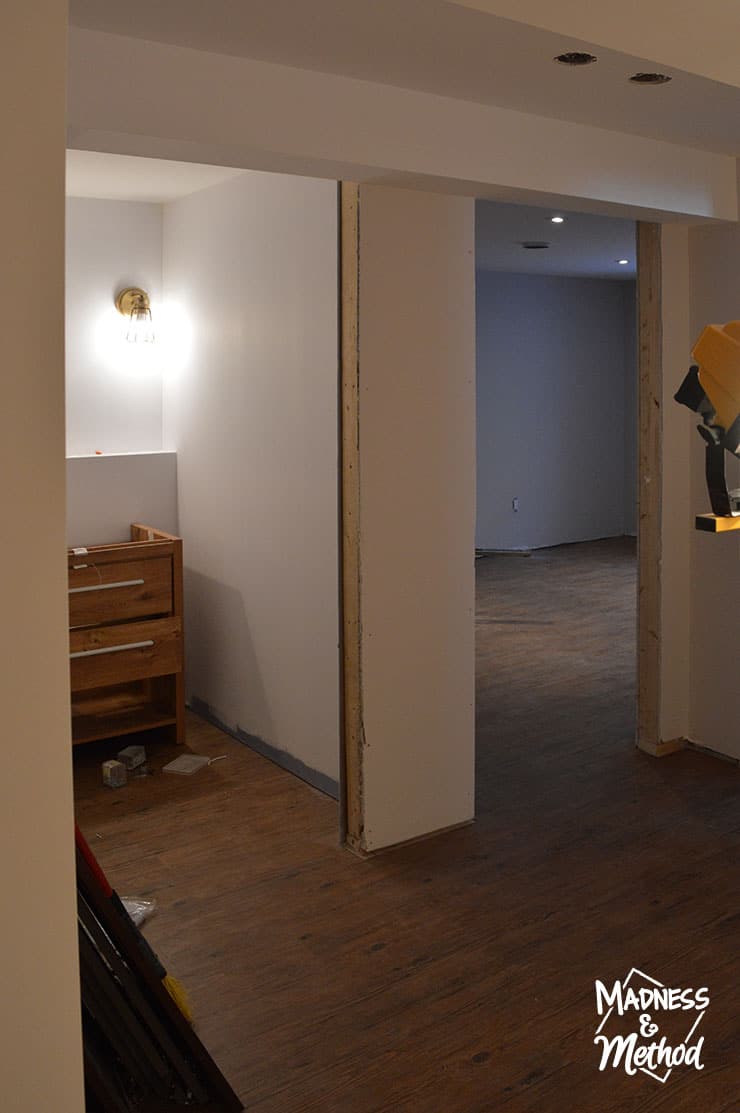
And here’s a little sneak peek of the bathroom (and into the master bedroom) – and you’ll definitely have to come back next week to see what I’m planning for the bathroom because it’s going to be good!
Oh, and everything looks much better with the lights working and the floors installed right?
(These are the floors we are using throughout the apartment, and I really like how they turned out!)
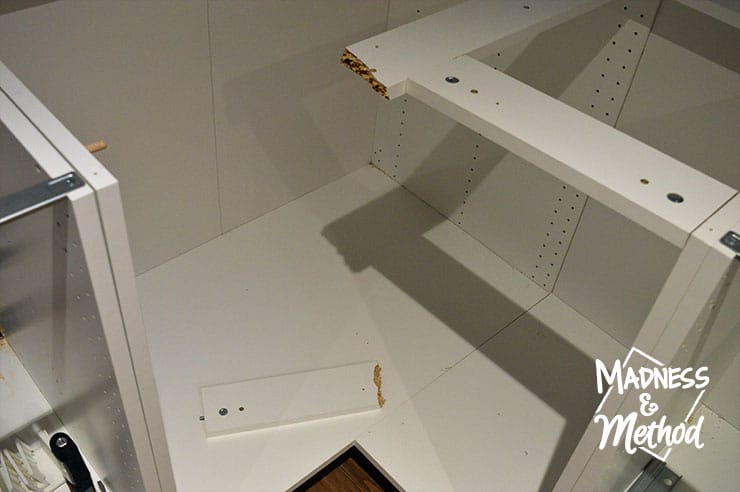
And, just in case you thought things were going smoothly… the Husband broke the cross piece in the corner cabinet and now we have to fix it before we can install the counters.
We still have to lock all the cabinets in place too, but I wanted to wait until the appliances were in (and we didn’t have our clamps with us) – but at least we’re moving forward :)
Hopefully, my tips on installing an Ikea kitchen in a basement were helpful to anyone else who’s in the same situation! Actually, you can probably still follow a lot of the advice for a regular Ikea kitchen install (wall cabinets first, followed by base cabinets – and always start in the corner!), even if I didn’t follow the advice myself :) But that’s how we ended up with the broken cabinet, so there’s that.
I did write more detailed posts on installing Ikea wall cabinets and base cabinets if you wanted (BUT they are from the older Akurum line, whereas everything has been switched over to Sektion now). You can also check out our DIY kitchen reveal or my brother’s budget kitchen to see my other Ikea kitchen designs :)
And lastly, you can follow this Rental Renovation Pinterest board to see my inspiration and what I’ve been saving!

No Comments