
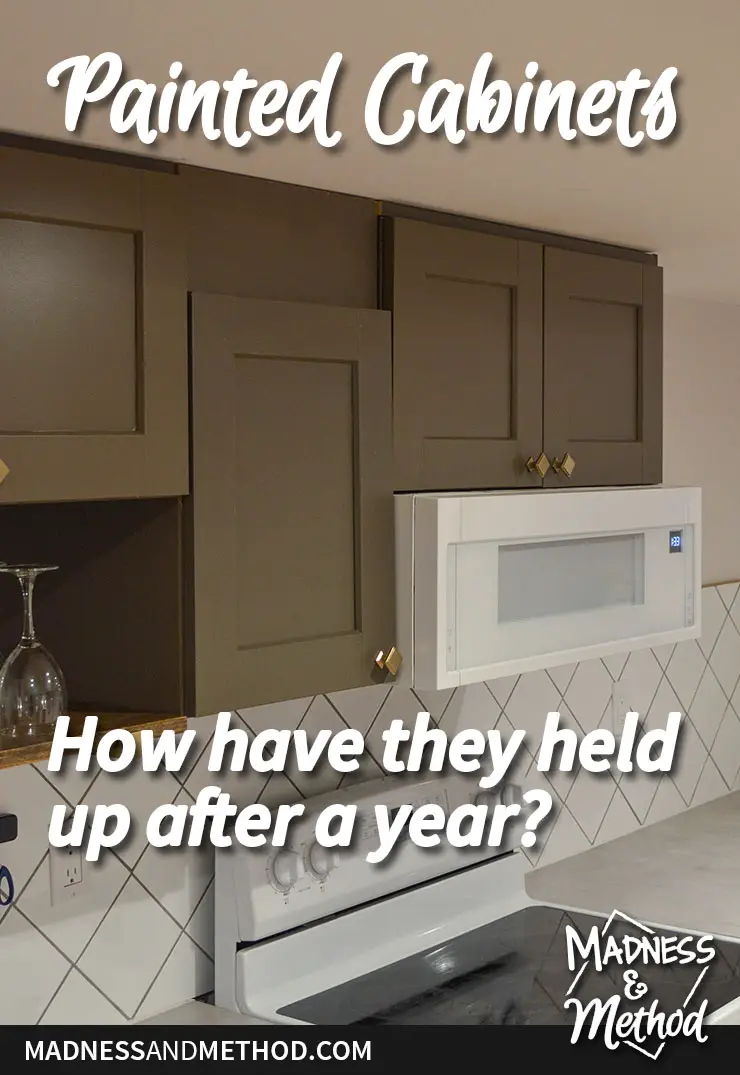
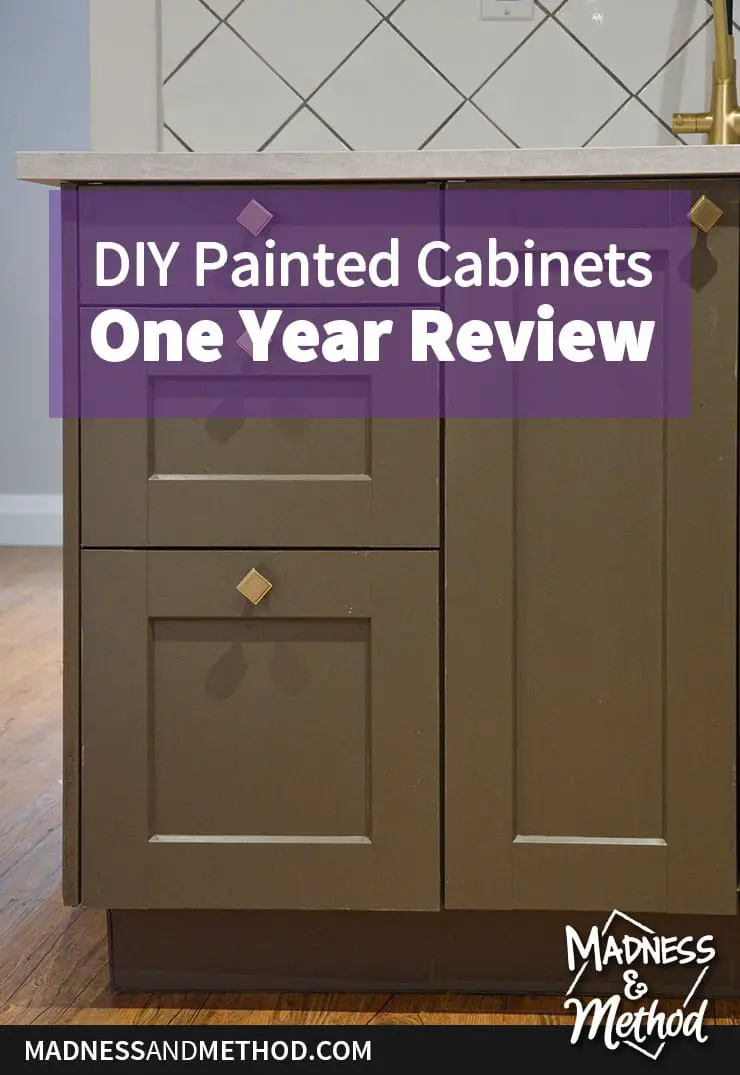
Remember way back when I painted the cabinets for our basement kitchen? I promised a detailed post about the different paints I used AND how they each fared. Well, it’s been over a year since they’ve been in use, so it’s time to share. Here’s a full breakdown showing the painted cabinets wear and tear, the paint(s) I used, and what I would do differently!
– Note: This post contains affiliate links. See more information about affiliates here. –
If this is the first you’re hearing about our painted cabinets, let me give a recap:
- Purchased second home to use as a rental property in April 2018
- Started renovations to turn the basement into a separate apartment (August)
- By October, we thought we could start our basement kitchen
- 2 months later, we were still waiting on trades to finish certain stuff
- Finally installed the cabinets in January 2019
- Moved into the apartment (part-time) with family in the spring
- Revealed the completed kitchen in August 2019
The kitchen had been pretty much in place since February, and we started using it regularly in June.
We lived in the apartment during the week and headed to our main house on the weekends. The cabinets saw regular use with our two little kiddos, and we eventually started Airbnb’ing too. Then I had another baby, and we decided to buy another home in this small town.
All in all, we lived in the apartment for a good 10+ months, and it’s been a full-time Airbnb rental since May. (And, considering it’s COVID, we’ve still been pretty busy with bookings). So yes, this kitchen has gotten a lot of use!
Painted Cabinet Prep
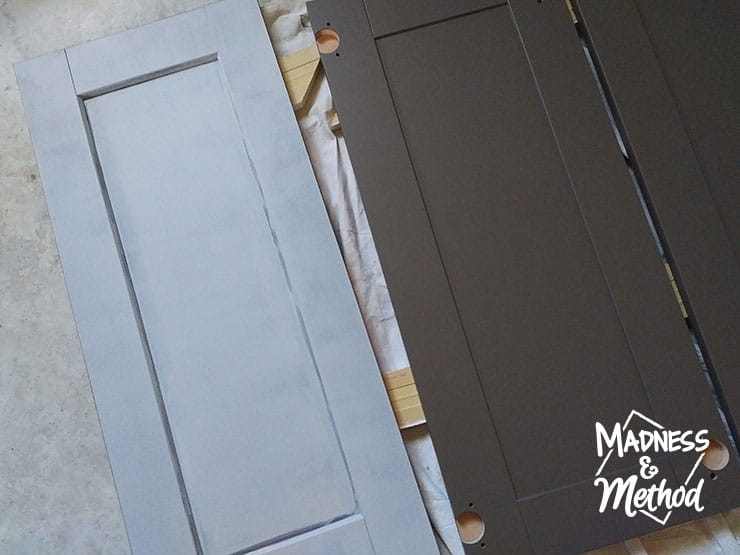
I shared my plans for priming and painting the cabinets back in November (2018). Here are some photos to jog your memory:
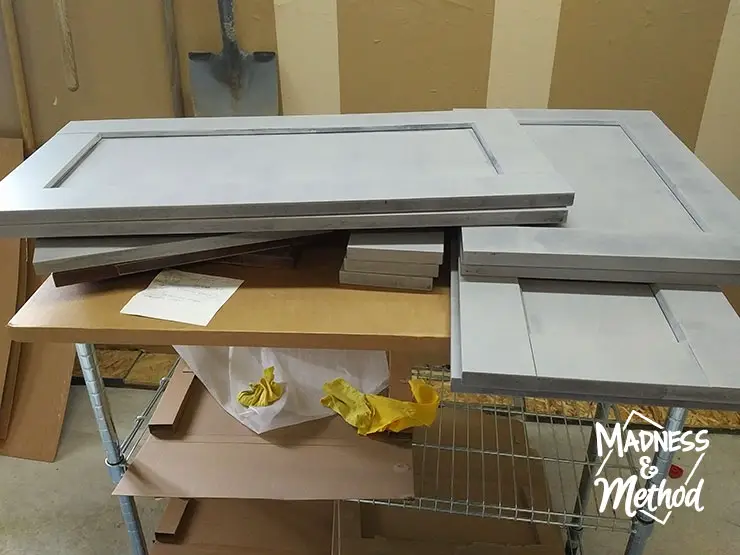
One thing I should note, I primed and painted all the doors in my (old) garage. It was cold outside, so I tried to have a heater on. I think painting the cabinets with a warmer temperature would have improved some of the finish.
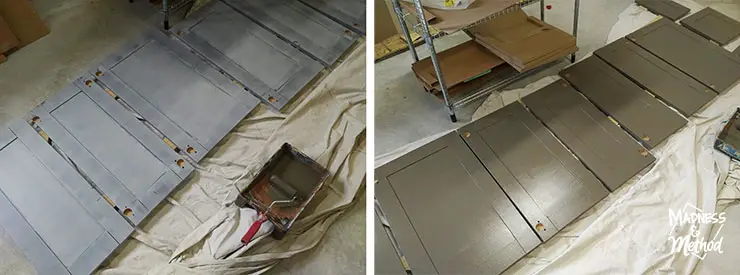
Using a foam roller, I primed (most of) the cabinet doors, waited until they dried, and then painted them.
>> This video goes into the priming/painting process in more detail <<
I think I only had to do two coats, and then there were some doors that I added a few coats of Polycrylic.
At one point, the Husband got something onto my doors, but luckily it came right off without damaging the finish.

Materials Used for Painting Ikea Cabinet Doors
- Orbital sander (similar) and sanding sponge
- Zinsser Bullseye 123 (I used grey)
- Paint tray / foam roller / brush
- Scrap pieces of wood, tarp, cardboard, etc.
- Paint tinted to Para’s Cast Iron (I tested regular “wall” paint and a cabinet-specific paint)
- Polycrylic (that I used on half of the cabinets)
- Ikea Sektion cabinet with Edserum doors
- (Misc Kitchen Links: Square knobs, microhood, gold faucet)
Cabinet Door Installation
Up until this point, I had been babying the doors in the garage. Then, I carefully wrapped them all back in their cardboard boxes. We had to bring them to the rental renovation, and once there, I had them stacked and ready to go.
The idea was that I’d install them myself since I had a detailed plan of where each of them would go. Unfortunately, our contractor crew decided they’d attempt to install them… and things got a little wonky.
I also noticed some scratches and marks on my doors. I repeat: most of the wear and tear on our doors happened during installation and were NOT during regular use.
Anyways, here was the layout I was working with:
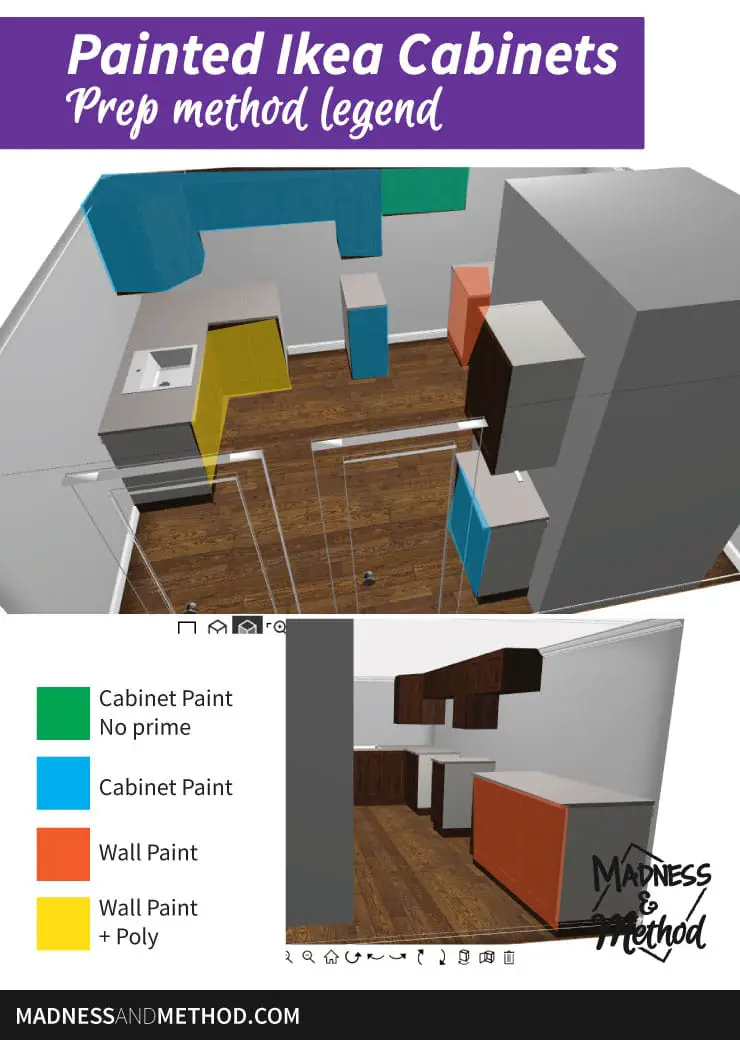
I assumed that there might be some slight variations in sheen and/or colour because I was testing different painting methods. The idea was that each section would all match. They wouldn’t touch each other, so you wouldn’t be able to tell if there was a difference.
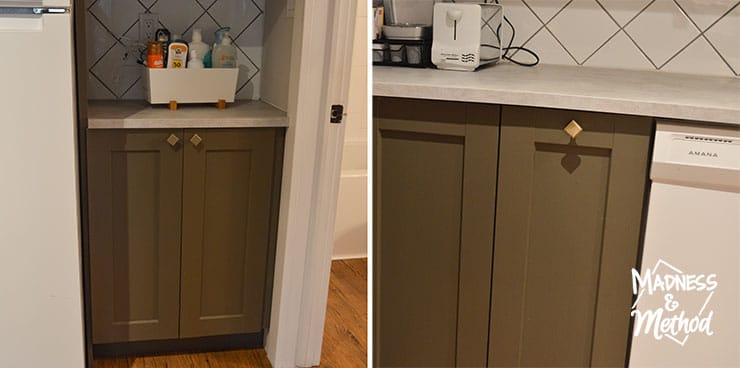
Remember when I mentioned that our contractors tried and install the doors? They had mixed one of the paint+poly doors with the cabinet-paint door, and the colour difference is pretty obvious. Problem was that I couldn’t just swap them because the door to the left of the dishwasher is a pull-out (and was screwed in).
So I’d either have to deal with the colour variation or uninstall the drawer and live with a bunch of holes…
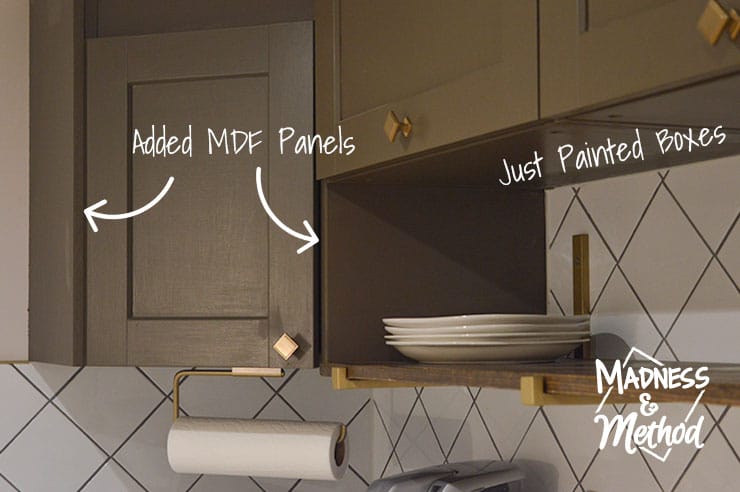
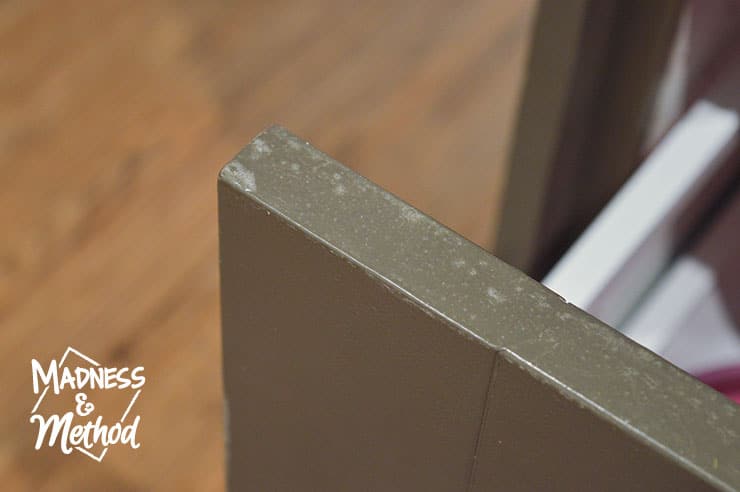
Another thing I wanted to mention was our painted Ikea cabinet boxes. I did not sand or prime them, and they have NOT held up well. (Watch the video to see what I mean).
Conversely, the MDF panels suck up paint like crazy, so I think I’d just add a thin hardboard panel to the bottom section if I ever wanted the full-painted look again.
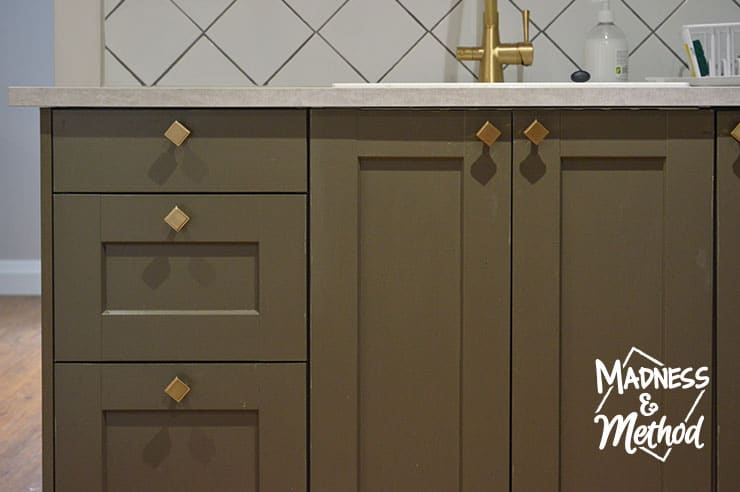
The Good, the Bad and the Ugly (Cabinet Wear and Tear)
Ready to get up close and personal with our painted cabinets? I find that a lot of online tutorials for painting cabinets tend to gloss over the close-ups… but not today!
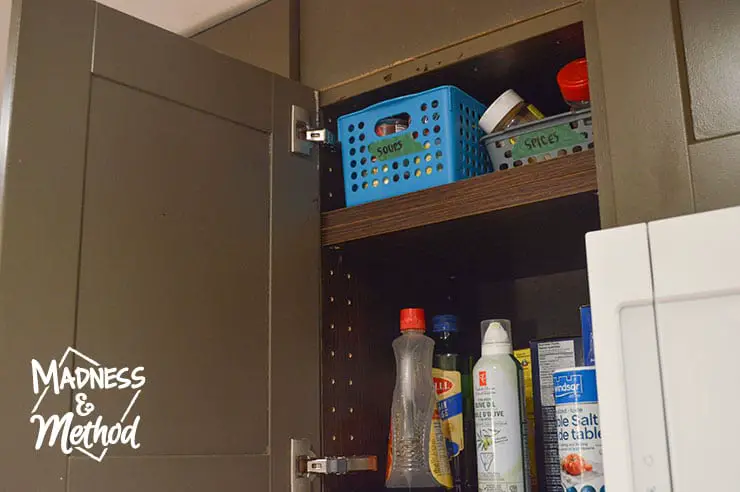
I’ll start by sharing the photos of the peeling paint on the cabinet boxes. Remember, I did not prime or sand these at all and paint does not adhere to this glossy surface. (By comparison, I used a gel stain on our first kitchen’s cabinet boxes, and that seemed to hold up just fine).
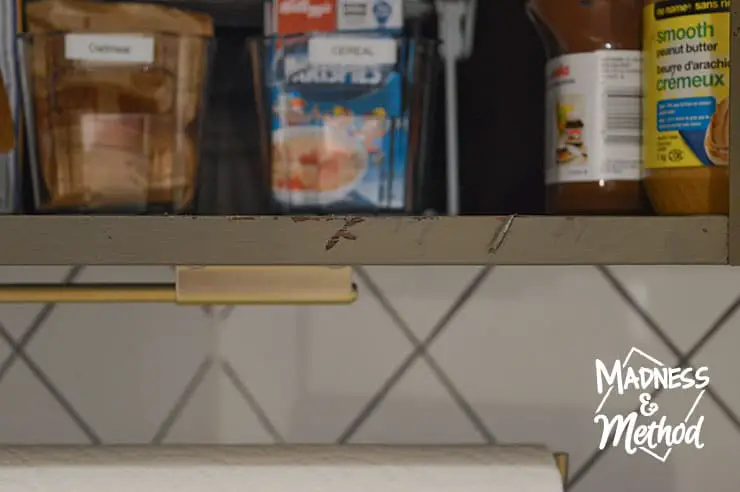
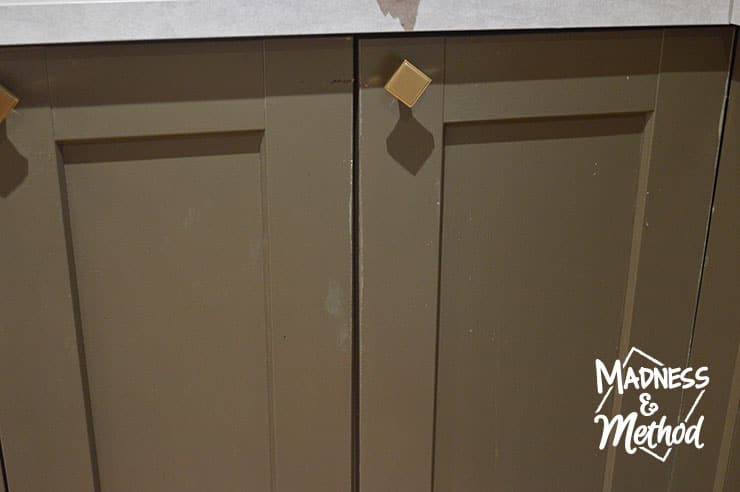
I took the photo above because I wanted to share the unpainted shelf’s colour. While it was pretty close to my painted cabinet colour, I like the look of everything painted the same. If you didn’t know, you do see a sliver of the cabinet box colour even when the doors are closed.
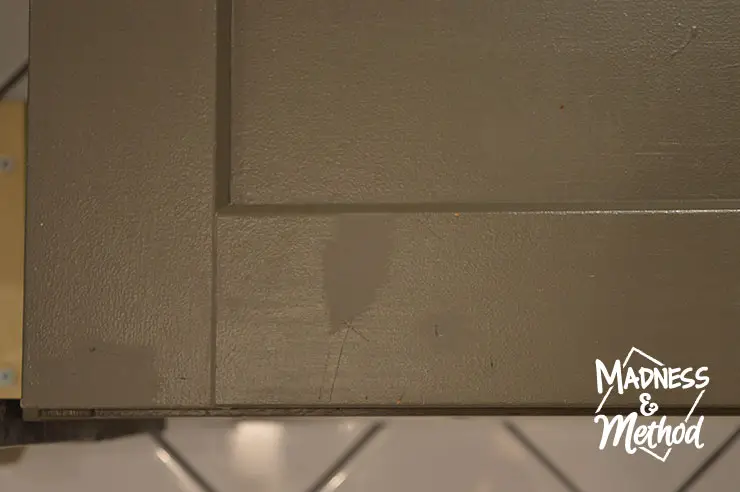
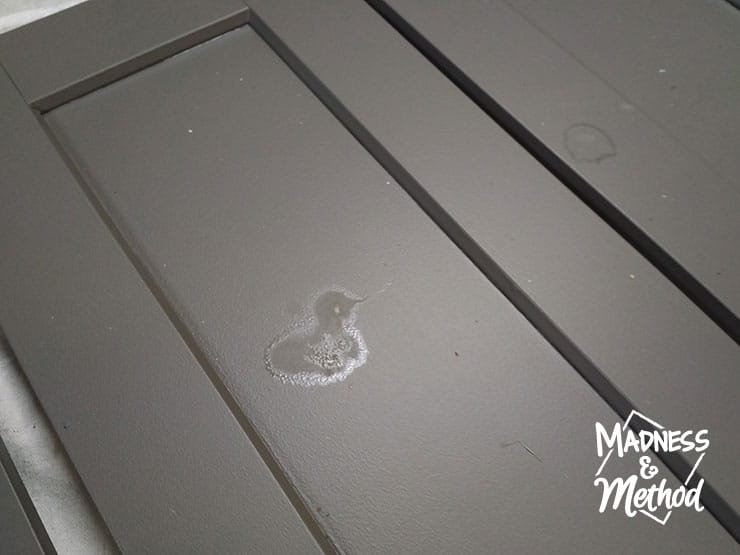
The photo above shows a close-up of the colour/sheen variation where I tried to do a touch-up. You can also see the mini-stipples from the foam roller, so if you want a super smooth cabinet door, you might need to spray your paint.
(The shinier paint is the cabinet-specific melamine, whereas the touch-up is the wall paint).
Before I tested each of these paint methods, I assumed that the cabinet doors coated with Polycrylic would last the best.
However, I found that my Polycrylic did not set as smoothly as I would have liked. I 100% blame the cold temps in the garage – but that’s something to keep in mind! And again, if I was the one to install the drawers/doors, I would have made sure to put the “ugly” parts on the bottom so they wouldn’t be seen.
I believe you can also sand the bumps smooth (similar to what I mentioned at the end of my first video).
When I was taking the photo above (to show the Polycrylic mess along the edges) I noticed that there was a big scrape on the left door. This is because the doors on the right are a lazy susan style, and rather than close on a single hinge, it’s more like a dragging motion. The bolt from the cabinet knob rubbed on the door and peeled the paint.
Painted Cabinets Video
Watch the video above to see some more details on the cabinets, or check it out on Youtube here.
Cabinet Painting Review/Conclusion
I know I hate when there aren’t any concrete answers… but I’m going to have to do the same. None of my paint methods held up better than the others, as I had scratches on each finish. Looks-wise, I like the finish of the wall paint as it was the most matte, but I would anticipate the most future damage.
Most of our damage was caused during the installation of the doors, so please be careful! I think if I was to paint cabinets again, I’d still sand them down and prime them (because the unsanded/primed boxes did not hold up). I didn’t share the worst of it, but just imagine paint coming out in like 6+ inch sections.
For the paint, I’d only use one product, and I’d probably go with the cabinet-specific paint. This would be the best option if you have any future touch-ups to do because it would be a “one and done” type of situation. (Compared to the Polycrylic which would require you to paint and then clear coat everything again).
I’ll definitely be painting some cabinets in the future, so let me know if you have a favourite product to use! I kind of wish that the paint finish was more matte, so maybe I could try Fusion paint like my dresser? (Oh, and seeing the photo above reminded me that I also painted the toe-kicks to match – but they’re like plastic so the paint doesn’t stick too well there either).
Whew, I think that’s a long post, but please reach out if you have additional questions!
I know I also promised a follow-up for my brother’s bathroom, so hopefully, I’ll get to that soon too :)

No Comments