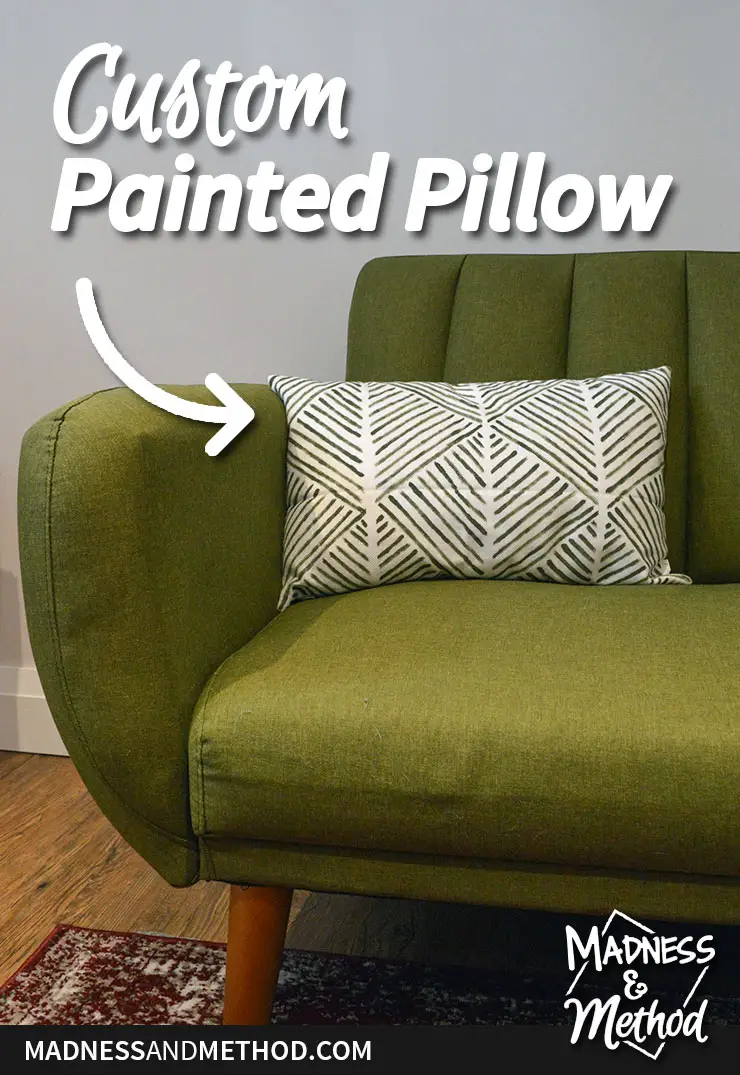
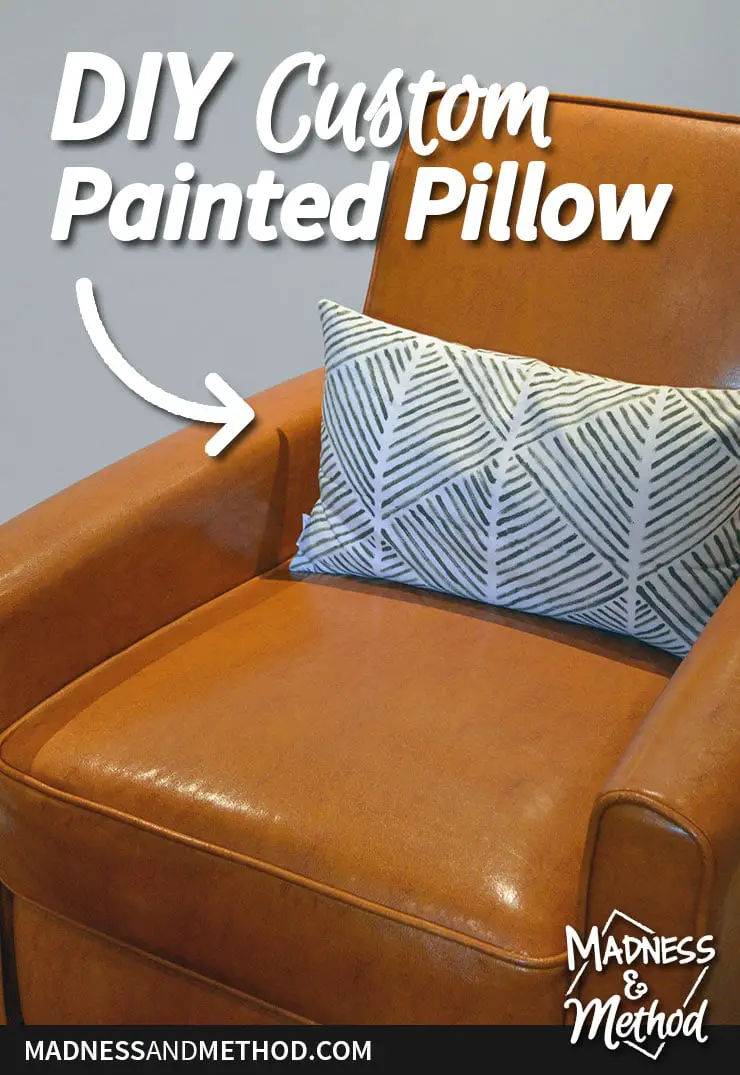
I’m excited to be getting back into some fun DIY projects, now that the littlest one is a bit older and life is more routine. Today I’m sharing how to make your own custom painted pillow, and it’s super easy! This project was born because the pillow I really wanted wasn’t available anymore… so I made it myself!
– Note: This post contains affiliate links. See more information about affiliates here. –
Okay, so about a year ago I shared the rental renovation basement living room plans. In my moodboard, I included a cool white and green lumbar pillow and I wanted to use it in the space. Well, in March when I had gone to actually purchase the pillow, it was out of stock, but would be back “soon”.
Fast forward a few months later when it said it wouldn’t be back in stock until mid-November! We didn’t really need the pillow right away, so it wasn’t too bad. But then, lo and behold – when I go to buy the pillow in November, it was completely gone in the green colour!
(Then I was busy with the baby, then the holidays and come January it was still nowhere to be found).
So I did what any desperate thrifty person would do, and I decided to recreate the pillow myself!
Materials Required:
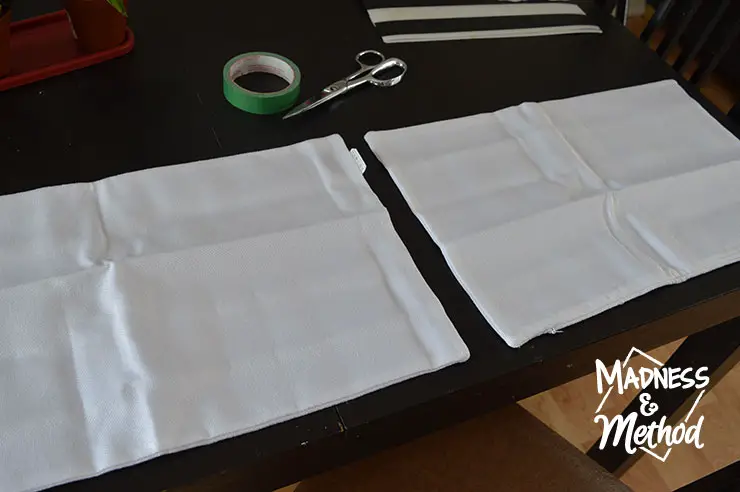
- Pillow inserts and covers (these 12x20s covers were the cheapest I could find, and I have these inserts)
- Craft paint in colour of choice
- Fabric painting medium (although, I’m not sure how necessary this is)
- Misc. supplies like skinny tape, paintbrushes, etc.
I should mention that I tried finding the Milan pillow in other places, and even tried to find something similar that I could use instead. But alas, I loved that pattern too much and nothing really resembled that in a lumbar shape.
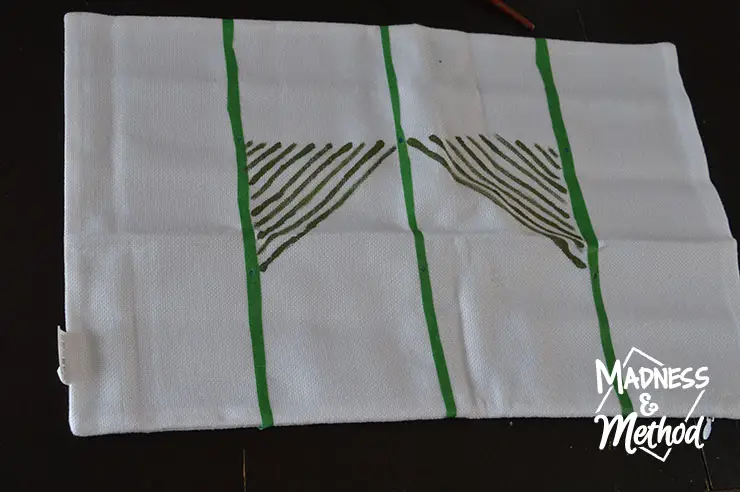
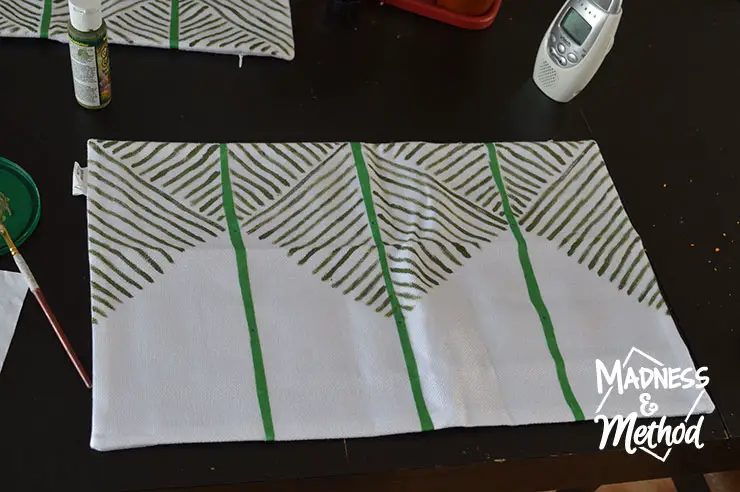
Since my pillows were 12×20, I decided on a 3×4 pattern to divide my lines. I would recommend washing your pillow covers first to remove any fold marks (I didn’t, and it was really annoying!).
I couldn’t find my skinny tape, so had to cut my own strips using regular painters tape. You can faintly see in the image above, but I also marked small dots every 4 inches on the tape for my different areas.
I mixed a custom paint colour to try and match the sofa, then added the fabric medium as well. (I had some leftover from when I painted the dog bowl rug – but I don’t know if it’s necessary).
I painted all the stripes on one side of the pillow, then flipped it over a few hours later and did the back too. (I only screwed up the pattern the first time – you can see in the photo above on the left).
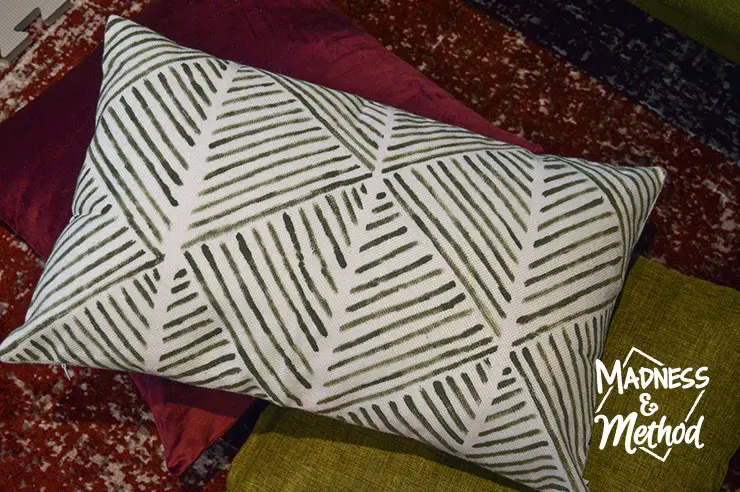
Painted Pillow Reveal
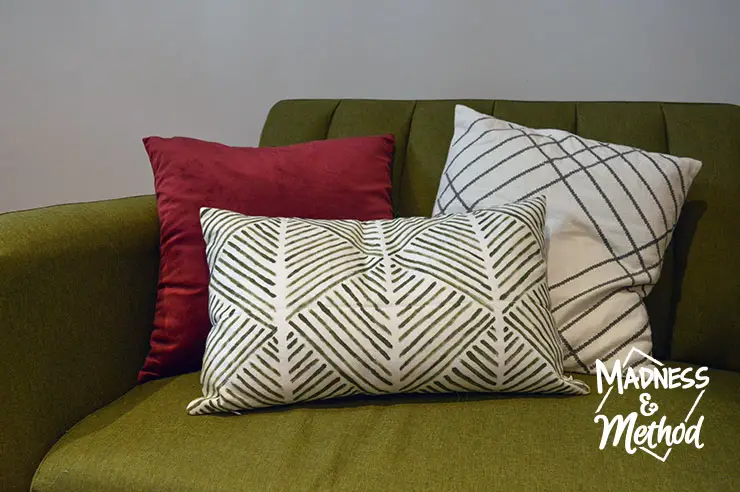
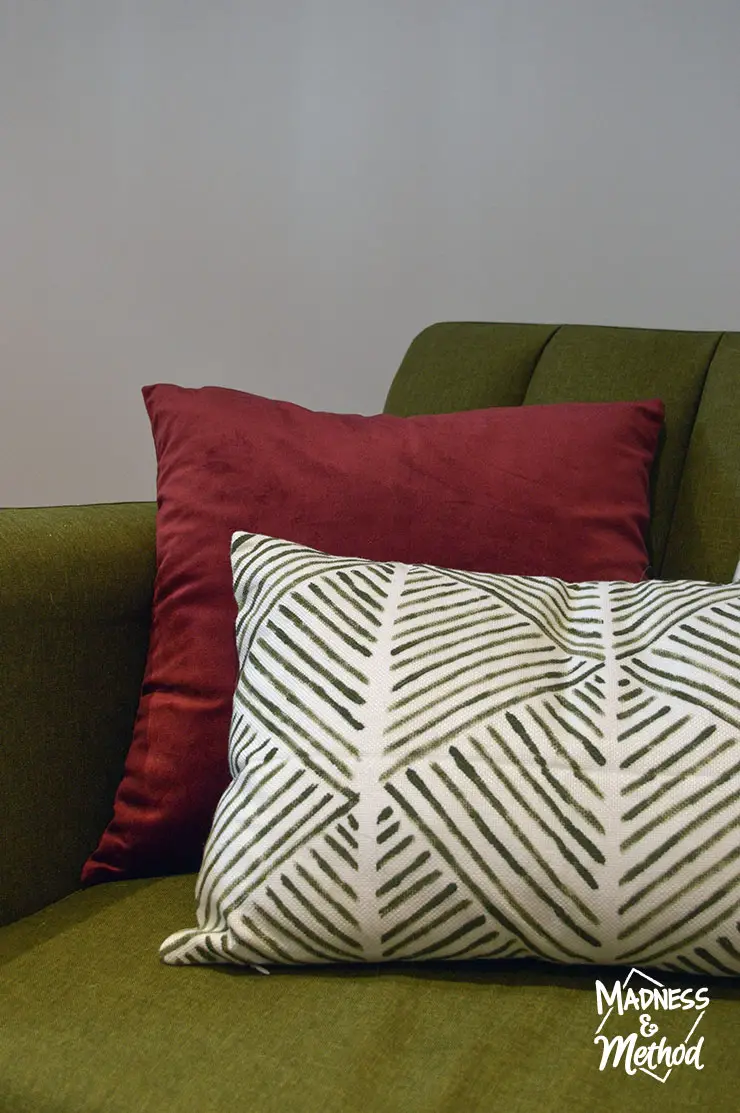
The stripes aren’t perfect, some wider than others, some more faded and I like that random look. The original Milan pillow looked like that too, and it was definitely an easy DIY project!
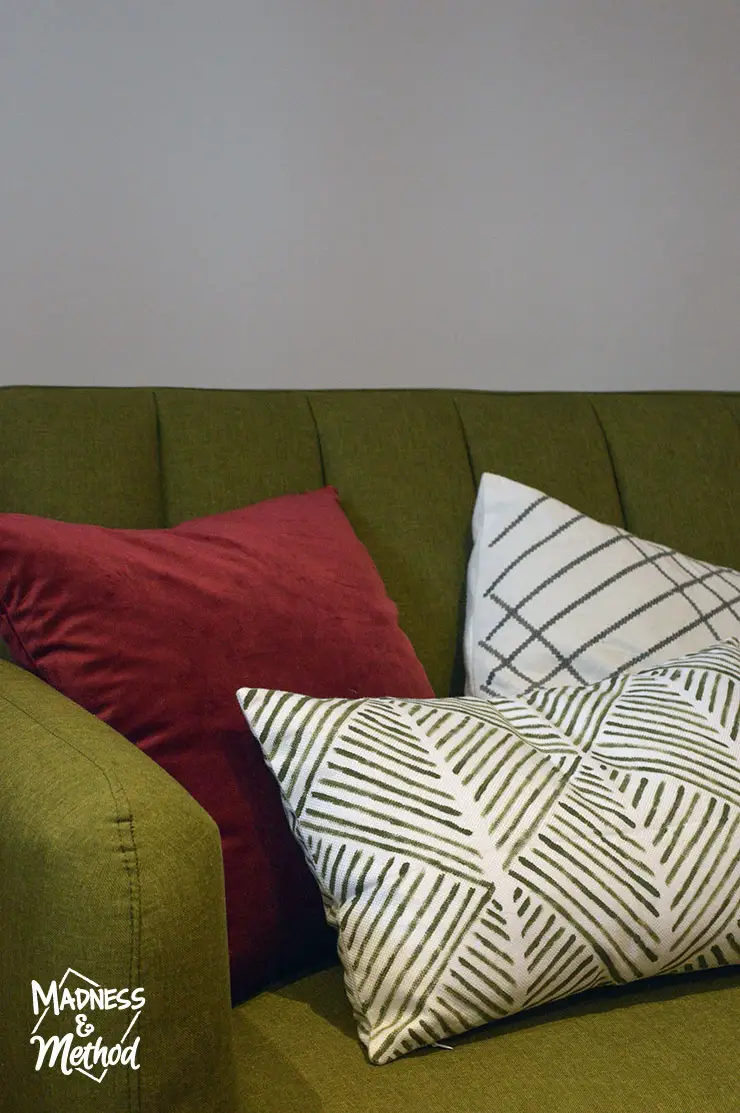
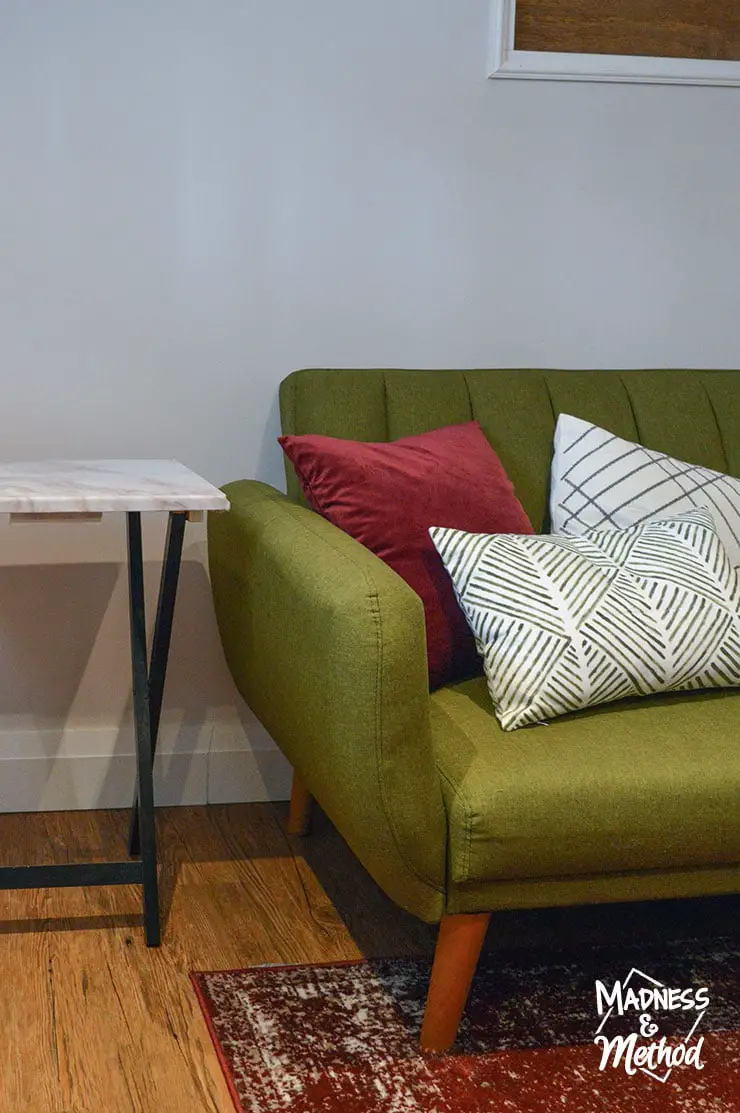
I’m happy that the green colour I chose matches the sofa. Although I don’t think anyone would have complained if it wasn’t perfect.
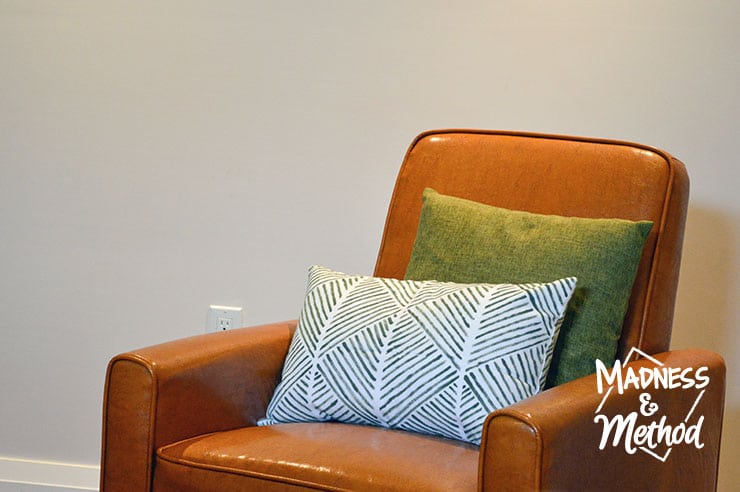
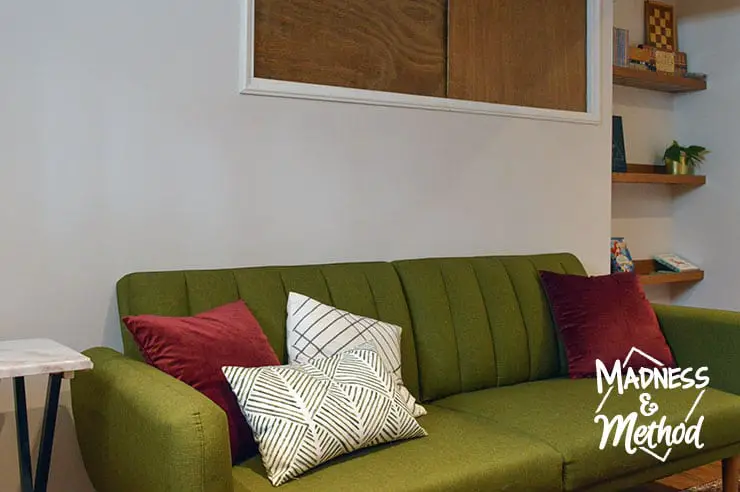
This green pillow cover was from the Dollar store of all places! It matches the sofa exactly and I usually have it placed on the chair. This white pillow and cover were from my original design post, and I did buy that one a while ago too.
I just got the two burgundy pillow covers (and inserts), and now we finally have all our pillows for this basement living room (only took a year!).
It’s a much comfier setup now (there was usually some arguing over who got to use the only two pillows). Oh, and I’m going to talk about those shelves in a few weeks too (another DIY project I did recently!).
Although, let’s be honest – as soon as I put the pillows back up, the kiddos seem to grab them and move them to the floor.
This custom painted pillow ended up working out a lot better than other pillows I tried making. But, get this – I literally went to link to the original Milan pillow as I was writing this post, and apparently, the green one is back!
So, if you like the pillow as much as me, you could either do this DIY to recreate it – or just buy the original (which is a bit larger at 14×26).
(See more of the basement living room progress here and the original design plans here).




No Comments