
Since I am updating our hallway, I figured it made sense to tackle the broom closet organization! And really, just a few small changes have made a HUGE difference in how the closet functions. Or should I say, how I react when I need to get something in the closet. (I’m talking about rage mode – something I shared in my email newsletters, ha). Either way, let’s talk about how the closet not only functions better… but looks better too!
It’s the 5th week of the 8-week Spring 2022 One Room Challenge. Week 1 was before photos and plans, week 2 I repaired the textured ceiling, week 3 was about painting sliding closet doors and week 4 was my tutorial on mixing paint at home.
Yes, I am “just” doing small cosmetic updates to our hallway, so technically could be done by now. But, I wanted to have things to share for each week, so I’m sort of breaking down the projects a bit. If you scroll to the bottom of this post, you’ll see my whole to-do list.
Anyways! With me updating the visual part of the hallway, I figured that tackling the closet in the hallway made sense. We have two closets in our hallway, with the one on the end mostly for towels/toiletries. Today I’m talking about the closet near the kitchen.
Messy Broom Closet
Let’s look at the side of the closet that caused the most issues: (And notice Zachary watching TV in the background, ha).
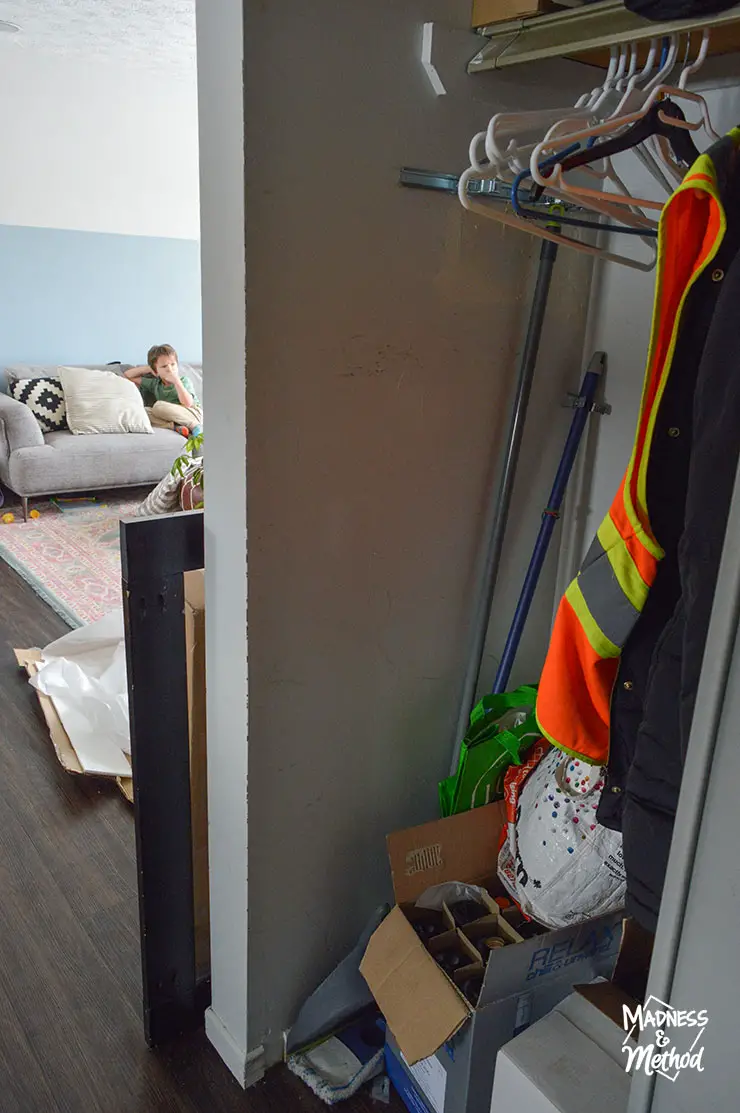
I had purchased one of those broom handle storage systems but it was NOT working. The metal tabs were too hard to snap the brooms on. And worse yet, the kids couldn’t take the brooms off the tabs and they’d just fall off. I think it was one of the earlier purchases of the house, so we’d been living with brooms thrown in (or stuck on the wall) for 2 years maybe. (Notice the one sweeper with the metal claw stuck on it still!).
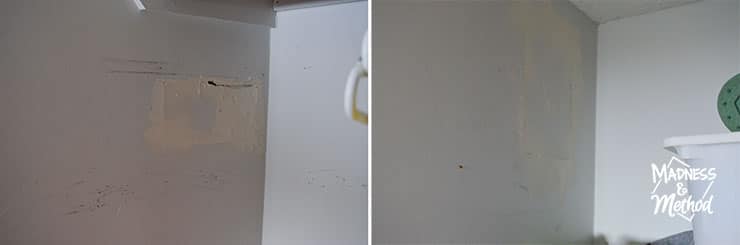
One thing you didn’t notice (because it was behind the non-working broom holder) was our unfinished drywall sections. We relocated the light switches to the other side of this wall (when we redid the kitchen), and I only half patched them.
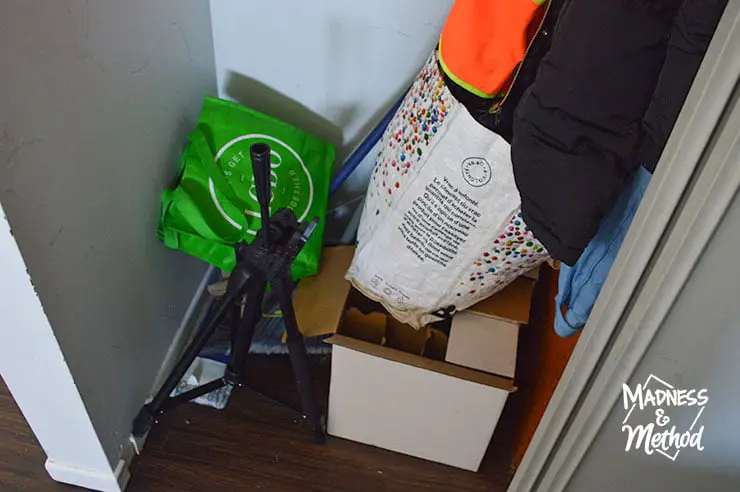
This side of the closet is also where I store my tripod, my main grocery bags and the Husband’s wine. He calls this the “wine cellar” and we usually have a case or two of wine bottles on the ground. But ya, sometimes the sweepers would get lost behind the boxes. Or worse, they’d fall on us when we slid the doors open.
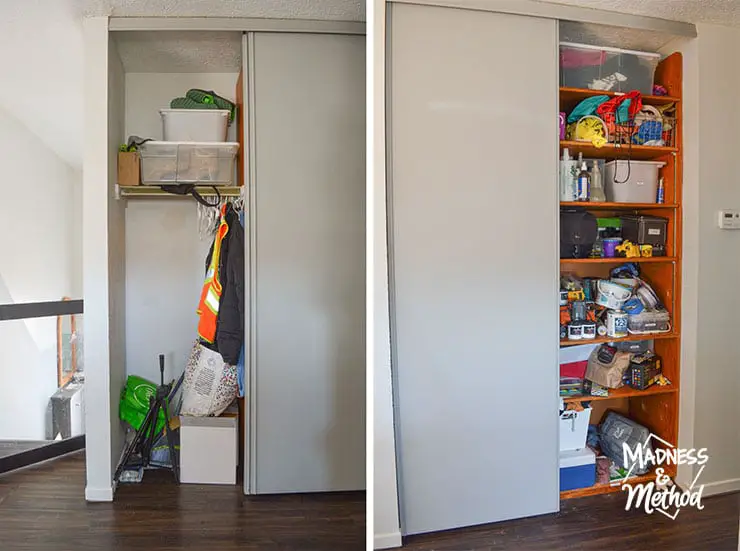
I will quickly mention that the other side of the closet is a wooden shelf system. (Yes, these are the closet doors I was talking about in week 3). I used to store my grocery bags in the bin on the second (top) shelf, but they were getting bigger and harder to take down. In order from the top, the shelves are “winter gear”, “bags”, “cleaning supplies/husband bin”, “camera/batteries/cards”, then “DIY tools”, “kids stuff and lunch pails” and the bottom is “coolers and homemade rags“.
I did refresh these shelves when I moved things around on the left side. But the DIY shelf (and spill-over into the one above) is filled to the brim with stuff for this hallway. We keep our most-used tools here AND supplies for current projects. Then, when we are done with the projects, I try to put everything back where it belongs (either in the basement or the garage).
But yes, back to the organizing part :)
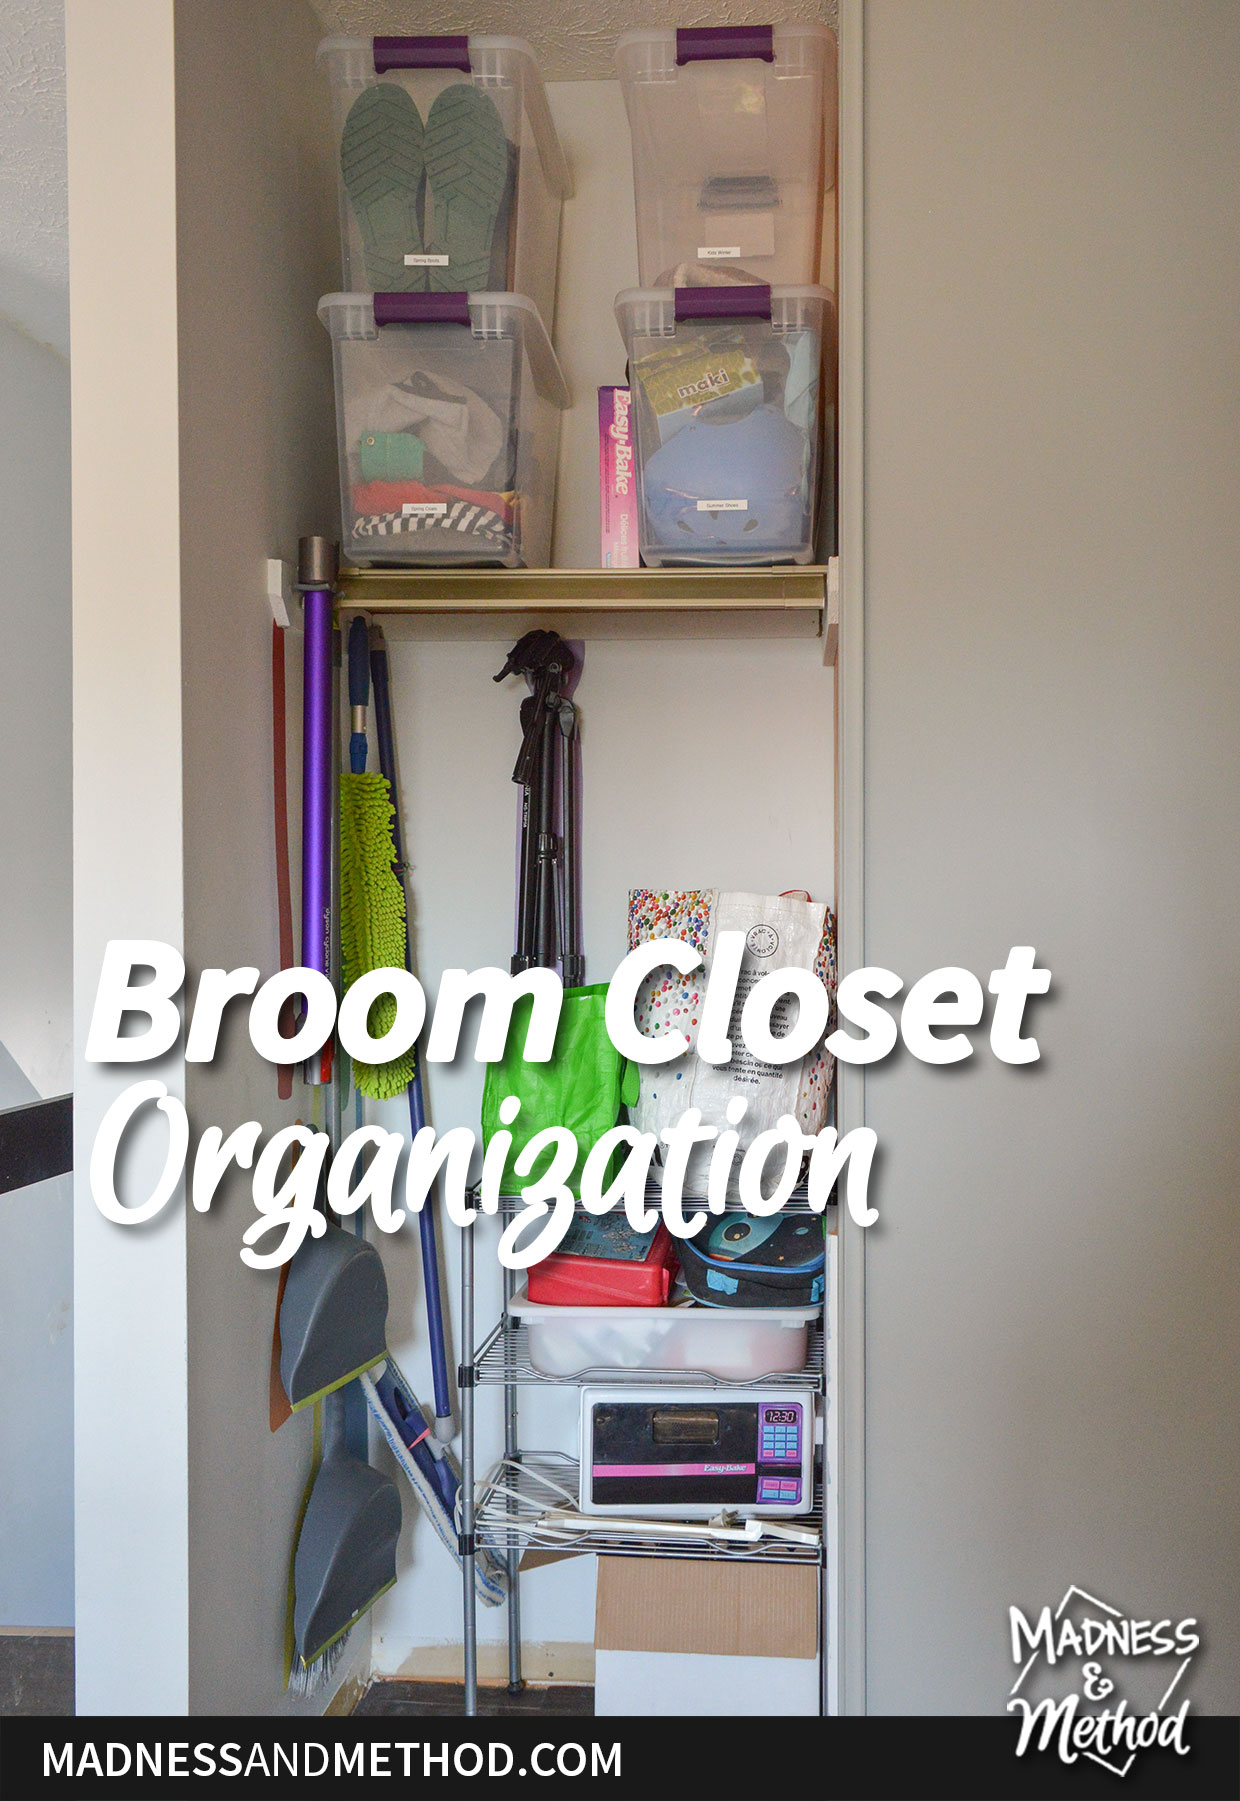
Broom Closet Organization
I wanted to prioritize the broom/sweepers, but also take advantage of the full ceiling height, plus, get things off the floor!
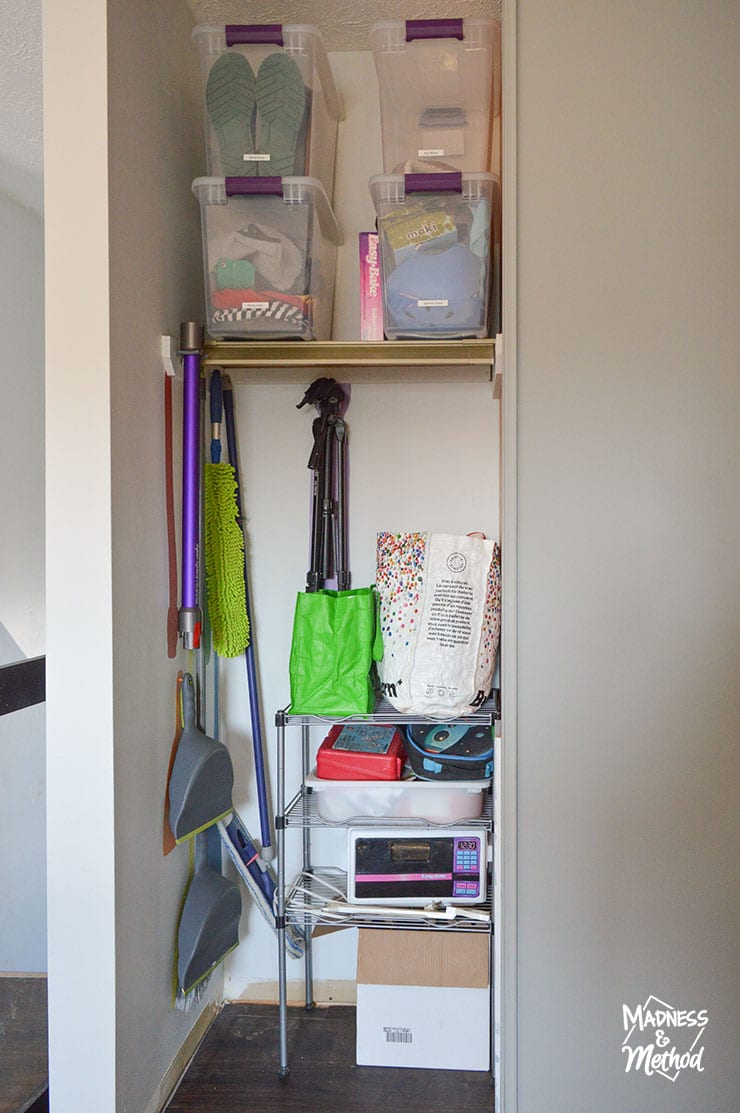
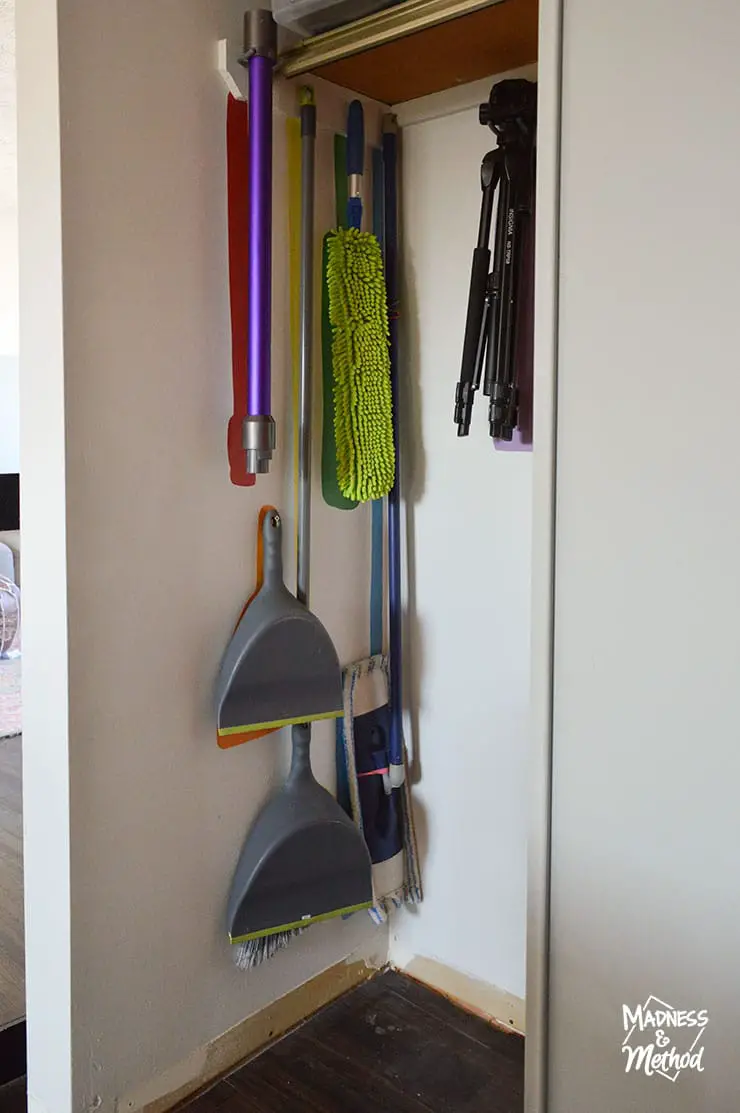
Once the walls were patched, primed and repainted, I found permanent (stable) spots for the brooms. I purchased four matching bins for the top and filled them with our seasonal items. Half were in the closet before, but I was also able to get stuff out of Félix’s closet too. The wire shelf unit we had in the basement (it’s from our first house’s closet!) and it’s so handy in here!
I was able to relocate the lunch bag bin from the shelf side of the closet (did you even see them before?). It’s a lot easier to see and grab what you need. The Husband’s wine box fits nicely underneath, and we did have the shelf above it empty for a while. (But I gifted Élise my old Easy-Bake Oven for her birthday, and it fits perfectly there!).
While I did consider an upgraded “wine cellar” storage, our current wire shelf isn’t stable enough to hold wine bottles. We’ve been living with the organized broom closet for a few weeks now (it was one of the first things I did ha!) – and I really like how it’s holding up. We can always tweak as we go, because other than the bins at the top – I didn’t purchase anything new for this.
For the super high-tech broom storage, I just used long screws into the wood bar or the studs. PLUS there are no fancy clips to undo, just a simple pull and the brooms come right off. I wouldn’t trust drywall anchors (especially since the kids will grab these). For the Dyson handle (the purple bar) and my tripod (not shown in the photos above), I used U-shaped screws that we had in the garage already!
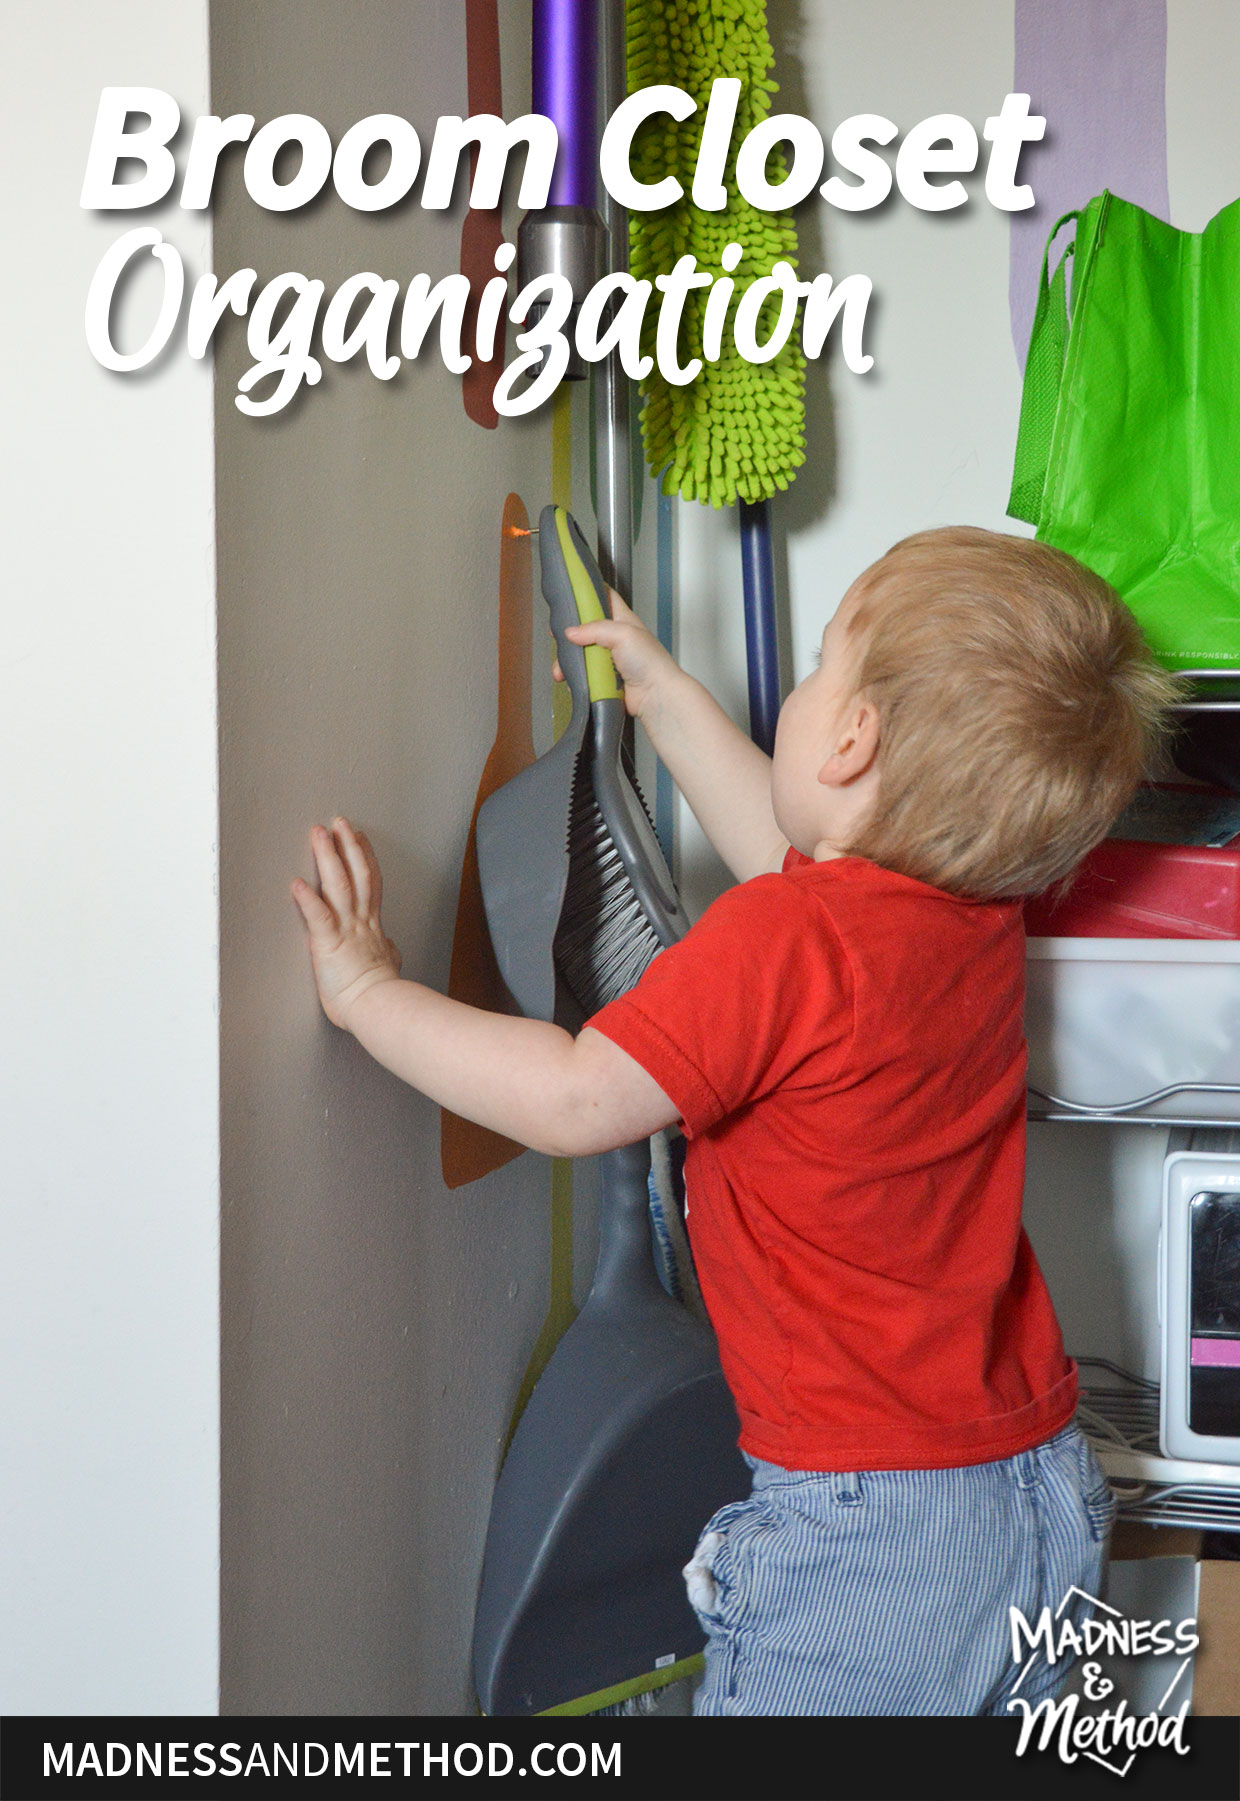
Here’s the littlest one demonstrating how it works :) (He also found the dustpan out today, and he was like, “oh I know where this goes!” and brought it back). (Insert crying heart eyes emoji)
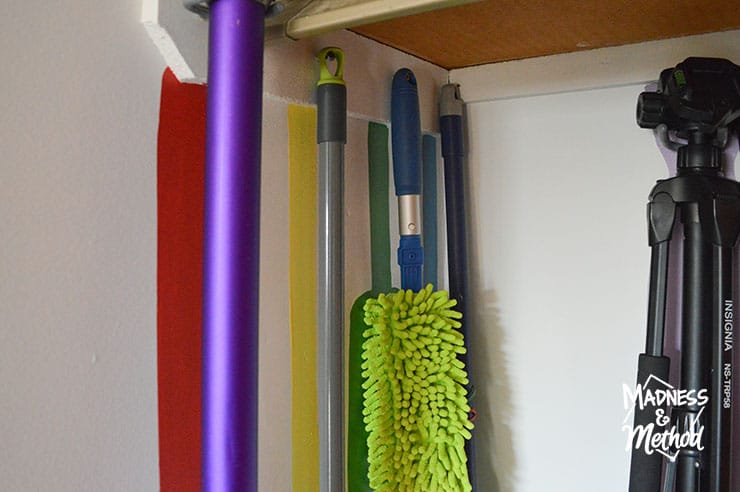
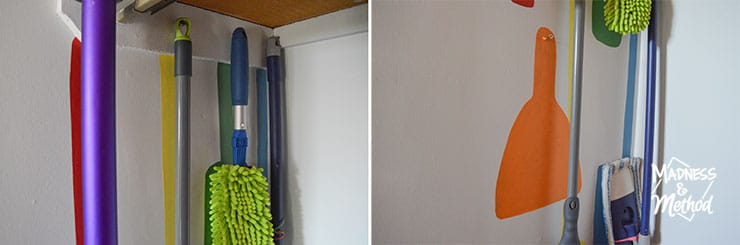
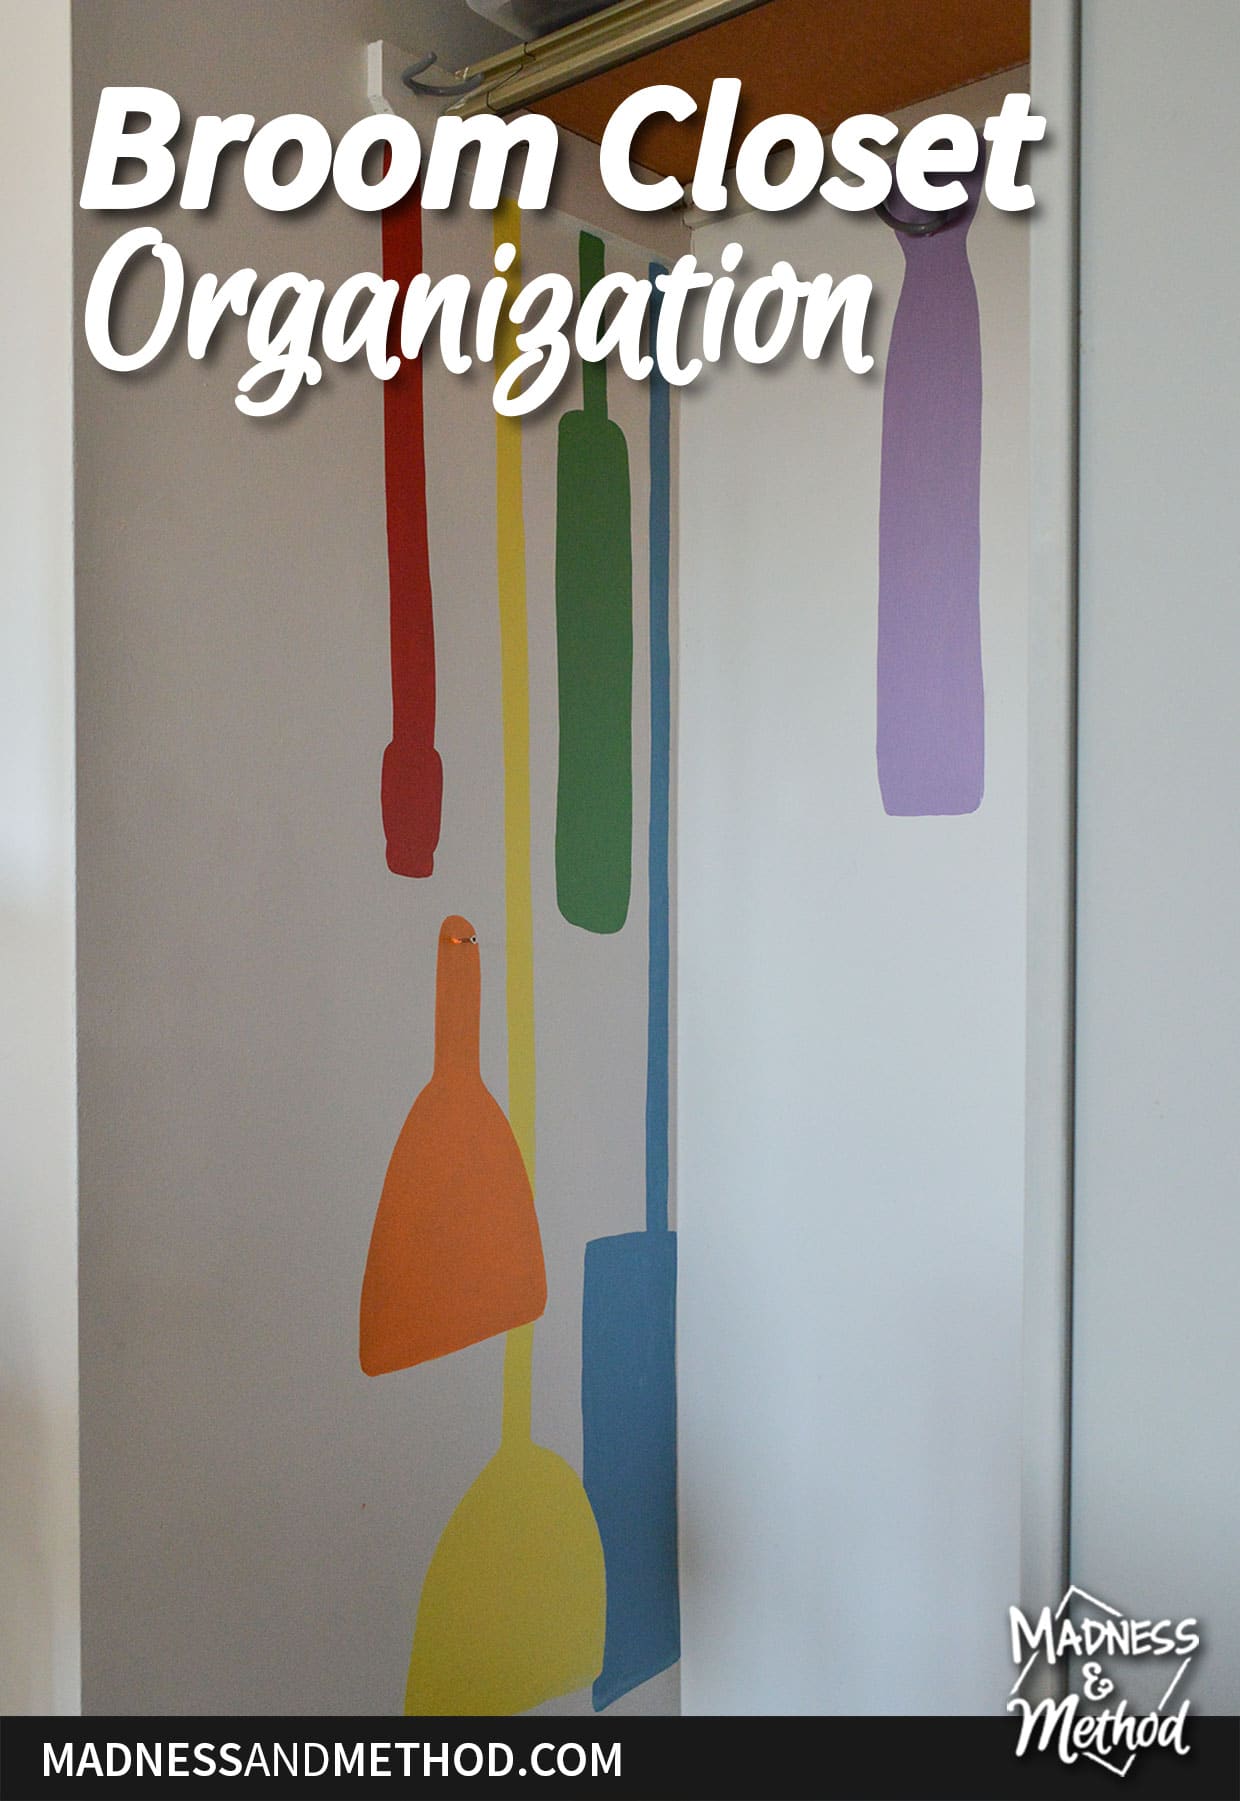
Rainbow Broom Storage
Can we talk about my broom storage a bit more though!?
Because you know I had to bring in some rainbow for this! I wanted to paint the spots for each sweeper to match the soon-to-be-completed rainbow walls. It adds an element of fun, plus it’s super handy to know where things go.
I did the same thing in our last garage and just saw that I did the same animation too, ha.
Totally took the idea from my grandparent’s garage. They had pencil outlines of the dustpans, so you’d always know which one was missing.
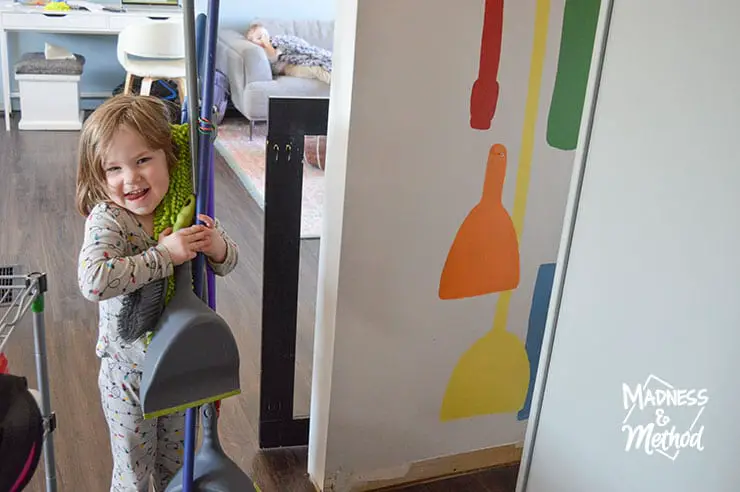
Here is Élise helping me hold the brooms while I was taking photos. I believe she was saying something along the lines of “too many things”. (Also, now Félix makes an appearance on the sofa in the background).
Here’s that cute animation I was talking about :) I hung the small dustpan first because I knew I wanted it to be low and easy for the kids to grab. But, I didn’t have a plan for something before it, so had the spot painted red. THEN when I went to paint the others, I knew it would have bugged me if I only used 5 of the 6 rainbow colours. So I hung the Dyson extender there (it used to be stored on the floor, so I guess that’s an upgrade).
Don’t ask me what I’ll do if we replace one of these – I guess we’d have to repaint? (Or just never replace them, ha).
I was also using the tripod to take most of the photos, so that’s why the camera moves more in the last one, I needed to hang the tripod hahahahah.
Bifold Closet Door Updates
In other “closet updates”, I FINALLY fixed our bifold door at the end of the hallway. Not sure if you could see it in the before photos, but the bifold door was not doing well.
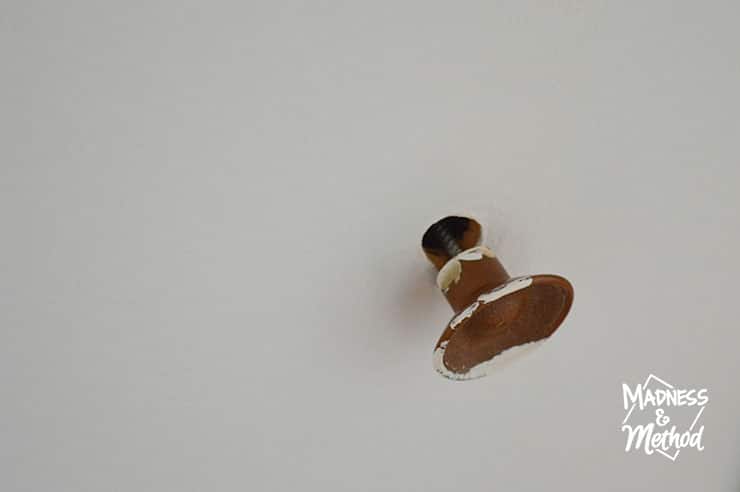
The knob had fallen off a few months ago. There was a big hole in the back where the screw fell through and an even bigger one in the front! I could have reused the same knob (using a washer on the back to block the hole), but it was painted and someone had replaced the bolt with a screw…
The bifold part wasn’t working either! You’d go to swing/squish the door open, and it would come at you or go into the closet all loosy-goosy. So yes, we had been putting our finger through a hole and trying to wrangle a wobbly door for a long time. I know the door track worked when we moved in, I just have no idea when the pivot broke.
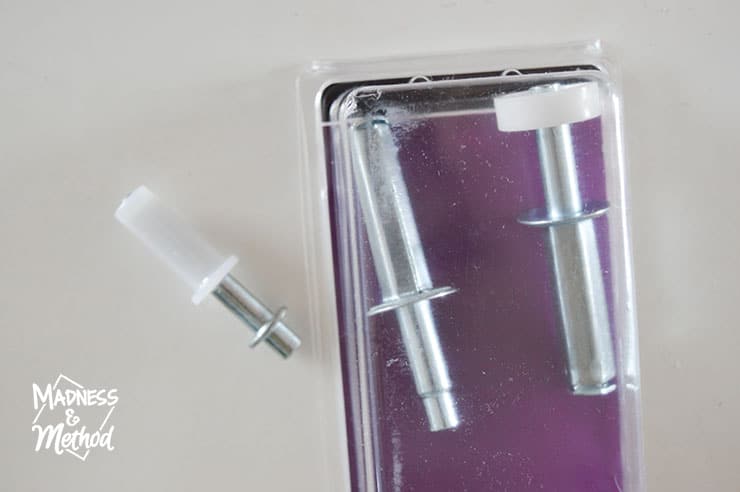
And speaking of the pivot… I purchased FOUR different bifold door top pivots to see which one fit our door. Luckily I was able to find one! PS: our house was built in the 70s and it was the plastic kind (I assume this was the original closet).
But ya, every week so far I’d bring a new pivot home (or have one delivered), only to be like “nope, try again!”.

Oh, and here’s the new knob on the bifold closet door! I considered just purchasing a backplate and using any other knob, but I liked this combo, so it worked out :) (Then there was the adventure of finding the correct length bolt – I did try/buy a few of those too!).
About the One Room Challenge
Let’s all give it up to Linda for organizing the 10th-anniversary edition of the One Room Challenge! She started this bi-annual event 10 years ago, and this season over 500 people participating! Click on the link above, or the logo below to go to the ORC blog and see all the projects from this week :)

Follow my hallway makeover:
Hallway Makeover Plans (Week 1)
Textured Ceiling Repair (Week 2)
Painting Sliding Closet Doors (Week 3)
Mix Paint at Home (Week 4)
Broom Closet Organization (this post!)
Anyways, let me write the list of all the things I have completed:
- Caulked the ceiling
- Patched near the light (and other areas)
- Painted the ceiling
- Sanded/repatched inside the closet (+primed and painted)
- Paint Félix’s sliding closet doors and the trim/doors in the hallway
- Fix the bifold pivot and add a new handle (was on my list for so long, ha)
- Remove all the artwork in the hall
- Remove the baseboards
- Husband: upgrade the light switch and outlet
- Find the colour and paint the walls
- Do the half wall at the entrance blue
- Stencil the first three colours (did you see the sneak above?)
- Paint the closet broom locations
- New smoke detector up
- Repaint the stencil mess
- Cut, repaint and mark the growth chart
And Still To-Do:
- Last three colours of the stencil
- Touch-up any stencil areas if needed
- Install the baseboards (they have been measured, cut and painted)
- Patch, sand and repaint the baseboards
- Repaint all the trim / other paint touchups
- Rehang the art/growth chart
- Take photos!
Ummm… I think that’s it!? Did I mention that I was also going on vacation soon (yes, in the middle of the One Room Challenge!) so I’m trying to get everything done before I leave…
So ya, my schedule has been packed to the brim lately! Oh, and we’re building a cottage (ordered the last kitchen cabinets this week) and as the weather warms up, it’s go-time there. So ya, I was hesitant to do the hallway because it was a “smaller” project, but now I’m thankful that I didn’t choose something bigger.
Although, my lengthy to-do list doesn’t look small… hahaha!
Either way, come back next week where I will be discussing how to easily install baseboards!

No Comments