
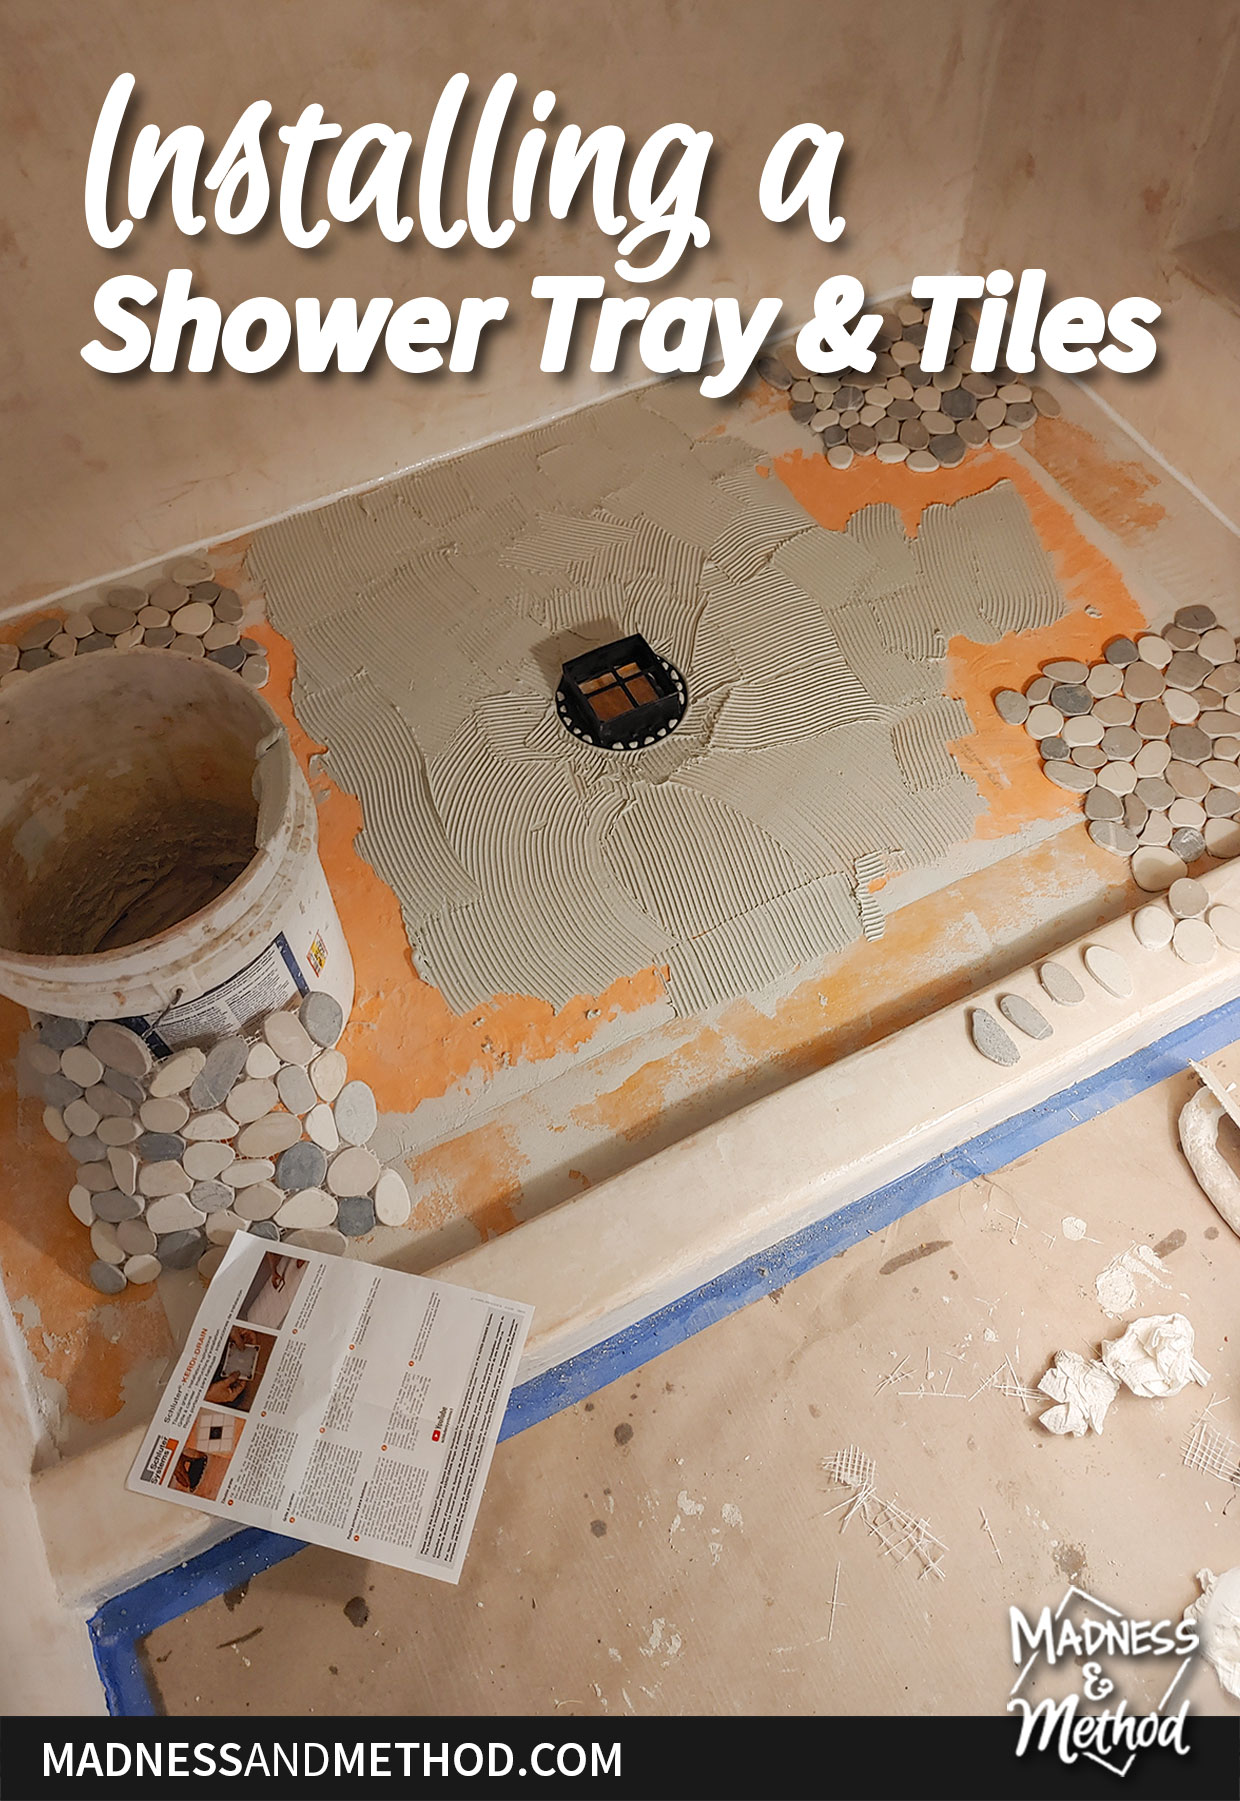
Just when you thought I was done with the bathroom, I’m back with another post! I thought about writing about this project much later, but figured it made sense to have everything together. Here are the steps I took for installing a shower tray and tiles in our cottage basement bathroom.
– Note: This post contains affiliate links. See more information about affiliates here. –
Let’s be honest though, I haven’t done anything in the last week :) And, it’s too early to talk about Christmas (maybe next time?). Either way, let’s get on with the details about this shower floor!
There are a few steps when installing a shower tray/pan (and tiling) so I’ll try to make it as easy to follow as possible…
See the other bathroom posts here:
Basement bathroom intro | Design plans and construction progress | Building a shower ledge | Microcement prep | Using a kitchen cart as a vanity | Tinting microcement | Sealing microcement | Semi-finished bathroom reveal
Before I begin, I do want to mention that the shower tray should have been installed before the walls were done. Ideally, water would run down from the walls, then onto the floor and down the drain. Doing the bottom waterproofing afterwards does leave the potential for the water to go down the walls and behind/under the floor.
Products Used
- Kerdi 38×60 Shower Tray with Centre Drain
- Kerdi 2″ ABS Flange
- Kerdi Band
- Shower Sloping Mortar
- Internal Plastic Pipe Cutter
- Mosaic Pebble Tiles (Enigma Bali Warm)
- Tileable Drain Grate
- Grout (Light Almond)
- Thinset/trowels/silicone/buckets/drill/mixer/etc.
Unfortunately, the wrong shower tray came in, and I had to proceed with the walls to get this project completed on time. A good thing was that I could leave the concrete floor untouched. Trust me, my microcement made a BIG mess, so having one less area to worry about helped (I scraped the concrete up at the end of each step).
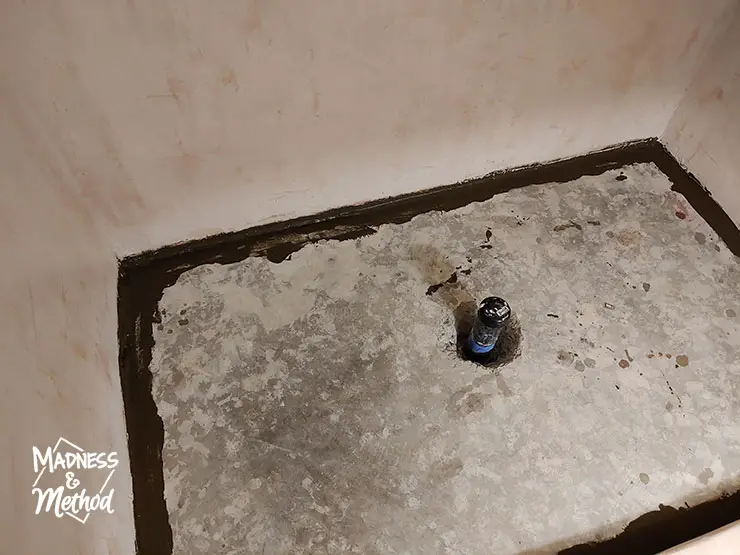
Anyways, I should have paid more attention to where I ended my microcement in the shower area. There was one big gap on the back wall (and a bit near the opposite corner). To mitigate any potential water seepage, I filled in these gaps with thinset. I was pretty sure my shower tray was going to be higher but took this precaution either way. (And filled all around, just in case – and because I mixed enough material).
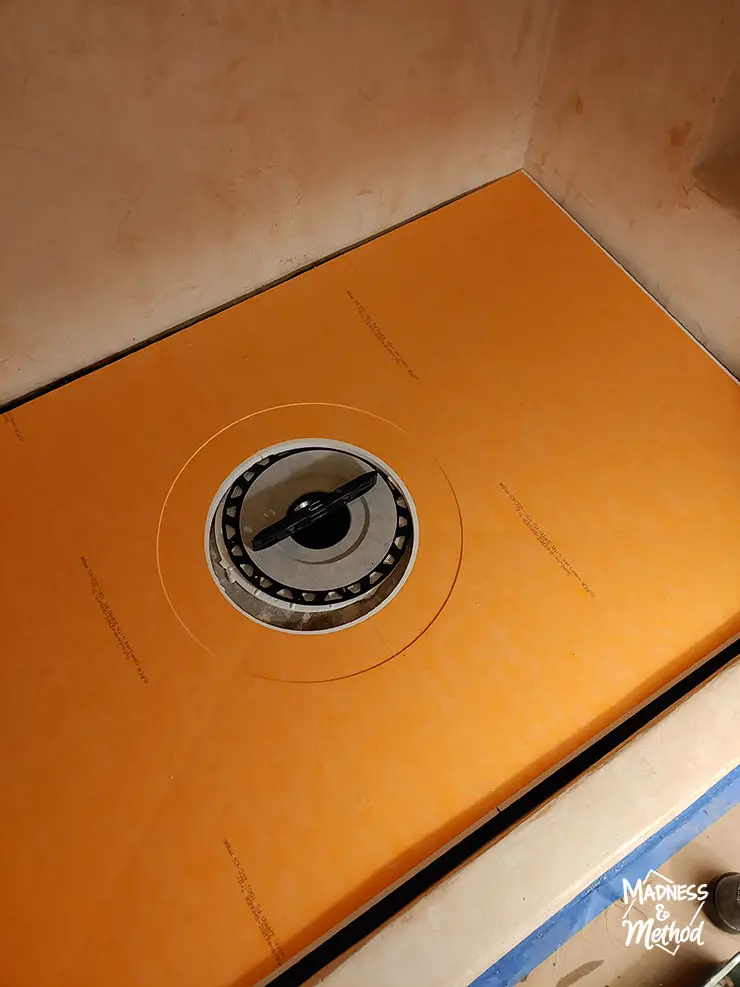
Installing a Kerdi Flange
The first step when installing a shower tray on a concrete floor is to set your flange. If working from an area with access to the plumbing afterwards, you can install the flange after. Unfortunately, our pipe is set in concrete AND we had to chip a bunch of it away to access the pipe. Thank goodness I convinced the Husband to do that for me :)
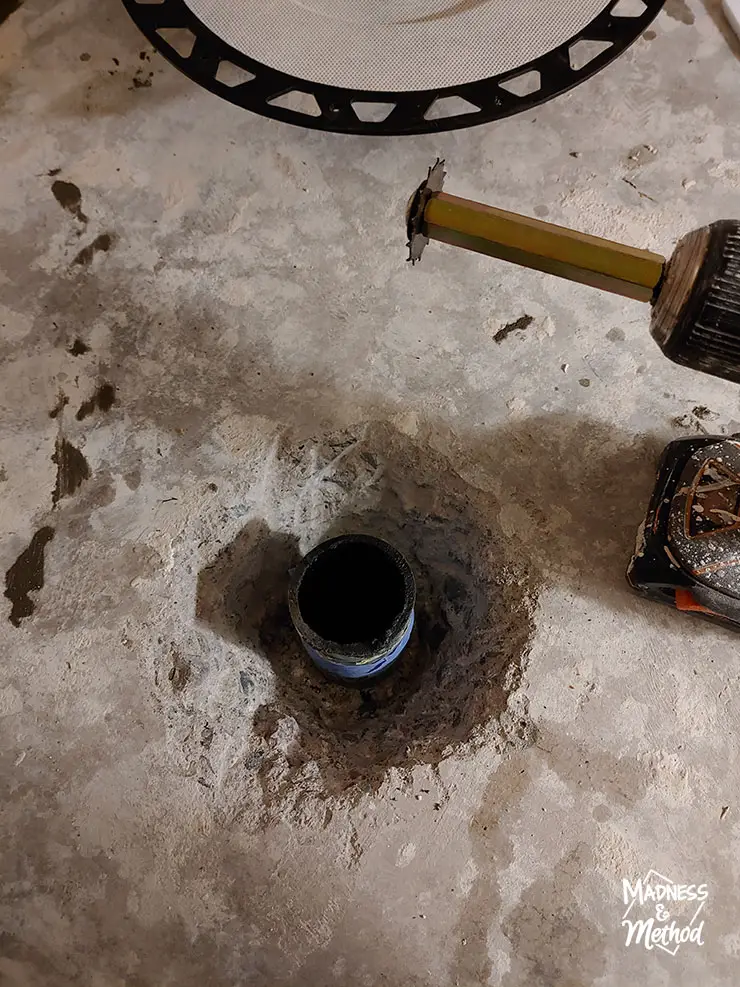
I also had to buy this internal pipe cutter (after seeing my blogger friend Stacy mention it!). After getting the big piece/cap cut with a saws-all, I slowly worked my way down 1/2″ by 1/2″, testing the height as I went.
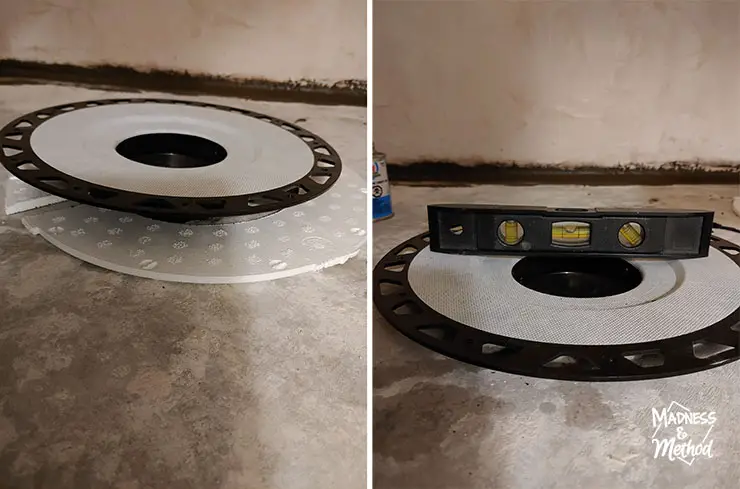
Basically, the Kerdi flange needs to sit nicely on the little styrofoam spacer that the tray comes with. I realized late in this project that we had to do some concrete demo to make that work!
Eventually, I got the shower flange to where it needed to be, applied some plumbers’ glue and stuck it into place, making sure it was level. The pipe was sort of askew, so there was some finagling/angled cutting that I had to do.
Installing a Kerdi Shower Tray with Mortar Edge
When I designed this cottage over a year ago, I knew I wanted the basement bathroom shower to be underneath the staircase. It would 1) take up some unused space, and 2) create a cool nook area. Flash-forward months later, and apparently, our shower floor was very close to the 38×60″ shower tray size.
Thank goodness, because I did not want to learn how to properly slope/do a mortar bed! Aka what you need to do with custom sizes and/or in the “olden days” before sloped shower foam trays were created :)
Somehow our drain also ended up nearish the centre, although, in an ideal world, I would have put it along the side (I don’t like standing on a shower drain). Anyways, I cut a couple of inches off the long end on the back, and maybe an inch on the short side. The photo above shows how it looked with just one inch cut along the long end. Essentially, the shower tray needs to fit perfectly over the flange.
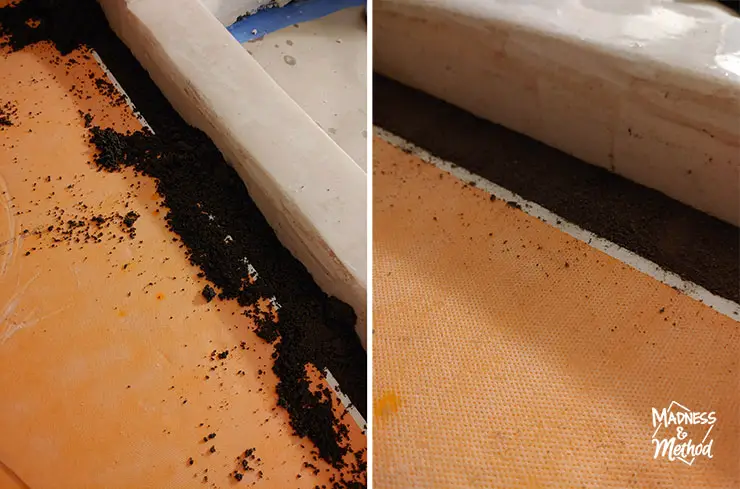
If your shower tray/pan is too small, you will need to fill in the edges with dry-pack mortar. You can mix your own mortar with sand/cement/water (see the ratio online) but I bought a pre-mixed bag. That way, I didn’t have to buy two different things and potentially screw up the ratio.
First, I mixed and scooped the mortar into my gaps, then pressed it all down. I had to make another 1/2 batch to fill in, and tried my best to have it slope down to the tray.
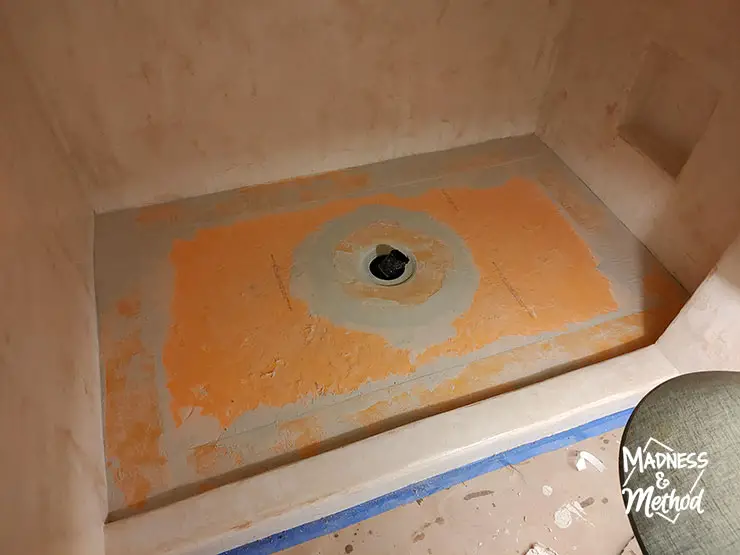
The next day, I added Kerdi waterproofing band to cover all the mortar (and the ring for the flange). Ideally, you would waterproof your shower by installing corners and having your band bent along the edges. BUT as I mentioned, I was doing this a bit backwards and my walls were already waterproofed/sealed. Hopefully at least, ha!
Once this was dry, I also added a bead of silicone along the edge, before tiling.
Installing Pebble Mosaic Tile
Essentially, you can install almost any type of tile on the shower tray – but I wanted to do a mosaic pebble.
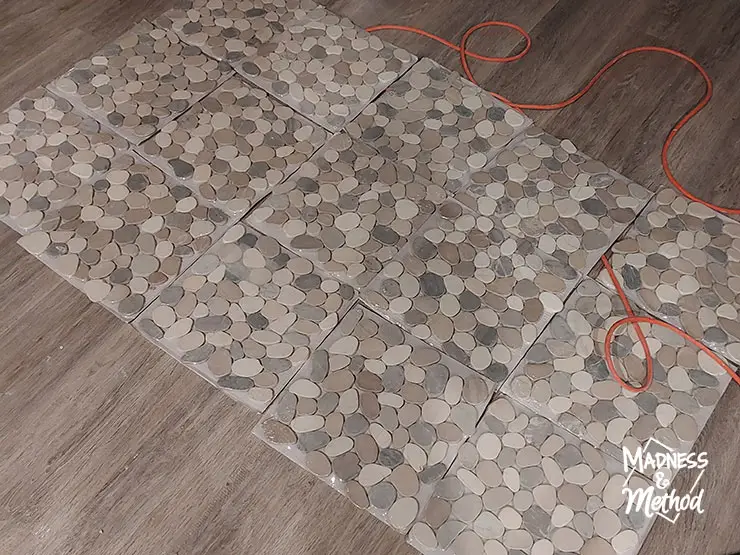
I laid my sheets out, to get an approximate size (I used more than this) and then got to work. I’ve tiled many times in the past, but this was my first shower floor!

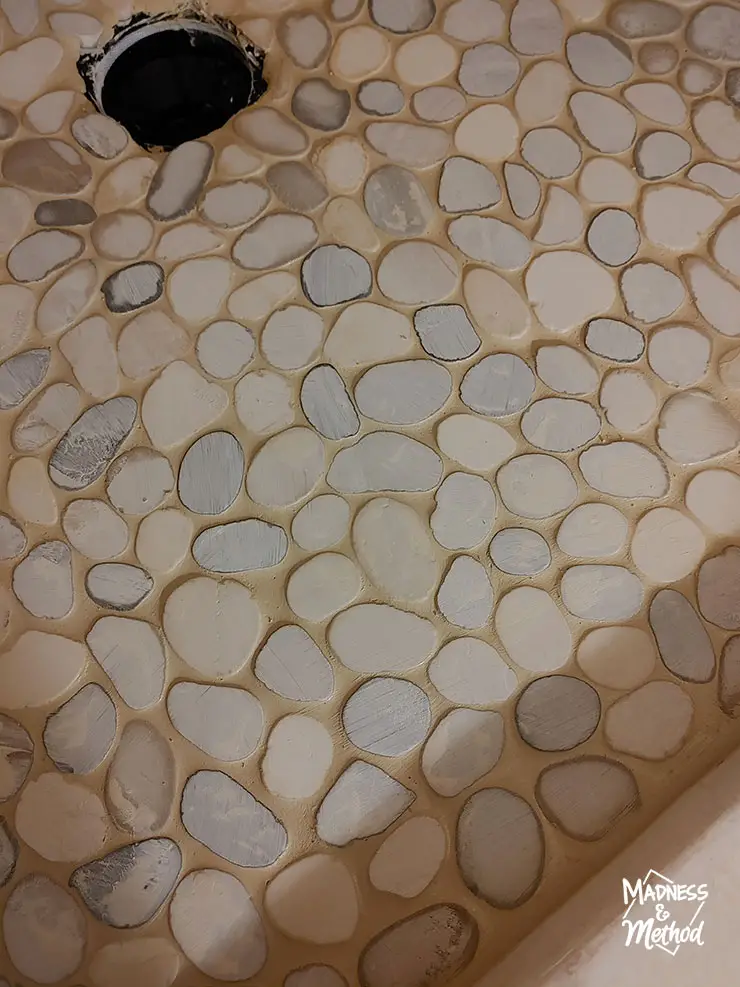
Starting at the drain, I installed the tileable grate pieces following the instructions. Everything was pre-fit before I put the thinset down, and I worked my way around from there.

When installing pebble tiles, or other small mosaic sheets, it’s best to “randomize” your tiles and not put them in a perfect grid. That helps to hide any potential seams, and luckily these pebble tiles were kind of shaped like puzzle pieces and could be offset a bit.
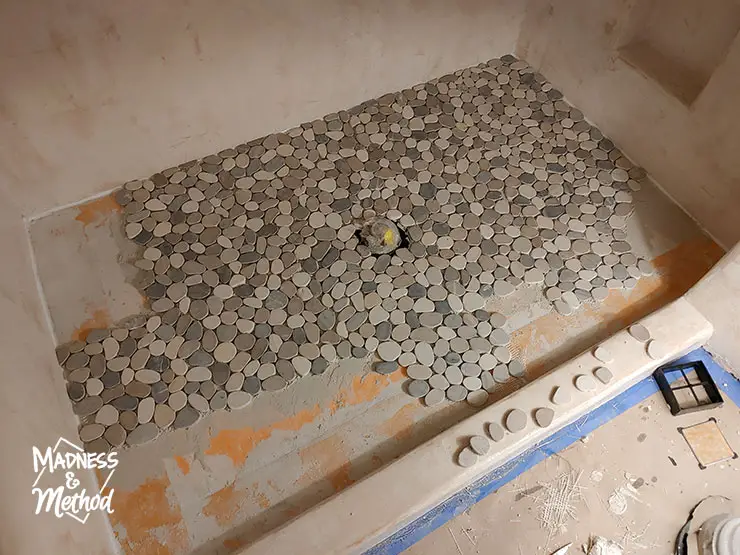
I worked my way out but tried to do the back first so I could reach them before filling in the front. Here’s a quick video of me filling in that gap at the back!
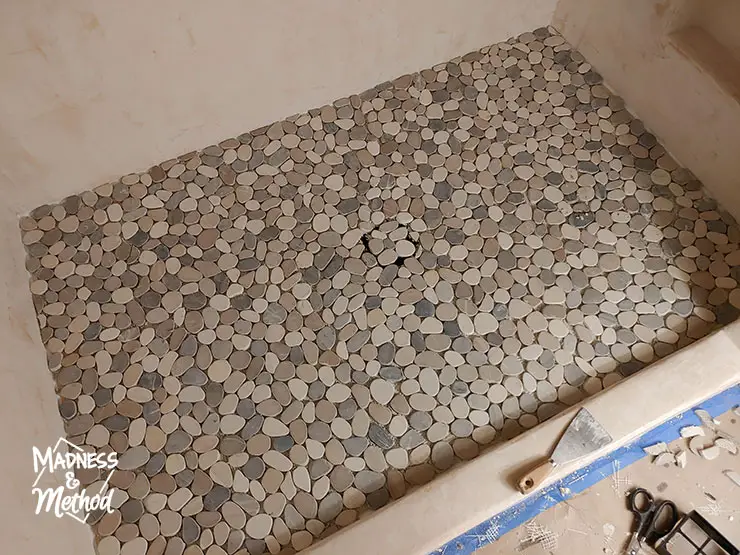
I also placed the grate on and tried to get my pebbles to line up a bit.
These tiles have a random spacing, with some gaps being large and others small. For big gaps along the wall, I tried to cut tiles in half and fit them in. Although there weren’t that many small rock shapes – so some gaps were left to be filled in with grout.
Grouting Pebble Tiles
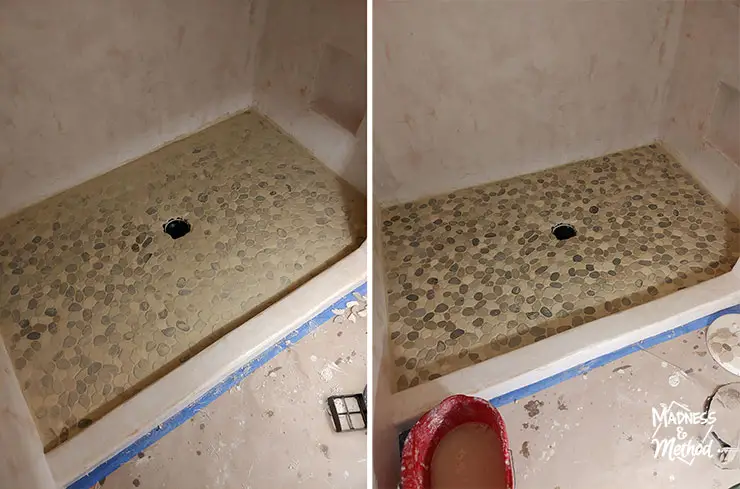
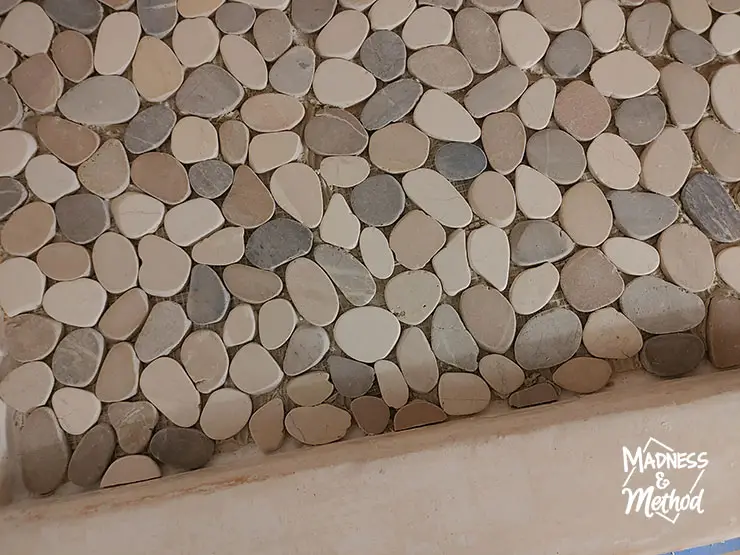
The next day, I grouted the pebble tiles! The colour I chose was called “light almond” and I was looking for something that would go with the walls. It was a lot darker/yellower when wet, but I knew that it should dry lighter.
My grout technique is to wipe the mess after about 15-30 minutes, then do another sponge wipe every 30-60 minutes after. The dried grout did look a lot lighter!

After at least 5 sponge wipes, I left everything and went back home. A few days later, I did have some extra haze to remove. And, I’ll still need to seal the grout and add clear silicone around the edge again.

And, remember to check out the photos of the semi-finished bathroom here. I finished this bathroom as part of the One Room Challenge and was hoping to have these details up during the regular schedule. But as happens with renovations, sometimes things don’t go as planned!
Oh, and in a possibly-related story, I broke out into hives this week. Started on my face and arms and may or may not have been caused by sanding the grout. I’ve done it plenty of times in the past, so not sure why/how this time was different. Once my rash goes down, I’m going to test it again – just to be sure.


No Comments