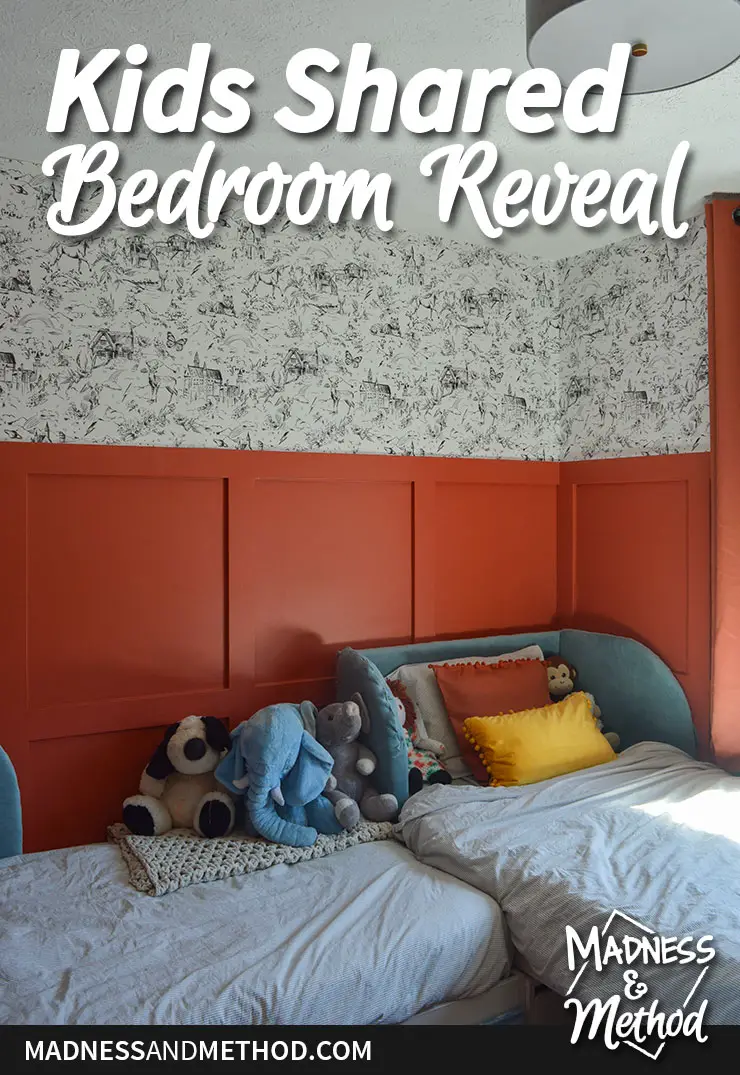
We’re at the last week of the Spring 2021 One Room Challenge! I have another completed space thanks to this great event, and I’m ready to show it off. Without further ado, let’s check out the shared kids’ red bedroom reveal! (And I think I went a little overboard with the photos, haha).
– Note: This post contains affiliate links. See more information about affiliates here. –
But wait – before we dive in, you know I have to do a recap. I’ve been working on our two oldest kids’ shared bedrooms for just about 2 months now. Zachary is our oldest boy, and he turned 5 a couple of weeks ago. Élise is our middle lady, and she turned 3 in April. She was transitioning to a big kid bed, and their room is around 11×9? One likes red, the other blue… so what was I to do?
(Had to rhyme that, ha).
ANYWAYS! Here’s a quick list of what happened for this challenge:
- In week 1, I presented the before photos and introduced the design plan
- For week 2, I had a video about measuring and planning a room
- Week 3, was about doing wall treatments in wood vs. MDF
- In week 4, I talked more about the built-in closet nook
- For week 5, I made custom wraparound headboards
- In week 6, the wallpaper was up (and cut and pasted since I ran out!)
- AND in last week’s 7th post, the Husband hung the new light and I primed the walls
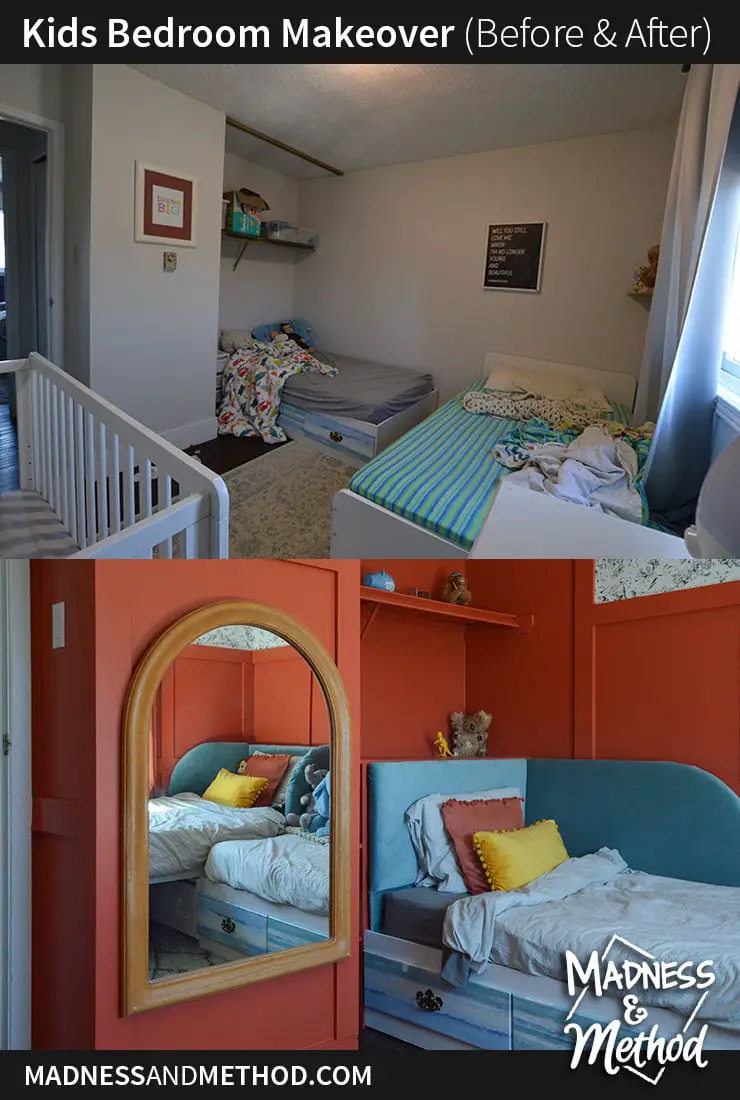
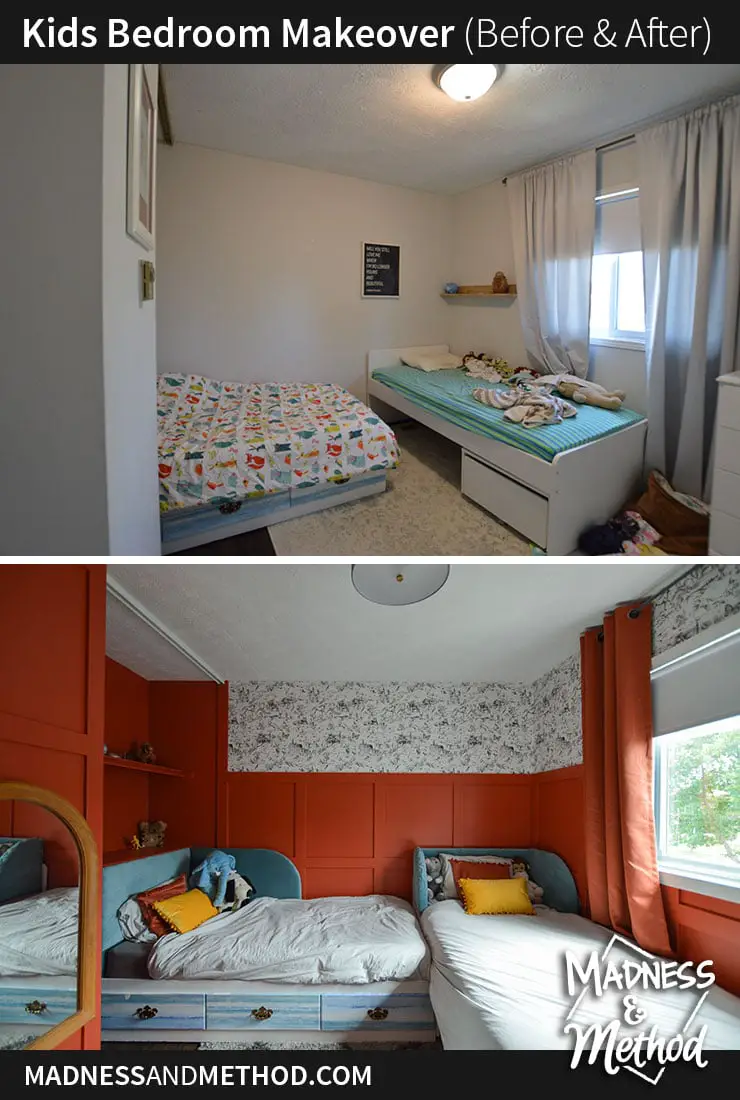
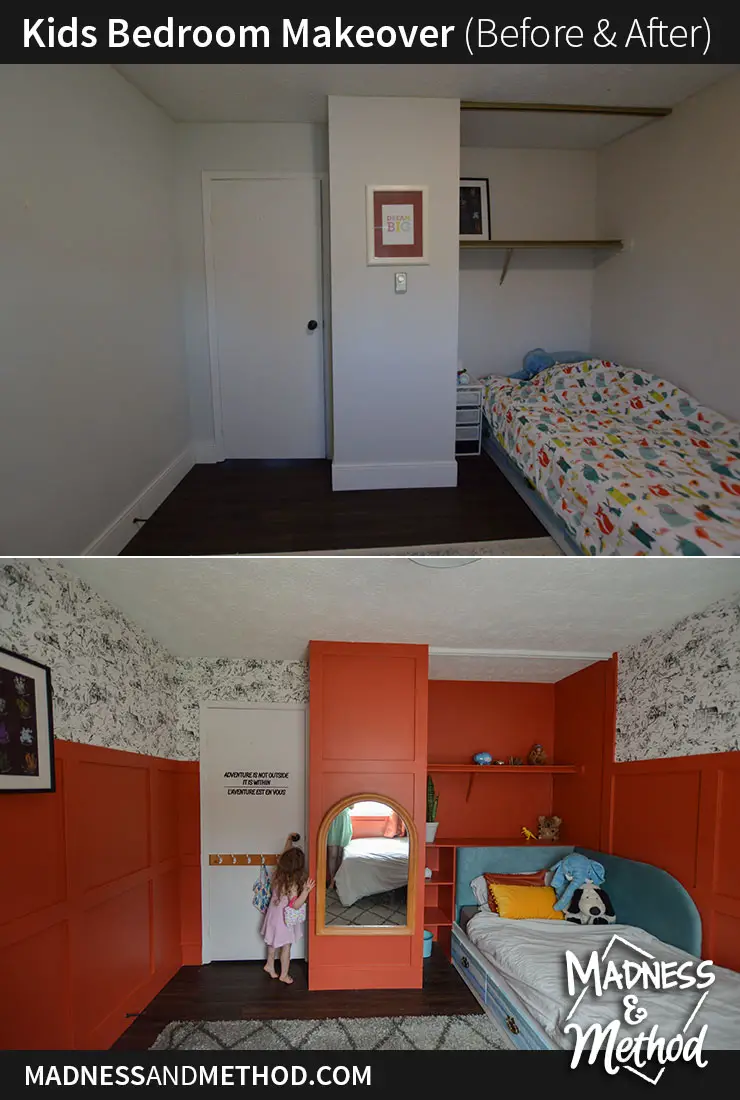
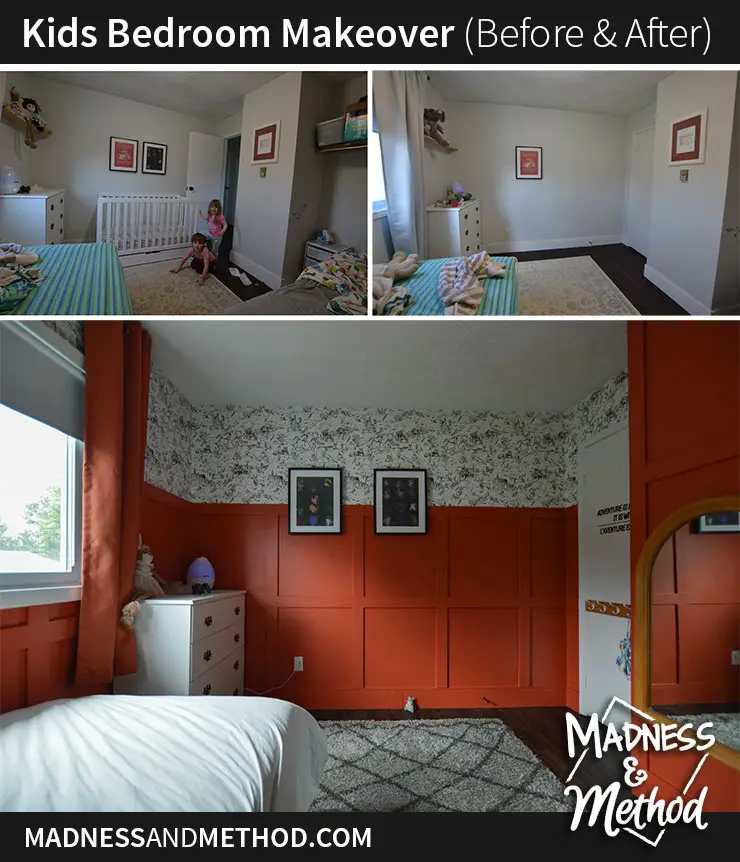
In case you didn’t follow along each week, here’s a reminder of where we started:
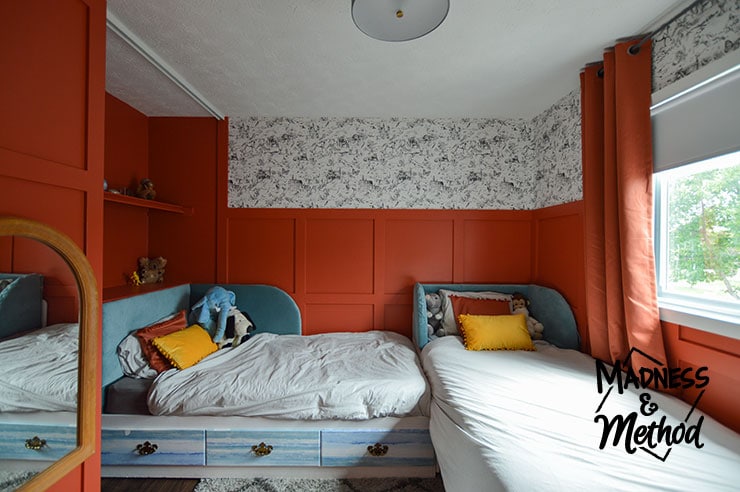
And here’s where we are now!
Ready to see a lot more?!
(There are a lot of photos, spread over two days – so hopefully it all makes sense).
Shared Kids’ Red Bedroom Reveal
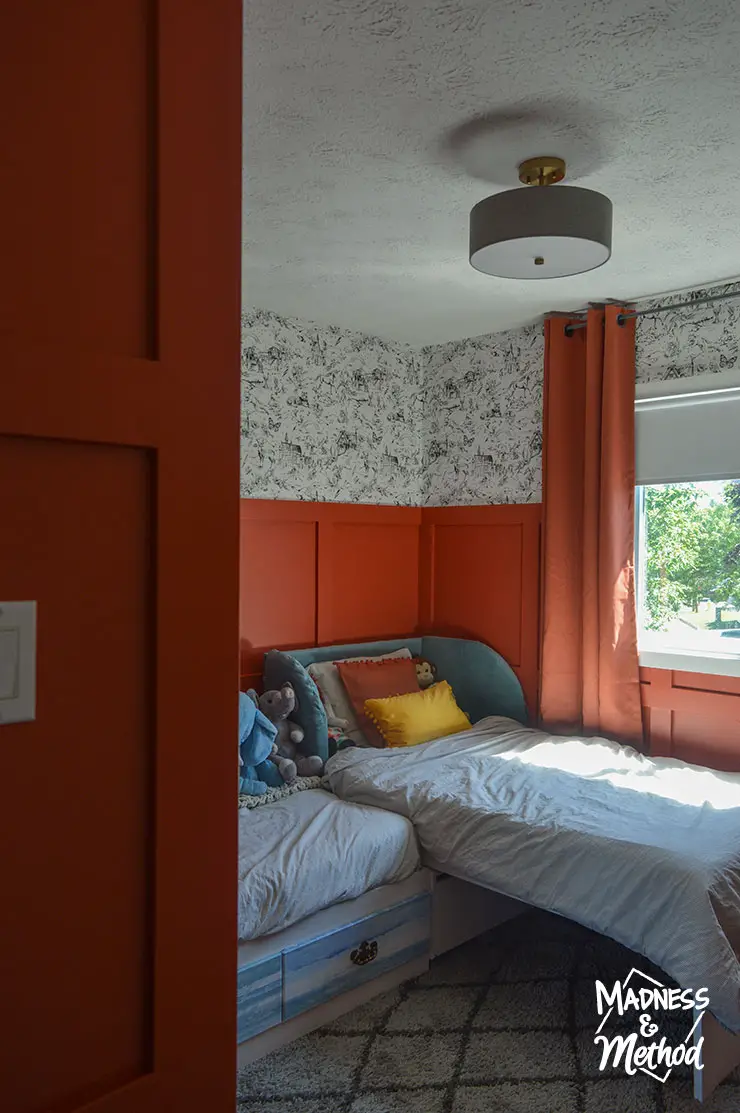
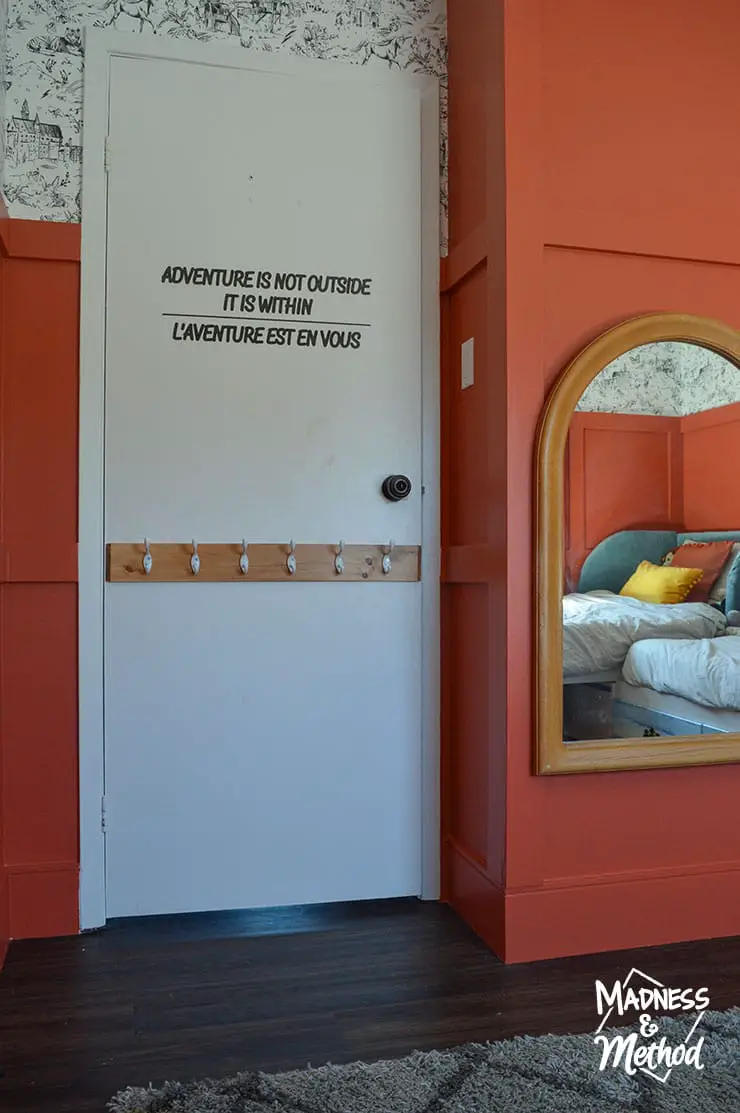
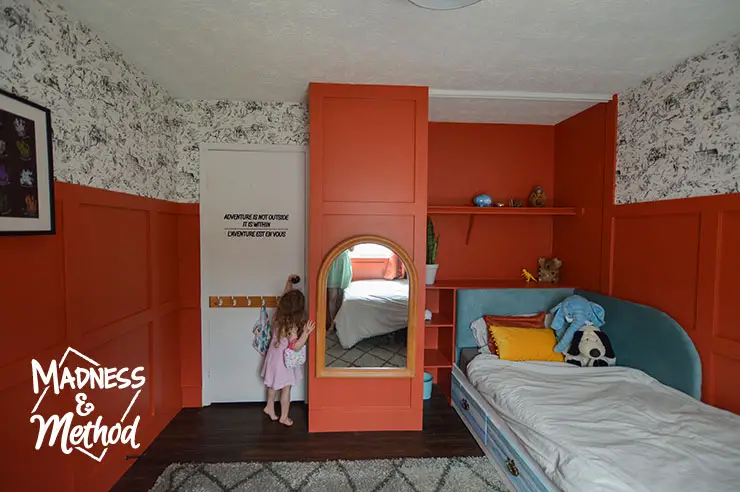
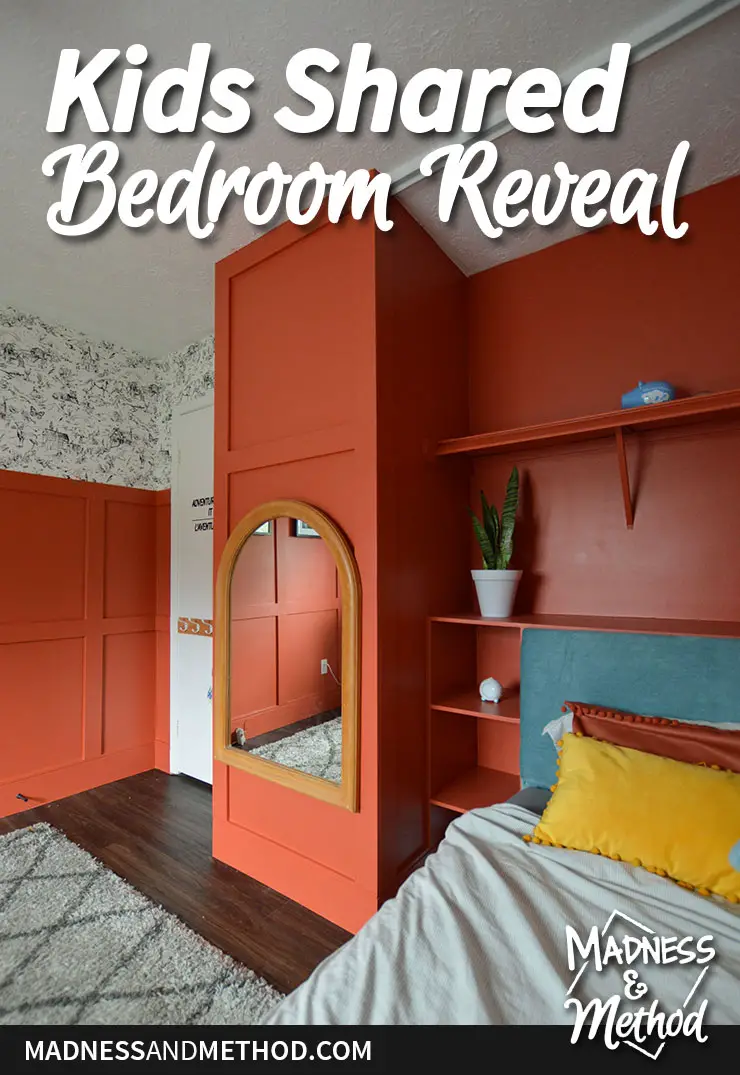
As you open the door, you’re immediately greeted by a glimpse of red on the bump-out.
I finished all the painting and reset the room on Saturday. The kids were at grandma’s house (thanks!), so I had the chance to set everything up for photos.
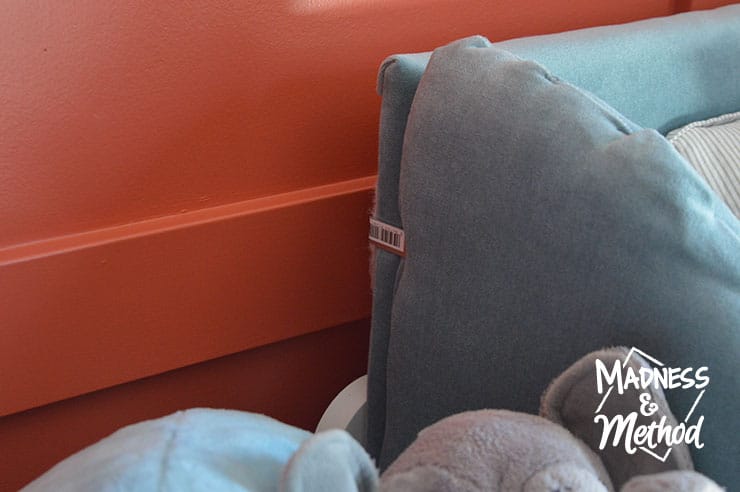
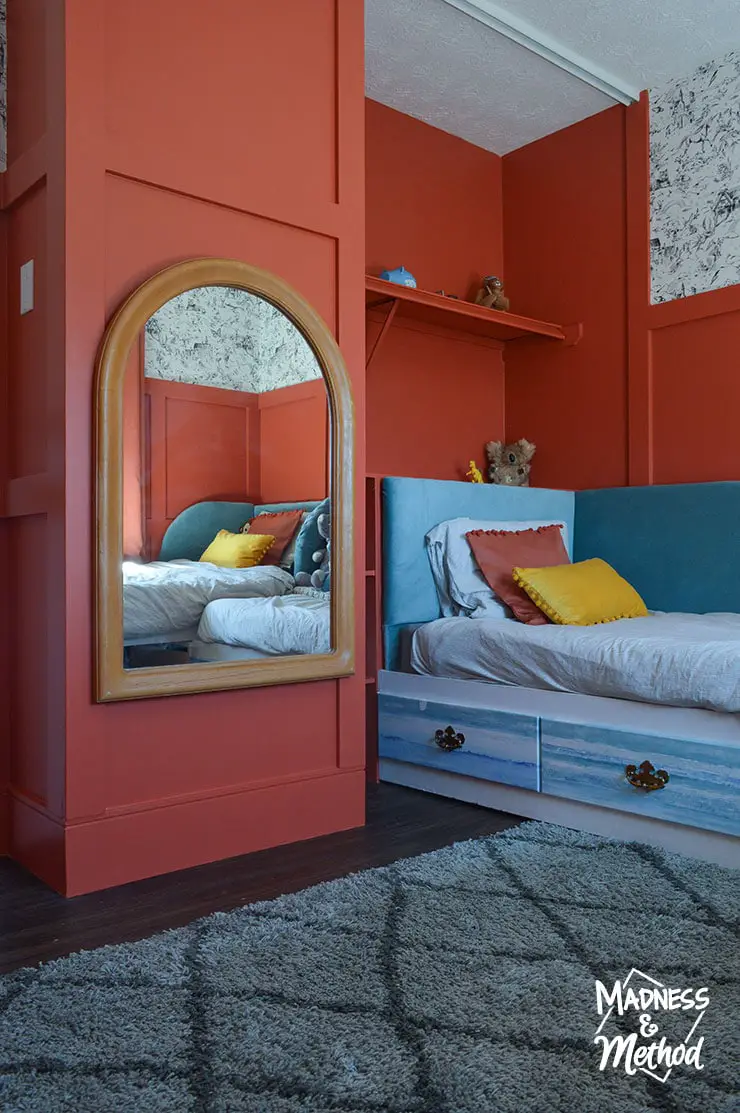
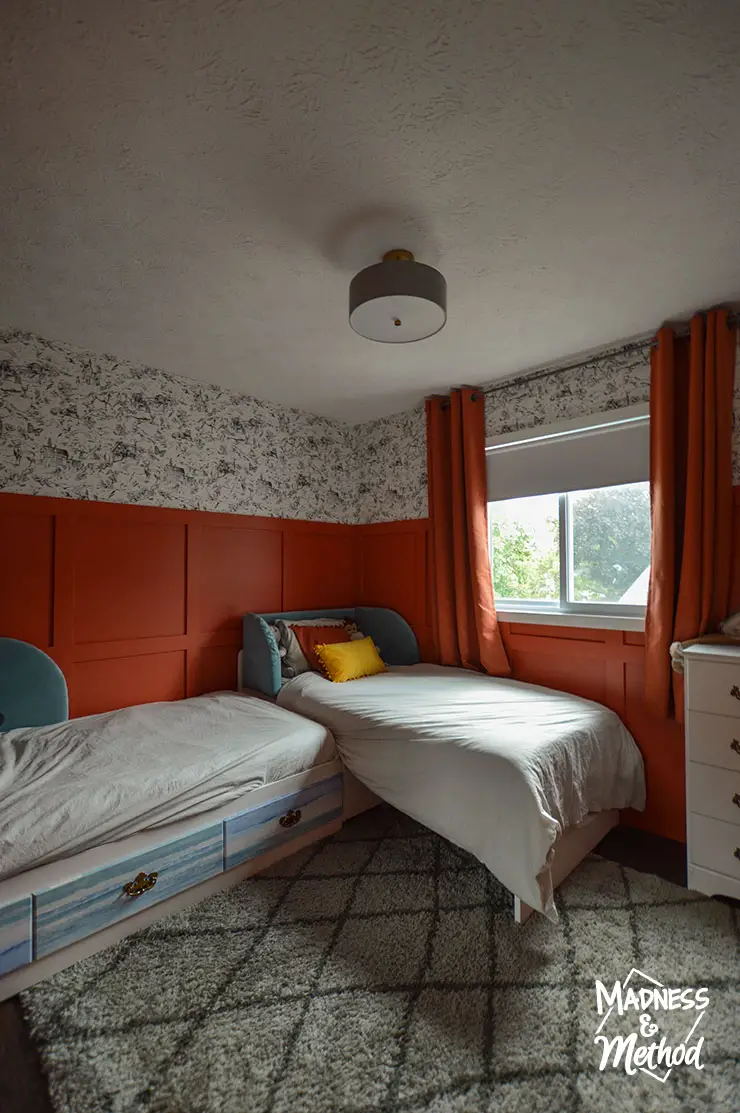
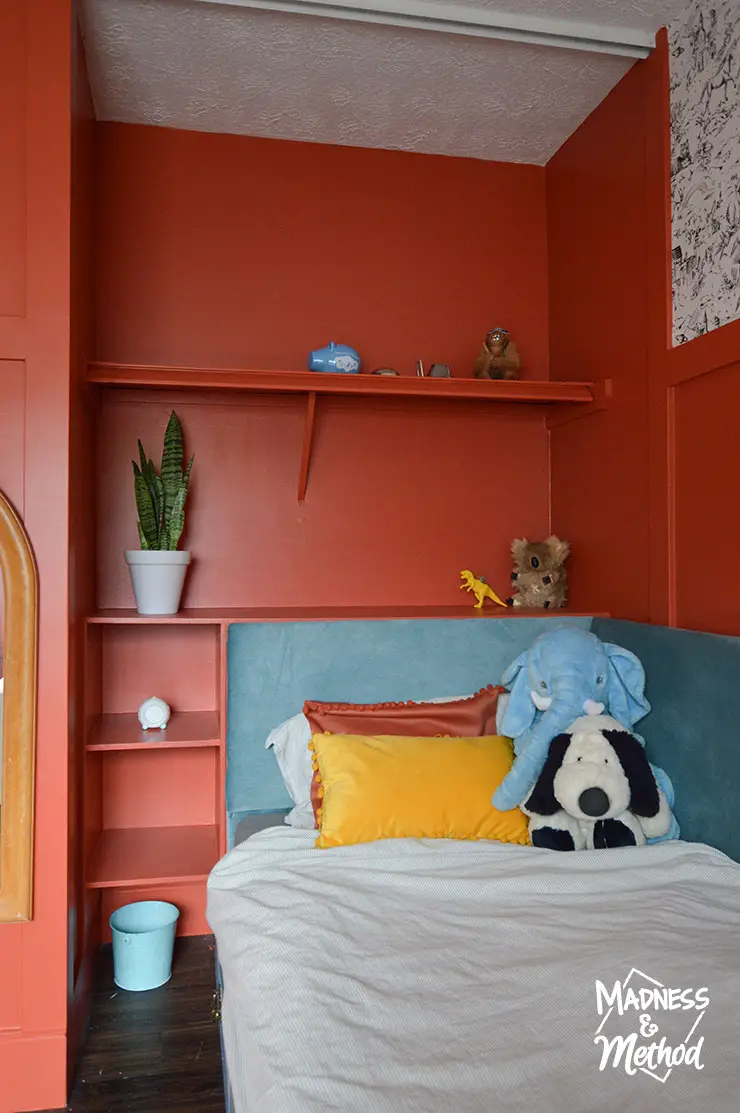
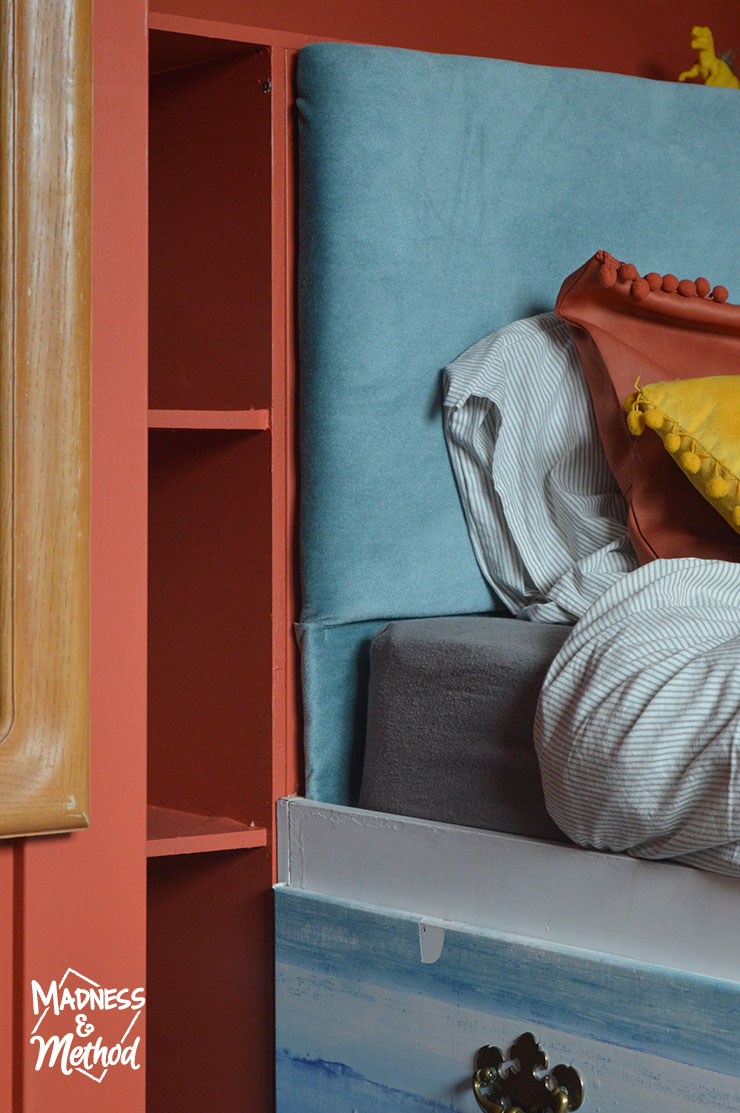
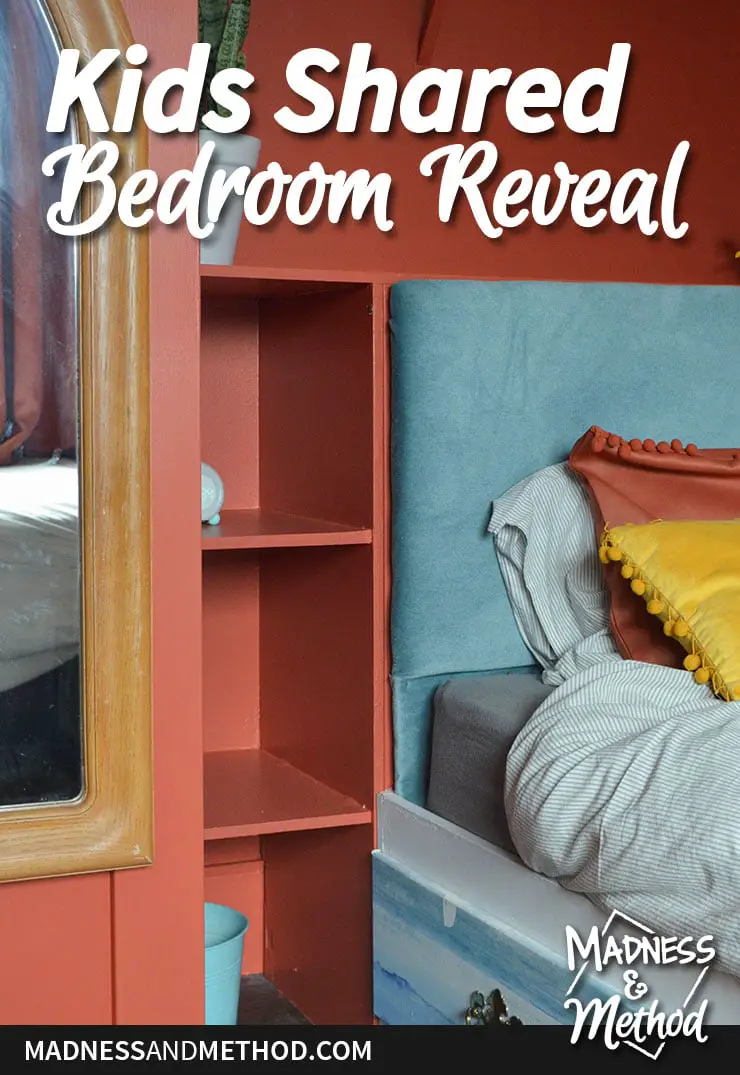
If you missed the headboard build post, I wasn’t quite sure how I was going to attach the last little piece. The fabric is on all sides, so it was exposed. I just put a visible angle bracket, and I think it’s fine.
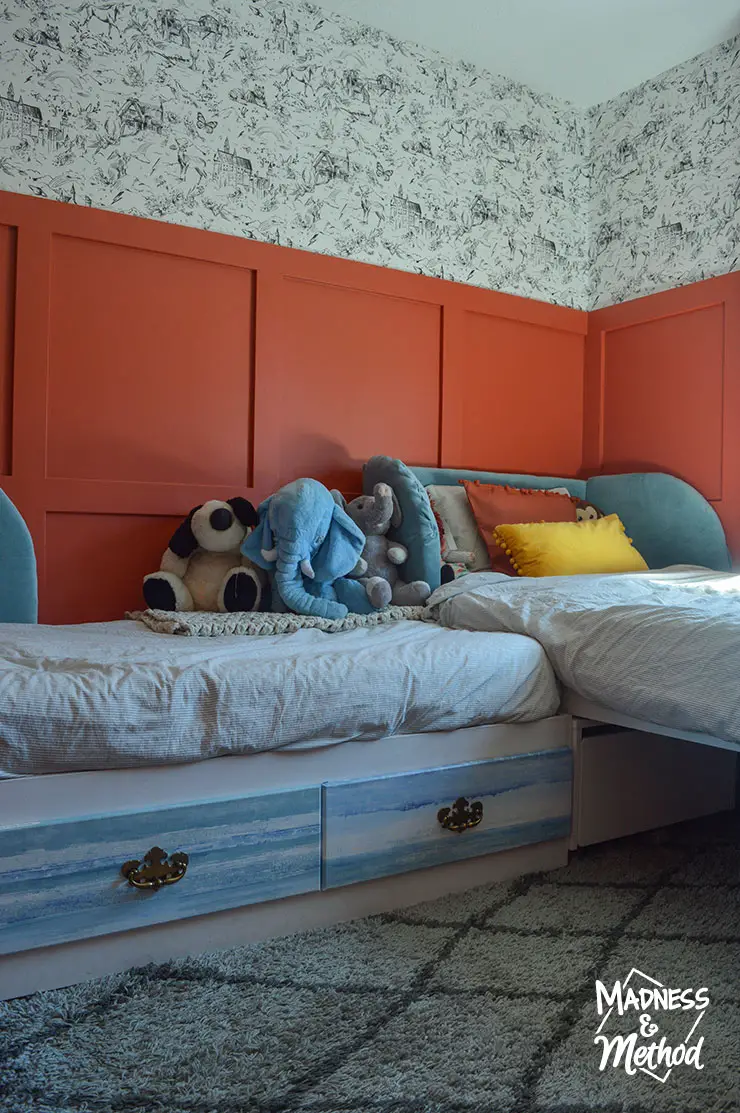
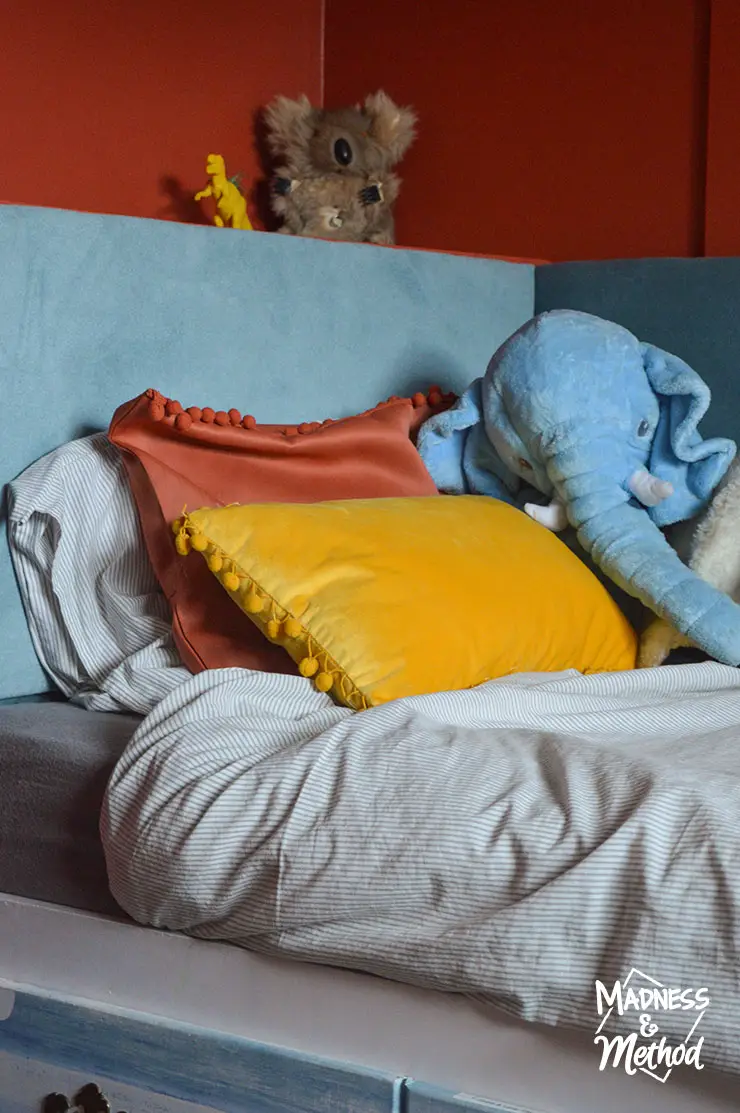
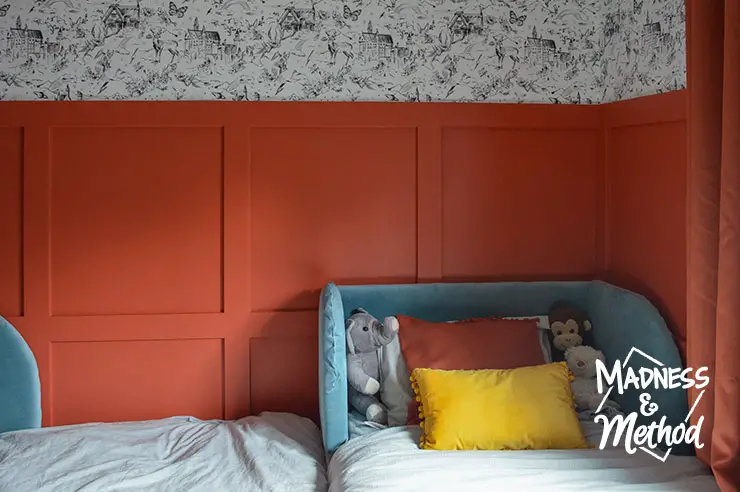
I debated how I was going to style their beds, and you’ll see a couple of different setups. The rolled blanket look (above) was the most realistic, but it looked a little sloppy.
Oh, and the new red pillow? It was the extra fabric that came with the curtains. I had someone make custom pillow covers, and they turned out great!
The Husband and I also rolled out the new/old rug. It was pretty tricky getting it in the room with the beds in place!
If you read the wallpaper post, you know that I ran out midway through. The original idea was to have it continue on the bump-out.
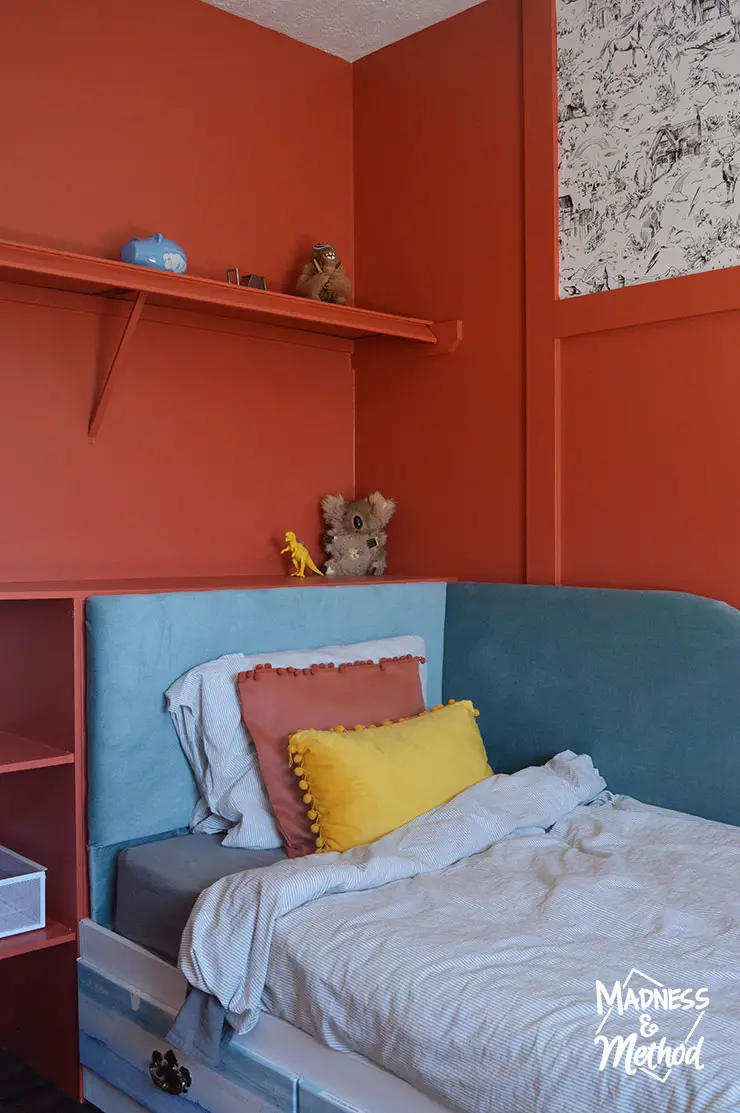
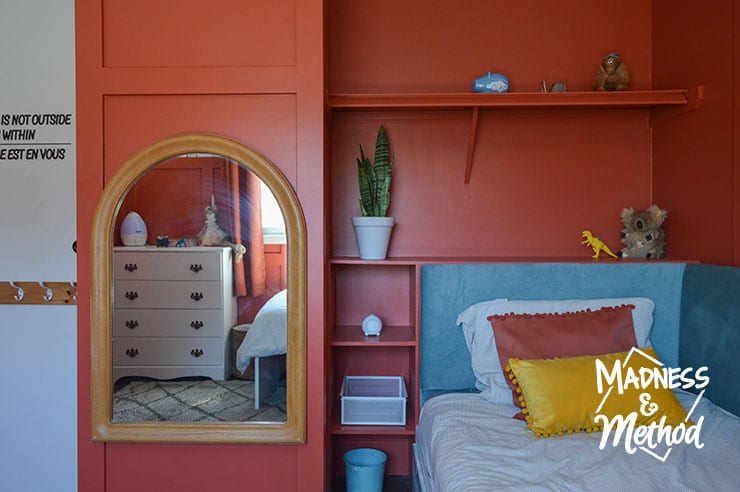
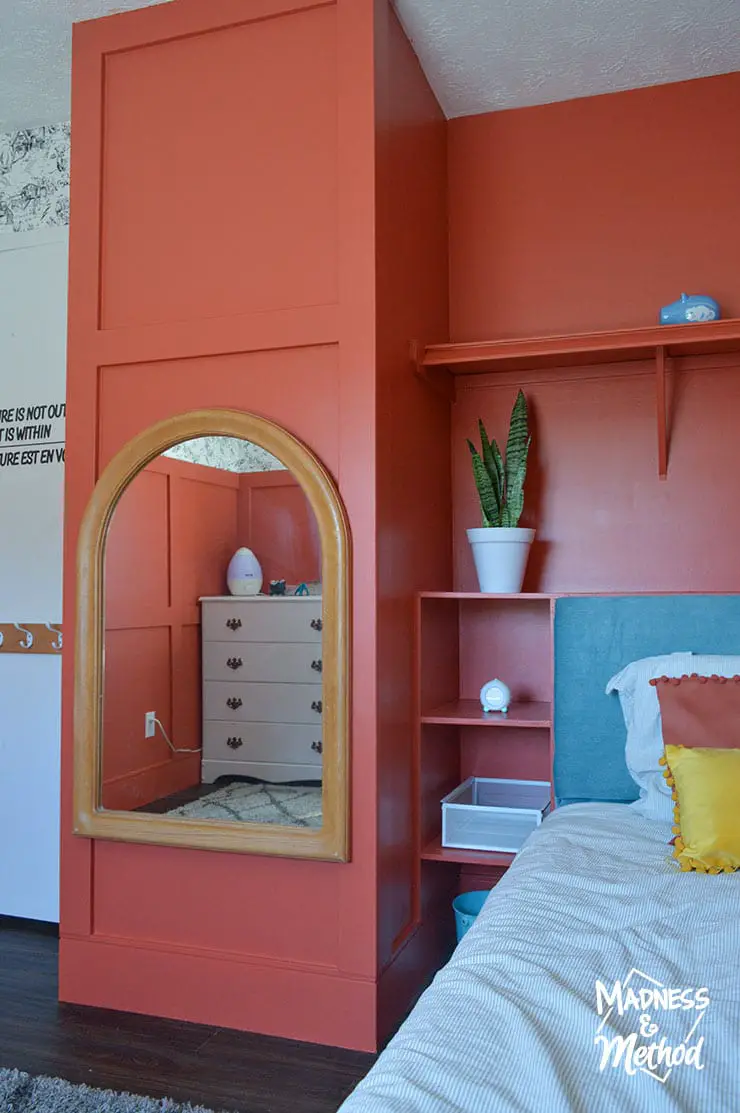
But now the bump-out matches the inside of the closet, so it isn’t terribly out of place. I couldn’t find all Zachary’s “decor” on the first day, so you’ll see some added pieces further below. (Like extra piggy banks on the top shelf).
One of the big things we did to make this room look cleaner was going through their clothes. I reorganized Élise’s dresser, so now the top shelf holds their “too big” clothes. (As opposed to the boxes they were in at the top of the closet).
Shop This Post
- Duvet covers
- Yellow pompom pillows
- Élise’s bed is the Släkt with the matching drawer (holds our sheets)
- Zachary’s bed, secondhand with wallpapered drawers
- Humidifier/nightlight
- Rust curtains (in a short length so I can easily close them!)
- Gorilla and dinosaur planters
- Curtain rod
- Handprint artwork
- Semi-flush mount light
- Little & Fierce wallpaper
- Training alarm clock (the kids broke some buttons, grrr)
- Wraparound headboards (foam, batting, similar fabric)
- Custom quote decal
- Wall colour: close match to Benjamin Moore’s Fire Dance (started as Adobe Orange but was tinted/remixed a few times)
Thanks for supporting through affiliate purchases :)
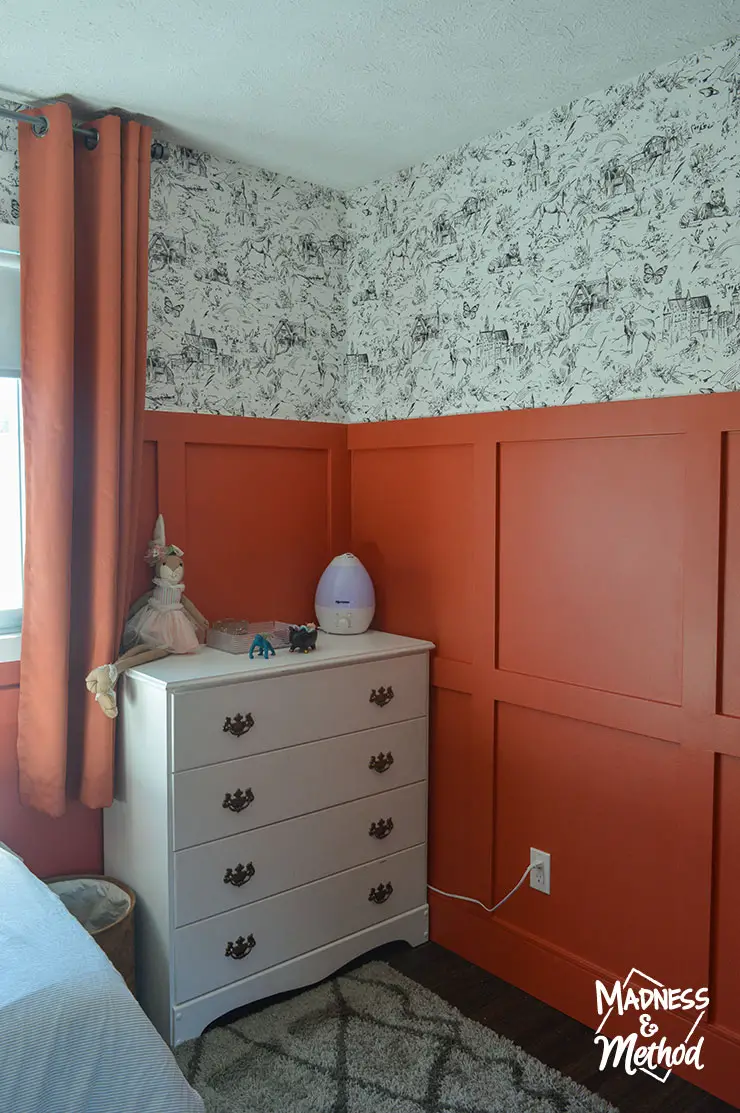
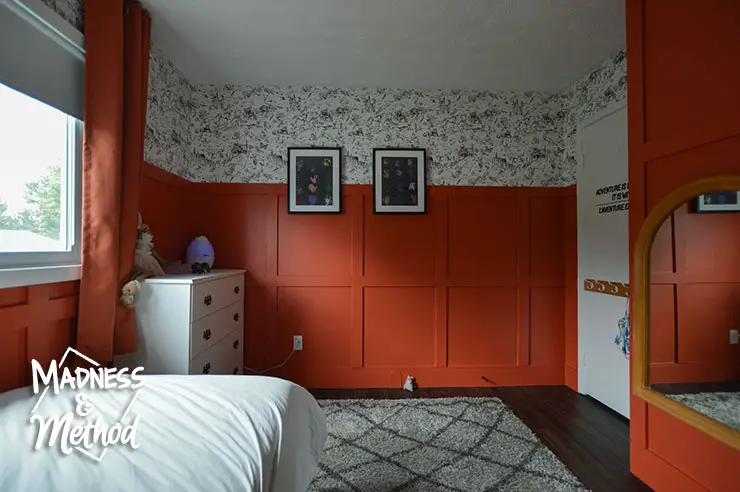
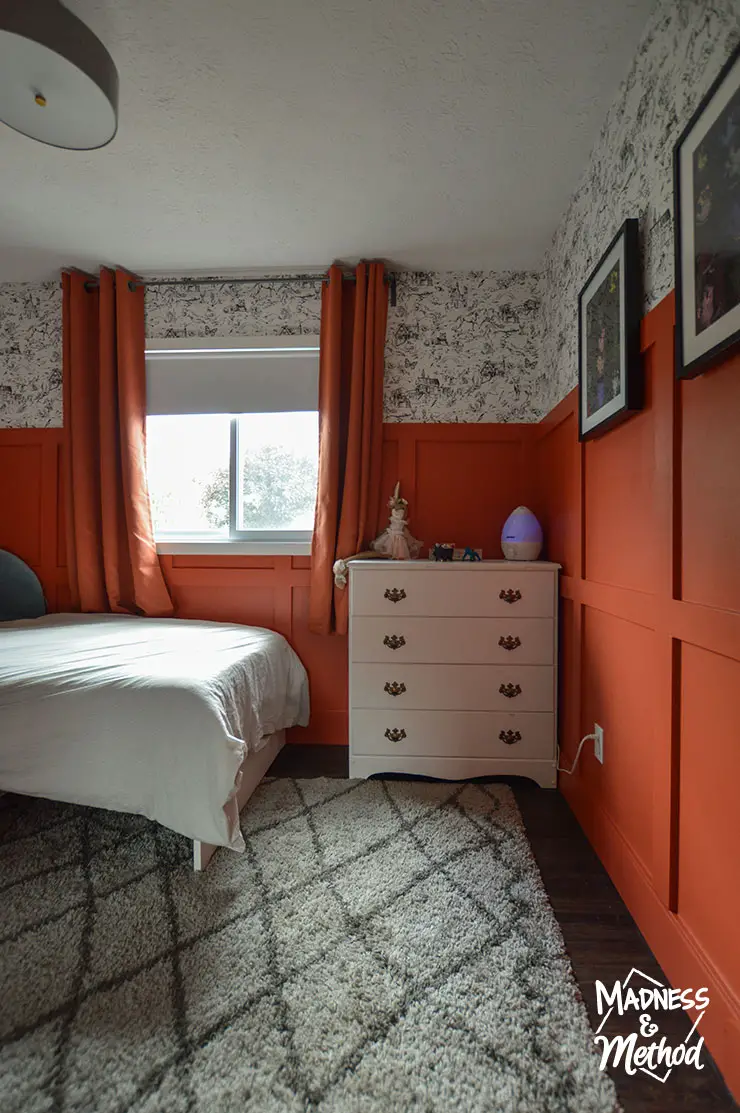
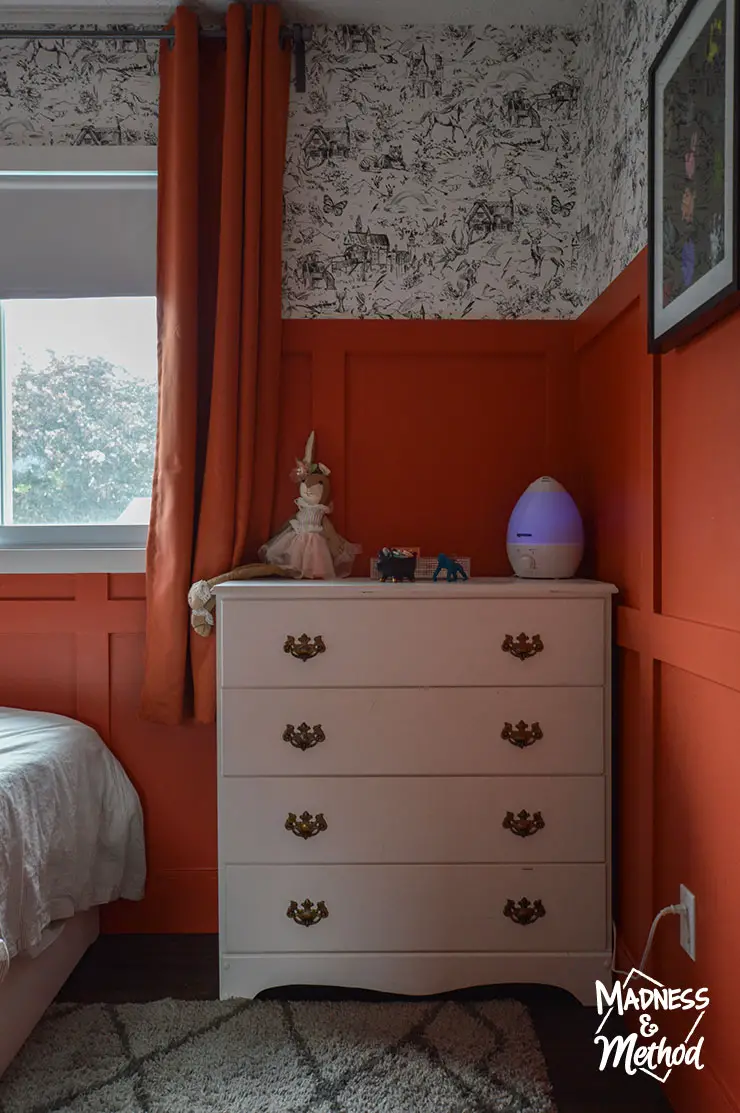
The dresser has kind of been in different locations as I was moving it and working on the room. I like this one the most because there’s the perfect spot for their hamper. The cord is exposed (my word!), but when it’s in the other direction (hiding the cord), I found that it squished into it too much.
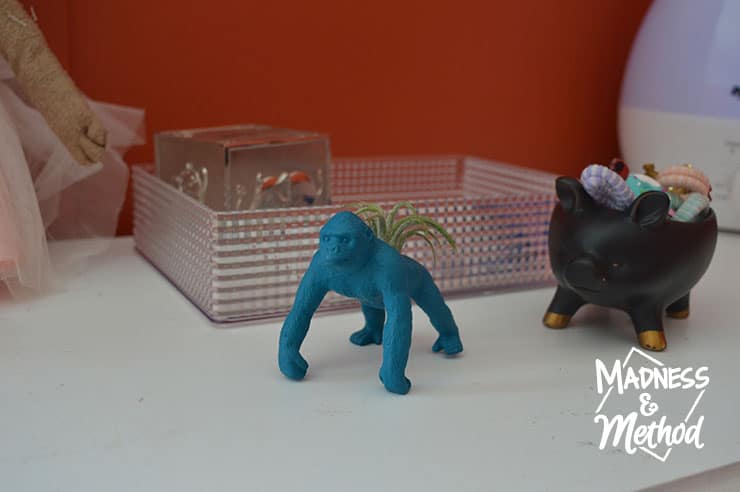
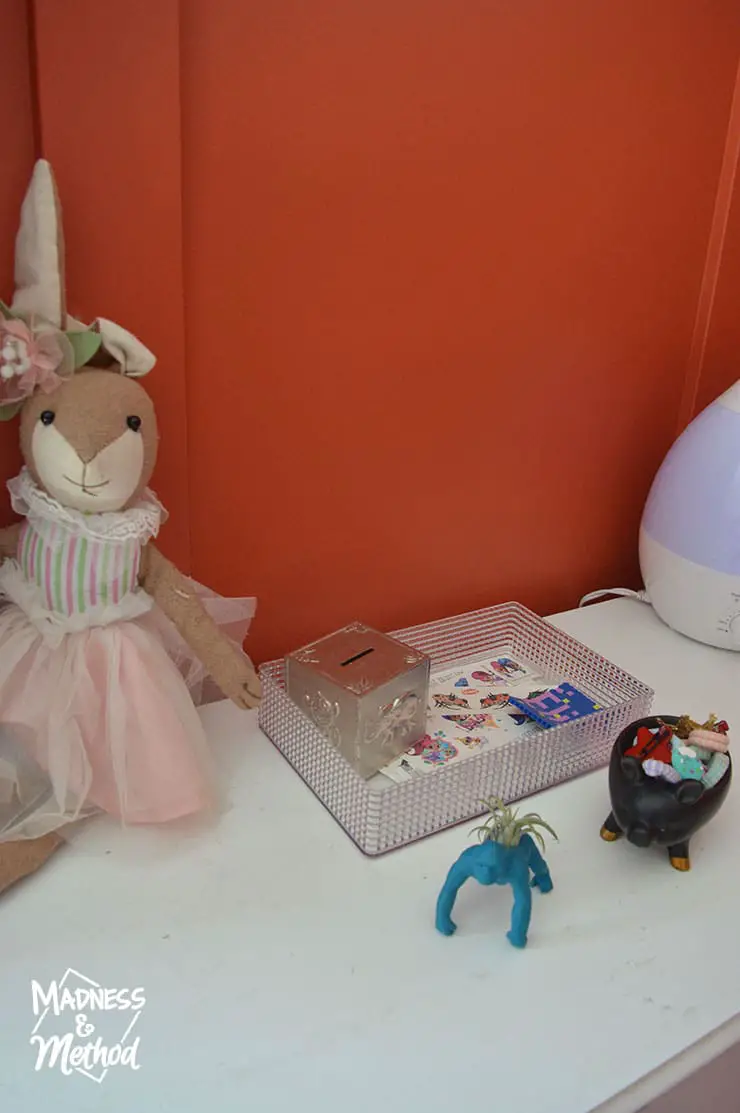
I bought this little gorilla planter for their new room, and it sits next to the little piggy from her original nursery (at our old house). Now it holds all her hair things, so that’s been good!
I picked up a clear-ish bin from the dollar store to corral all her loose stuff. So far it’s been working great!
There’s a bunny on the dresser, but I’m sure it might get moved around. This is how I had the kids toys the first day, but you’ll see that they have since changed location!
I had to hang a couple of things, so that’s why I couldn’t do the final room photos all in one day. And I had to pick up the kids at that point, so it was pretty rushed :)
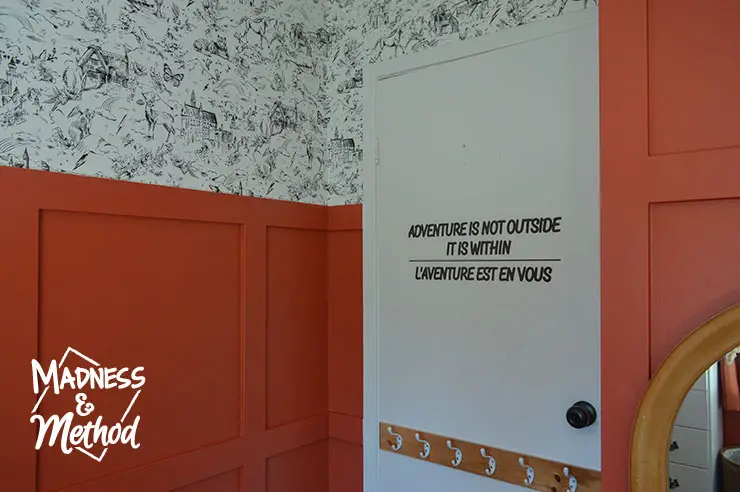
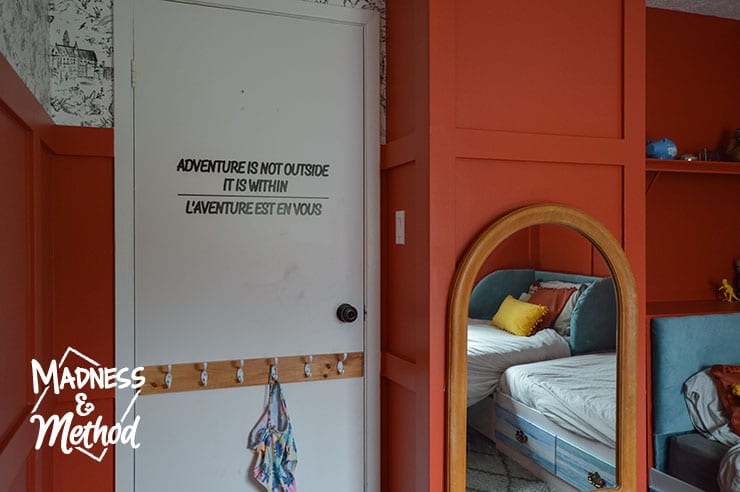
PS: not sure if I ever mentioned it, but I read this George Eliot quote and thought it would be perfect for their room. I took out the “man” part, translated it and had it printed into a decal. I like the double-entendre of having adventure within (as in the self) but also within the room!
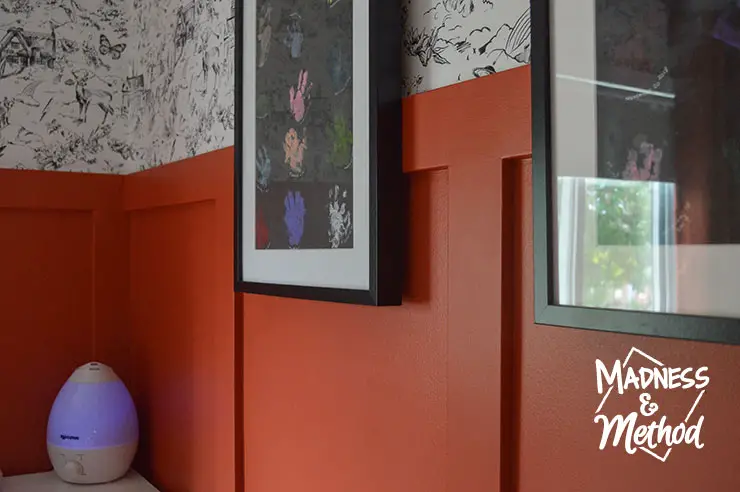
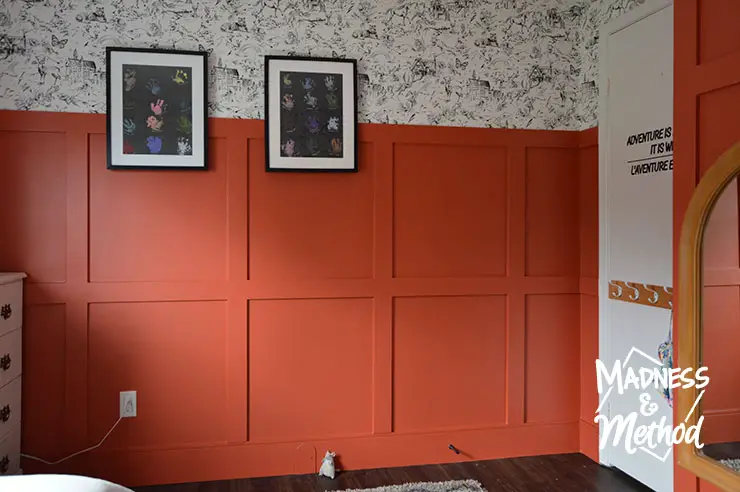
We took a break on Sunday for Father’s Day, and I got the chance to take these final photos yesterday. I just had to hang the two baby handprint photos. I wanted to use command strips only, but apparently, you have to wait a bit after painting.
I centred the prints on the squares, so they’re off-centre from the wall. It works out fine once the door is open :)
MORE PHOTOS!!!
Most of the next photos were taken with the kids at home, so I hope things don’t move around too much, ha!
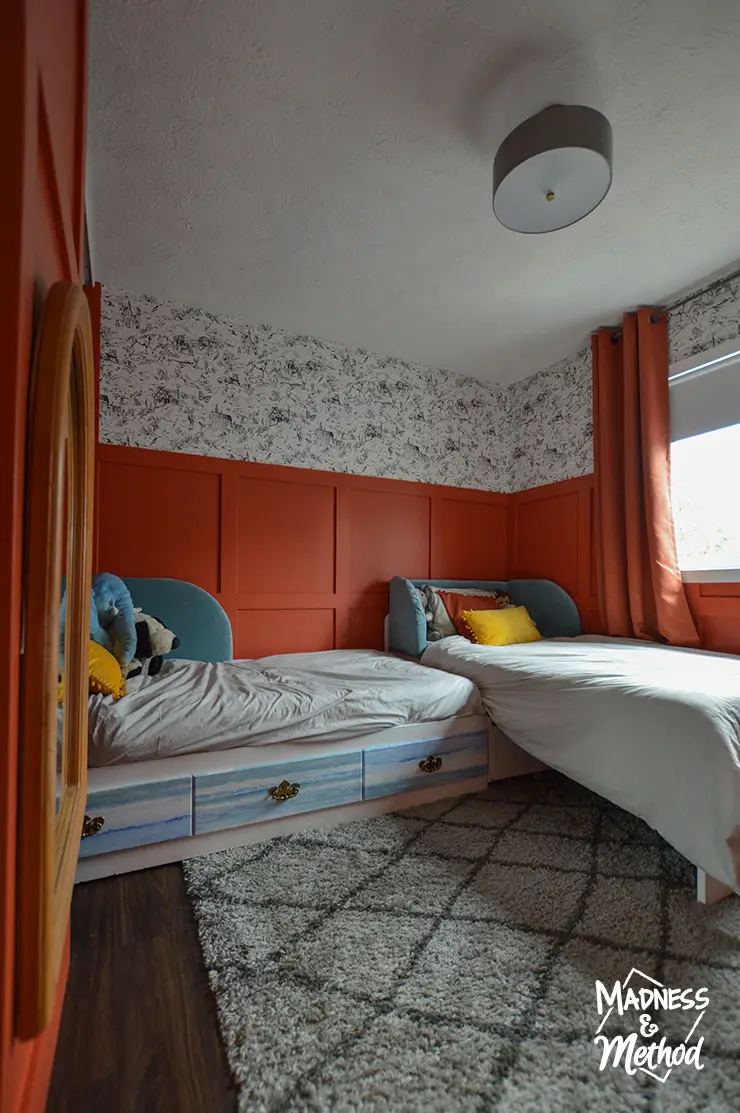
I also took out my wide-angle lens so you can see the size of the room more…
And here are some before and after photos if you forgot:
Ready for some more closeups?
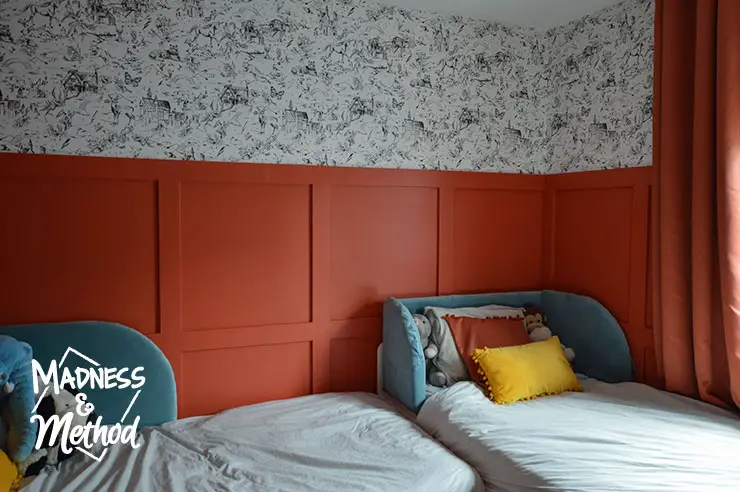
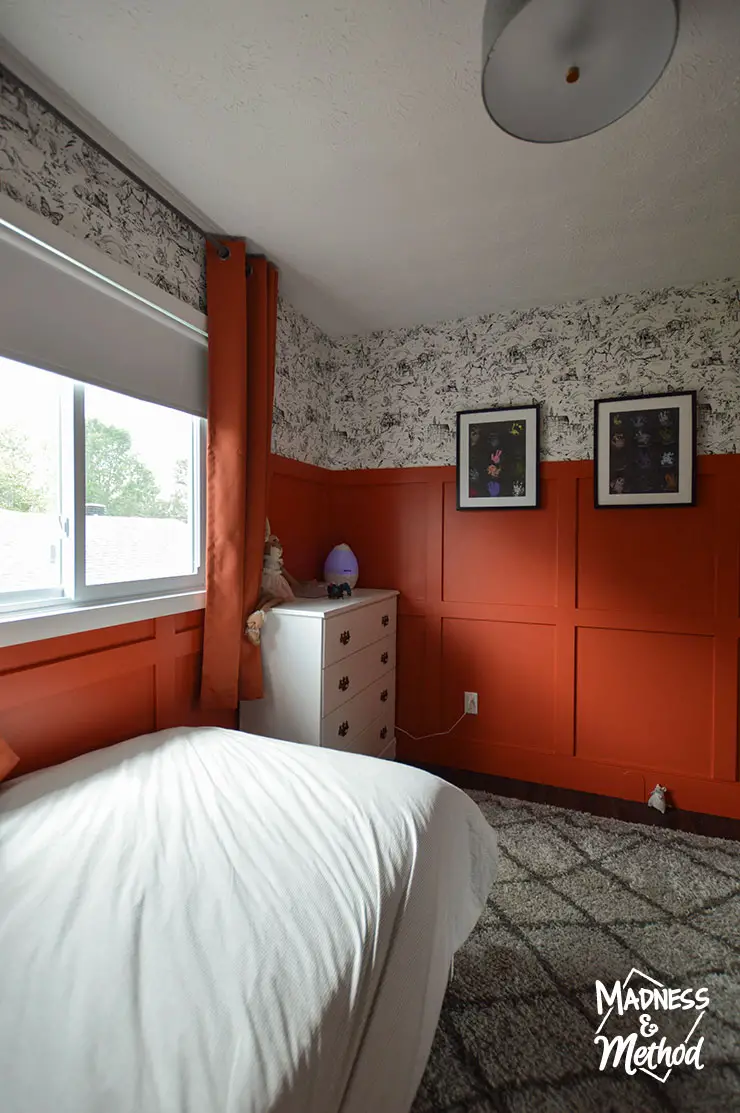
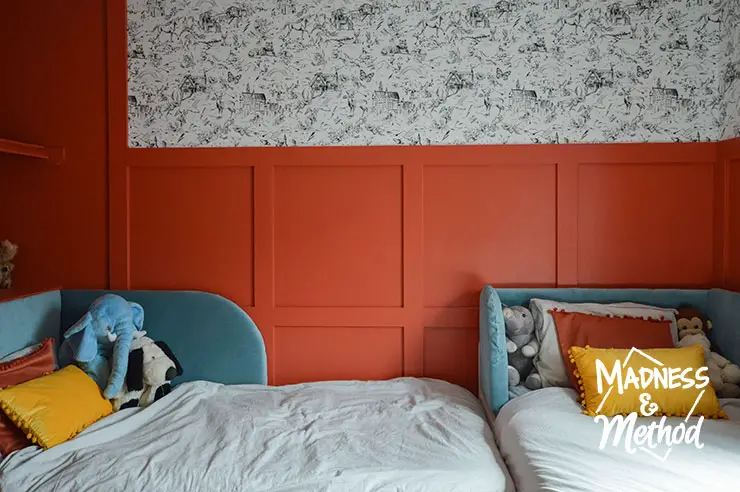
The view towards the bed corner…
The dresser and hanging prints.
I was doing laundry so their basket was downstairs, ha!
I like the floating frame look, so far just hung with a nail in the wallpaper part.
Their humidifier is a nightlight (always on the blue setting or there are some complaints!).
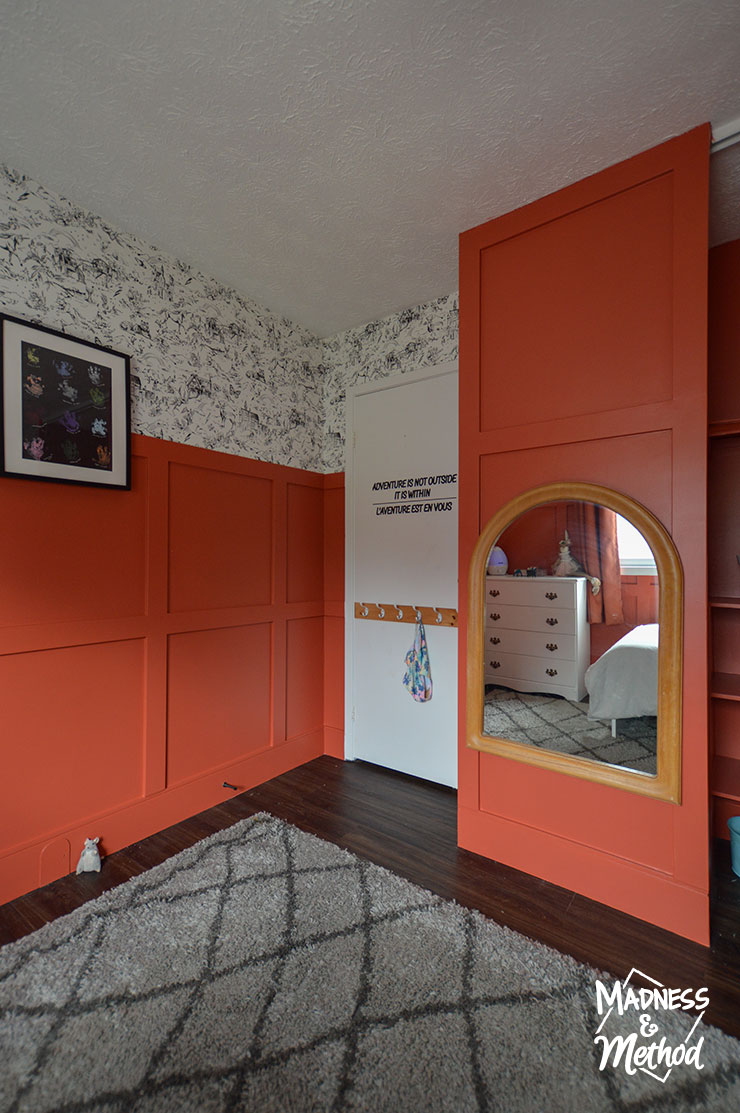
And now a bathing suit hanging behind the door.
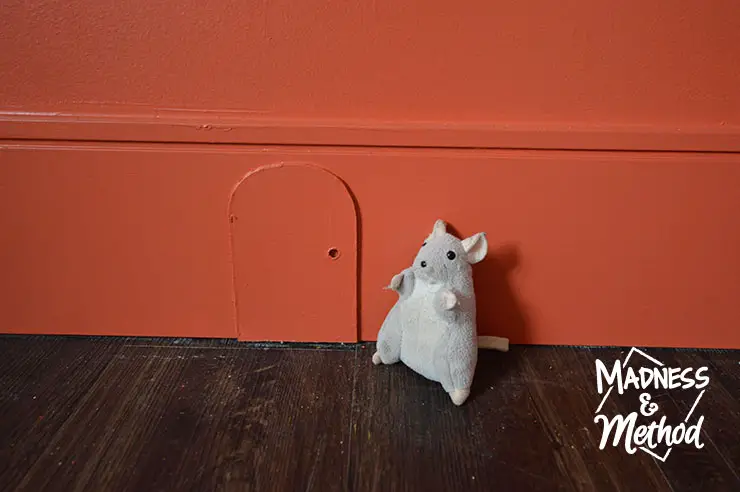
Did you spot the little mouse by the door? So cute right :)
(But also, I swear I cleaned the floors hahaha).
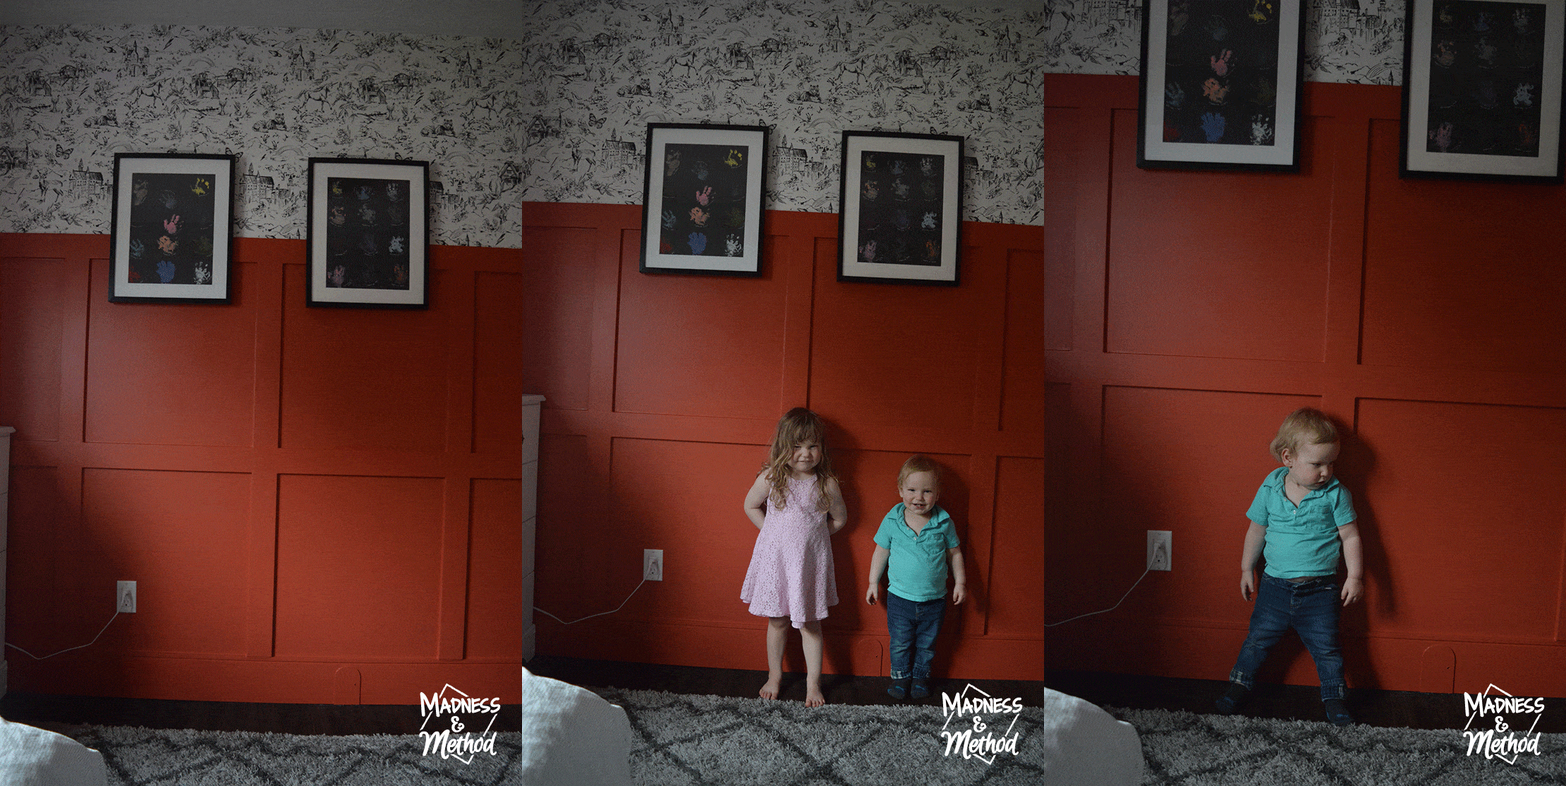
The left handprints are Zachary’s and the right is Élise.
I thought about also hanging something above the mirror. But I like the plain look for now.
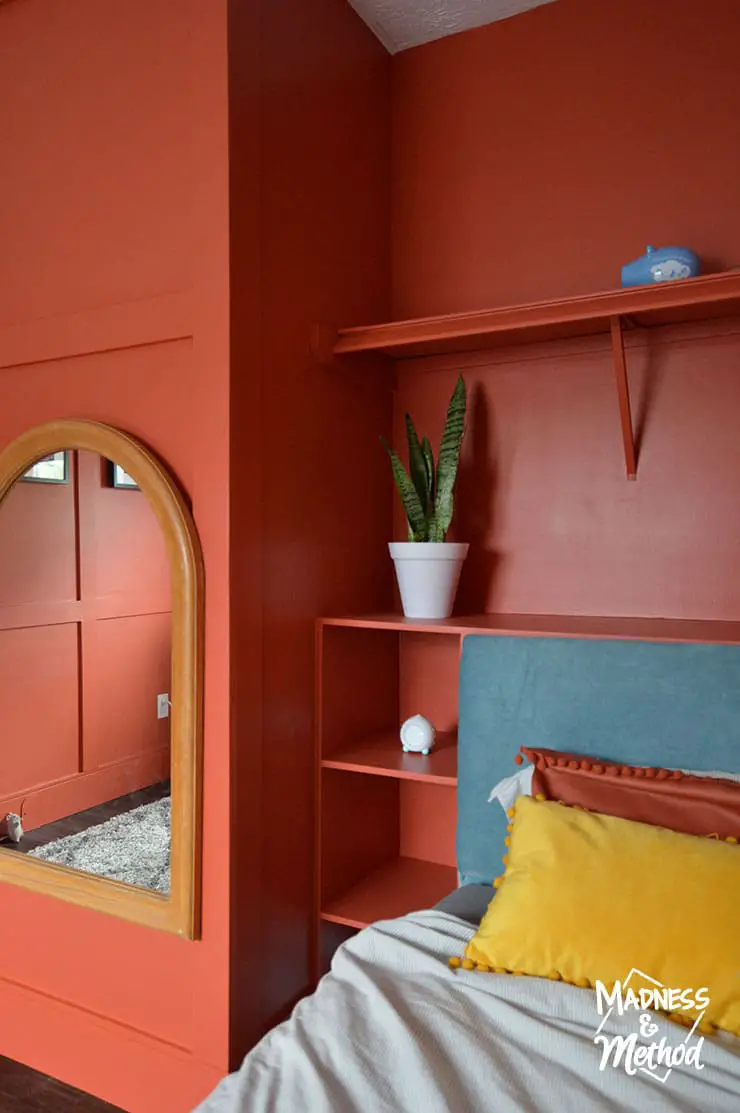
In the closet, Zachary has already used his bin to move toys around.
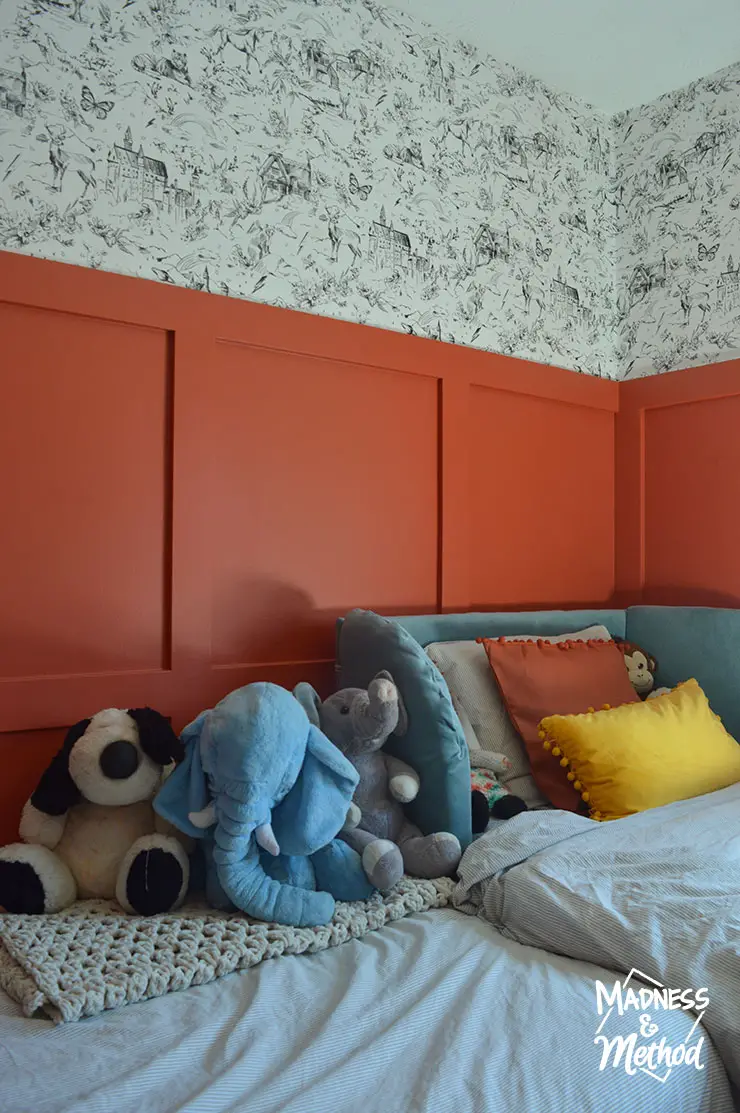
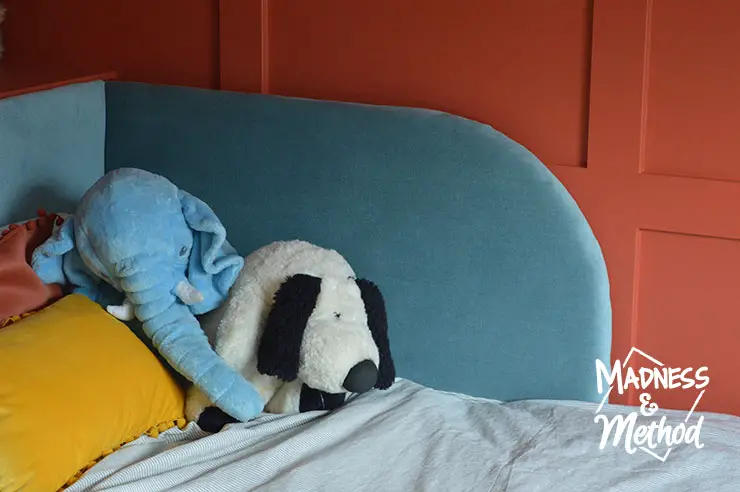
He much prefers the large stuffed animals here and uses them as pillows.
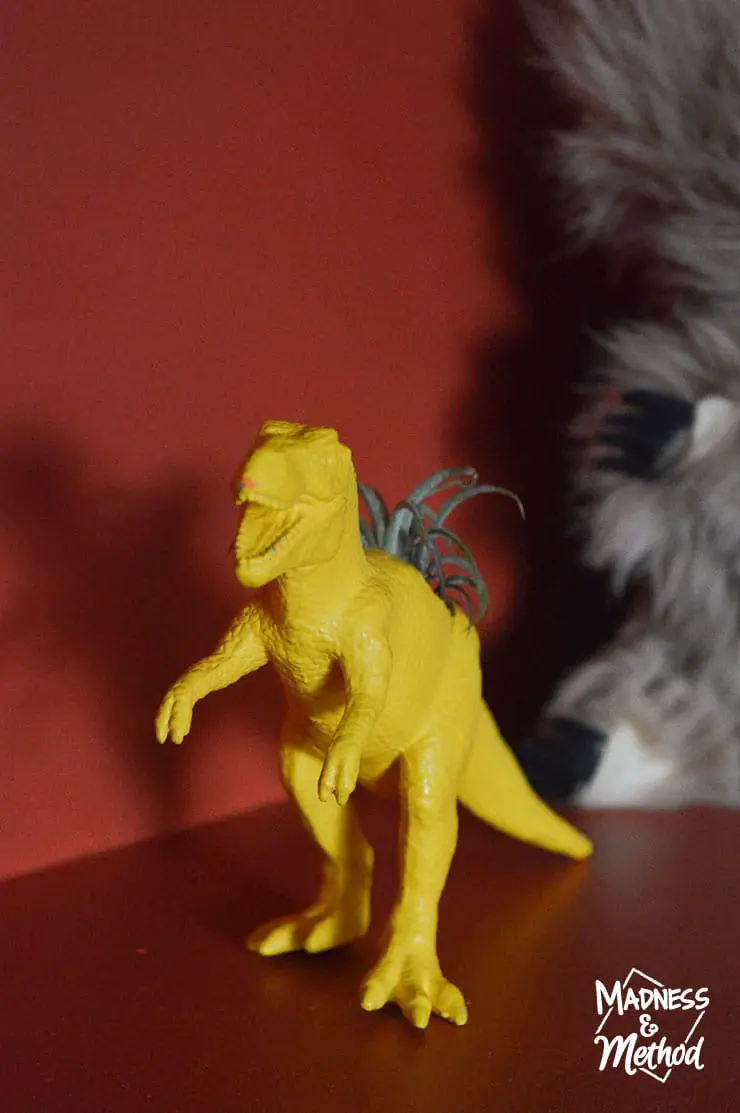
And here’s a close up of his new yellow dinosaur planter. Although, he’s used it to attack all his toys so it’s getting dinged up.
I love how the wallpaper looks in the room, the perfect neutral backdrop to the space.
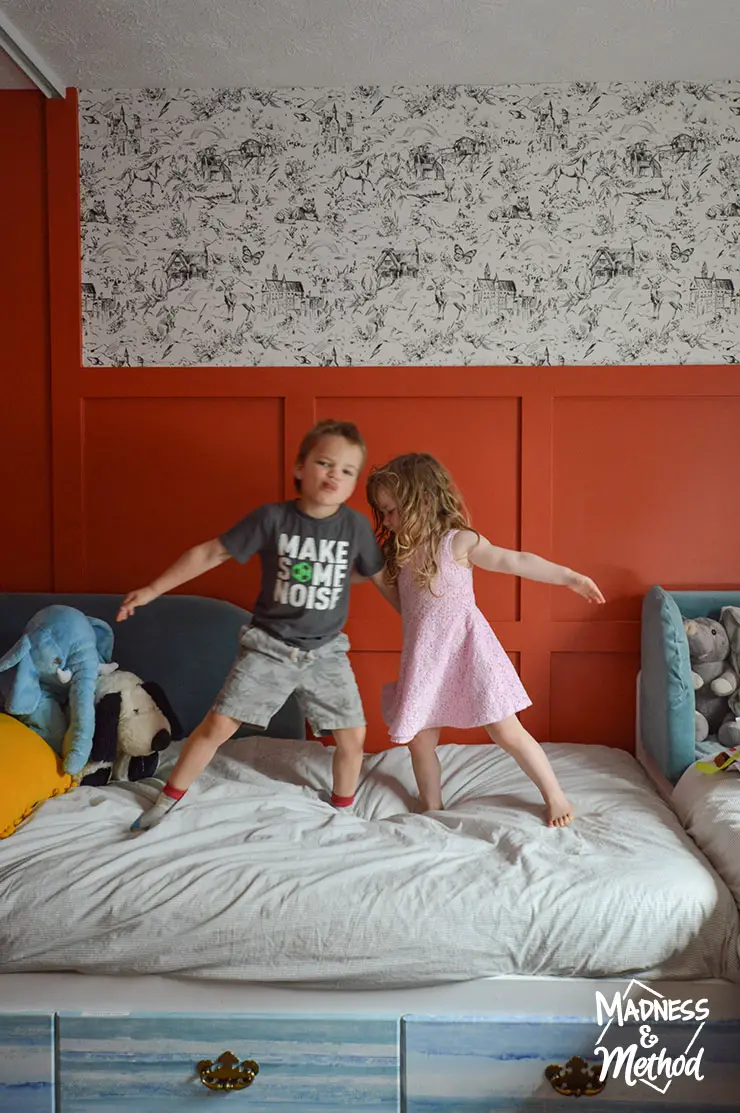
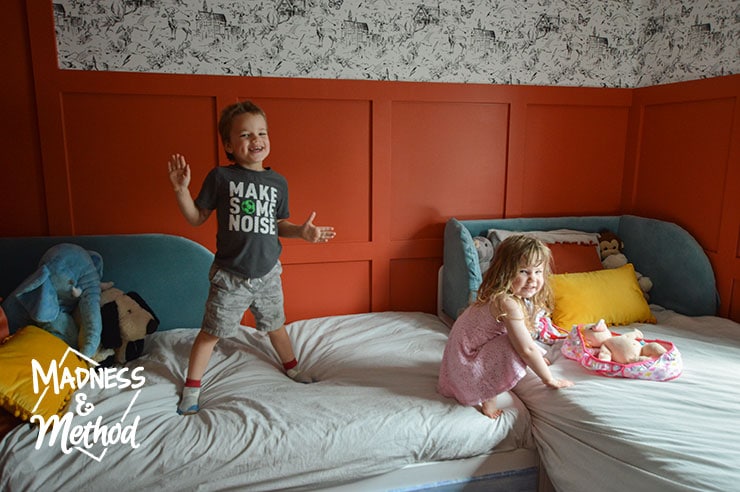
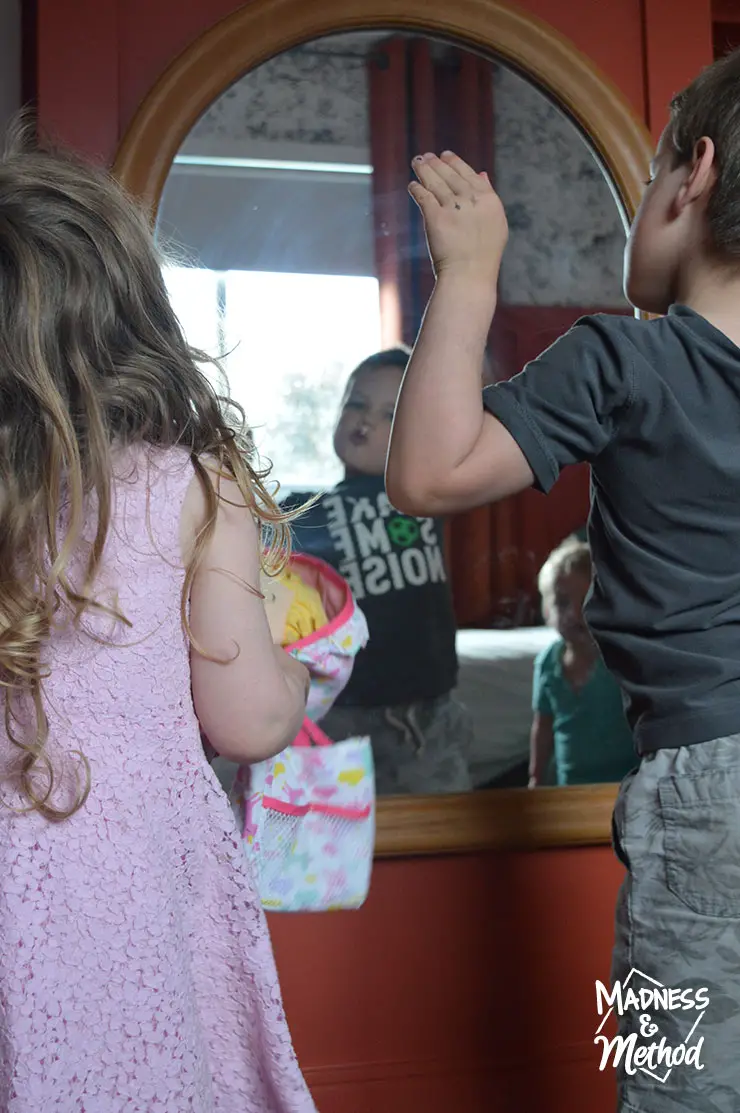
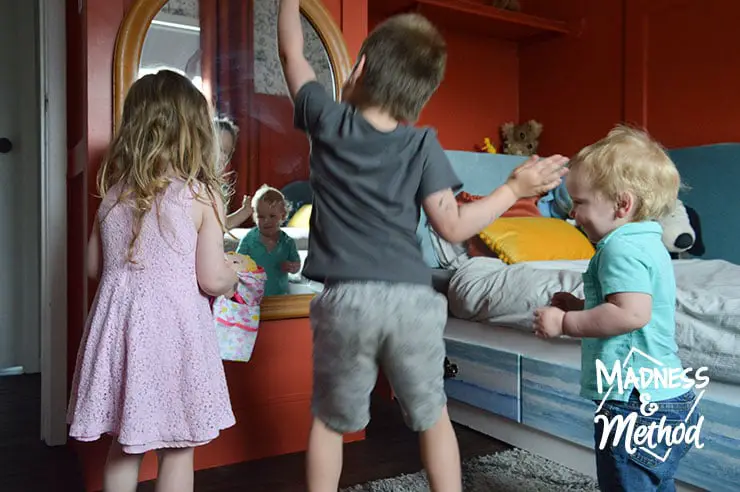
And how cute is the photo above where it looks like they’re dancing!? In reality, Zachary was getting ready to push Élise… so ya…
Her toy of the week is a doll that she brought back from Mémère’s (grandma’s) house.
And a few more photos…
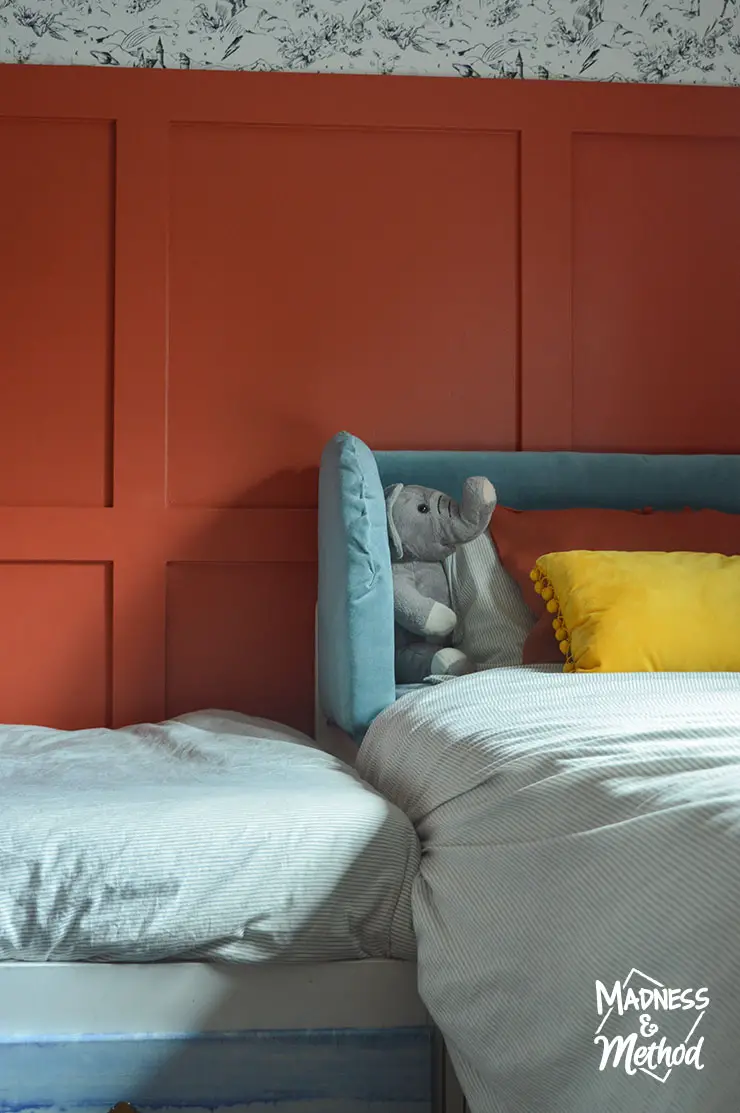
The monkey was her #1 for SO long (years?), then it was the elephant, then the white bear recently too.
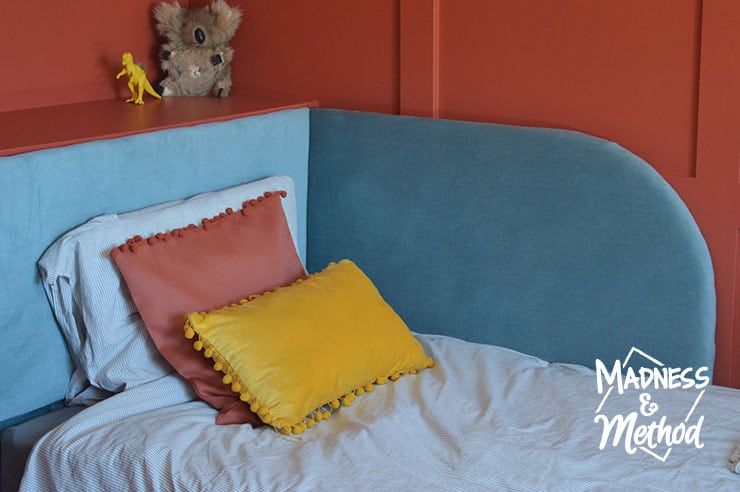
I like that her headboard keeps them contained, ha.
Those headboards were such an easy project.
And of course, the little monkeys love their low hung mirror.
I’m sure Félix is excited to get a room makeover too, but since he can’t talk, I don’t think I’ll rush into that ha.
And finally, a last view of the room altogether.
With a closeup of the closet.
Oh, the drawers have removable wallpaper that I considered removing and/or adding to the other dresser too. So far, it works with the room, and just has that one little piece that Zachary took off a couple of weeks ago.
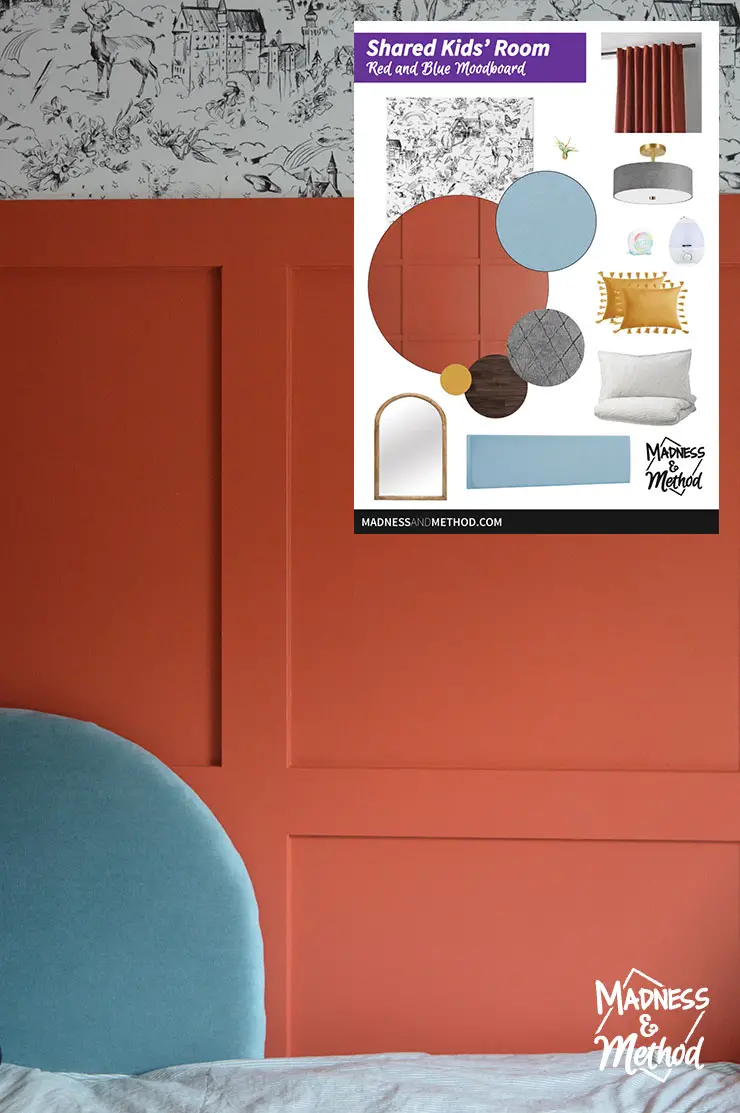
And the walls and headboard compared to the original moodboard. Choosing the colour was a debacle (see my Instagram Stories for more details), but we made it!
About the One Room Challenge
Thanks for reading all about my One Room Challenge space. And a reminder that the ORC is a twice-yearly event where 20 featured designers (and a bunch of linking participants) makeover a space in six weeks (8 this time). This is my 9th time participating, and here are all my other rooms:
- Spring 2016: Basement Half-Bathroom Addition
- Spring 2017: Bro’s Budget Bathroom
- Fall 2017: Garage Makeover
- Fall 2018: Basement Kitchen Renovation (which we didn’t complete until much later, you can check it out here)
- Spring 2019: Main Bedroom 1 AND Main Bedroom 2
- Fall 2019: Not-so-Neutral Nursery
- Spring 2020: New Main Bedroom
- Fall 2020: White and Rainbow Bathroom
And you can check out my progress through the challenge if you missed the links at the start: week 1, week 2, week 3, week 4, week 5, week 6 and week 7.
Let’s look back at the ‘ole to-do list too…
To-Do List
- Remove shelves and paintings
- Patch, sand and prime holes
- Replace old receptacles/switches
- Paint ceiling edges and closet rail white
- Measure, cut and install trim (window casing, horizontal pieces, vertical corners, centre pieces)
- Build closet shelves
- Patch, sand and prime all trim joints
- Caulk all inner seams
- Paint red walls and closet
- Build headboards (cut wood, foam/batting, add fabric, secure together)
- Wallpaper top portion
- Fix and hang the mirror
- Hang art?
- Swap the rug and curtains
- Dresser makeover? (did not do this)
- Swap light fixture
- Set up beds and take photos!
- Added: make mouse door, add more wainscoting to cover bump out, hooks behind the door, door decal, re-installed window
And we’re done!
I think I have just over 50 photos, so a little overboard, but that’s okay :) The kids are happy with their space, and I’m just glad I can scratch this project off the list. Up next, finishing the final details of our kitchen (once the trim comes in). And building our cottage!
That last one is a BIG project, so don’t expect to see too much progress anytime soon, ha.




6 Comments
Tara
June 24, 2021 at 7:28 amI absolutely love these colors! Stunning.
Nicole
June 27, 2021 at 9:25 amThanks! My goal was to use red and blue without looking to “sports-y” :)
Brianna
June 24, 2021 at 8:34 amI love the wall color! Nice work.
Nicole
June 27, 2021 at 9:26 amThanks! It took a few tries, but I got there, ha :)
Jenny
June 26, 2021 at 6:51 amYou went so bold and I’m here for it! Looks great!
Nicole
June 27, 2021 at 9:26 amI love big contrast spaces too, thanks!